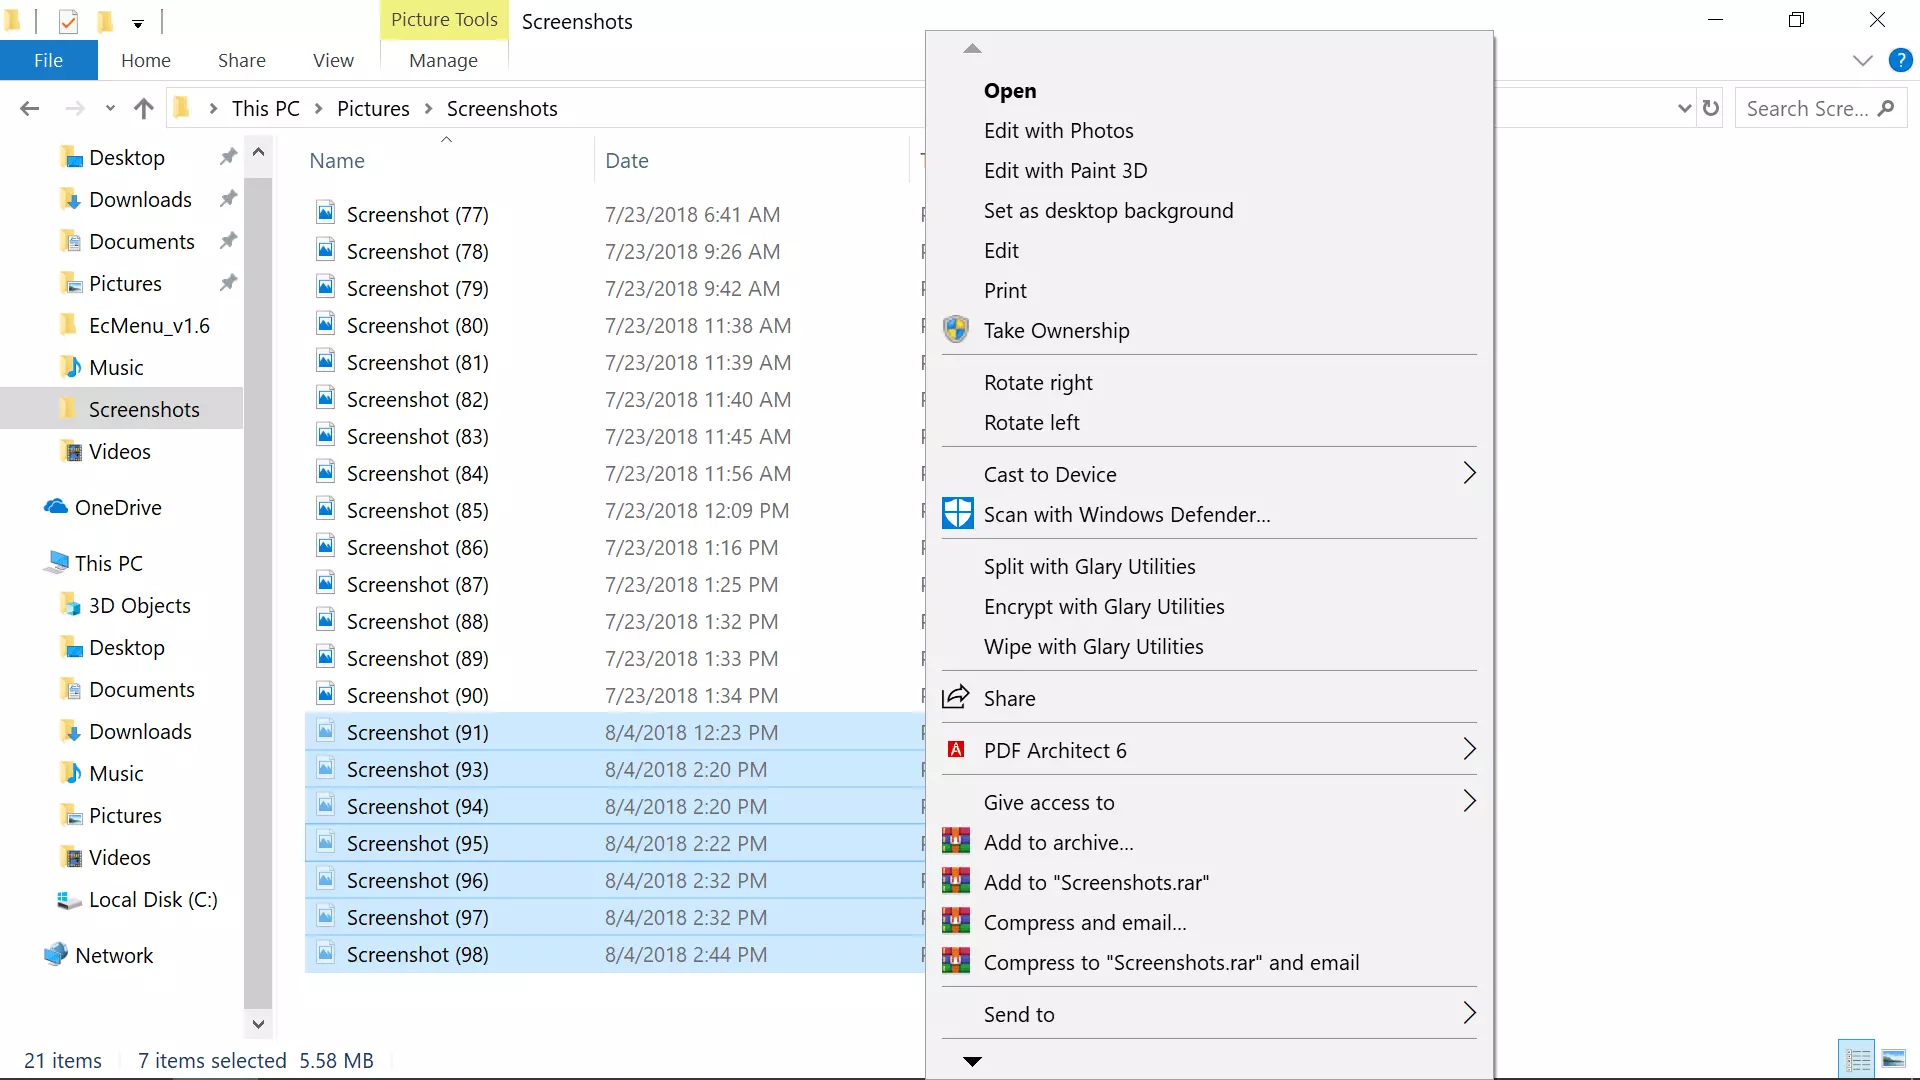
Sometimes, some applications after they are installed will put their shortcut in the context menu (right-click on desktop) for easy access, most of the time these are some system tied applications like AMD and Nvidia control panels or archives like WinRAR or 7ZIP but it can happen even for some usual application to do this.
There are some applications that you use frequently and they could be worth putting in the context menu, if you want to avoid clutter on the desktop or in the taskbar this is the third place that you should consider placing shortcuts.
Doing this will require some playing and tweaking in the Windows registry editor so be careful when editing the registry since bad entries can lead to system crash or instability. Follow step-by-step instructions.
Adding apps to the context menu in the registry
Creating entry
Open the registry editor by searching Regedit and pressing enter than inside of the registry editor search for the next key:
HKEY_CLASSES_ROOT\Directory\Background\shell
Select shell and right-click on it, hover over New and in the submenu click on Key. In the next step, you need to name a key, this name will be the thing that will be shown in the context menu when you right-click on a desktop so type in the name that you would like or the name of the application that you wish to add to the menu.
If you wish you can even add a keyboard shortcut to launch this specific application. To do this select entry that you have created and edit the default value, inside the edit string in the Value data field type first & and after that key that you would like as a shortcut. Now after right click if you hit your shortcut key app will be launched right away.
Adding command
The next task is to create a command key that will actually hold the command to launch the application. Right-click on the entry that you have created, hover over New, and click on Key.
Next, you’ll need to create the command key that will actually hold the command used to launch the application. Right-click on the new Notepad key, and then choose New \ Key from the menu. Name this key 'command', all in lower case and without hyphens.
Now in order to finish setting the launcher, you need the full path of the file that you would like to run. Locate your file in file explorer or in another tool and copy its path by SHIFT + right-clicking on the file itself and choosing copy as path option.
Now click on the command key and double click on the default key on right to edit it, inside the field value data paste your path to executable. close and save the registry and you are done.


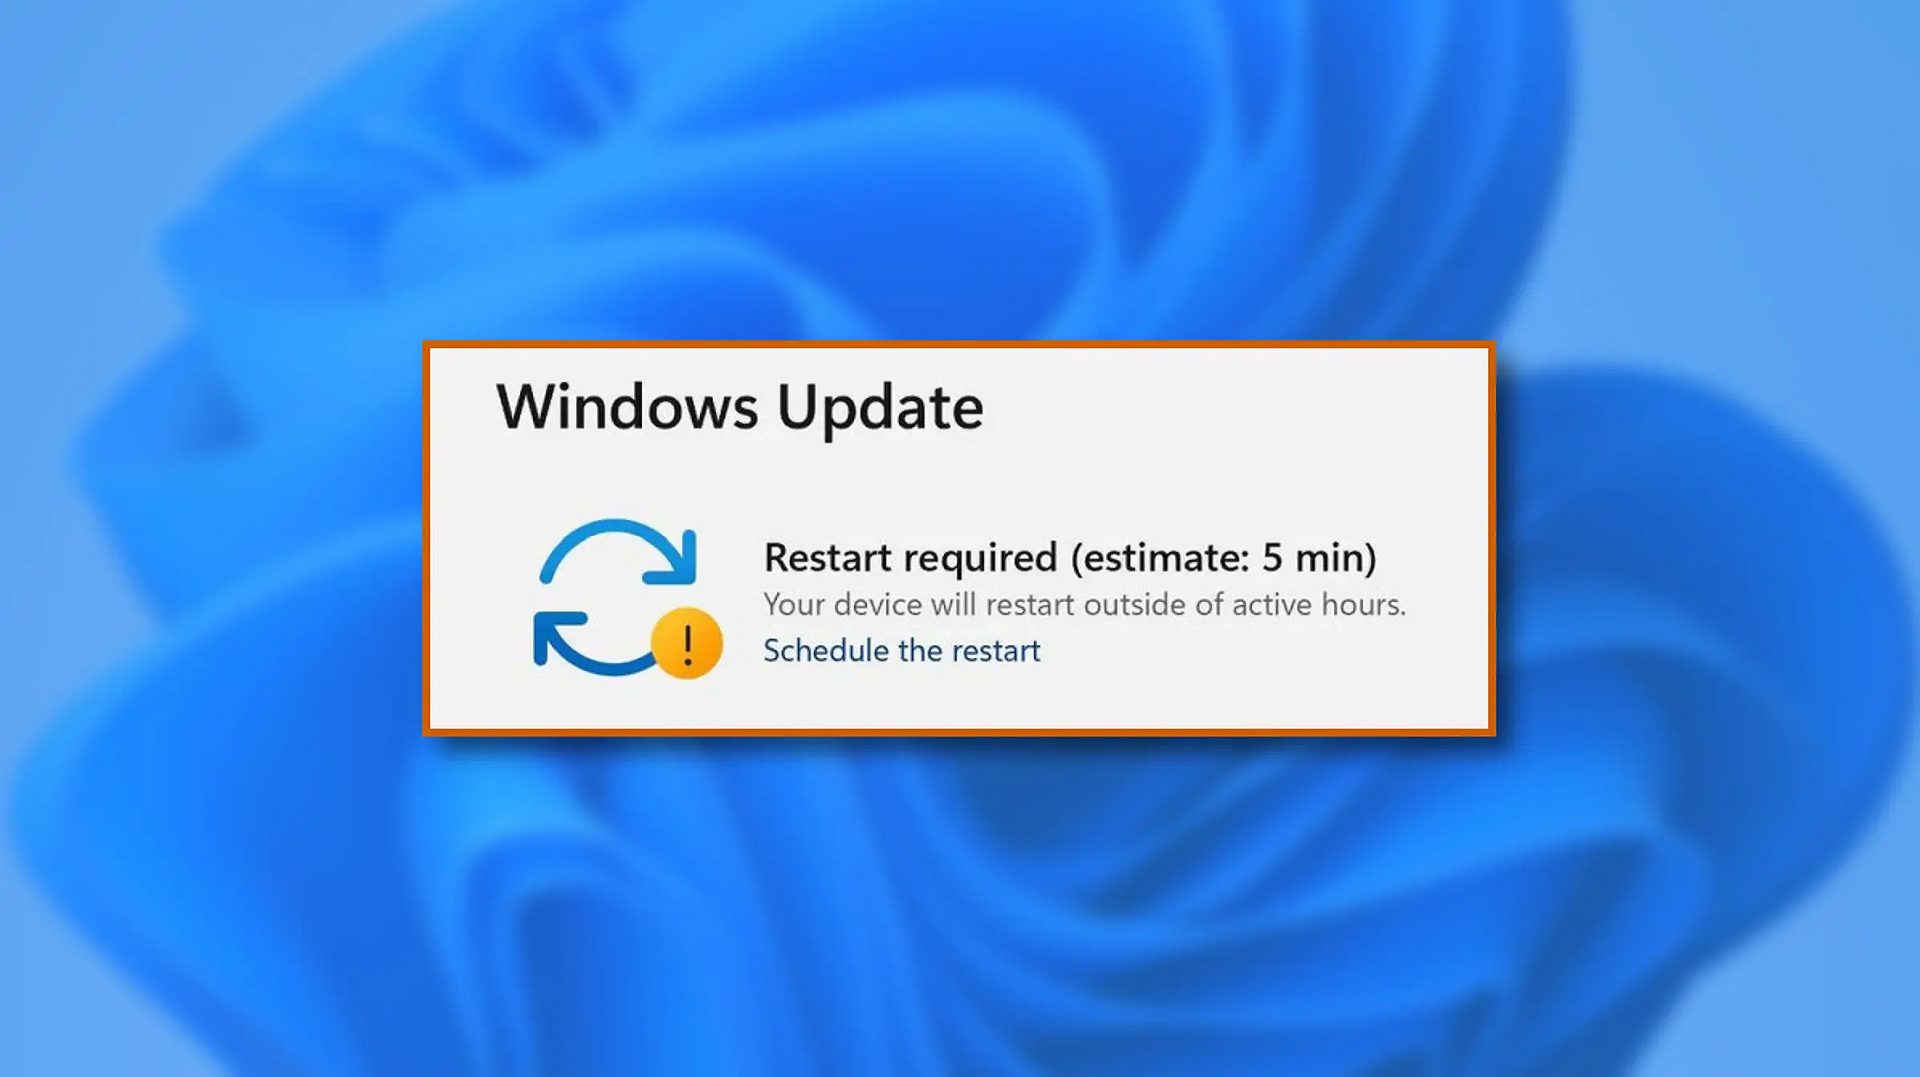 When Windows 11 update is available but you do not wish to restart right away because you are in the middle of using a computer, you can schedule a restart for up to 7 days. It is very easy and we will show you how to do it.
 Parallels is an application developer for MAC OS mostly known for its PC virtualization software Parallels Desktop, a PC virtualization software running on Macs enabling running Windows and Linux with respective software on your MAC.
With its latest Desktop 17 version, the software can run natively on both Intel-based and M1-based MACs. Thanks to this feature MAC users will be able to benefit from various speed improvements while running both Windows 10 or Windows 11 preview.
On both Intel and M1 setups, Parallels resumes Windows and Linux up to 38% faster, provides an up to 25% bump in 2D graphics and a six-time increase in OpenGL graphics processing. M1-centric stats include 33% faster Windows start-up times, up to 28% faster DirectX 11 performance, and up to 20% better disk performance on Windows 10 Insider Preview.
Parallels Desktop 17 delivers a set of fresh features including a new video driver that enhances video and game playback and boosts Windows UI responsiveness. An improved Coherence mode lets users run Windows apps within the Mac environment, cutting down on distracting changes in appearance during Windows sign-in, shut down, and software updates.
Drag-and-drop operations are also improved, with support for text and graphics between Mac and Windows applications. This function works well with MAC OS Monterey's Quick Note feature, which can accept content from any Windows app.
USB support, disk management, copy and paste unformatted text, and automatic virtual machine optimization also receive upgrades.
Parallels is an application developer for MAC OS mostly known for its PC virtualization software Parallels Desktop, a PC virtualization software running on Macs enabling running Windows and Linux with respective software on your MAC.
With its latest Desktop 17 version, the software can run natively on both Intel-based and M1-based MACs. Thanks to this feature MAC users will be able to benefit from various speed improvements while running both Windows 10 or Windows 11 preview.
On both Intel and M1 setups, Parallels resumes Windows and Linux up to 38% faster, provides an up to 25% bump in 2D graphics and a six-time increase in OpenGL graphics processing. M1-centric stats include 33% faster Windows start-up times, up to 28% faster DirectX 11 performance, and up to 20% better disk performance on Windows 10 Insider Preview.
Parallels Desktop 17 delivers a set of fresh features including a new video driver that enhances video and game playback and boosts Windows UI responsiveness. An improved Coherence mode lets users run Windows apps within the Mac environment, cutting down on distracting changes in appearance during Windows sign-in, shut down, and software updates.
Drag-and-drop operations are also improved, with support for text and graphics between Mac and Windows applications. This function works well with MAC OS Monterey's Quick Note feature, which can accept content from any Windows app.
USB support, disk management, copy and paste unformatted text, and automatic virtual machine optimization also receive upgrades.