
Razer had some strange dives into stuff not really aimed at gamers and the gaming community overall like its Zephir smart mask and now it is venturing into the area of smartwatches teaming up with Fossil. I am not clear if this initiative was set in motion by Razer or Fossil and I really do not know why limited production numbers. Officially named RAZER X FOSSIL GEN 6 SMARTWATCH, this watch comes with the official following text on Razer's page:
Way more. Way faster. Way ahead of the game. Get time on your side with the limited-edition Razer X Fossil Gen 6 Smartwatch—only 1,337 pieces worldwide. Designed for the next generation of gamers, supercharge your style with customizable straps, dials, Razer Chroma™ RGB effects, and more.
Now, I am a fan of Razer and I like their products, mostly keyboards and mouse altho chair is also very good and in top of the product line in that field but I can not really stand behind this product and decision, and the only reason why I can not stand behind it is this 1337 (leet, or elite) a limited number of available pieces that is nothing more than a gimmick to sell watches at a higher price. Watch itself is not really bad, as a matter of fact, it has some solid hardware statistics.
Technical characteristics
Featuring a 1.28-inch AMOLED Display with 3 unique Razer watch faces (Analog, Text, Chroma*), 4 customizable Razer Chroma™ RGB effects, and 2 custom-designed, interchangeable straps, this Razer's baby is packing 44mm, Stainless Steel case with 22mm, straps. It runs on Wear OS by Google as an operating system of a choice and under software, it is packing Qualcomm Snapdragon Wear 4100+ CPU paired with 1GB of RAM and 8GB Storage. The display is running at 416x416 resolution with 326ppi.
Watch input is with 2 configurable Push buttons, One rotating Home button, touchscreen, and voice. It has in it a loudspeaker, microphone, and vibration. Connection is via Bluetooth 5.0, GPS, NFC SE, and Wi-Fi. The battery can in their word work for 24 Hr + multi-day Extended Mode **Varies based on usage and after updates install**. USB data cable with magnetic dock snaps to split rings on the watch case back and spins 360 degrees for ease of use. Approximately half an hour to reach 80%. Sensors included in the watch itself are: Accelerometer, Altimeter, Ambient Light, Compass, Gyroscope, Off-body IR, PPG Heart Rate, SPO2.
Smartwatch is water-resistant up to 3 ATM & it comes with preloaded apps like: Agenda, Alarm, Battery-Optimized Activity Mode, Calendar, Cardio Level Tracking, Cardiogram, Contacts, Enhanced Phone Dialer App, Google Assistant, Google Fit (Workout, Heart Rate, Goals, Breathe), Google Maps, Google Pay™, Google Play Store, Nike Run Club, Noonlight, Smart Battery Modes, Spotify, Stopwatch, Timer, Translate, Wellness Apps with Sleep Tracking.
Conclusion
Watch is Dropping on 01.10.22, 8 AM PST which is 4 days from now and altho it is an interesting device with solid hardware I can not stand behind it due to its limited edition numbers and with $329 price tag. With the same amount of money, you can get yourself Samsung or Apple watch with more features packing. But of course, that is just my personal preference and if you want to own this limited edition Razer smartwatch, go for it.

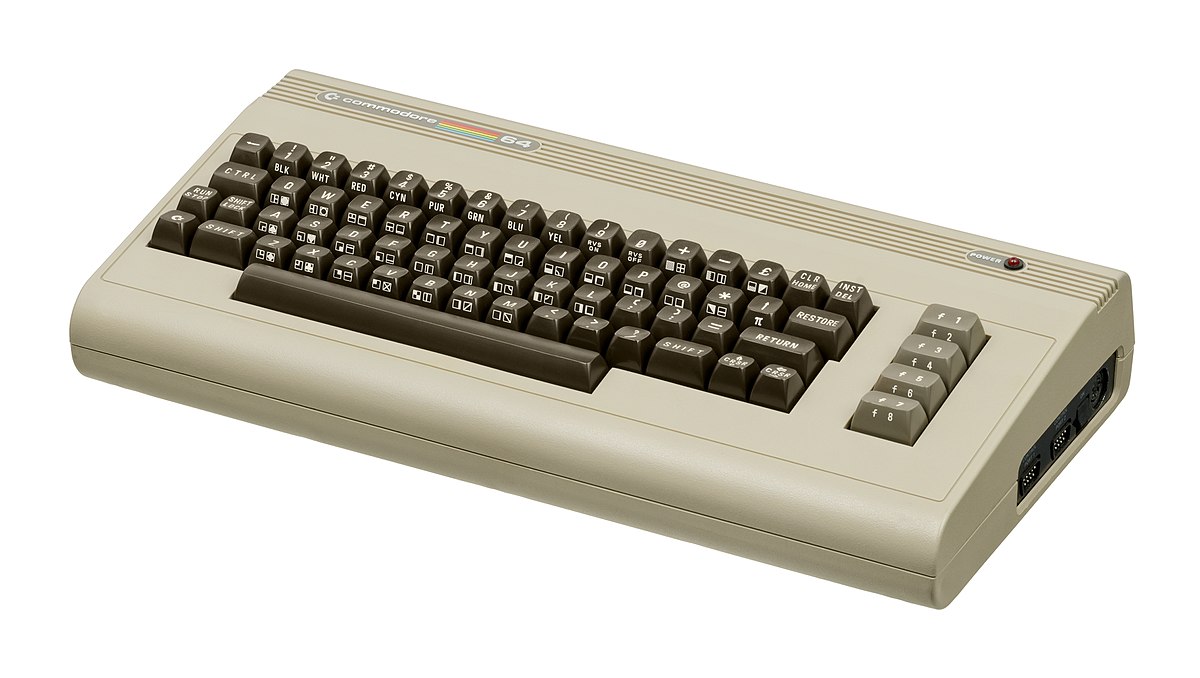 History of Commodore
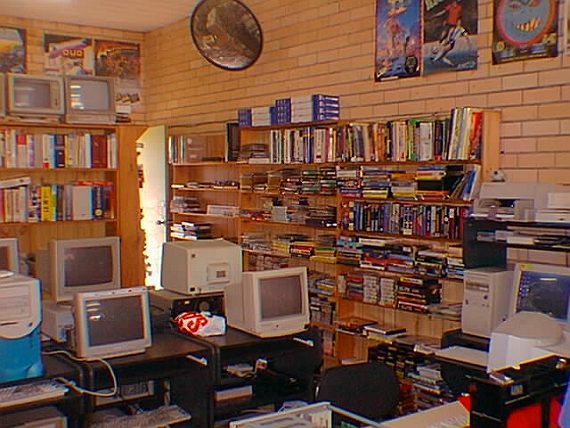 With sales booming and the early reliability issues with the hardware addressed, software for the C64 began to grow in size and ambition during 1984. This growth shifted to the primary focus of most US game developers. The two holdouts were Sierra, who largely skipped over the C64 in favor of Apple and PC compatible machines, and Broderbund, who was heavily invested in educational software and developed primarily around the Apple II. In the North American market, the disk format had become nearly universal while cassette and cartridge-based software all but disappeared. So most US-developed games by this point grew large enough to require multi-loading.
At a mid-1984 conference of game developers and experts at Origins Game Fair, Dan Bunten, Sid Meier, and a representative of Avalon Hill said that they were developing games for the C64 first as the most promising market. By 1985, games were an estimated 60 to 70% of Commodore 64 software. Over 35% of SSI's 1986 sales were for the C64, ten points higher than for the Apple II.
Everything was great for Commodore but the industry was moving forward and by the year 1988, PC compatible computers were stated to be the largest and fastest-growing home entertainment systems pushing C64 on to second place. Also, Nintendo’s gaming system has started to take hold in the world with amazing 7 million systems sold in 1988 only.
By the year 1991, many developers exited the gaming market for Commodore 64 home computer system and its popularity started to fall due to lack of software and not so many hardware changes.
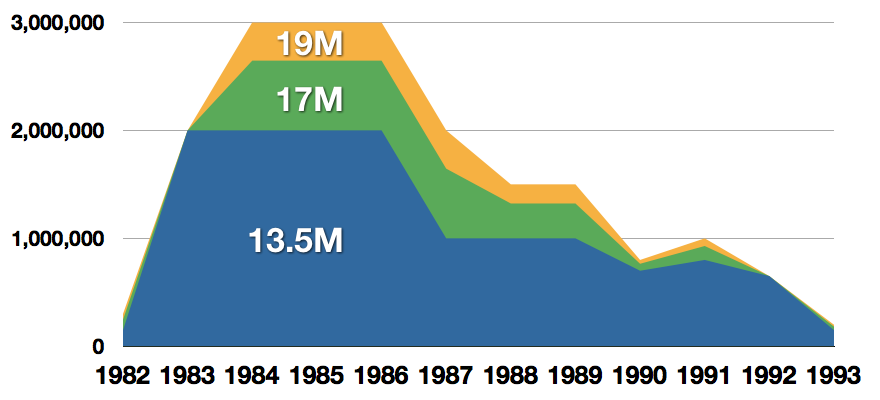 Commodore announced that the C64 would be finally discontinued in 1995.
However, only one month later in April 1994, the company filed for bankruptcy. When Commodore went bankrupt, all production on their inventory, including the C64, was discontinued, thus ending the C64's 11 and a half year production.
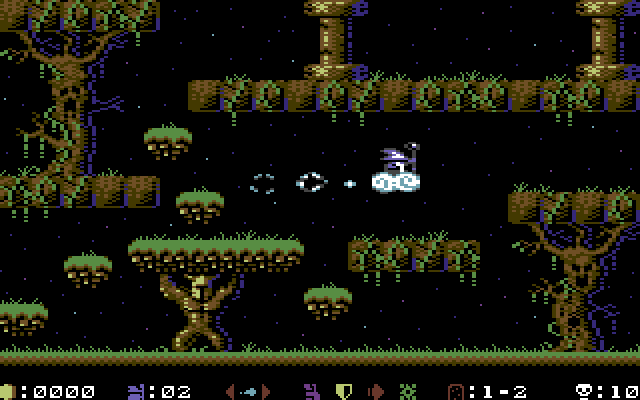 Zak McKracken and the Alien Mindbenders
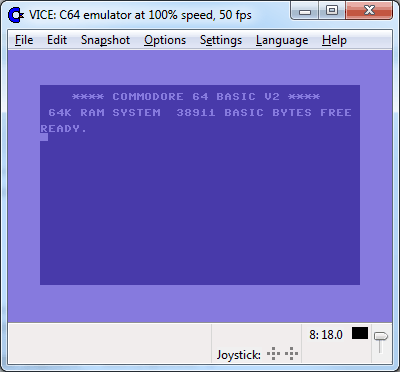 If you are not keen on spending money for reliving and checking games or software of C64 here are some links to help you to at least experience part of it completely free.
Commodore 64
 Razer had some strange dives into stuff not really aimed at gamers and the gaming community overall like its Zephir smart mask and now it is venturing into the area of smartwatches teaming up with Fossil. I am not clear if this initiative was set in motion by Razer or Fossil and I really do not know why limited production numbers. Officially named RAZER X FOSSIL GEN 6 SMARTWATCH, this watch comes with the official following text on Razer's page:
