Dxgkrnl.sys Error - What is it?
To understand Dxgkrnl.sys error code, it is important to develop an understanding about Dxgkrnl.sys file. Dxgkrnl.sys is a type of system file associated with
Windows 8 Consumer Preview ISO images that are developed by Microsoft for the Windows OS.
System files like Dxgkrnl.sys are third-party device drivers, critical system files. These files enable attached PC hardware such as a printer to communicate with 3rd party software programs like web browsers and Windows 8 Consumer Preview ISO images.
Dxgkrnl.sys error code is a
blue screen of death error. It occurs when the Dxgkrnl.sys files are unable to function properly. This is a critical error. It can cause system failure, crash, and data loss. Therefore, it must be resolved immediately before the damage is done.
The error may pop up in any one of the following formats
"STOP 0×00000050: PAGE_FAULT_IN_NONPAGED_AREA – dxgkrnl.sys"
A problem has been detected and Windows has been shut down to prevent damage to your computer. The problem seems to be caused by the following file: Dxgkrnl.sys."
"STOP 0x0000000A: IRQL_NOT_LESS_EQUAL – dxgkrnl.sys"
"Your PC ran into a problem and needs to restart. We’re just collecting some info, and then we’ll restart for you. If you would like to know more, you can search online later for this error: dxgkrnl.sys."
"STOP 0x0000001E: KMODE_EXCEPTION_NOT_HANDLED – dxgkrnl.sys"
Some of the common symptoms of this error code include
- Blue screen
- System freeze
- And sudden shutdown
Solution
 Error Causes
Dxgkrnl.sys error code may be triggered due to several reasons. These include:
- Incorrectly configured or corrupted Windows 8 Consumer Preview ISO images device drivers
- Windows registry issues
- Malware infection
- Hardware conflict
- Damaged hard disk
Further Information and Manual Repair
To resolve Dxgkrnl.sys error code on your PC, here are some effective and easy DIY methods that you can try:
Method 1 - Scan and Remove Viruses
Dxgkrnl.sys error may occur due to malware and viral infection. If this is the cause, then it is advisable to download a powerful antivirus and scan your entire PC. Remove all viruses from your system to resolve the error.
Method 2 - Utilize Windows System Restore to Undo Recent System Changes
Windows System Restore is an in-built powerful tool that enables Windows Operating System users to restore previous your PC to its former state. To repair Dxgkrnl.sys error, use this tool.
It can help you avoid hours of troubleshooting headaches associated with SYS errors. To get started, simply go to the start menu, type System Restore in the search box and press Enter.
Now click on System Restore to proceed. If you are prompted for an administrator password, insert it to move to the next step. Now to bring your computer to its former state, simply choose a restore point.
To activate these changes, reboot the PC. This is most likely to resolve the issue.
Method 3 - Clean the Registry
The registry is a collection of databases. It stores much of the information and activities you perform on your system including unnecessary and obsolete files like junk files, cookies, internet history, bad and invalid registry entries.
These files accumulate in the registry and damages and corrupt the registry itself. Due to this runtime and BSoD errors are triggered.
To repair and clean the registry manually can be time consuming and technical, therefore it is advisable to download Restoro. This is a user-friendly PC Fixer embedded with a powerful registry cleaner.
The registry cleaner scans your entire PC, wipes out all bad entries, cookies and unnecessary files, cleans the registry and repairs the damaged system files in seconds.
Click here to download Restoro and resolve Dxgkrnl.sys error today!

 Well if anyone told me just a few years ago that I will see the day when Microsoft releases a new OS based on Linux I would be very amused, but that day has come. Mariner is the newest OS out of nowhere.
Microsoft’s new Linux Distro, dubbed Common Base Linux (CBL)-Mariner, isn’t the type of distro you’d want to install directly on any old machine. It’s primarily meant for cloud infrastructure and edge products. Specifically Microsoft’s Cloud and Edge products.
But if you are curious, it’s possible to run. Juan Manuel Rey, a Microsoft Senior Program Manager for Azure VMware, recently published a guide to ISO CBL-Mariner image. With that, you can easily get it up and running. And you can build CBL-Mariner on an Ubuntu 18.04 desktop. So you can try it out since it is free.
You can get it from here: https://github.com/microsoft/CBL-Mariner
It is obvious that Microsoft aims to set itself as a leader in enterprise server environments with this move and it is very likely that it may succeed or at least give a good shake to its competitors, mainly red hat and Suse which are two dominant distros in that field.
Many believe that they can win over by providing regular updates and package delivery via their already established system and that feature could be a turning point for some.
In any case, time will tell and we shall see.
Well if anyone told me just a few years ago that I will see the day when Microsoft releases a new OS based on Linux I would be very amused, but that day has come. Mariner is the newest OS out of nowhere.
Microsoft’s new Linux Distro, dubbed Common Base Linux (CBL)-Mariner, isn’t the type of distro you’d want to install directly on any old machine. It’s primarily meant for cloud infrastructure and edge products. Specifically Microsoft’s Cloud and Edge products.
But if you are curious, it’s possible to run. Juan Manuel Rey, a Microsoft Senior Program Manager for Azure VMware, recently published a guide to ISO CBL-Mariner image. With that, you can easily get it up and running. And you can build CBL-Mariner on an Ubuntu 18.04 desktop. So you can try it out since it is free.
You can get it from here: https://github.com/microsoft/CBL-Mariner
It is obvious that Microsoft aims to set itself as a leader in enterprise server environments with this move and it is very likely that it may succeed or at least give a good shake to its competitors, mainly red hat and Suse which are two dominant distros in that field.
Many believe that they can win over by providing regular updates and package delivery via their already established system and that feature could be a turning point for some.
In any case, time will tell and we shall see. 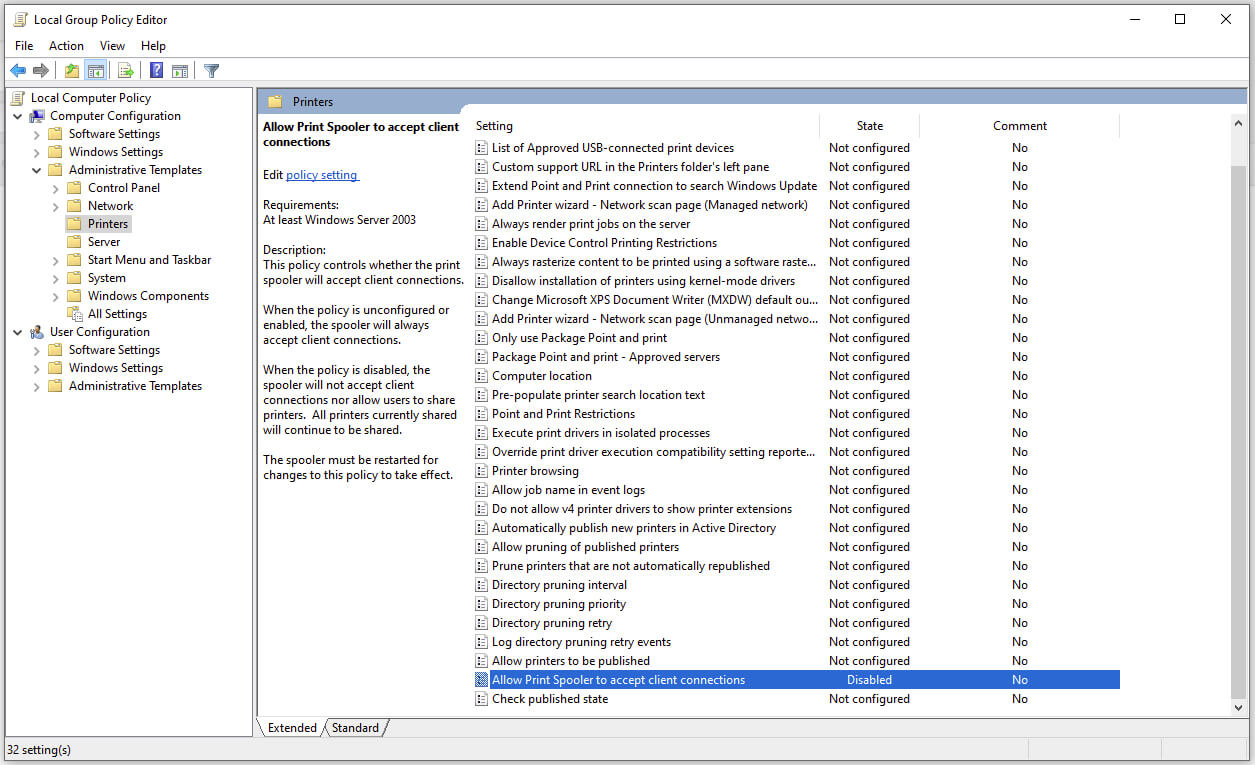 Microsoft is once again advising its customers to disable Windows print spooler after a new vulnerability that allows hackers to execute malicious code on machines has emerged. While a patch fixing the flaw will be released in due course, the most effective workaround currently on the table is to stop and disable the print spooler service entirely.
 Windows 11 comes with glass and transparency effects by default once it is installed. The transparency effect looks really good but if in any case, you do not like them, you can easily turn them off very easily
 Once run dialog is shown type in it control panel as shown in the picture and press OK
 If you have followed the steps precisely, you should be now in the control panel of Windows 10. Click on the top-right view and choose large icons. The Control panel will switch to a grid-like view, in the current view go to the far-right and almost bottom icon where it says User Accounts and click on it.
 User account settings
 Once you click on the link you will be presented with a User account control slider on the left and a brief explanation on the right
 Here in the picture, we see Windows default setting and an explanation of when and how he will notify you. If you wish to turn all notifications linked to programs changing computer or you making windows changes, click on the left slider and bring it all the way to the bottom where it says never notify me. If you prefer some notifications try to find which of the remaining 3 settings best suit your needs. Once you are done and satisfied with your choice click on OK.
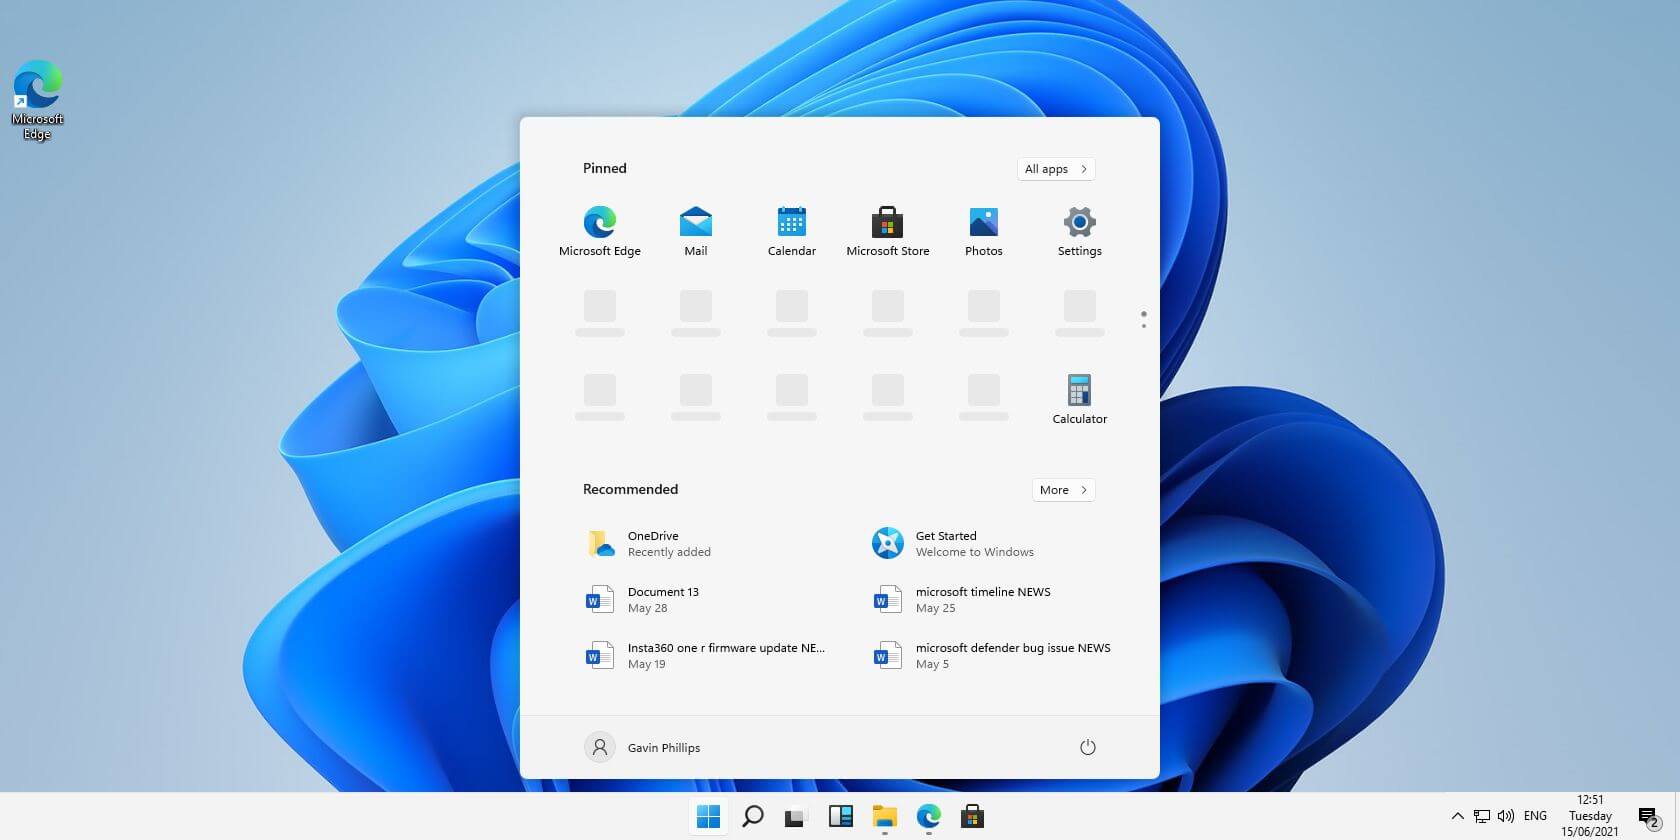
 Originally Microsoft has imagined its widgets menu as Microsoft-only widgets but it seems that they have changed their mind.
Due to the latest leak, it seems that Microsoft will open the widgets menu to 3rd party developers as well but at launch, it will be only official widgets. It was hinted that later widgets menu will be open to developers who want to bring their own stuff into it.
Distribution, date, and technology that will need to be used in order to create your widget have not been discussed nor leaked at a given time but in some way, I am very glad that at least some customization will be in Windows 11.
It is funny and amusing how some things that were in Windows Vista are getting back like glass design, round corners, and widgets. Let’s just hope Windows 11 will be a better Windows than Vista was.
Originally Microsoft has imagined its widgets menu as Microsoft-only widgets but it seems that they have changed their mind.
Due to the latest leak, it seems that Microsoft will open the widgets menu to 3rd party developers as well but at launch, it will be only official widgets. It was hinted that later widgets menu will be open to developers who want to bring their own stuff into it.
Distribution, date, and technology that will need to be used in order to create your widget have not been discussed nor leaked at a given time but in some way, I am very glad that at least some customization will be in Windows 11.
It is funny and amusing how some things that were in Windows Vista are getting back like glass design, round corners, and widgets. Let’s just hope Windows 11 will be a better Windows than Vista was.