If you have set a static IP address manually in your Windows 10 computer and you encounter an error saying, “This operation failed as no adapter is in the state permissible for this operation”, then you won’t be able to connect to any network.
Many users have reported that they were unable to connect to any network after they set their IP addresses manually and all they see is a red cross symbol on the network icon located at the left-hand side of the taskbar. And upon trying to release the IP configuration and renew the address using Command Prompt or Windows PowerShell, they are getting the error instead. Users also noted that their internet connection is fine since they were able to connect to their Wi-Fi connection on their mobile devices. However, they find it hard to connect to the internet using their PCs. To fix this issue, here are some possible fixes you can check out. Make sure to follow each one of the instructions carefully.
Option 1 – Try to run the Internet Connections troubleshooter
As you were not able to connect to your internet connection using your PC, you can try to run the Internet Connections troubleshooter as it might resolve the problem. Refer to the following steps to run this troubleshooter:
Tap the Win + I keys to open Settings.
After opening Settings, go to Update and Security.
Next, navigate to the Troubleshoot pane and select the Internet Connections section and click the Run Troubleshooter button to get started.
Wait until the troubleshooter is finished doing its job and then try connecting to your network again.
Option 2 – Try to perform Network Reset
As pointed out, the “This operation failed as no adapter is in the state permissible for this operation” error occurs due to the static IP you’ve set. Thus, to fix it, you can try to perform a Network Reset. This will reset the entire network configuration including your IP address. To perform Network Reset, follow these steps:
Tap the Win + I keys to open Settings.
From there, go to the Network and Internet section.
Next, scroll down and look for “Network Reset” under the status pane.
After that, click on Network Reset and then on Reset now to start resetting the network configuration. Once done, check if it is able to fix the error or not.
Option 3 – Try to update or rollback or uninstall the Network drivers
You might also want to update, roll back, or disable your Network drivers to fix the “This operation failed as no adapter is in the state permissible for this operation” error.
Tap the Win + R keys to launch the Run window and then type in the “MSC” command and hit Enter to open the Device Manager window.
Under the Device Manager, you will see a list of drivers. From there, look for the Network Adapters and expand it.
Then right-click on each one of the Network drivers and depending on your preference, you can either select “Update driver”, “Disable device” or “Uninstall device”.
After that, restart your PC and see if it helped in fixing the netio.sys Blue Screen error.
Option 4 – Try to reset Winsock, TCP/IP & Flush DNS
You might also want to try resetting Winsock, TCP/IP, and flushing DNS might help you resolve errors. To do so, follow these steps:
Right-click on the Start button and click on Command Prompt (administrator) so you can pull up an elevated Command Prompt.
After that, execute each one of the commands listed below. And after you typed in one after the other, you have to hit Enter.
netsh winsock reset – type in this command to reset Winsock
netsh int ip reset resettcpip.txt – type in this command to reset TCP/IP
ipconfig /flushdns – type in this command to flush the DNS cache
Next, restart your PC and check if the problem’s fixed.
Option 5 – Temporarily disable Firewall and third-party antivirus
Firewall and antivirus programs are known to block files the instant it detects a threat to the system. However, there are some cases when it can also block a file even when it’s a safe one. Thus, your antivirus or firewall programs might be the reason why you can’t download anything on your Windows 10 computer. To isolate the issue, you need to temporarily disable both the Firewall and antivirus programs and then check if you can now download anything from the internet. Do not forget to enable them again as disabling them can leave your computer vulnerable to cyber threats.
When experiencing internet connection problems, most users run the built-in troubleshooter to fix the problem. However, you might come across another problem when instead of fixing the problem, the troubleshooter throws up an error message saying, “The Windows Wireless Service is not running on this computer”. After displaying this error message, the troubleshooter would exit.
Usually, this kind of error indicates that Windows has failed to initialize the wireless service so it can start searching for broadcast signals and try to connect to them. So in this post, we have prepared some workarounds that might help you resolve the issue.
Option 1 – Try to check the WLAN Status
You have to make sure that the wireless service is enabled in your computer before you proceed to the other troubleshooting options below as this error could occur for a simple reason as the wireless capability is turned off from your PC either on some built-in settings or physically. This is why you need to make sure that Wireless is enabled. And if it turns out that it is disabled, you need to turn it back on and then reconnect to the wireless network again. You should now be able to connect to the internet without any issue.
Option 2 – Try to check the WLAN AutoConfig Service
The WLAN AutoConfig service is the one that provides the logic and functionality required to discover, connect and configure wireless networks with your PC. Aside from that, it also contains the module that allows your PC to be discoverable to other systems on a network. Thus, you need to verify if the WLAN AutoConfig service is on or not.
Tap the Win + R keys to open the Run dialog box.
And in the field, type in “services.msc” and hit Enter to open Services.
After opening the Services window, look for the entry named “WLAN AutoConfig” and then right-click on it and select Properties from the context menu.
Next, click on the Start button to turn on the service and then set the startup type as “Automatic”.
Then try to connect to your Wireless network again and check if the issue has been resolved.
Option 3 – Try to reset the Network Configurations
Resetting the Network Configurations can also help you in fixing the Windows Wireless service as the network settings often get disrupted or corrupted in a variety of different cases every now and then. Note that this module will reset all the network settings stored on your computer.
Tap the Win + S keys to open Search and then type in “command prompt” in the field.
From the search results that appear, right-click on Command Prompt and select the “Run as administrator” option.
After opening Command Prompt, copy and paste the following command and hit Enter to execute it:
netsh winsock reset
The command given will reset the Winsock data. Once it is executed, restart your PC for the changes to take effect and then check if the internet connection is now fine.
Note: Do make sure that the WiFi drivers are up to date. To do that, follow these steps:
Tap the Win + R keys to launch Run.
Type in devmgmt.msc into the box and tap Enter or click OK to open the Device Manager.
After that, a list of device drivers will be displayed. If you see a red or yellow sign that shows up against the driver, right-click on the driver’s name and select “Update Driver Software” or “Uninstall”. And if you find any “Unknown device”, you need to update it as well.
Select the “Search automatically for updated driver software” option and then follow the instructions to complete the process.
Restart your PC.
Note: You also have the option to go directly to the website of your graphics card manufacturer and check if there’s a new update – if there is, download it.
Option 4 – Perform System Restore
Recently, a lot of issues have resurfaced after users installed the latest Windows update. So the wireless service issue might also be related to it. To fix the problem, you can perform System Restore to roll back your Windows to the last time when it was working just fine. It automatically creates backups in time whenever you install a new update or periodically. Follow the steps below to perform System Restore.
Tap the Win + S keys to open Search and then type in “restore” in the field and select the topmost result.
Once you’ve opened the restore settings, click on System Restore located at the beginning of the window under the System Protection tab.
After that, a wizard will appear that will guide you through all the steps needed to restore the system. You can choose either the recommended restore point or a different one.
After you select the restore point, click Next to proceed to the next on-screen instructions.
Then select the restore point where the Windows Update was installed on your computer. If you have more than one restore point, you can just select the latest restore point and check the functionality from there. If it doesn’t work, you can just try another restore point.
Another prompt will appear and will ask you to confirm your actions. Click OK and wait for the system to be restored. Once it’s done, check if the problem’s now fixed.
If you are trying to copy or move files to and from your external storage device but you suddenly encounter the error 0x800703EE, then you’ve come to the right place as this post will guide you on how you can fix this error in your Windows 10 computer.
This kind of error when copying files may be accompanied by an error message that says, “The volume for a file has been externally altered so that the opened file is no longer valid”. This error prevents you from copying or moving the files to and from the external storage device.
This kind of issue might be caused by a service that belongs to a backup program that could be blocking the operation or a conflict with your third-party antivirus program. In addition, the error could also be due to corrupted or outdated USB drivers or it could be caused by a disabled Windows Backup and Volume Shadow copy service. It is also possible that some system files are corrupted or that the drivers for the external device are also corrupted. Whatever the cause is, here are some options you need to check out to fix the error.
Before you troubleshoot the error, you might want to try moving the files to another location on your local drive and remove the USB drive and insert it back again. After that, try to move or copy the file to the USB drive and see if it still throws an error. If it does, then you need to troubleshoot the problem further by following each one of the suggestions given below.
Option 1 – Update or reinstall the Universal Serial Bus Controller driver
Since it could be a driver issue, you can try to update or reinstall the Universal Serial Bus Controller drivers using the Device Manager. Refer to the following steps:
First, click the Start button and type “device manager”.
Then click on the “Device Manager” from the search results to open it.
From there, look for the “Universal Serial Bus controllers” option and then right-click on each one of the USB drivers and select the Update Driver from the menu.
Note: If it is a regular USB drive, then it will be listed as a USB Mass Storage Device but if you have a USB 3.0 device, then look for a USB 3.0 Extensible Host Controller.
Restart your PC and then click the “Search automatically for updated driver software” option.
Note: If updating the USB Controller drivers didn’t work, you can try to reinstall them instead.
Option 2 – Try checking the Volume Shadow Copy and Windows Backup services
The next thing you can do to fix error 0x800703EE is to check the Volume Shadow Copy and Windows Backup service.
First, tap the Win + R keys to open the Run dialog box and type “services.msc” in the field, and hit Enter to open the Services Manager.
From there, look for the Volume Shadow Copy service and right-click on it, and then select Properties.
After that, make sure that its Startup type is set to Manual and that its status is “Started” so if it isn’t, you need to click on the Start button and then on the Apply and OK buttons to save the changes made.
Once done, look for the Windows Backup Service and repeat the same process you did with the Volume Shadow Copy service.
After you complete the steps, restart your computer and see if the error is now fixed.
Option 3 – Restart your computer in a Clean Boot State
If a third party program like antivirus is the one that’s causing the problem, you can try to put your computer in a Clean Boot State to isolate the issue by following these steps:
Log onto your PC as an administrator.
Type in MSConfig in the Start Search to open the System Configuration utility.
From there, go to the General tab and click “Selective startup”.
Clear the “Load Startup items” check box and make sure that the “Load System Services” and “Use Original boot configuration” options are checked.
Next, click the Services tab and select the “Hide All Microsoft Services” check box.
Click Disable all.
Click on Apply/OK and restart your PC. (This will put your PC into a Clean Boot State. And configure Windows to use the usual startup, just simply undo the changes.)
Now try to copy the files to your external storage device again and check if the error is now gone.
Option 4 – Try to run System File Checker or SFC scan
Tap Win + R to launch Run.
Type in cmd in the field and tap Enter.
After opening Command Prompt, type in sfc /scannow and hit Enter.
Once done, restart your computer.
Option 5 – Try to delete the Filter drivers
Note that this option is only applicable if you see the error 0x800703EE accompanied with the “The volume for a file has been externally altered so that the opened file is no longer valid” error message. Before you start, create a System Restore Point first.
Open the Registry Editor and navigate to this registry path: HKEY_LOCAL_MACHINESYSTEMCurrentControlSetControlClass{4D36E965-E325-11CE-BFC1-08002BE10318}
After that, select the “{4D36E965-E325-11CE-BFC1-08002BE10318}” key and check if you can find the “Upperfilters” and “Lowerfilters” value in the right pane. If you can find them, right-click on them and select Delete.
Once done, exit the Registry Editor and restart your computer.
Have you ever come across 0x8007043c error message pop up on your PC? If yes, then you should know that this error message is generated when any corresponding process or operation cannot be completed successfully by the application.
This is a critical Windows OS Error message that should be fixed immediately.
Solution
Error Causes
The 0x8007043c error code is usually triggered by the following reasons:
Missing or corrupt registry files
Failure to update Windows Installer
Viruses and Spyware
Common signs of this error code are pop-up messages, program lock-ups, problems with opening documents, and screen freeze.
Further Information and Manual Repair
As soon as you experience this error on your PC, it is advisable to repair it immediately because this error poses high-security risks. Malwares and viruses are notorious for data theft.
To fix the 0x8007043c error on your PC, you don’t need to take on the services of an IT professional. This error code is rated as easy to repair.
By following the instruction and repair solutions given below, you can easily fix this Window error 0x8007043c in a couple of minutes by yourself.
Here’s what you need to do:
Step 1: Scan for Viruses and Spyware
To stop hackers from sneaking into your PC and stealing your confidential data, you must first scan your computer for viruses and spyware on your PC. It is advisable to use a powerful antivirus to ensure your computer is totally virus and spyware clean.
Step 2: Download and Install a Registry Cleaner
After you scan for viruses, you should now download and install a registry cleaner. This is needed because an antivirus does not detect corrupt registry entries. To detect such entries, the registry cleaner tool is the best. After you download a registry cleaner on your system, click the scan button.
You will have to wait for a few seconds for the scanning to finish. Once the scanning is complete, click on the ‘Repair’ button to fix the errors.
After fixing all the errors, restart your computer. This is important because the registry changes will only come into effect after the system restarts.
By following these 2 simple steps, you can easily resolve the 0x8007043c error on your system. However, to prevent this error from occurring again, it is recommended to run the antivirus every time you use your PC.
Brave browser has gained popularity very rapidly and many websites have gone into the territory of recommending it. Sadly although the browser kind of offered better performance, it seems that so much advertised privacy and security was a lie.
Several months ago, Brave was involved in a “scandal”. Unfortunately, this incident did not get much media attention, and it’s hard to search for and discover as of today.
There is an article on the Android police website explaining this issue in detail, you can check it here: https://www.androidpolice.com/2020/06/07/brave-browser-caught-adding-its-own-referral-codes-to-some-cryptcurrency-trading-sites/
But to sum things up and keep them short if you do not want to go through the full article, Brave had been injecting their affiliate codes into popular crypto-currency websites. This means that they had been intercepting your traffic, which they promised was secure by the way, and modifying it.
This means Brave Software has access to all of your information on those crypto-currency sites as well. They can see your payments/purchases, and your activity on the websites (through affiliate statistics).
Now some people might point out that they are not interested in crypto or have been visiting some of the sites but the issue still remains and that is they did all of this, without telling the user. They intentionally didn’t tell the user because they knew it would cause backlash and disruption. They knew one hundred percent what they were doing, and they knew it was unethical.
And the point remains if something like this was already done, who knows what will come up in the future. Personal recommendation is to avoid Brave and go back to other browsers.
Xinput1_3.dll is a type of dynamic link library. It is an essential component of Microsoft DirectX.
This is a technology that makes Windows OS compatible with programs rich in multimedia elements It helps your graphic card in creating a detailed virtual and stimulus environment.
Games and programs with high graphics and sounds require DirectX to form a consonance with Windows PC to run successfully.
The Xinput1_3.dll error occurs when games supported by DirectX are unable to run smoothly. This error is common on Windows 7. The error message is displayed in the following format:
"The file xinput1_3.dll is missing"
"File xinput1_3.dll not found"
"Xinput1_3.dll not found. Reinstalling might help fix this."
"Xinput1_3.DLL Not Found"
Solution
Error Causes
The causes of Xinput1_3.dll error include:
Damaged and Corrupt Xinput1_3.dll files
Missing Microsoft DirectX file
Viruses and malware on your system
Driver issues
Registry overloaded with invalid entries
If you come across this error, make sure you fix it timely.
It is recommended to do so because it not only stops you from accessing and playing your desired games and using high graphic applications but also can lead to system failure and crash if the underlying cause of the error is related to the registry.
Further Information and Manual Repair
To resolve this error code, here are some of the best do it yourself methods:
Restart Your PC
Sometimes due to minor concurrence, PC is unable to load the file Xinput1_3.dll from the directory. If this is the cause, then you are lucky. All you have to do to resolve it and restart your computer. Once the computer restarts, re-launch the program.
Install the Latest DirectX Version
Search for the latest versions of the DirectX utility version. Try extracting the Xinput1_3.dll files individually from the DirectX downloadable package on your PC. Once downloading is complete, try running your desired application again and see if the error code pops up or not.
Update the Graphics Card
Being an element of Microsoft DirectX, Xinput1_3.dll is directly related to the video/graphics card assimilated.
There can be a possibility of a mismatch between the Xinput1_3.dll file and graphic card drivers. If this is the case, then the best way to resolve the error is to update the graphic drivers by installing the latest version drivers of your video/graphics card.
Nonetheless, after trying all the solutions discussed above if the error still persists, then this triggers two things either the error is triggered by a viral infection that you are unaware of or the problem is related to the registry.
Install Restoro
Whichever might be the cause, in such as scenario the best quick fix to it is to download Restoro. This is an advanced, cutting edge, and multi functional PC repair that is deployed with several utilities including a registry cleaner, an antivirus, Active X controls, and class detector, and a system optimizer.
The registry cleaner utility removes all the unnecessary files from the registry that could be damaging the dll files and the registry. It clears the disk space, repairs dll files, and restores the registry back to normal.
Simultaneously the antivirus module scans your system for all possible malicious software. It removes viruses, Trojans, malware, spyware, and adware thereby resolving the Xinput1_3.dll error right away.
Total System Care is safe, bug-free, and has a user-friendly interface with easy navigation. It is compatible with all Windows versions.
Click here to download Restoro and resolve the Xinput1_3.dll error right away!
DiscoverAncestry is a Browser Extension for Google Chrome developed by Mindspark Inc that presents itself as a web tool to discover the origins or meanings of particular family names.
When installed this extension changes your default new tab page to search by MyWay, as well as your default search engine to Search.MyWay.com
While active, DiscoverAncestry logs user browsing information, recording clicked links, visited websites and viewed products. This information is later used to better target personal ads. Browsing the internet with this extension active will result in injection of additional ads, sponsored content and even pop-up ads throughout the browsing sessions.
DiscoverAncestry is usually found bundled with other potentially unwanted software, this combined alongside its aggressive ad injection is why DiscoverAncestry has been marked as a Browser Hijacker, and it is recommended to remove it from your computer.
About Browser Hijackers
Browser hijacking is regarded as the web’s constant risks that target web browsers. It’s a type of malware program that redirects web browser requests to other suspicious websites. Basically, most browser hijackers are made for advertising or marketing purposes. It redirects you to the sponsored websites and inserts adverts on your internet browser which helps its developer generate income. It might seem naive, but the majority of such websites aren’t legitimate and can pose a significant risk to your on-line safety. In a much worst case, your internet browser could be hi-jacked to download malware that will do a lot of damage to your computer.
Browser hijacking signs and symptoms
There are several symptoms that could indicate a browser hijacking:
1. your homepage is reset to some unknown site2. bookmark and the new tab are also changed3. default online search engine is modified4. you’re getting browser toolbars you haven’t witnessed before5. you will find random pop-ups start showing regularly6. your internet browser has instability issues or exhibits frequent errors7. you are blocked to access the websites of antivirus solution providers.
How does a computer get infected with a browser hijacker?
Browser hijackers can get into a computer by some means or other, for instance via file sharing, downloads, and email also. Many web browser hijackings originate from add-on applications, i.e., toolbars, browser helper objects (BHO), or extensions added to web browsers to give them extra features. A browser hijacker may also come bundled-up with some free application that you inadvertently download and install, compromising your PC security. Common examples of browser hijackers include CoolWebSearch, Conduit, Coupon Server, OneWebSearch, RocketTab, Snap.do, Delta Search, and Searchult.com.
Browser hijackers may record user keystrokes to gather potentially valuable information leading to privacy issues, cause instability on systems, drastically disrupt user’s browsing experience, and eventually slow down the computer to a stage where it becomes unusable.
Removal
Some browser hijacking can be simply reversed by discovering and eliminating the corresponding malware software through your control panel. However, many hijackers are really tenacious and need specialized applications to remove them. Also, manual removals demand deep system understanding and thus can be quite a difficult task for novices.
Professionals always suggest users eliminate any malicious software including browser hijackers by using an automatic malware removal tool, which is easier, safer, and faster than the manual removal procedure. To remove any kind of browser hijacker from your laptop or computer, you should download the following certified malware removal tool – SafeBytes Anti-Malware. Along with anti-virus software, a system optimizer tool, similar to Total System Care, will help you repair Windows registry errors, get rid of unwanted toolbars, secure your online privacy, and stabilize programs installed on your computer.
Learn How to Get rid of Malware that is Blocking Websites or Preventing Downloads
Viruses may cause a lot of damage to your computer. Some malware sits in between your PC and the internet connection and blocks some or all internet sites that you really want to visit. It will also prevent you from adding anything to your PC, particularly antivirus applications. If you’re reading this article, you probably have affected by a virus that prevents you from downloading a security program like Safebytes Antimalware on your PC. There are some actions you can take to circumvent this issue.
Install anti-malware in Safe Mode with Networking
In the event the malware is set to run at Windows start-up, then booting in safe mode should avoid it. Just bare minimum required programs and services are loaded when you boot your PC in Safe Mode. Here are the steps you need to follow to start into the Safe Mode of your Windows XP, Vista, or 7 computers (check out the Microsoft website for instructions on Windows 8 and 10 computers).
1) At power on, press the F8 key while the Windows splash screen begins to load. This should bring up the Advanced Boot Options menu.2) Choose Safe Mode with Networking using arrow keys and hit Enter.3) Once you get into this mode, you will have an internet connection again. Now, obtain the malware removal program you need by utilizing the web browser. To install the program, follow the directions within the setup wizard.4) Right after installation, do a complete scan and allow the software eliminate the threats it finds.
Utilize an alternate browser to download antivirus software
Some malware only targets certain browsers. If this sounds like your situation, utilize another internet browser as it can circumvent the malware. The ideal way to avoid this problem is to opt for a internet browser that is known for their security features. Firefox contains built-in Phishing and Malware Protection to keep you safe online.
Create a portable USB antivirus for removing viruses
Another method is to download and transfer an anti-malware application from a clean PC to run a virus scan on the infected computer. To run antivirus using a USB drive, follow these simple measures:
1) Make use of another virus-free computer system to download Safebytes Anti-Malware.2) Plug the USB drive into the clean computer.3) Double-click the executable file to open the installation wizard.4) When asked, choose the location of the USB drive as the place where you want to store the software files. Follow the on-screen instructions to finish the installation.5) Transfer the flash drive from the clean computer to the infected computer.6) Double-click the anti-malware software EXE file on the pen drive.7) Run Full System Scan to identify and clean-up up all sorts of malware.
SafeBytes Anti-Malware: Lightweight Malware Protection for Windows Computer
If you are looking to purchase anti-malware for your desktop, there are numerous brands and packages for you to consider. A few are well worth your money, but most aren’t. When looking for an antivirus tool, select one which provides dependable, efficient, and comprehensive protection against all known computer viruses and malware. On the list of highly recommended applications by industry leaders is SafeBytes Anti-Malware, well-known security software for Windows computers.
SafeBytes is a powerful, real-time anti-spyware application that is made to assist everyday computer users in safeguarding their computers from malicious threats. Once you’ve got installed this software, SafeBytes advanced protection system will make sure that absolutely no viruses or malicious software can seep through your PC.
There are lots of amazing features you’ll get with this security product. The following are some typical features present in this software program:
Active Protection: Malware programs aiming to get into the system are discovered and stopped as and when detected by the SafeBytes real-time protection shields. This utility will always keep track of your computer for any suspicious activity and updates itself continuously to keep current with the latest threats.
World-class AntiMalware Protection: Built upon a highly acclaimed antivirus engine, this malware removal tool can find and get rid of various obstinate malware threats such as browser hijackers, PUPs, and ransomware that other typical anti-virus applications will miss.
Fast Multi-threaded Scanning: SafeBytes’s virus scan engine is one of the fastest and most efficient within the industry. It's targeted scanning tremendously increases the catch rate for viruses which is embedded in various computer files.
Web Protection:SafeBytes provides instant safety rating about the webpages you’re about to visit, automatically blocking dangerous sites and to make sure that you’re certain of your online safety while browsing the net.
Lightweight Utility: This software is lightweight and will work silently in the background, and will not impact your PC efficiency.
24/7 Customer Service: You can obtain totally free 24/7 technical support from their IT experts on any product queries or computer security issues.
SafeBytes has created a wonderful anti-malware solution to help you conquer the latest computer threats and virus attacks. Now you may realize that this particular software does more than just scan and eliminate threats from your computer. So if you are searching for the best anti-malware subscription for your Windows-based computer, we strongly recommend SafeBytes Anti-Malware software.
Technical Details and Manual Removal (Advanced Users)
If you don’t want to use an automated tool and prefer to eliminate DiscoverAncestry manually, you might do so by going to the Windows Add/Remove Programs menu in the control panel and deleting the offending software; in cases of web browser plug-ins, you can remove it by visiting the browsers Add-on/Extension manager. You might even want to reset your web browser settings, and also delete temporary files, browsing history, and cookies.
To ensure complete removal, manually check your hard disk and registry for all of the following and remove or reset the values accordingly. Please remember that this is for skilled users only and may be challenging, with wrong file removal leading to additional system errors. Furthermore, certain malware keeps replicating which makes it tough to eliminate. You are suggested to do this process in Windows Safe Mode.
Open Source Software is developed, tested, or improved through public collaboration and distributed with the idea that the must be shared with others, ensuring an open future collaboration. In other words, it is free software developed and maintained by public contribution. Many open-source projects have reached performance and usability like their paid alternatives, some have even surpassed them. Here we will explore open source alternatives to paid applications, you will find alternatives to paid ones that aim to do the same task.
LINUX - alternative to Windows or macOS
When it comes to the operating system, Windows and macOS mostly dominate the home market, but if you go a little deeper into the OS world you will hear this talk about LINUX and its distributions. LINUX is an open-source operating system, it has many various distributions aimed at different types of users and they are also open source as well. Its security and account privileges, as well as complete control over it, make it one of the best-operating systems in the world, many servers that run websites today use LINUX as their choice of operating system mostly due to its superior security features. If LINUX is good enough for big web companies, I am sure it will be at least satisfactory to you as well. Get your LINUX distribution here.
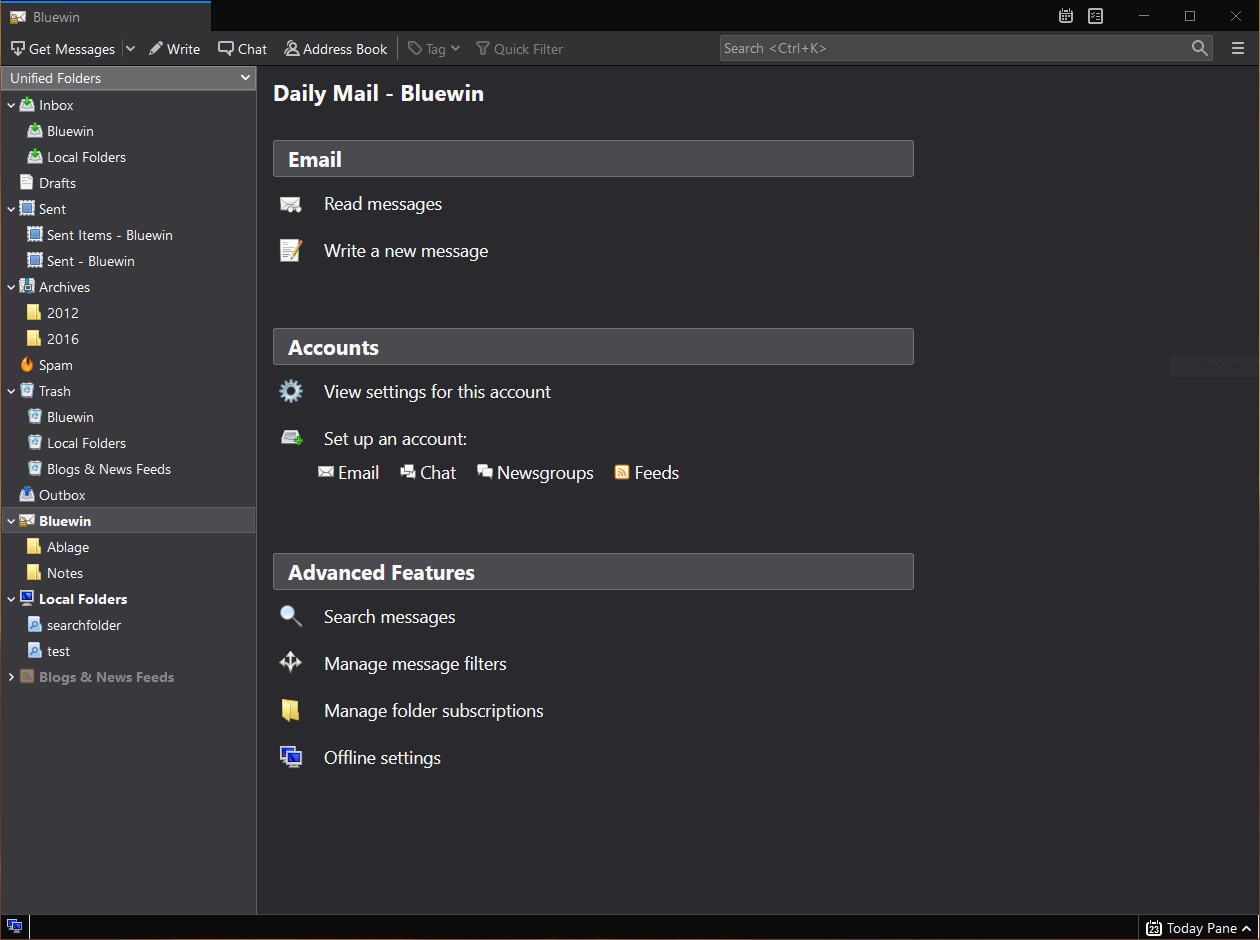
Thunderbird - alternative to outlook
A great alternative to any mail client actually, connect all of your emails into thunderbird and use it as the centralized email client for all of your email needs. Thunderbird does not lack any features that its paid counterparts have and overall it is a great application worth installing. Grab it from here.
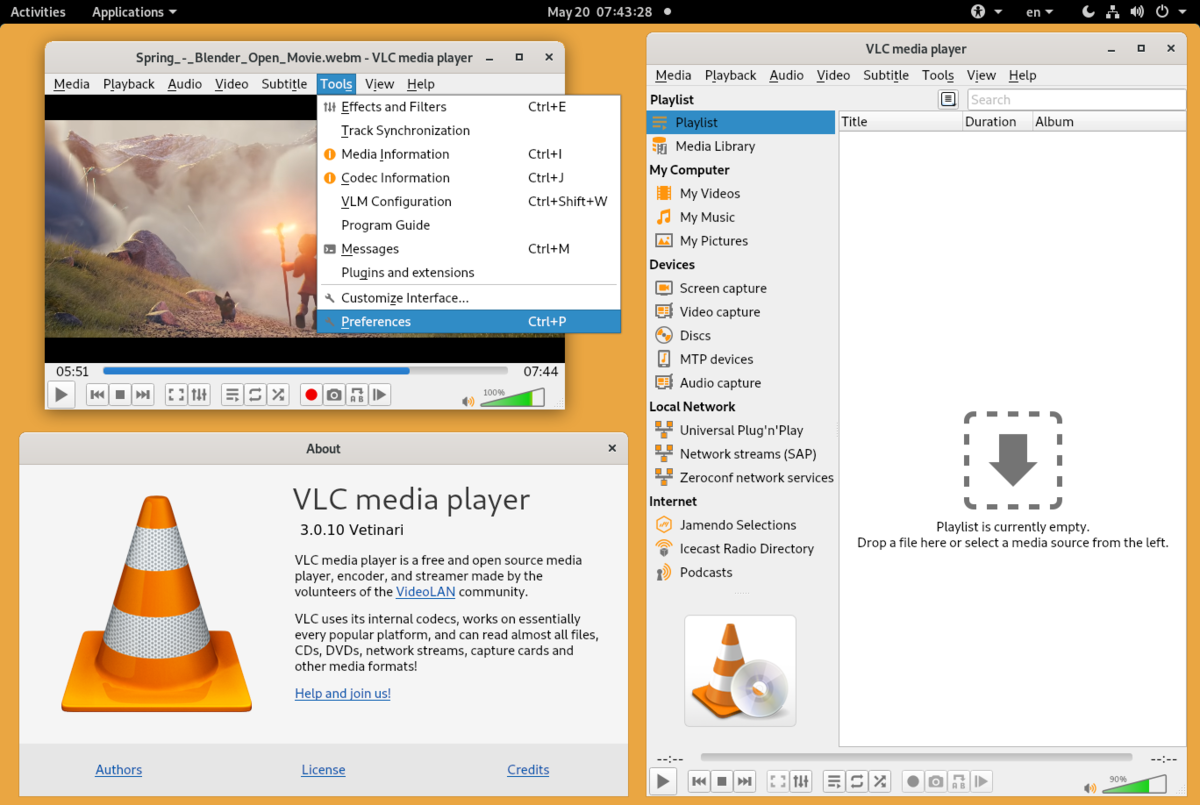
VLC media player - media player able to play almost anything
Are you looking for a great media player alternative to Windows media player or iTunes? Look no further, VLC is a lightweight media player that can play almost any file type, it is customizable and packed with features even its paid counterparts would envy. Its playback features are unmatched by other applications and once you try it, I am sure you will hardly go back from it. Give it a go and grab it from here.
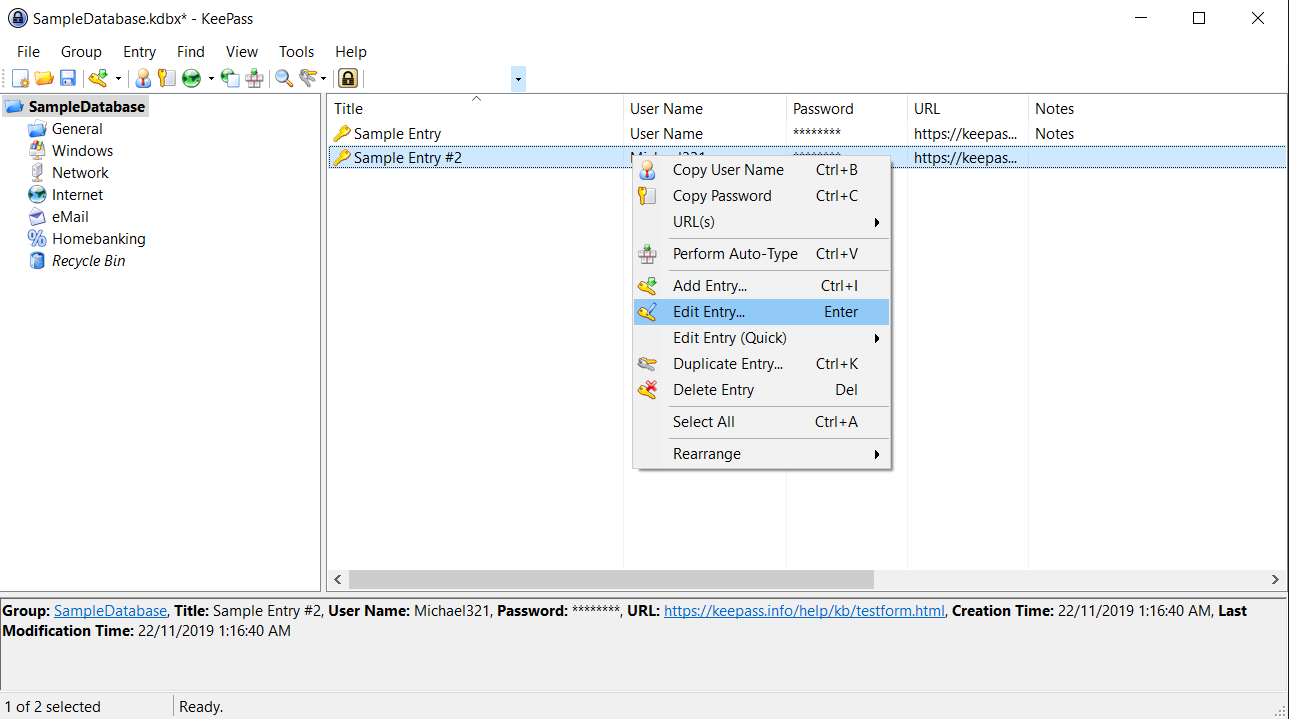
KeePass - password manager
Keepass is a simple, user-friendly lightweight password generator and manager, it uses industry-standard AES encryption and two-factor authentication to keep the details of your accounts safe and secure. you can store him and the database on a USB stick for safekeeping making it a great one to use on a go, wherever you need it. Get it from this link.
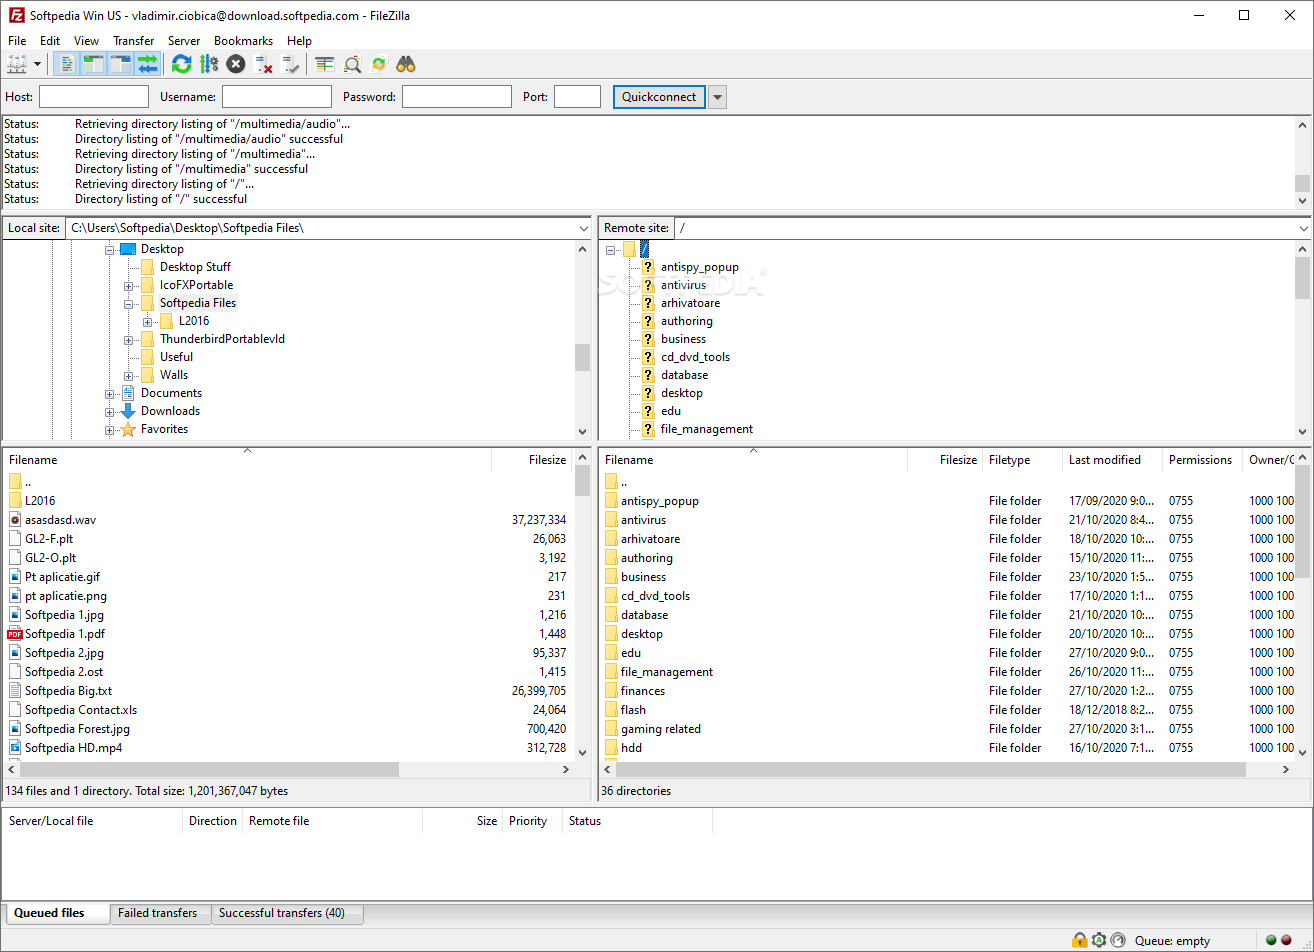
FileZilla - FTP client
A lightweight and future-rich FTP solution. It supports remote file editing and resuming of lost transfers, overall great application which anyone who needs this type of software should not overlook. Download it from its official website.
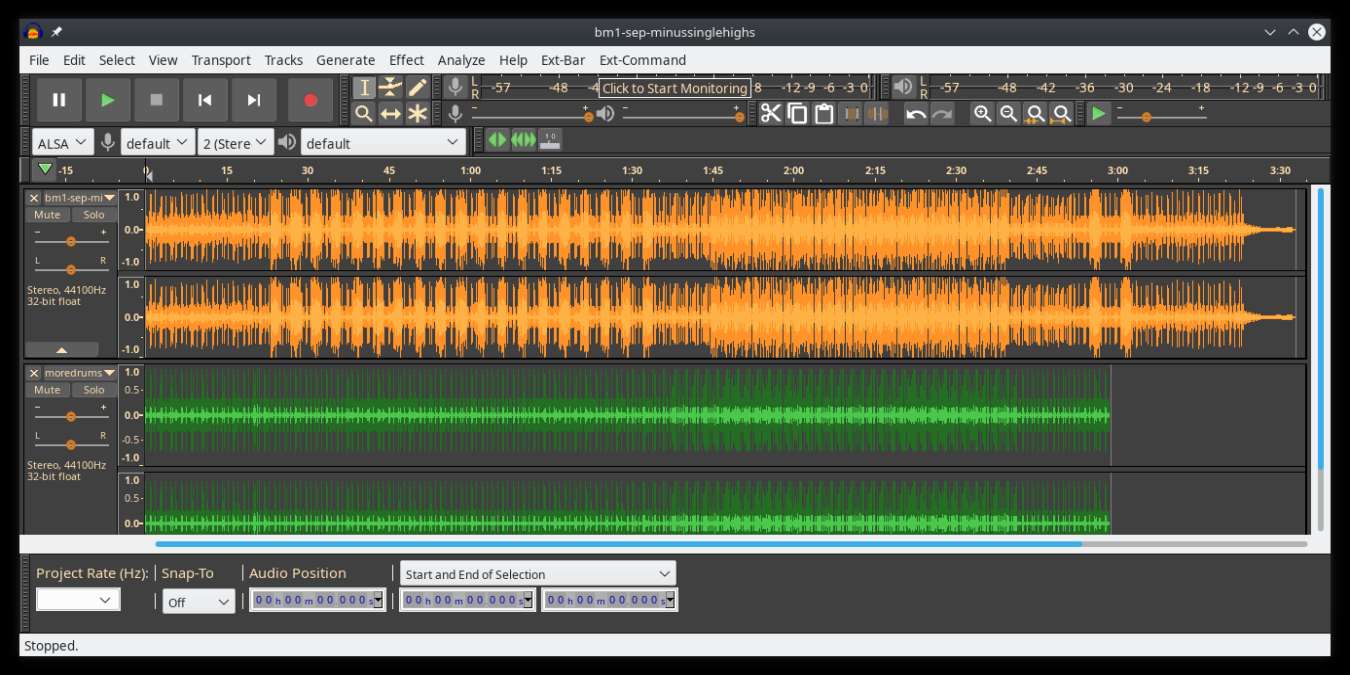
Audacity - alternative to Audition, Fl, apple logic pro,...
Digital audio editor and recording computer software with some great features like recording audio from multiple sources, post-processing of all types of audio, including podcasts by adding effects such as normalization, trimming, and fading in and out. Audacity has a great following and it is well documented, easy to learn and use. Grab it from here.
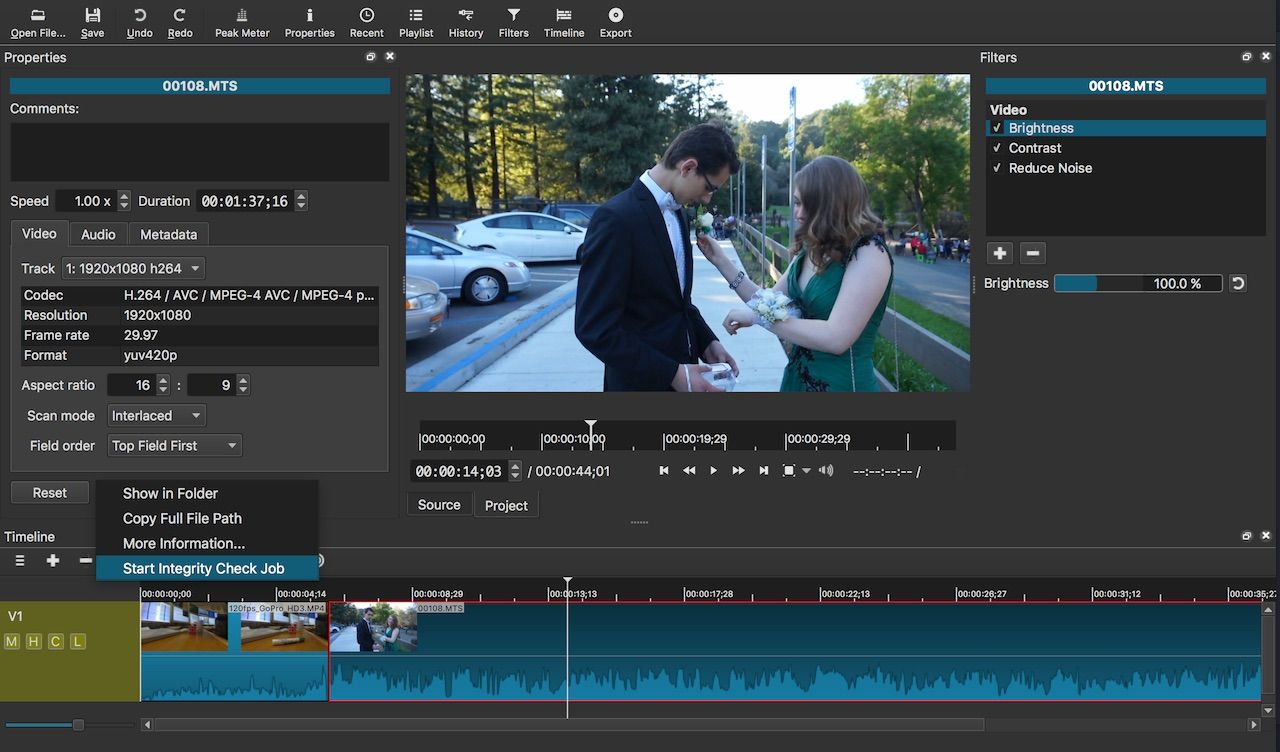
Shortcut - alternative to adobe premiere, avid media composer, DaVinci resolve
The shortcut is a video editor application that demonstrates how long an open-source project can go if enough dedication and work are put into it, started as not so great and not so feature-packed in beginning, today it can easily contend with its paid counterparts with its non-destructive editing, color gradation, keyframing, etc. It is running and using FFmpeg, an open-source video framework that lets it open and works with virtually any video or audio format. Download it from here.
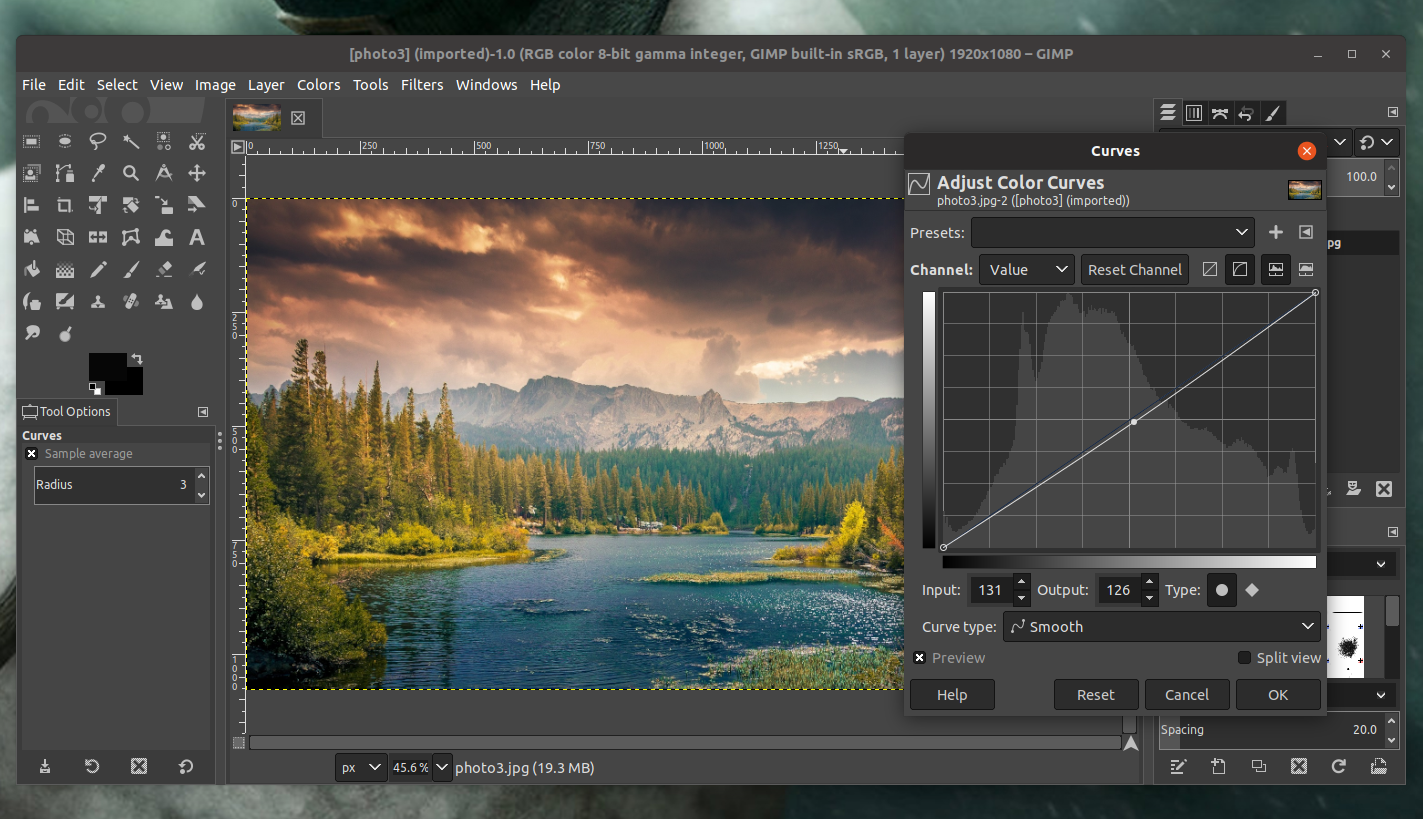
Gimp - alternative to adobe photoshop
This one has been around since 1996 and it is one of the best maintained open source applications. With its features like built-in support for layers, filters, and automatic photo enhancement. It also makes it easy to create new graphic design elements and you can really take things to the next level by downloading plug-ins created by the broader GIMP open source community. Gimp is the best pixel manipulation-free tool on the market and with the right skills, it can go side by side with adobe's flagship product. Check it out here.
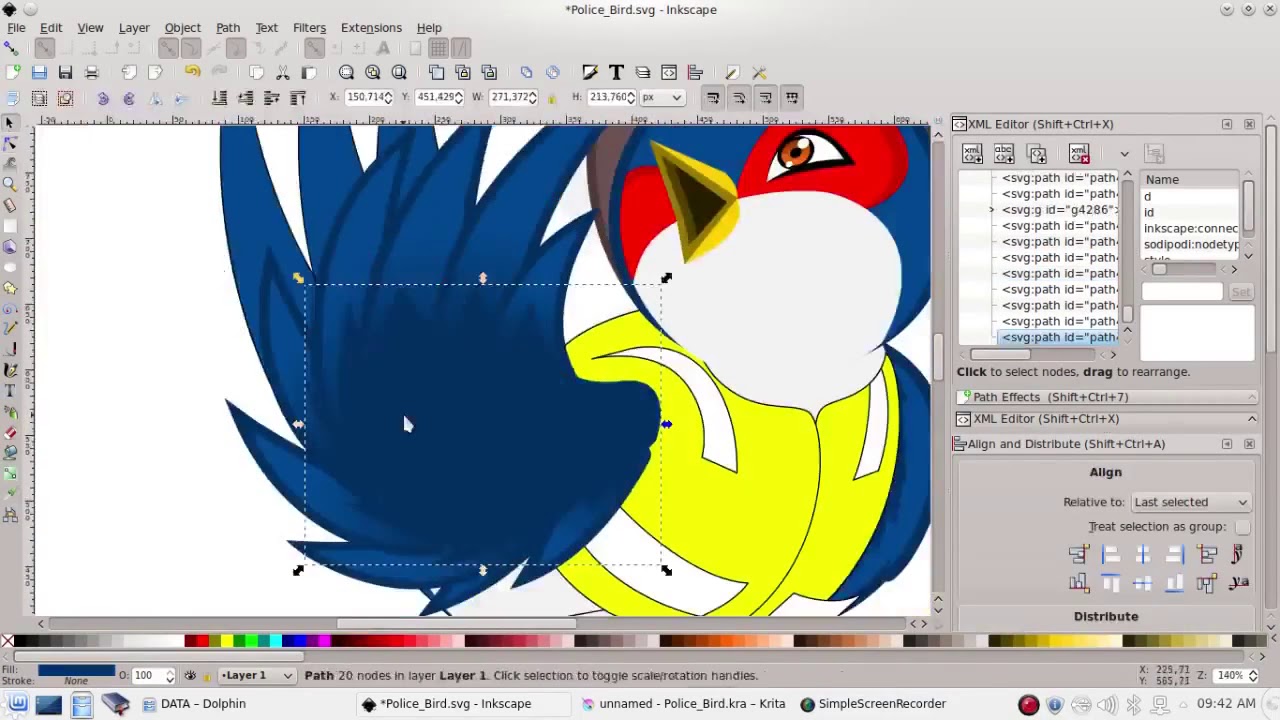
Inkscape - alternative to adobe illustrator, Corel draw
What is Gimp for photoshop that is Inkscape for illustrator. This free open-source vector graphic tool does not fall behind with its tools in comparison to its paid counterparts and I would highly recommend it for anyone. Features like alpha blending, cloning on-point path manipulations can assure that you can create anything you want inside it. get your copy from here.
Libre office - alternative to MS office
Libre office is one of the most quality office suite there, it has spreadsheets, word processor, presentation app, calculation applications, database application, and diagrams. All these applications create and make one great suite that can open Microsoft Office files and even work with them naturally. Completely free and active in development there is no reason, not t use it in your daily routine. Go to its official website and download it for a test run.
Amarok - alternative to iTunes
Amarok is an audio player with a broad range of features like integration with multiple Web audio services, dynamic playlists, bookmarks, scripting, context view, and more. get it from here.
PDF Creator - alternative to adobe acrobat
As its paid counterpart PDF Creator lets you make PDF files from any application that could print. It works the same way as adobe acrobat and supports encryption and digital signature, it lacks in PDF forms a little but if that is not something that you need, it is a great alternative to acrobat and completely free. Download it from here.
Blender - Alternative to Autodesk Maya, Autodesk 3dmax, foundry Modo, cinema4d,...
3D modeling and animation software is very expensive. From the point of home user long it has been lost dream to have industry quality 3D modeling, animation, and rendering application for an affordable price. Blender has made that dream a possibility, completely free and open-source this package offers everything that its paid counterparts offer, some could even argue that since its open-source nature and availability of full code it offers even more. Why you are still here? Go get it here.
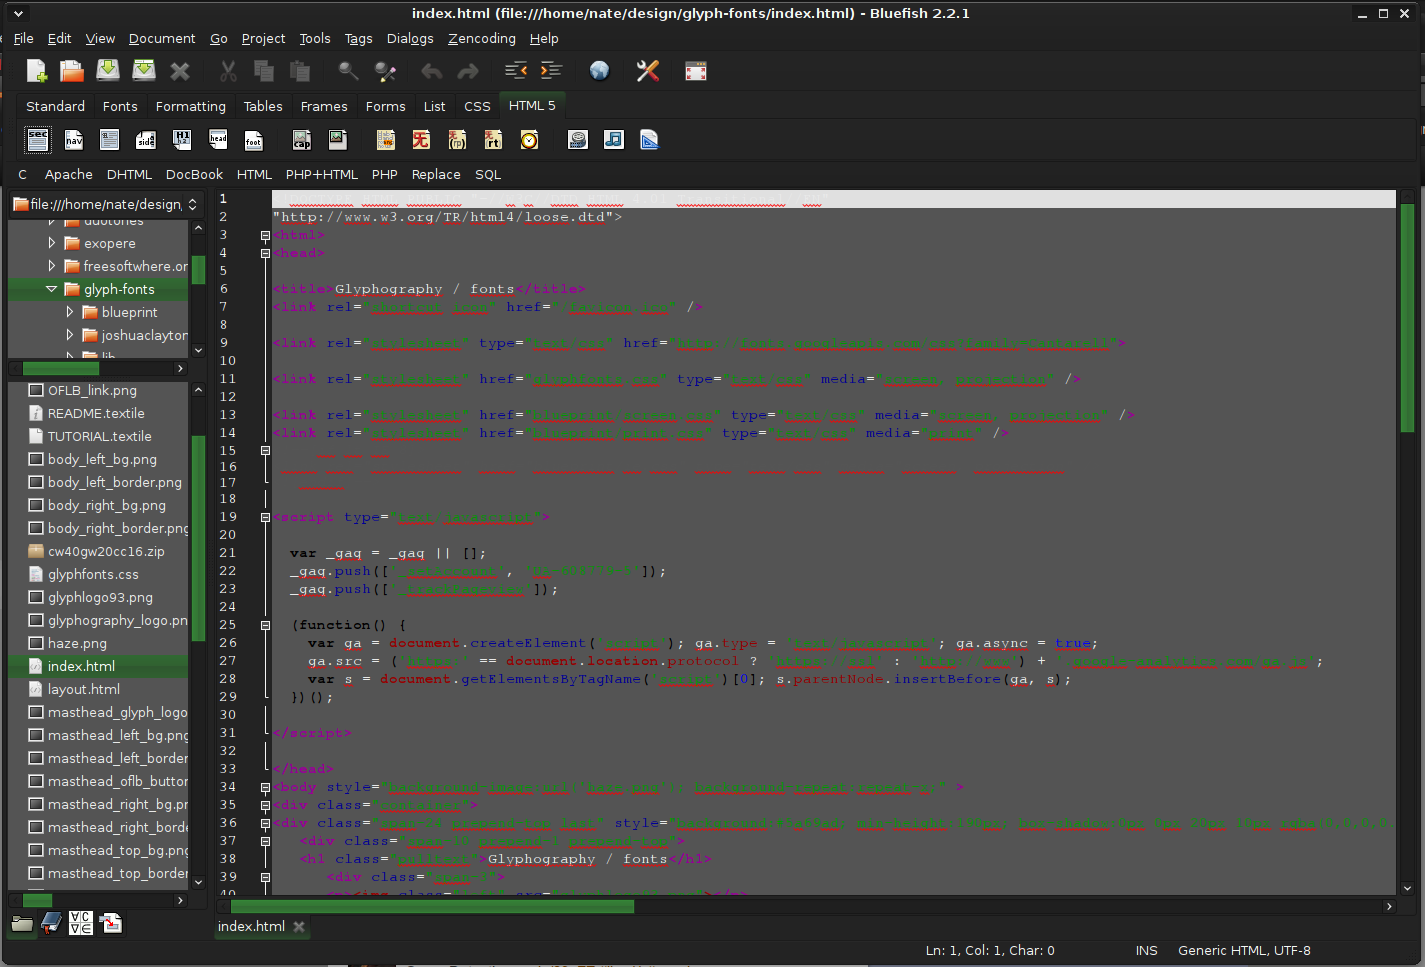
Bluefish - alternative to Adobe Dreamweaver
When it comes to web editing and code editing applications, notepad ++ seems like a person go-to application, but if you prefer a more professional suited IDE for web development check out Bluefish, auto-filling, code syntax, and constant development make sure that this application will not go away soon and it is worth investing your time in it. Get it from here.
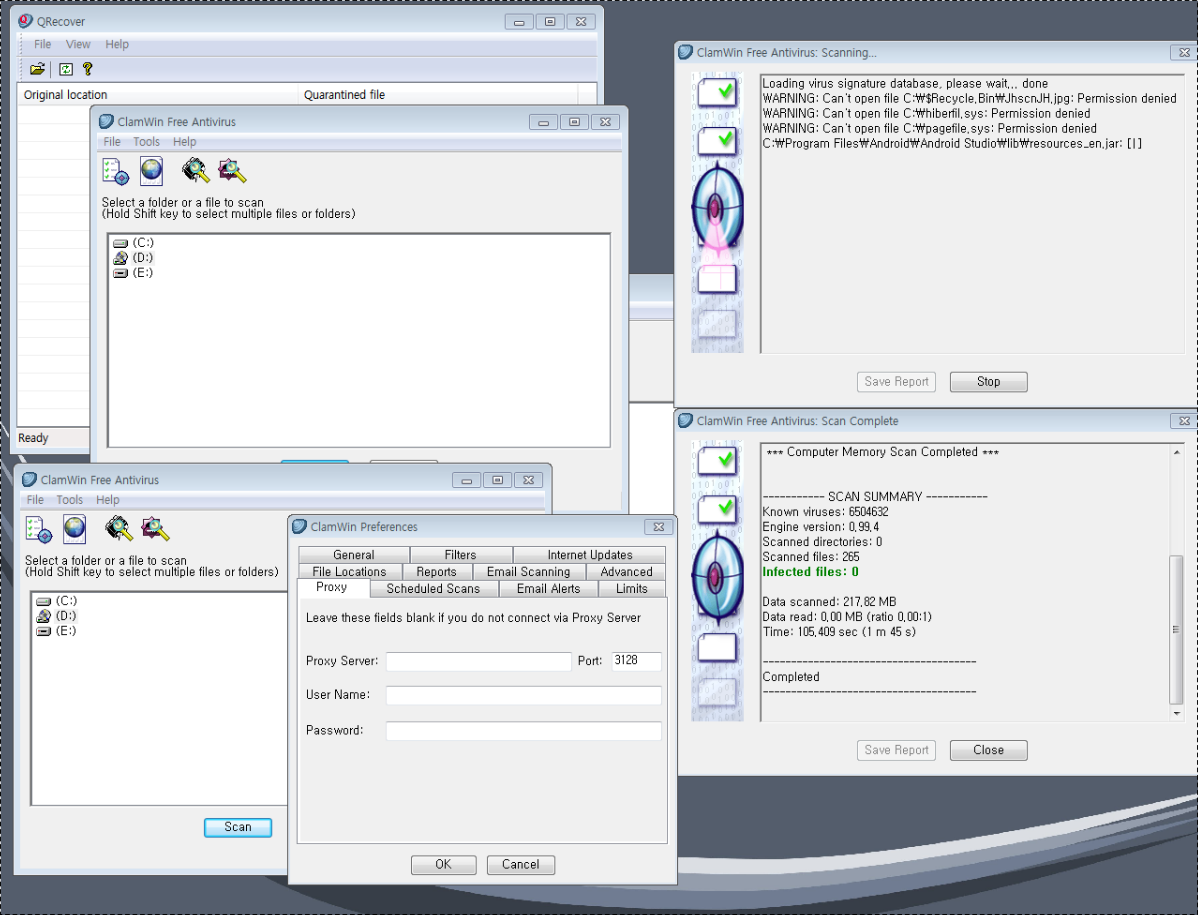
ClamWin - alternative to Kaspersky, BItdefender, Norton
This antivirus has over 600000 users and active database updates also feature a full email scanner, scanning scheduler, and File Explorer integration. It is far better than other freeware alternatives and if you are looking for a free antivirus option look no further, ClamWin is here to stay. Grab it from here.
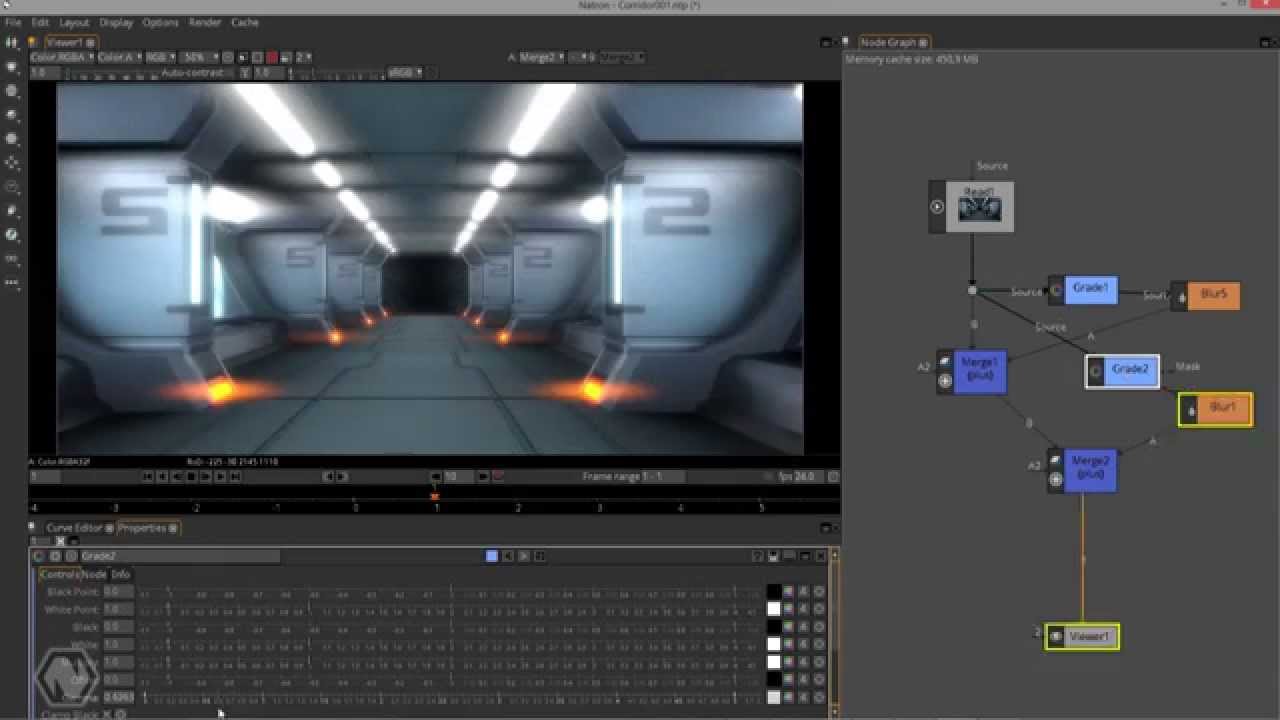
Natron - alternative to adobe aftereffects, foundry nuke
Full-featured node-based composition and effects suite. Natron is a powerful Digital Compositor that can handle all of your 2D/2.5D needs. Its robust OIIO file formats and OpenFX architecture is what makes Natron the most flexible open-source compositor for the visual effects community. Its interface and functionally are the same across all platforms such as macOS, Linux, and Windows. Natron has a powerful keying, roto/roto paint, 2D tracking tools that are staple for all current film production project that requires visual effects. Get natron from here.
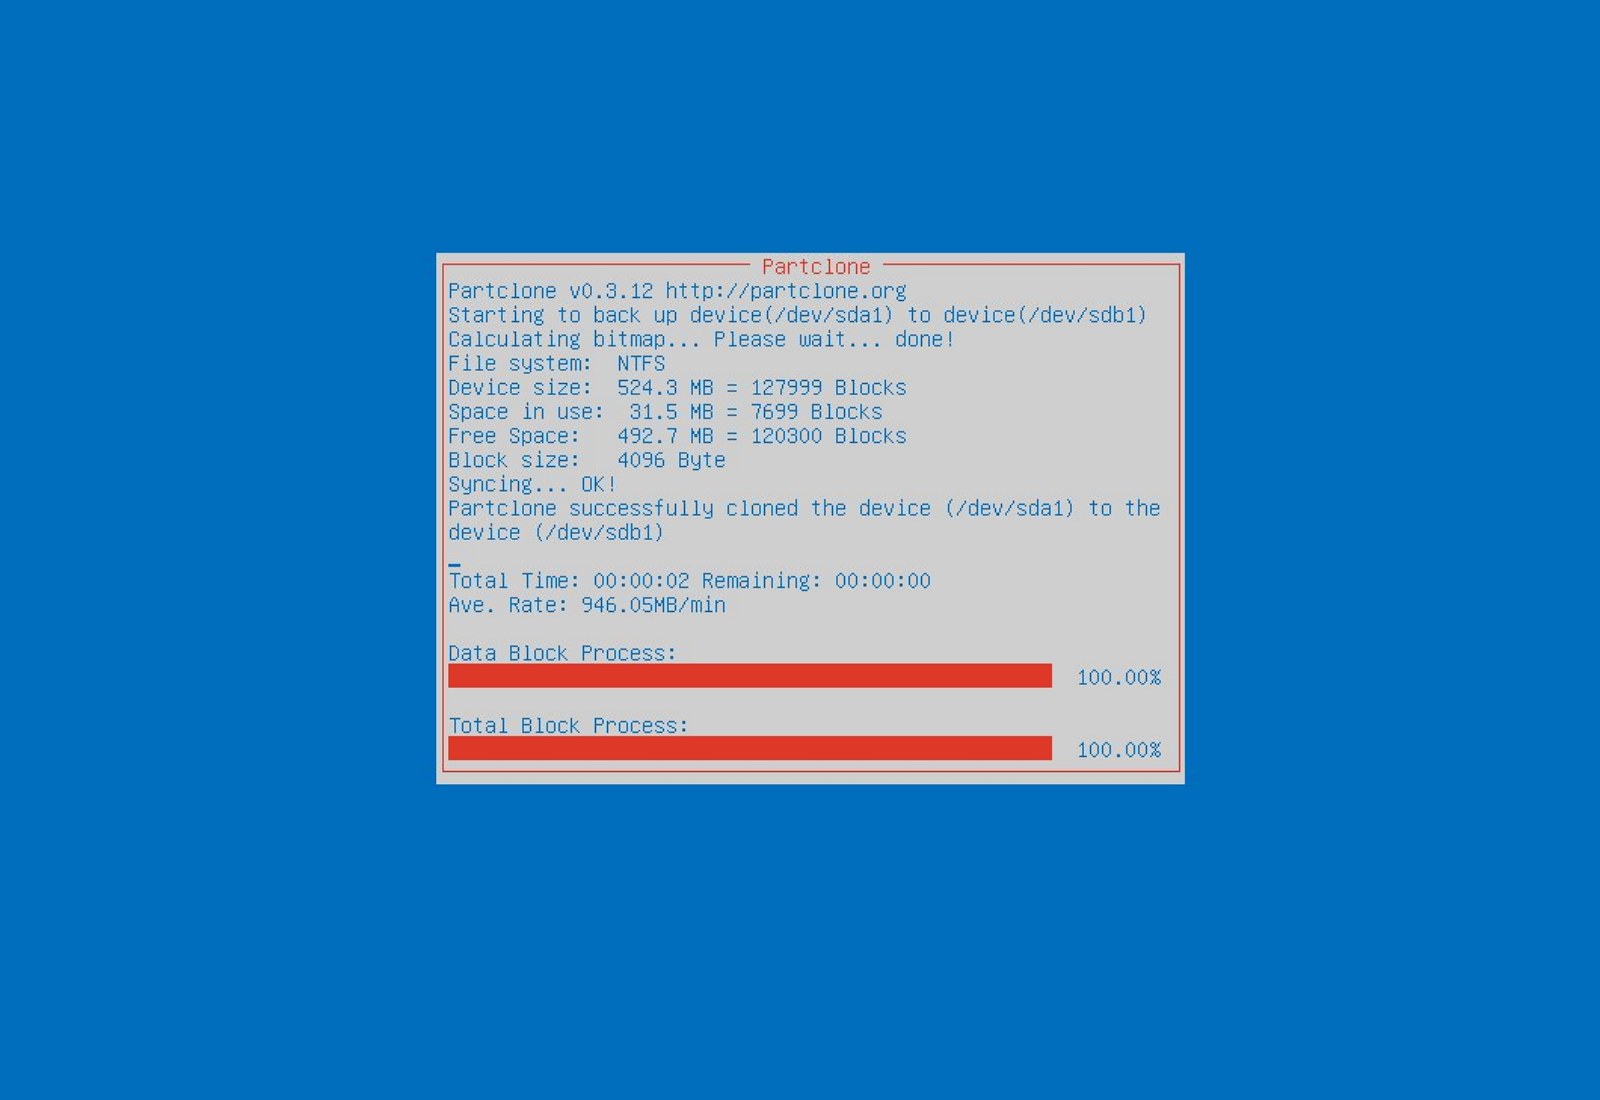
Clonezilla - alternative to Norton Ghost
When it comes to cloning hard drives usually there is only one application, Norton ghost. Clonezilla tends to change that by offering the same usability as the ghost. Grab your copy from here.
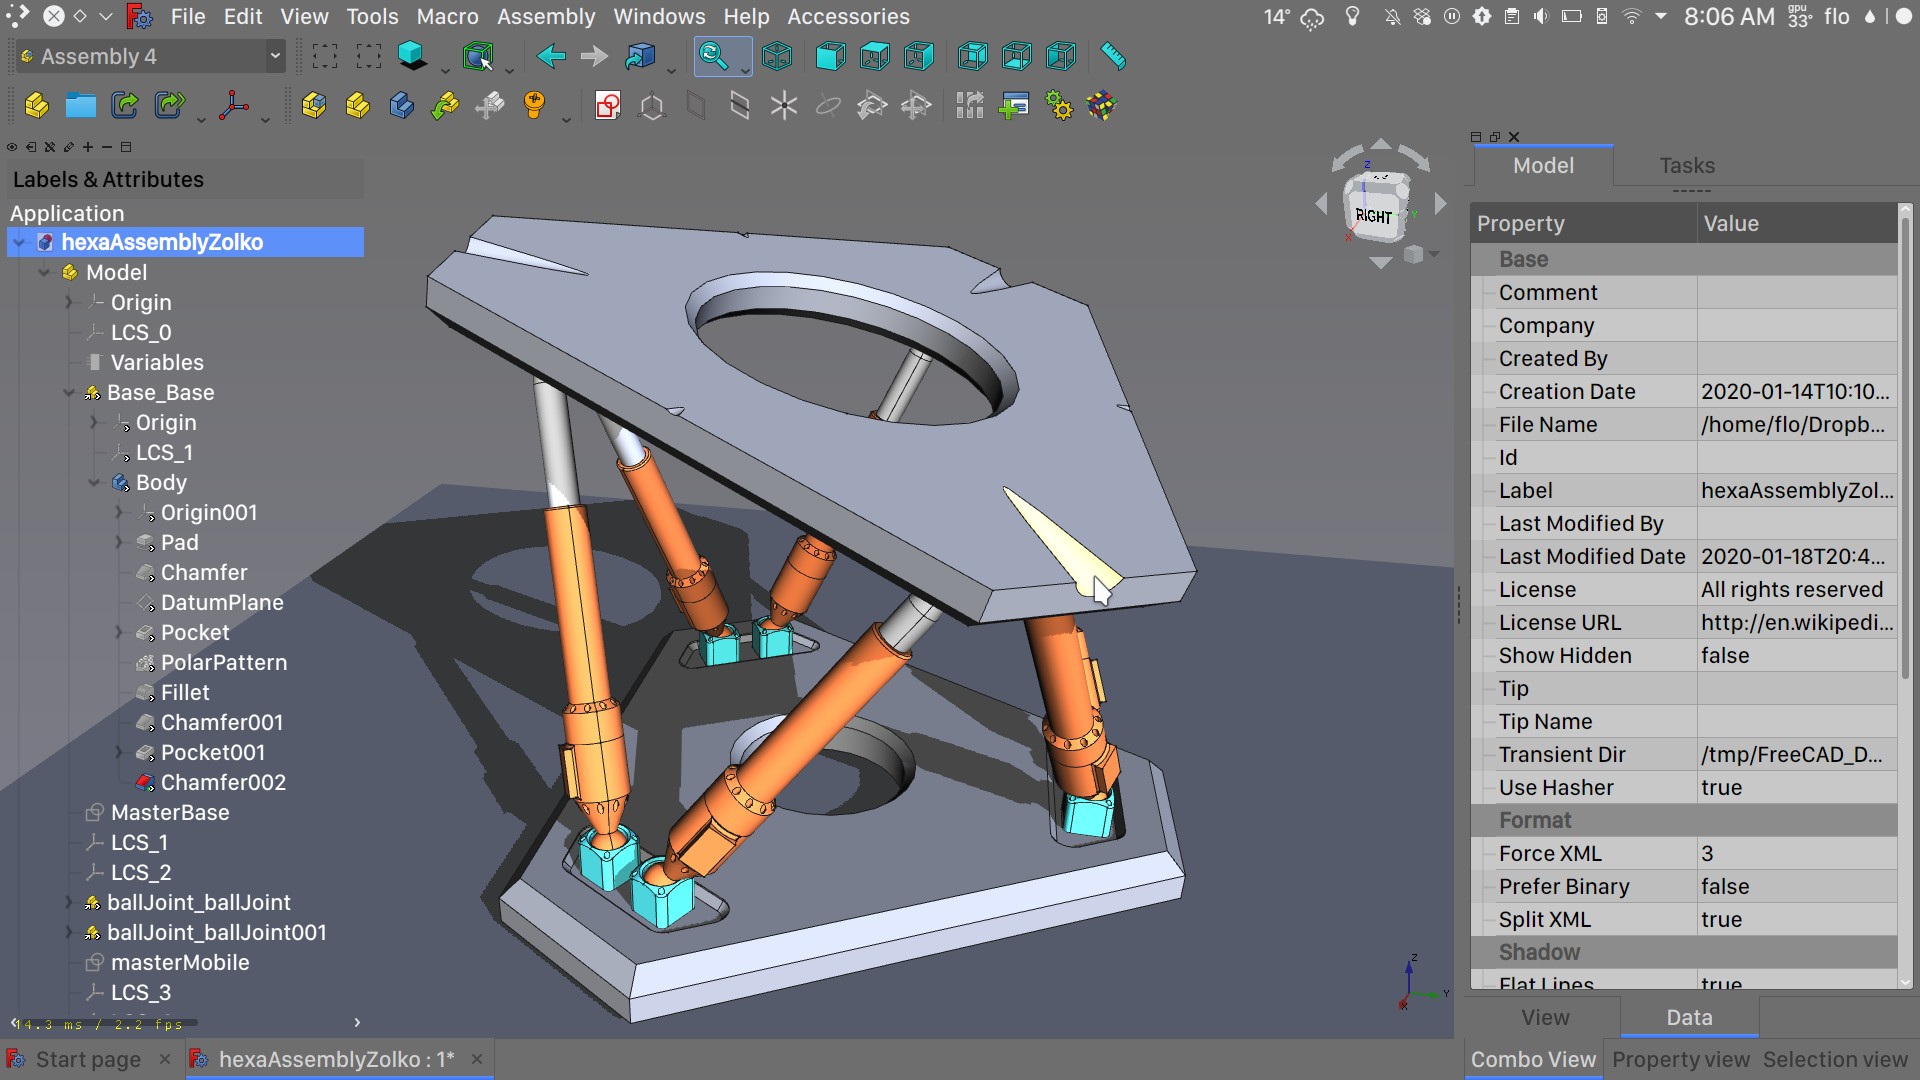
FreeCAD - alternative to Autodesk AutoCAD
Autodesk AutoCAD has years of development and dedication of its team behind it to keep it as the best CAD application on the market and it shows. However, if you are not really a hardcore professional who needs all of AutoCAD features and can live without some automation inside it FreeCAD is one of the best free open source options, it will certainly get the job done and with its dynamic simulation and analysis, it is guaranteed that you can achieve same results as in AutoCAD with little more time investment. Get if here.
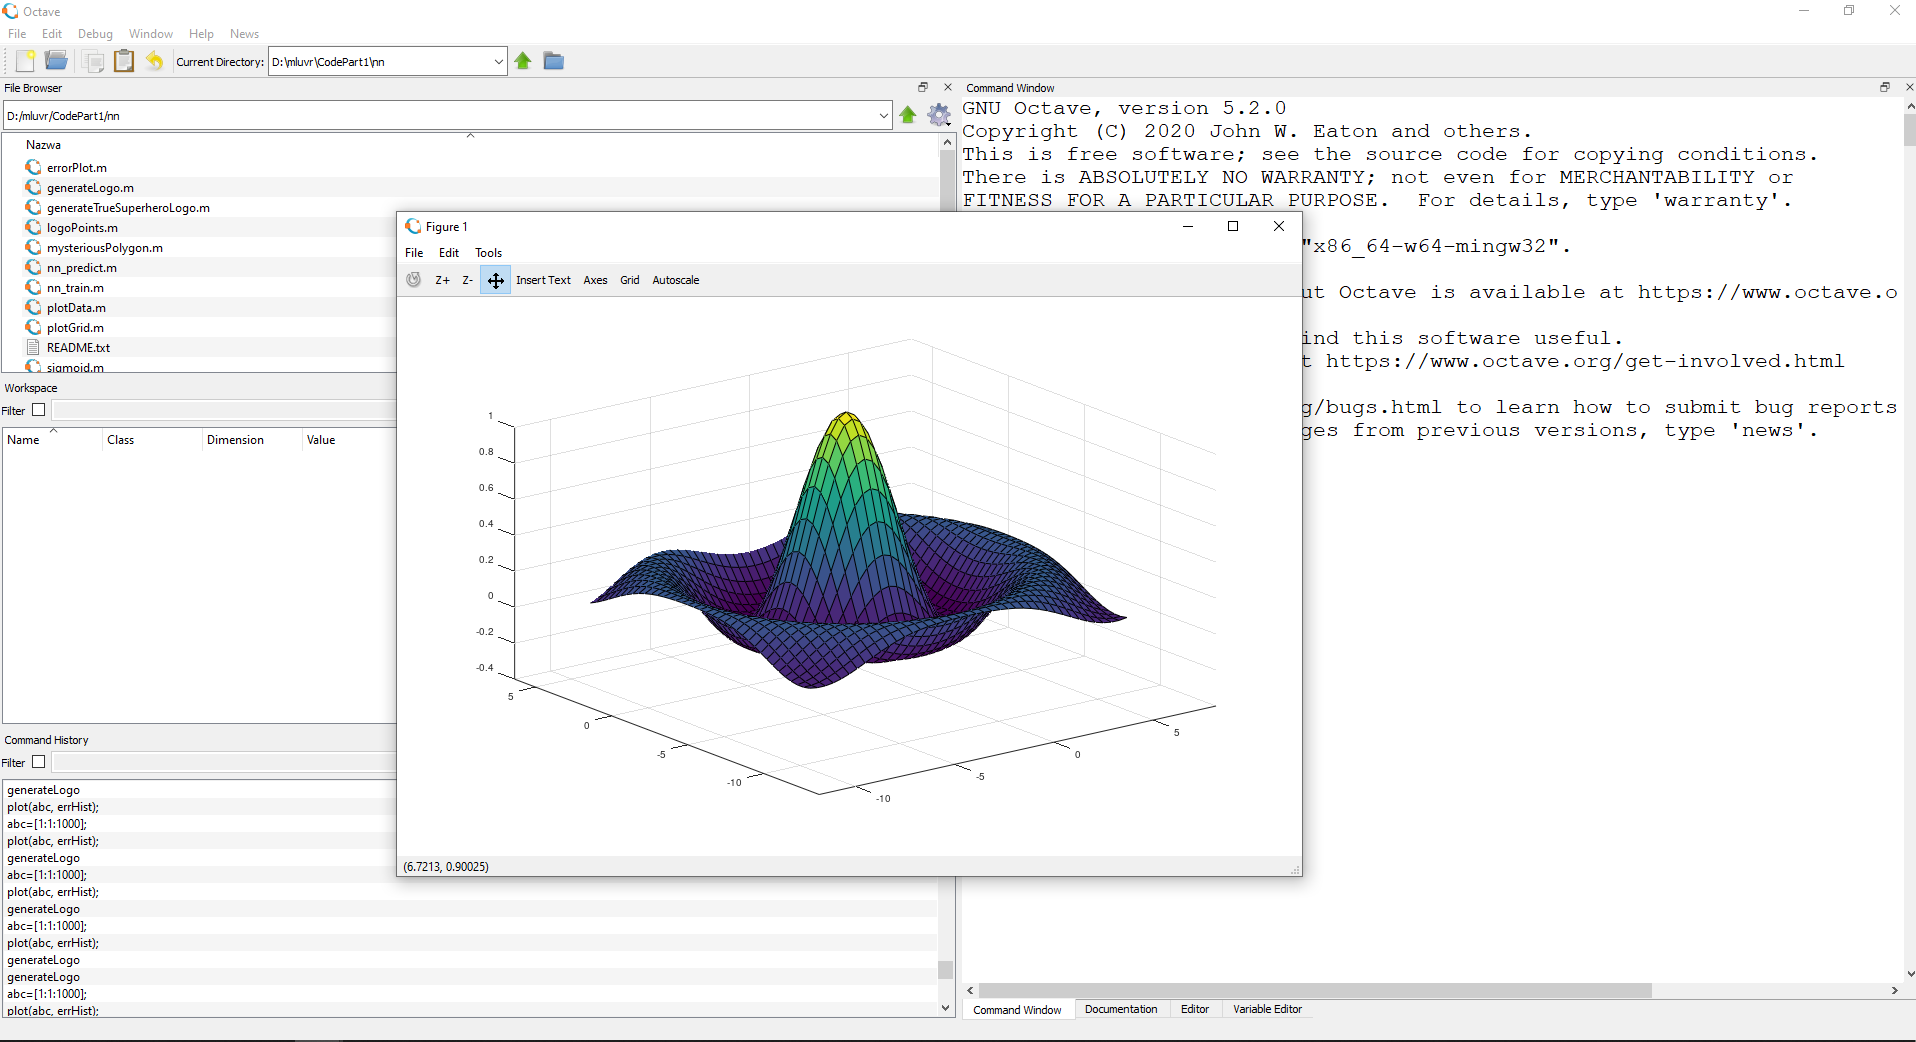
Octave - alternative to MATLAB
Octave is the best open-source educational tool used for numerical computation with an interactive environment. The tool features powerful mathematics-oriented syntax with built-in plotting and visualization tools and also Octave syntax is largely compatible with Matlab. Get your copy from here.
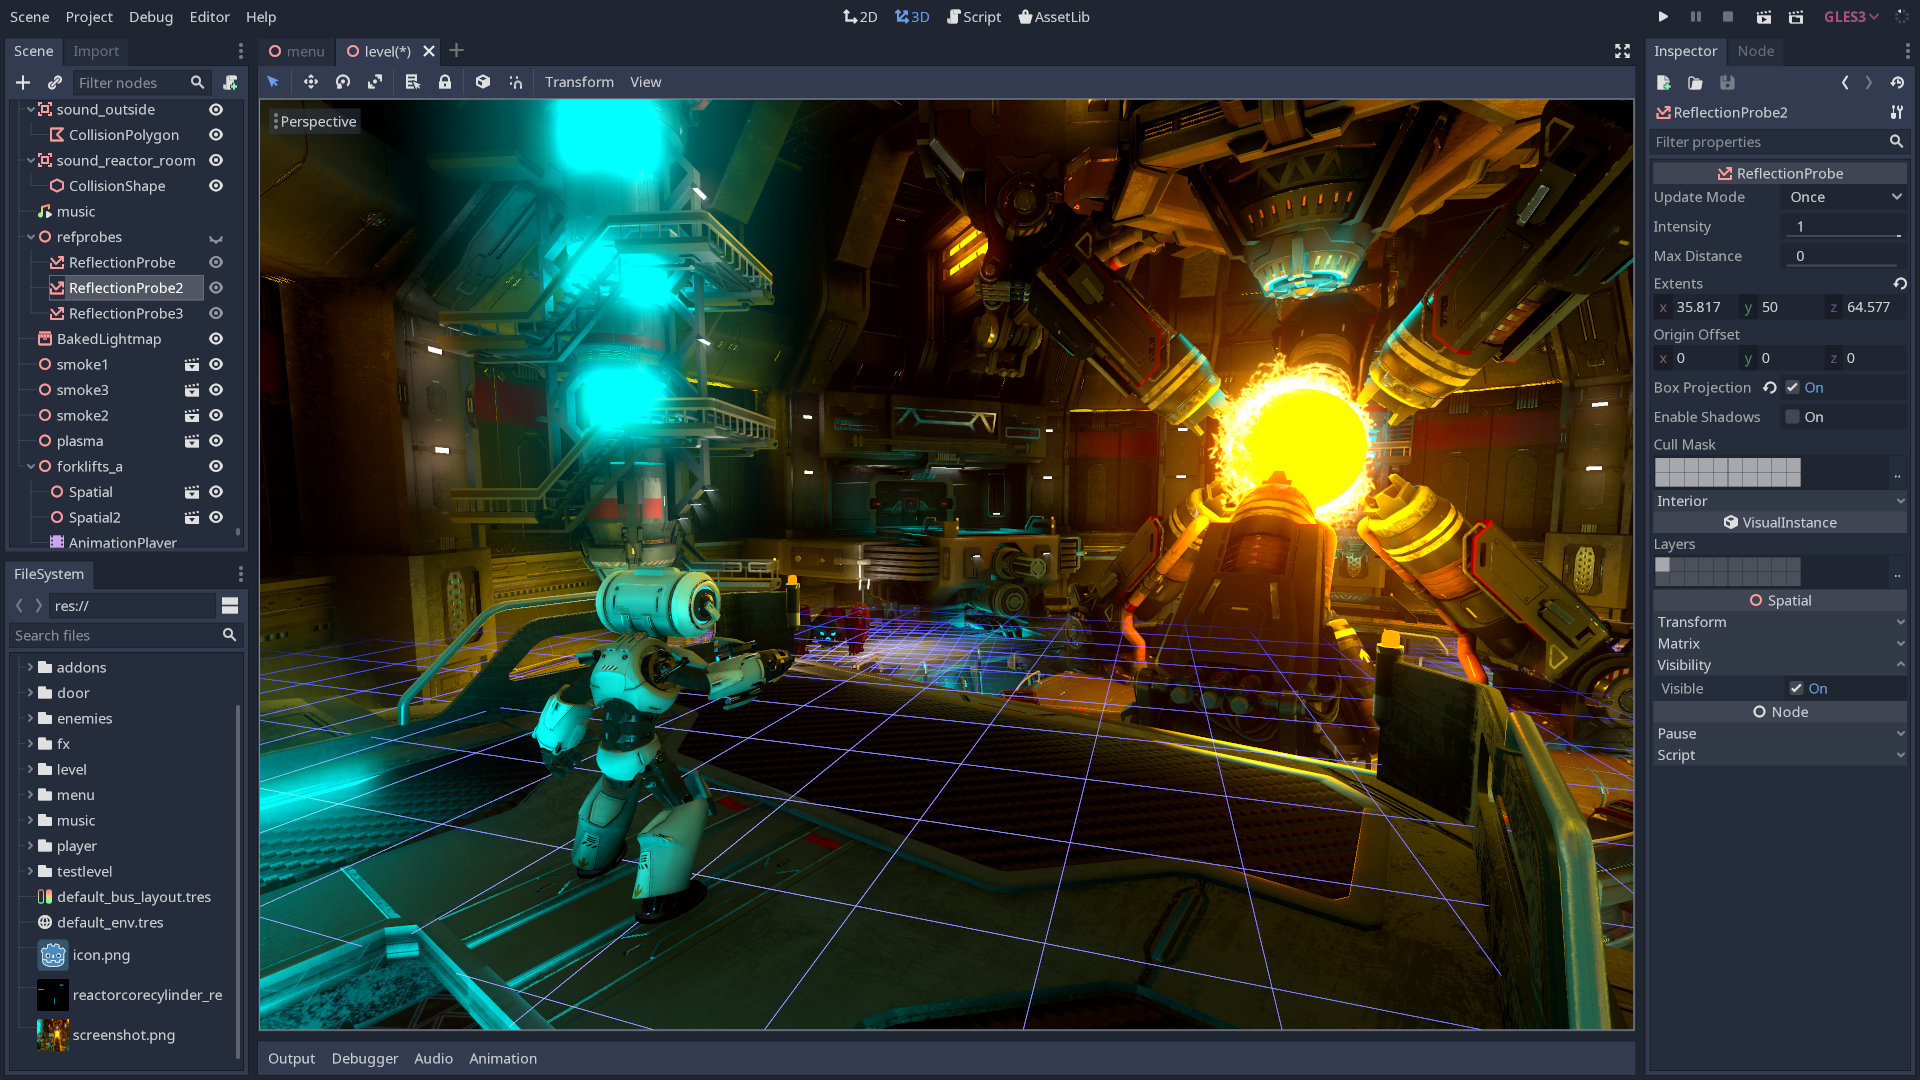
Godot - alternative to Unity3D, Unreal
Godot is a lightweight feature-packed node-based game development engine, completely open-source and free to use for commercial projects. The engine has reached 3.2 version and it is more and more adopted by various independent game makers across the globe, recently there are to of video tutorials and documentation to get you up and running and its open-source nature lets you modify the engine itself in any way that suits and benefits you. Also, any project made with Godot is completely yours, there are no hidden fees or anything similar. Download it from here.
Conclusion
That's it, my pick for 20 open source alternatives which I believe you should at least try and if you end up with at least one, you have saved some hard-earned money.
And always remember:
Open-source programs give you complete freedom without any shady terms and conditions.
Open-source software code is readily available for anyone who wants it, so anyone can use it, share it, modify it for their own needs, and study it.
No spying eyes, no tracking, and no telemetry
In some cases, open-source tools offer features or performance benefits that surpass their commercial counterparts.
No hidden charges, completely free.
If you would like to read more helpful articles and tips about various software and hardware visit errortools.com daily.
The GeForce Experience on graphics card manufactured by NVIDIA is an advantage for users who loves gaming as it makes enhances users’ gaming experience. However, there are times when it may also encounter some problems. One of the problems users may encounter is the error code 0x0001. This kind of error occurs when users open the NVIDIA GeForce Experience utility. Here’s the full content of the error message:
“Something went wrong, try rebooting your PC and then launch GeForce Experience, ERROR CODE: 0x0001.”
Errors like this one diminish the overall experience of users due to the fact that when this error occurs, the NVIDIA GeForce experience wouldn’t even start which renders its features useless. There are several potential fixes you can check out to resolve this error but before you check them out, you can try to restart your computer first and then open the NVIDIA GeForce Experience once again, if you still encounter the error, then you need to check the NVIDIA Display Driver Services or update your NVIDIA display drivers or switch to the BETA release. You could also try to install and reinstall the NVIDIA display drivers or perform System Restore and see if it helps. For detailed instructions, follow the given options below.
Option 1 – Try to check the NVIDIA Display driver services
Tap the Win + R keys to open Run and then type “services.msc” in the field and hit Enter to open the Services Manager.
From there, look for the following NVIDIA services and make sure that their Startup types are as follows:
NVIDIA Display Container LS – Automatic
NVIDIA NetworkService Container – Manual
NVIDIA LocalSystem Container – Automatic
NVIDIA LocalSystem Container – Automatic
NVIDIA GeForce Experience Service – Automatic (Delayed Start)
NVIDIA Geforce Experience Backend Service – Automatic (Delayed Start)
NVIDIA Telemetry Container service – Automatic
Next, double click on each one of the services and go to Properties. Here, check if the service is running. If it’s not, just click on the Start button. On the other hand, if they’re already running, just click on Stop and then click on Start again.
Option 2 – Try to update the NVIDIA Display drivers
You can also try updating the NVIDIA display drivers as it might help in fixing the error. To update them, follow the steps below.
Tap the Win + R keys to open the Run dialog box.
Next type in “dxdiag” in the field and click OK or hit Enter to open the DirectX Diagnostic Tool.
From there, you can see what type of NVIDIA graphics card that your system is on.
Take note of your graphics card information and then look for the best drivers for your operating system. Once you’ve downloaded and installed the file, restart your PC.
Note: If you want to try out the beta release of the NVIDIA display drivers, click on this link. Beware though that the beta software is unstable and buggy and may cause some different bugs.
Option 3 – Try to roll back the driver to the previous version
If updating the NVIDIA display drivers didn’t work for you, then it’s time to roll back the device drivers. It is most likely that after you updated your Windows computer that your driver also needs a refresh.
Tap the Win + R keys to launch the Run window and then type in the “msc” command and hit Enter to open the Device Manager window.
Under the Device Manager, you will see a list of drivers. From there, look for the NVIDIA Drivers and expand it.
Next, select the driver entries that are labeled appropriately.
Then select each one of them and double click to open a new mini window.
After that, make sure that you’re on the Driver tab and if you are not, just navigate to it then click the Roll Back Driver button to switch back to the previous version of the NVIDIA Drivers.
Now restart your computer to successfully apply the changes made.
Option 4 – Try to run System Restore
You could also run System Restore as it might help fix the error code 0x0001 in NVIDIA GeForce Experience.
Tap the Win + R keys to open the Run dialog box.
After that, type in “sysdm.cpl” in the field and tap Enter.
Next, go to the System Protection tab then click the System Restore button. This will open a new window where you have to select your preferred System Restore point.
After that, follow the on-screen instructions to finish the process and then restart your computer and then check if the error code 0x0001 in GeForce Experience is now fixed.
Option 5 – Do a clean install on the NVIDIA driver
Before you do a clean install on the NVIDIA driver, you have to download the latest version of the Display Driver first.
Boot your Windows 10 PC into Safe Mode.
After that, double click on the executable file of the Display Driver Uninstaller to run and install it.
After the installation, open the program. Once you do, you should see the following window on your screen:
In the program window, click on the “Clean and restart” button.
After your PC has rebooted, download the NVIDIA drivers.
Then select your Product Type, Product Series, Product, Operating System, and Language appropriate for your hardware specifications as well as personal requirements.
Next, click on Search to display the latest available driver as per the information you entered.
And click on Agree and Download to start downloading the latest driver executable file.
Run the executable file after you finished downloading the latest driver executable file and then select Custom and click on Next.
Afterward, select “Clean Install” and proceed. Doing so would install the latest driver on your PC.
Restart your PC and check if the error’s now fixed. If not, you can try installing an older version of the driver instead.
Spying via some malicious app on the target phone is not a new thing but it can be very uncomfortable and even against the law in some countries.
Infecting the target phone can be done in various ways, another person can intentionally download and install applications on it, and you can install them via some phishing attacks or by an online scam. Once installed this piece of software presents a very serious invasion of privacy since it can track text messages, track phone location in real-time, record calls in real-time, eavesdrop on calls, take control of the camera and microphone, and many other applications.
Here are some common symptoms of mobile phones infected with spyware.
Symptoms of spyware
Random reboots Slow performance Strange text messages Overheating Unusual high data usage Non-familiar apps in the app list The fast drain of the battery Long shutdown time Strange interference and sounds during calls Signs of activity during standby mode
If your phone exhibits any of these symptoms you might have a spyware app installed and running on it.
Common spy apps
There are many apps that have been designed to spy on people that can be downloaded in the app store or on Google Play today. Most of these spyware apps are aimed at parents wanting to keep an eye on and protect their children. However, these can be used by anyone in order to spy on a target person via their phone.
Below is a list of common apps that can be used to spy on you. Many spyware apps require a phone to be ‘jailbroken’ or ‘rooted’ before being installed, this is when the phone’s operating system is changed to allow the phone to become unlocked and customizable.
mSpy : An undetectable spying app for iOS devices. It can be used to read your chats, see your location, view your email, check your call history, record your keystrokes, and more.
Spyera : This app requires rooted and jail-broken iPhones to work. It can go undetected and monitors phone calls and your call history. It even allows call recording and eavesdropping on live calls.
Flexispy : Flexispy prides itself as the #1 phone monitor for parents and can monitor everything from calls to social texts.
Umobix : This powerful spyware app has a dashboard that allows users to easily monitor someone’s location, calls, texts, keystrokes, all major social media, and more. You can detect Umobix because it heats up the infected phone and greatly affects the battery life of the infected device.
Ikey Monitor : Although it requires the device to be rooted for Android or jailbroken for iPhones, this spy app captures keystrokes, passwords, and screenshots, allows for call recording and supports multiple languages.
Clevguard : Available for both iOS and Android, Clevguard allows users to track GPS and Wi-Fi locations, capture screenshots remotely, and more. Due to a recent update, the spy app drains the target phone’s battery significantly.
Remove spyware from your phone
If any of the beforementioned apps are present on your phone you need to remove them right away.
Go to your phone settings and remove the malicious applications, then download some protection suite and scan the whole phone for any other trace of software remains or other malware apps.
Disk partitioning is a concept that’s been around for so long, but is still only familiar to few. If done right, it can help get your computer in perfect order.
Today we bring you a simple definition of disk partitioning, its pros and cons, and a quick tip on how to do it properly to reap its full benefit!
Definition and purpose
The simplest way to define disk partitioning would be: it’s exactly what it sounds like. It means taking a hard disk drive and separating it into different segments. These segments are called partitions. You can visualize it as cutting a cake into smaller pieces - not necessarily of the same size, though.
So what is the purpose of these pieces?
Well, when you first get a hard drive, it’s basically just a bunch of unallocated storage space. Until there’s at least one partition, this space is unusable to your operating system. Once you create a partition, your OS will recognize it as usable storage space.
You can choose to create a single partition and use it for all your files, from program files to personal data. A lot of off-the-shelf computers come with one primary partition like this and a small secondary one reserved for recovery purposes.
Whether or not you want to split your disk into more than one segment is up to you. We would generally recommend it, though. The whole point of partitioning is for each segment to have its own purpose.
So treating all your storage space as a single unit containing different file types would be like constructing an office building with only one massive room for everything - day-to-day work, conferences, interviews, etc. And all of this for different departments of the company. You can see how this might get a little messy.
Creating multiple partitions eliminates the task of running several different types of files from the same place. This takes a heavy load off the entire process of accessing data.
Disk partitioning also brings a ton of other benefits to the table. An important disclaimer, though: there are disadvantages too. We will walk you through both sides to help you get an objective idea and make an informed decision.
Source: Kina on Unsplash
What are the benefits of disk partitioning?
1. Better file organization
This is the most obvious and perhaps the biggest advantage of partitioning your hard drive.
As we already mentioned, partitioning allows you to create separate segments for different file and data types. You wouldn’t want to use the same partition for your system files and for games, would you?
If organization and time management are important to you, then multiple partitions are the right solution. Searching for specific files will be much easier overall. Say you have one hard drive, but three partitions: C for the system files alone, D for multimedia files and documents, and E for games and apps. Your computer loads the system from C without interference from the other two, and you know exactly where to look when searching for a file.
2. Easy reinstallation
File management isn’t the only thing made faster and simpler thanks to partitioning. If you opt for creating multiple segments on your drive, reinstalling Windows will be easy peasy.
That’s because all you need to do is format the partition your system is on. Then you reinstall the OS on it, and there you go. Now you have a clean installation, with all your files saved on other partitions intact. You can even make a copy of your system partition, so you can revisit the exact same installation in the future if you want. And the whole time your pictures, music, documents stay exactly where you left them.
Source: Andrew M on Unsplash
3. Possibility of using multiple file systems
By now you’ve understood that partitions function completely separately. This means that, if for some reason you need multiple file system capabilities, partitioning will allow that.
One segment could be used for, say, an NTFS file system, while another could run ext or APFS.
4. Running different OSes
You’re an avid Windows user but need to use Linux on the side? No problem. You don’t need to buy a separate computer or anything. The possibility of running different file systems also means you can use partitioning to run multiple operating systems.
Doesn’t that sound enticing? One machine for multiple totally different uses!
5. Backup and recovery made simple
Data loss can happen on any disk, partitioned or not. However, it’s much easier to get it back on a partitioned one. You know where you stored what, and each partition can be backed up exactly as it is. It’s also a lot faster to back up single partitions than entire hard drives.
Ultimately this also means a faster path to recovery. If you lose or accidentally delete important files and data, you might want to use a recovery tool like Recuva to scan for them and get them back. Recuva is even powerful enough to recover data from damaged hard drives. But no matter how powerful, scanning a whole drive is strenuous for any recovery tool. Scanning independent partitions is a lot more convenient than that, and will get you to your goal more efficiently.
6. Optimized performance
Now, let’s keep in mind that computer performance is influenced by a number of factors. Partitioning alone isn’t what makes it better or worse. However, it can contribute to optimization. It’s easier for your computer to scan, say, a 40 GB partition to fetch the system file it needs than scanning the entire capacity of your drive.
7. Improved security (possibly*)
Separate partitions can help make your system more secure. Firstly, they minimize file corruption. If one partition gets corrupted, the others should remain unaffected. And keeping in mind the previous point about backup and recovery, ‘fixing’ the damaged partition would be much easier than fixing the entire hard drive.
Partitioning also improves security in terms of malware protection. A malicious attack on one partition is easier to deal with than malware on the whole drive. If your system partition gets infected, you can simply reinstall your OS and that should do the trick.
*Do keep in mind that partitioning can’t defend you against more advanced attacks. So make sure not to give in to a false sense of security.
What are the disadvantages of partitioning?
1. Data is still vulnerable
Yes, it’s easier to back up and recover data from independent partitions. And yes, partitioning may help protect separated files and data to a higher degree. But remember: everything is still on a single physical drive. So while digital errors and issues may be easier to deal with on partitioned drives, physical damage obviously won’t be.
If your hard drive is destroyed in some way, all data on it will be gone. That’s why, if you have crucial files on your PC, it’s important to give them the proper backup treatment before it’s too late.
2. Disbalance of space
Allocating storage space on separate partitions may be a little more tricky than you think. You may fill up one partition a lot faster than another. So on one side you’re struggling with space, and on another you have too much of it to spare. Imagine nearly filling up your system partition and then it turns out you need a lot more space for its updates than you thought.
That’s why you really have to be sure you actually have enough files of different types that you need help managing efficiently. Otherwise you’ll just create a struggle and disbalance in terms of storage.
3. Increased risk of error
If done incorrectly, partitioning can lead to more harm than good. Aside from space disbalance, there is an increased risk of incorrect partition sizes and formatting. Plus, human error is also a factor: in a moment of distraction, you may erase one partition when you meant another. Undoing such mistakes will definitely be tedious and time-consuming.
4. SSDs eliminate the need of partitioning
SSDs (solid-state drives) don’t function in the same way that HDDs do. They have faster read times and can organize files on their own. This quite literally eliminates the need for organization on your part.
Partitioning: yes or no?
The bottom line is that multiple partitions might not be necessary for the average user. But if you’re planning on storing many file types or different file and operating systems on the same PC, then you should give it a shot. It’s also an excellent solution for businesses, of course.
And if our pros and cons list isn’t enough to help you decide, you can always send us a message and we’ll help you make the right choice.
Decided to partition your hard drive?
If you’ve decided to give it a go, you definitely should make sure to do it right.
The two most effective and reliable ways to partition are using the built-in options on Windows or investing in a dedicated partitioning tool, like the EaseUS Partition Master. Which one you'll opt for depends on your specific needs.
Option 1 may be more suitable for users with at least some level of experience. In this case, you’d have to know exactly which steps to take without making errors. This is done in Disk Management on Windows 10/11. From there, you can select the partitions you’d like to split into different volumes of selected sizes.
If this is your first time partitioning, we highly suggest you either consult professionals for this or move on to option 2. The EaseUS partitioning software is specifically designed for beginners, with an intuitive interface helping you succeed in the process. All you need to do is pick the Partition Master package tailored to your needs and follow their guide.
Each package offers technical support as well, and even free upgrades (to varying degrees based on your subscription). Plus, all of this is valid for not one, but two PCs.
It’s the perfect solution for a smooth and error-free partitioning process. If you want to organize your hard drives efficiently and make the most of all your space without doing irreparable damage, it’s definitely worth the investment.