Every time a new drive or any storage device is connected to a Windows 10 computer, the operating system tends to allot a drive letter to it automatically. Not only that, as the OS also maps the location of the drive which helps it point the letter to the exact port location of the drive and serve requests from the user. As a result, it builds up a bit of cache as per the pattern in which the user uses the storage of the computer. This whole process is known as “Auto Mounting” which works for hard disks or optical drive readers that are connected using the SATA ports and even for USB drives that are connected using the USB ports.
There are several ways you can enable or disable the Auto-Mount feature in Windows 10. You can do it using the MountVol tool or the Registry Editor or the Diskpart utility. Before you proceed, it is recommended that you create a System Restore point first so that you can always undo the changes you made in case anything goes wrong.
In this option, you will be using the mountvol command in the Command Prompt. Refer to the steps below.
mountvol /E
mountvol /N
mountvol /R
diskpart
automount
automount enable
automount disable
automount scrub

 That being said, now when services are back we stopped and reflected on the platform itself and on its users. If Facebook is vulnerable so are its users, but sometimes users themselves are responsible for being a target. We step back and take a look at posts that manifest on Facebook and have come with some advice on what things you should never post on Facebook and on other social platforms.
dism.exe /online /remove-package /packagename:Package_for_RollupFix_Wrapper~31bf3856ad364e35~amd64~~16299.248.1.17 /packagename:Package_for_RollupFix~31bf3856ad364e35~amd64~~16299.125.1.6 /packagename:Package_for_RollupFix_Wrapper~31bf3856ad364e35~amd64~~16299.192.1.9 /packagename:Package_for_RollupFix~31bf3856ad364e35~amd64~~16299.192.1.9 /norestart
Dism.exe /online /Cleanup-Image /StartComponentCleanup
net stop wuauserv net start cryptSvc net start bits net start msiserver
net start wuauserv net start cryptSvc net start bits net start msiserver
 Error Causes
del *.*
“There were some problems installing updates, but we’ll try again later. If you keep seeing this and want to search the web or contact support for information, this may help: (0x80244022).”To fix error code 0x80244022, refer to the potential fixes provided below.
“The specified identifier is not in the correct format. Type the identifier in the correct format: in hexadecimal form for an MBR disk or as a GUID for a GPT disk.”

 Once you are in the control panel, switch your view to large icons and locate Indexing options.
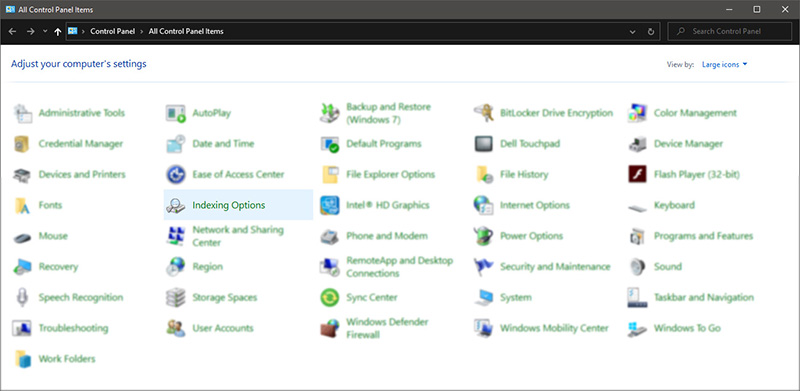 Inside indexing options, click on advanced.
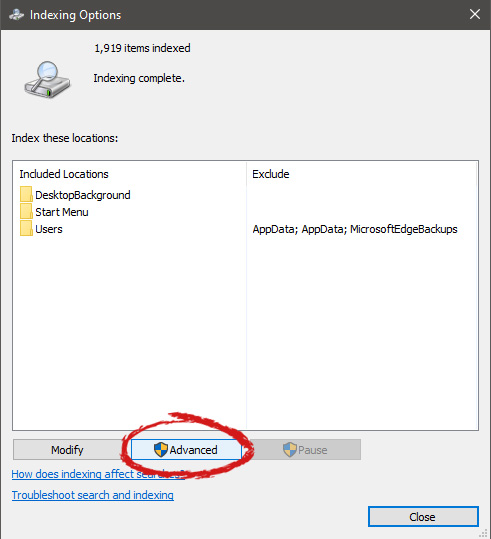 In advanced options click on the rebuild and confirm.
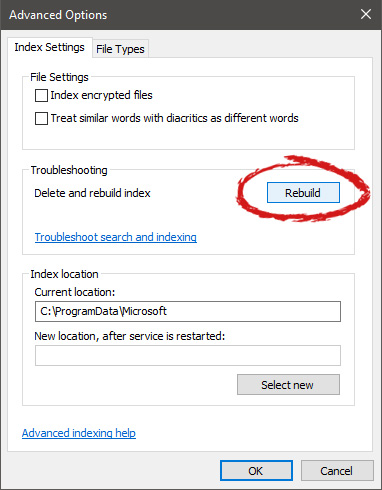 Leave your computer to finish and your searches should be working fine now.
 chkdsk /r /f
bootrec /fixboot
chkdsk /f /r