 The console itself is coming in cylindrical shape powered by Intel CPU and ASUS GPU of the unknown chipset. It has Seagate Baraccuda 1TB SSD and it is VR-ready. The console will have raytracing and will be 4K ready.
Xinput1_3.dll is a type of dynamic link library. It is an essential component of Microsoft DirectX.
This is a technology that makes Windows OS compatible with programs rich in multimedia elements It helps your graphic card in creating a detailed virtual and stimulus environment.
Games and programs with high graphics and sounds require DirectX to form a consonance with Windows PC to run successfully.
The Xinput1_3.dll error occurs when games supported by DirectX are unable to run smoothly. This error is common on Windows 7. The error message is displayed in the following format:
 Error Causes
The causes of Xinput1_3.dll error include:
If you come across this error, make sure you fix it timely.
It is recommended to do so because it not only stops you from accessing and playing your desired games and using high graphic applications but also can lead to system failure and crash if the underlying cause of the error is related to the registry.
To resolve this error code, here are some of the best do it yourself methods:
Sometimes due to minor concurrence, PC is unable to load the file Xinput1_3.dll from the directory. If this is the cause, then you are lucky. All you have to do to resolve it and restart your computer. Once the computer restarts, re-launch the program.
Search for the latest versions of the DirectX utility version. Try extracting the Xinput1_3.dll files individually from the DirectX downloadable package on your PC. Once downloading is complete, try running your desired application again and see if the error code pops up or not.
Being an element of Microsoft DirectX, Xinput1_3.dll is directly related to the video/graphics card assimilated.
There can be a possibility of a mismatch between the Xinput1_3.dll file and graphic card drivers. If this is the case, then the best way to resolve the error is to update the graphic drivers by installing the latest version drivers of your video/graphics card.
Nonetheless, after trying all the solutions discussed above if the error still persists, then this triggers two things either the error is triggered by a viral infection that you are unaware of or the problem is related to the registry.
Whichever might be the cause, in such as scenario the best quick fix to it is to download Restoro. This is an advanced, cutting edge, and multi functional PC repair that is deployed with several utilities including a registry cleaner, an antivirus, Active X controls, and class detector, and a system optimizer.
The registry cleaner utility removes all the unnecessary files from the registry that could be damaging the dll files and the registry. It clears the disk space, repairs dll files, and restores the registry back to normal.
Simultaneously the antivirus module scans your system for all possible malicious software. It removes viruses, Trojans, malware, spyware, and adware thereby resolving the Xinput1_3.dll error right away.
Total System Care is safe, bug-free, and has a user-friendly interface with easy navigation. It is compatible with all Windows versions.
Click here to download Restoro and resolve the Xinput1_3.dll error right away!
 The console itself is coming in cylindrical shape powered by Intel CPU and ASUS GPU of the unknown chipset. It has Seagate Baraccuda 1TB SSD and it is VR-ready. The console will have raytracing and will be 4K ready.
 Error Causes
In today's age, free cloud storage is no longer anything exclusive and plenty of companies will offer some free amount of it in hopes that you will buy a premium plan. Among plenty of starter and free options, there are of course some that are more generous and more appealing and offer a larger quantity of free space and even some other services.

In this article, we are taking a look and recommending some of the best ones in our opinion.
First on the list is of course google with its google drive. With an amazing 15GB of free could storage just given to anyone who makes a google account this had to be the first recommendation. Also since google drive is requiring a google account you will be given all google office tools for free as well as the Gmail service. Completely free 15GB at your fingertips if you do not mind google tracking policies.
Another company on the list, with only 5GB storage seems little compared to google this entry was simply included because google Microsoft also offers you Office 365 WEB for free with skype along with their Hotmail. So all in all another full package of apps with some free storage that requires also just an account.
With the free offer of 10GB this comes as an easy recommendation, IceDrive is a cloud storage company that is not offering anything of productivity apps but it has some great features in their cloud solution like being able to see encrypted files in your cloud. All you have to do to get this 10GB of storage is to make a free account.
With an amazing 20GB of free storage, MEGA is certainly one that gives the most space for free. Sadly a few years ago it was hacked and files and user information were leaked, for that reason, it is on our last place of recommendation but if you are not worried about their security and plan just to use this as a temporary file sharing service with that amount I am sure it will fill your needs.
Error Causes Coursera was one of the pioneers when it comes to college education online. When it started all courses were free and offered certificates if the taker has done tasks with a passing grade. Today not everything is free but still, there are tons of free courses that can help you to learn something new and to advance in your work or hobby.
Google is using the Coursera platform to deliver its courses to the audience and besides google a lot of academic professors from Princeton, Stanford, John Hopkins and many more are presently offering their course material.
Coursera was one of the pioneers when it comes to college education online. When it started all courses were free and offered certificates if the taker has done tasks with a passing grade. Today not everything is free but still, there are tons of free courses that can help you to learn something new and to advance in your work or hobby.
Google is using the Coursera platform to deliver its courses to the audience and besides google a lot of academic professors from Princeton, Stanford, John Hopkins and many more are presently offering their course material.
 edX has evolved from MITx, MIT’s free initiative to place some free academic lectures from its classrooms free into the world. Since it was rebranded into edX it started including other big university names like Berkeley, University of Texas System, Harvard, and many more.
Since its infant days, edX has expanded and included many areas that it offers coursework from arts to science. Certificated today are mostly not free but course videos are, so if you care to learn and not wave certificates around this is a great place to do it.
edX has evolved from MITx, MIT’s free initiative to place some free academic lectures from its classrooms free into the world. Since it was rebranded into edX it started including other big university names like Berkeley, University of Texas System, Harvard, and many more.
Since its infant days, edX has expanded and included many areas that it offers coursework from arts to science. Certificated today are mostly not free but course videos are, so if you care to learn and not wave certificates around this is a great place to do it.
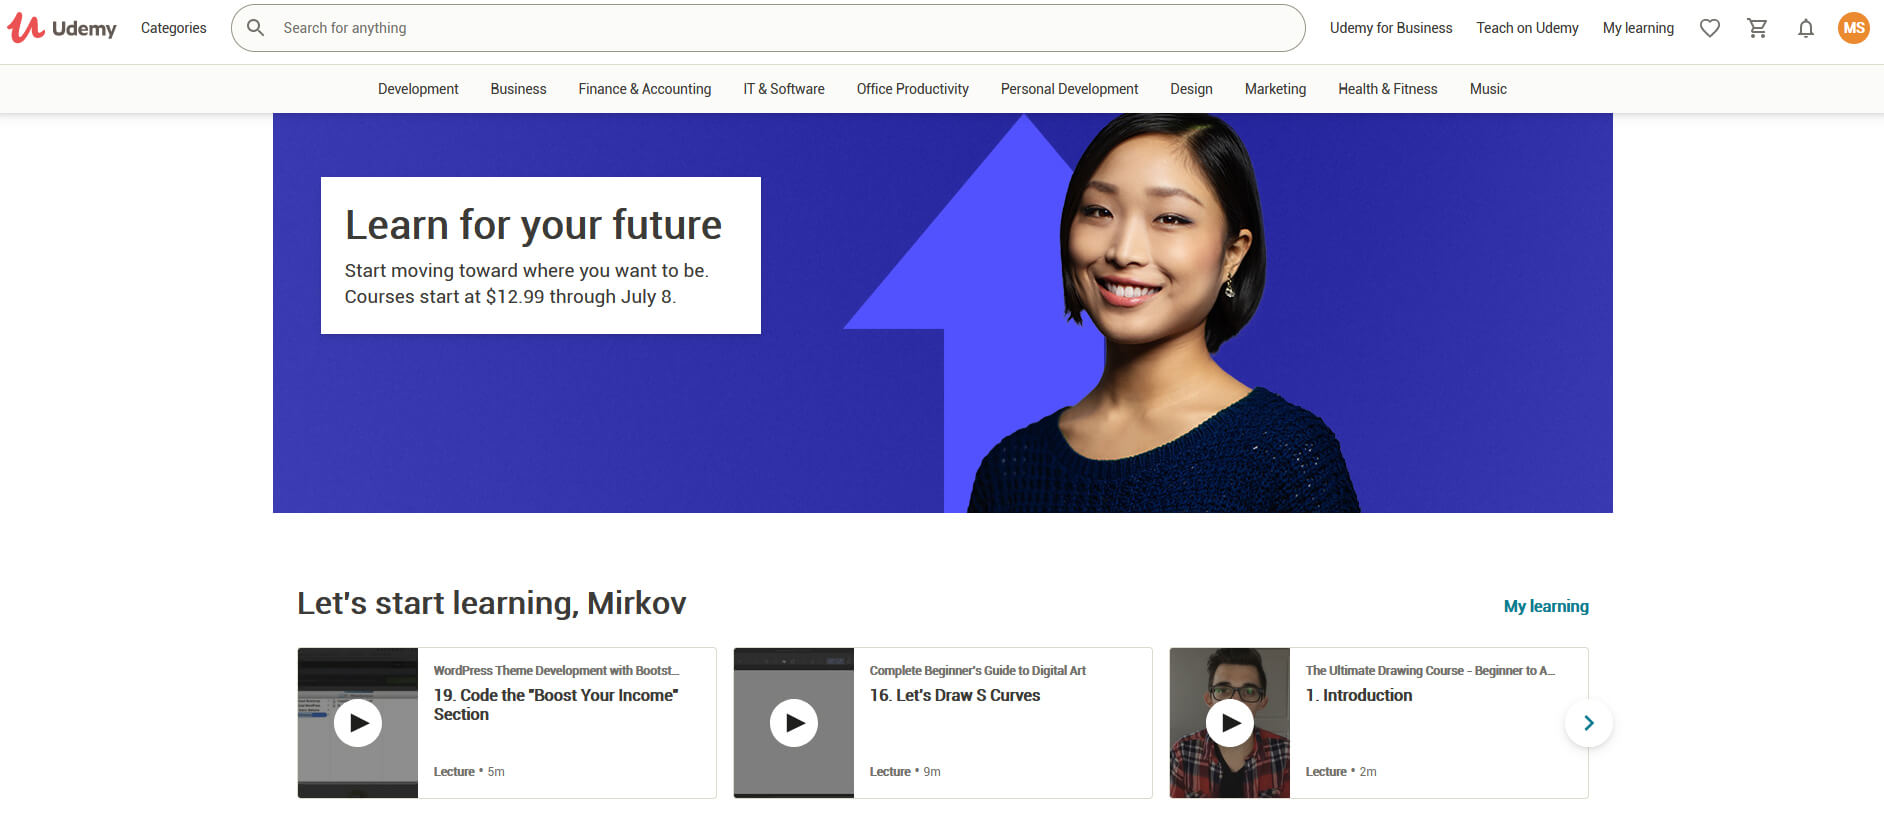 Udemy has a little different approach to course material than previously mentioned websites. Teachers on Udemy are mostly people that are working in a given field. Programmers will teach programming, fitness instructors will teach training, etc.
There are vas variety of topics even on lifestyle, hobbies even gaming to more serious ones like software developing hardware, etc.
There are free courses but mostly are one-time purchases with unlimited access to course material and with frequent discounts udemy might be a good place to look if you can find anything interesting.
Udemy has a little different approach to course material than previously mentioned websites. Teachers on Udemy are mostly people that are working in a given field. Programmers will teach programming, fitness instructors will teach training, etc.
There are vas variety of topics even on lifestyle, hobbies even gaming to more serious ones like software developing hardware, etc.
There are free courses but mostly are one-time purchases with unlimited access to course material and with frequent discounts udemy might be a good place to look if you can find anything interesting.
 Alison is kind of Udemy if we are talking about course material and who is teaching, the difference however is that it has more free content and it is one of the rare websites on this list that has Language courses.
Courses vary from beginner level to more advanced ones.
Alison is kind of Udemy if we are talking about course material and who is teaching, the difference however is that it has more free content and it is one of the rare websites on this list that has Language courses.
Courses vary from beginner level to more advanced ones.
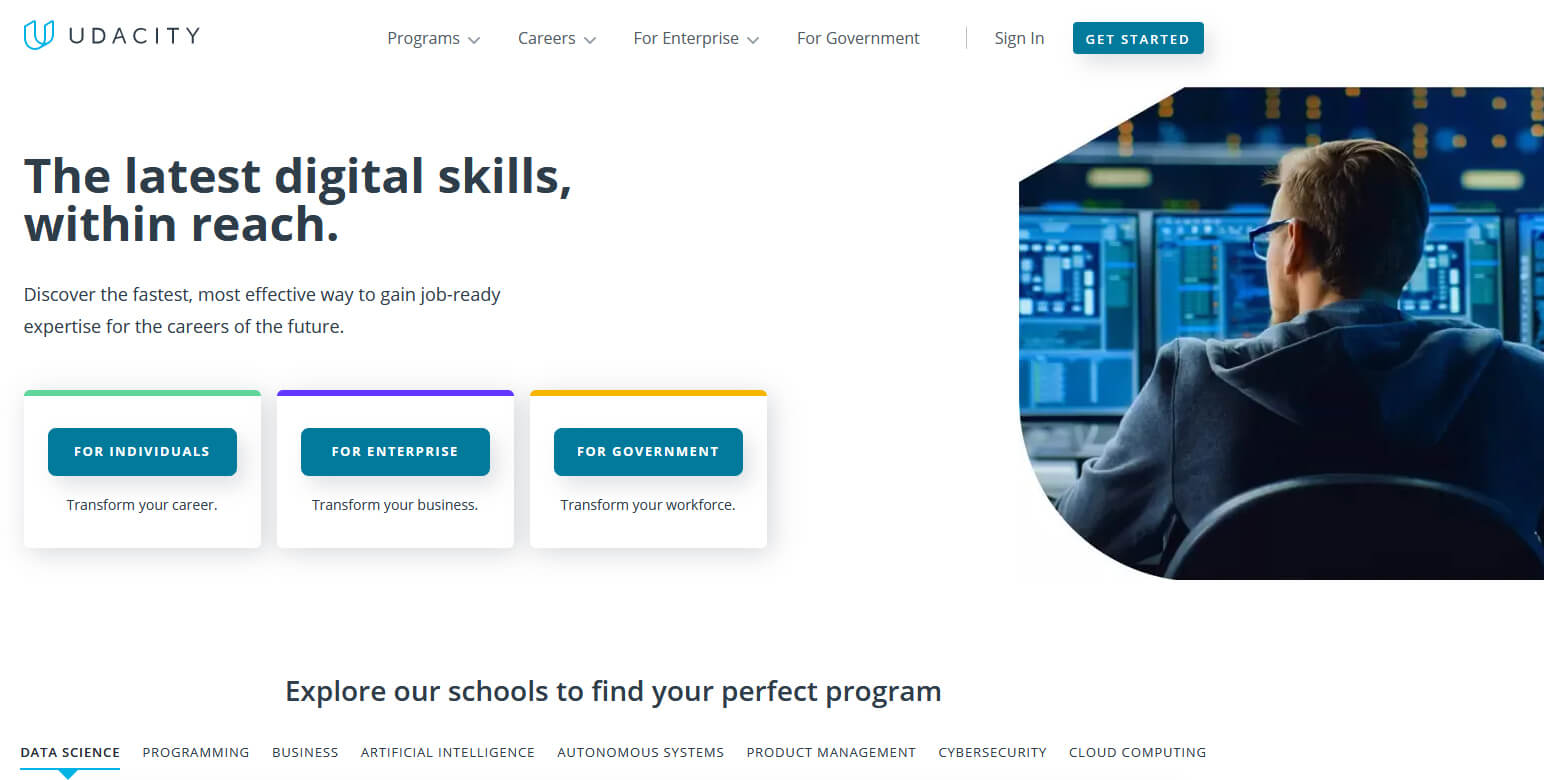 Udacity was also one of the earlier websites to offer free courses, in today’s world it still has free material but there is also paying one.
The big difference from other competitors is that Udacity focuses mostly on programming, data science, and web development and it is very strong in this field. There are no courses about art. Music or similar, mostly IT stuff is covered here.
If this is something that interests you, make a free account and give it a go.
Udacity was also one of the earlier websites to offer free courses, in today’s world it still has free material but there is also paying one.
The big difference from other competitors is that Udacity focuses mostly on programming, data science, and web development and it is very strong in this field. There are no courses about art. Music or similar, mostly IT stuff is covered here.
If this is something that interests you, make a free account and give it a go.
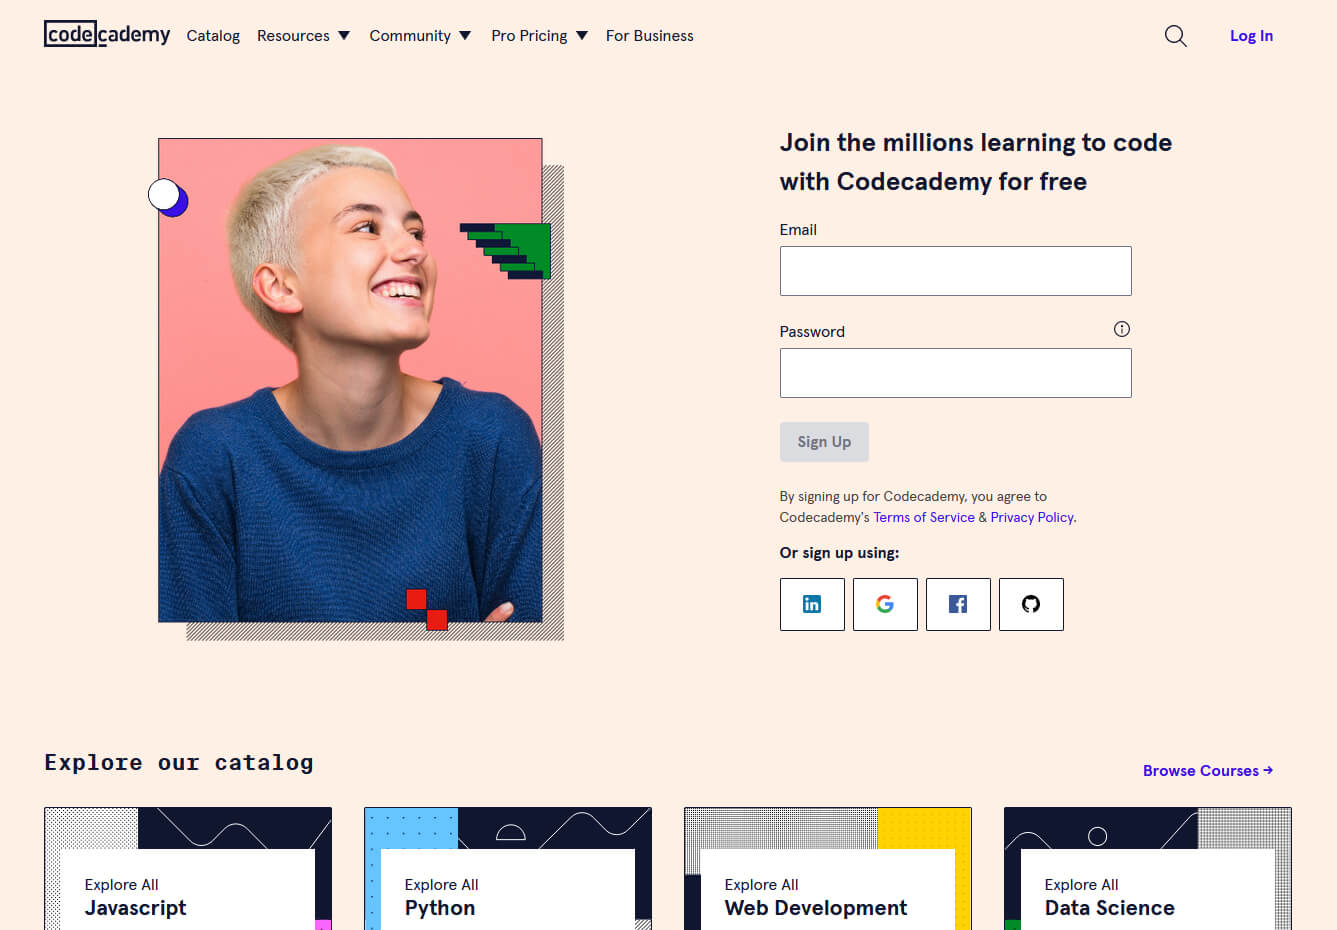 Codecademy is a website mainly focused on teaching you how to code. Pro plan is there but there are a lot of basic and free courses on the mentioned subject.
The curriculum is really wide covering Python, R, Java, JavaScript, SQL, Ruby, C#, C++, Swift, PHP, HTML, CSS and more so I am sure that if you are interested in coding this would be a pretty good place to find things.
Besides pure language coding courses site offers also, Cybersecurity, Web design, Data science, web development, Game Development, Mobile Development, and many more courses on provided subjects.
Codecademy is a website mainly focused on teaching you how to code. Pro plan is there but there are a lot of basic and free courses on the mentioned subject.
The curriculum is really wide covering Python, R, Java, JavaScript, SQL, Ruby, C#, C++, Swift, PHP, HTML, CSS and more so I am sure that if you are interested in coding this would be a pretty good place to find things.
Besides pure language coding courses site offers also, Cybersecurity, Web design, Data science, web development, Game Development, Mobile Development, and many more courses on provided subjects.
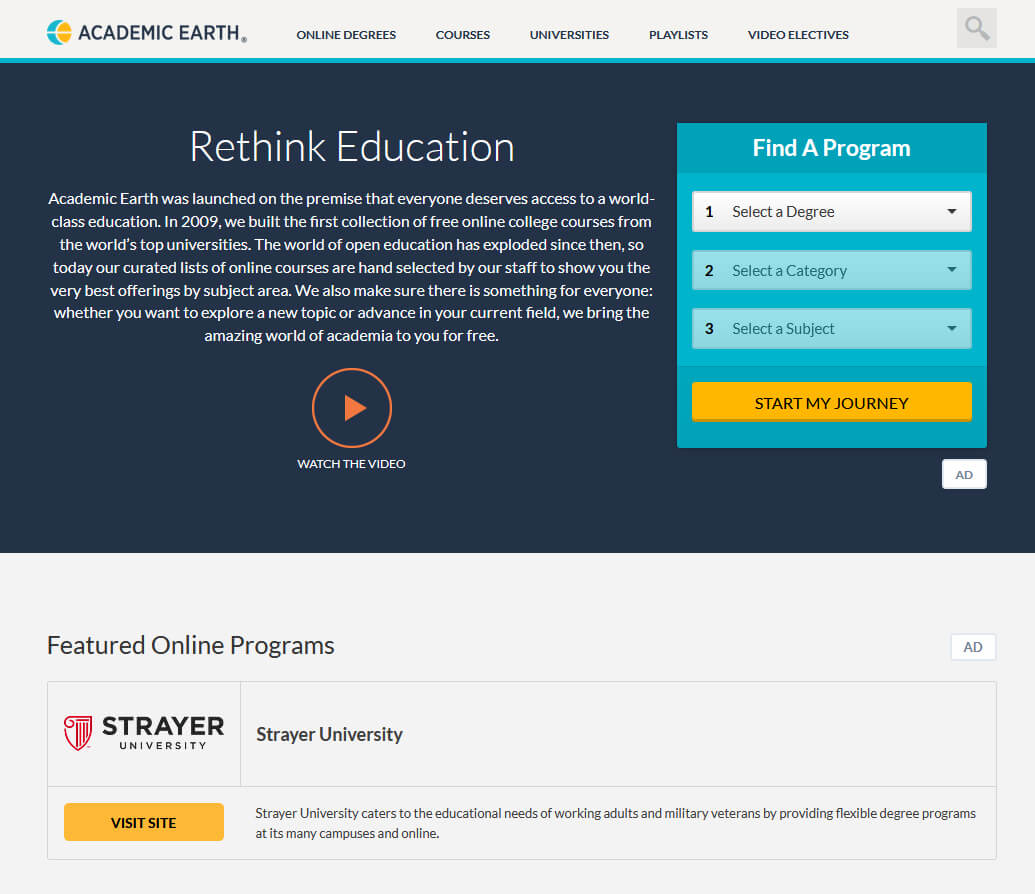 Academic Earth has been built with one simple premise: Everyone deserves access to education.
Lead by this kind of mindset on Academic Earth you will find well, academic courses similar to ones found on edX and Coursera, but from mentioned sites here all courses are free and you will find only academic ones, there are no entrepreneur or expert courses here, just pure academic ones.
If you wish to see and learn something the way it is taught in Harvard, Berkeley, MIT, etc this is the place for you.
Academic Earth has been built with one simple premise: Everyone deserves access to education.
Lead by this kind of mindset on Academic Earth you will find well, academic courses similar to ones found on edX and Coursera, but from mentioned sites here all courses are free and you will find only academic ones, there are no entrepreneur or expert courses here, just pure academic ones.
If you wish to see and learn something the way it is taught in Harvard, Berkeley, MIT, etc this is the place for you.
 Khan academy is completely free and it is offering courses matching certain grades for children. It is offering courses for all 8 years of elementary school, math courses for high school and college with some coursework on topics like science, arts & humanities, reading, life skills, etc.
Despite not being on the same level as some university courses presented on other mentioned websites Khan Academy is a good place to learn a lot of basic skills that you could build upon later.
Khan academy is completely free and it is offering courses matching certain grades for children. It is offering courses for all 8 years of elementary school, math courses for high school and college with some coursework on topics like science, arts & humanities, reading, life skills, etc.
Despite not being on the same level as some university courses presented on other mentioned websites Khan Academy is a good place to learn a lot of basic skills that you could build upon later.
The Gardening Enthusiast toolbar is another product that is advertised as a helpful addition to your browsing experience when it is really nothing more than the software you should remove as soon as possible. It is touted as a toolbar that will provide you with a lot of useful gardening tips. That is the hook to get you to install it. But, in truth, the only thing that it does is provide you with links to popular gardening websites that you can easily find on any search engine.
When installed the extension will change your default search engine and home page to MyWay.com
While browsing the internet with this extension you will see additional sponsored ads and links throughout your browsing session.
Anti-virus applications have marked this extension as a Browser Hijacker and are therefore marked for removal. While not considered malware, the fact that many users find it to hinder browser performance has led to its detection and flag for optional removal.