
Error Code 80004002 - What is it?
Error code 80004002 will be encountered when there are absent registry keys. These missing registry keys will hinder an update process when initiated. However, this error code can be averted once the user makes a reinstall of the Windows Update Client. The steps will be highlighted throughout the article.Solution
 Error Causes
Error code 80004002 might occur for various valid reasons. In cases of installing programs, a user might mistakenly install a new program over another, that was not properly (completely) uninstalled. This could cause a stack-up of registry keys and error messages. Additionally, error code 80004002 might be a consequence of malware, viruses, and adware.
Further Information and Manual Repair
If left unchecked, error code 80004002 could amount to system freezes and crashes, slow computer performance, error codes upon installation, and even blue screen errors. To fix this error code, you might want to attempt one or all the methods below. This is due to the fact that the problem might stem from various reasons.Method 1: Safe Mode
Ensure to boot your computer in safe mode. This is to ensure that you are properly able to troubleshoot Windows update error code 80004002. To load your computer in safe mode, turn on the computer, press F8 before it fully loads to the ‘sign in’ screen.Method 2: Update Outdated Drivers
One of the many reasons why you’ll encounter error code 80004002 is in light of the fact that your drivers might have been outdated. To check if your driver is outdated, Right click on the Start menu, select the Device Manager option. From there, you’ll be able to tell which device(s) is corrupted and needs updating.Method 3: Reinstall Windows Update Client
To perform this process, follow the steps below:- Locate “My Computer” or “This PC” on your device.
- Select the “Properties” option.
- Under the System option, determine whether your System type is 64-bit or 32-bit version of Windows.
- Use the links below to install the Windows Update client:
Click for 32-bit Operating System
Click for 64-bit Operating System
- After installation, search for Windows Update from the Search option.
- Select the Check for Updates option.
- Once any updates are found, hit Install Updates.
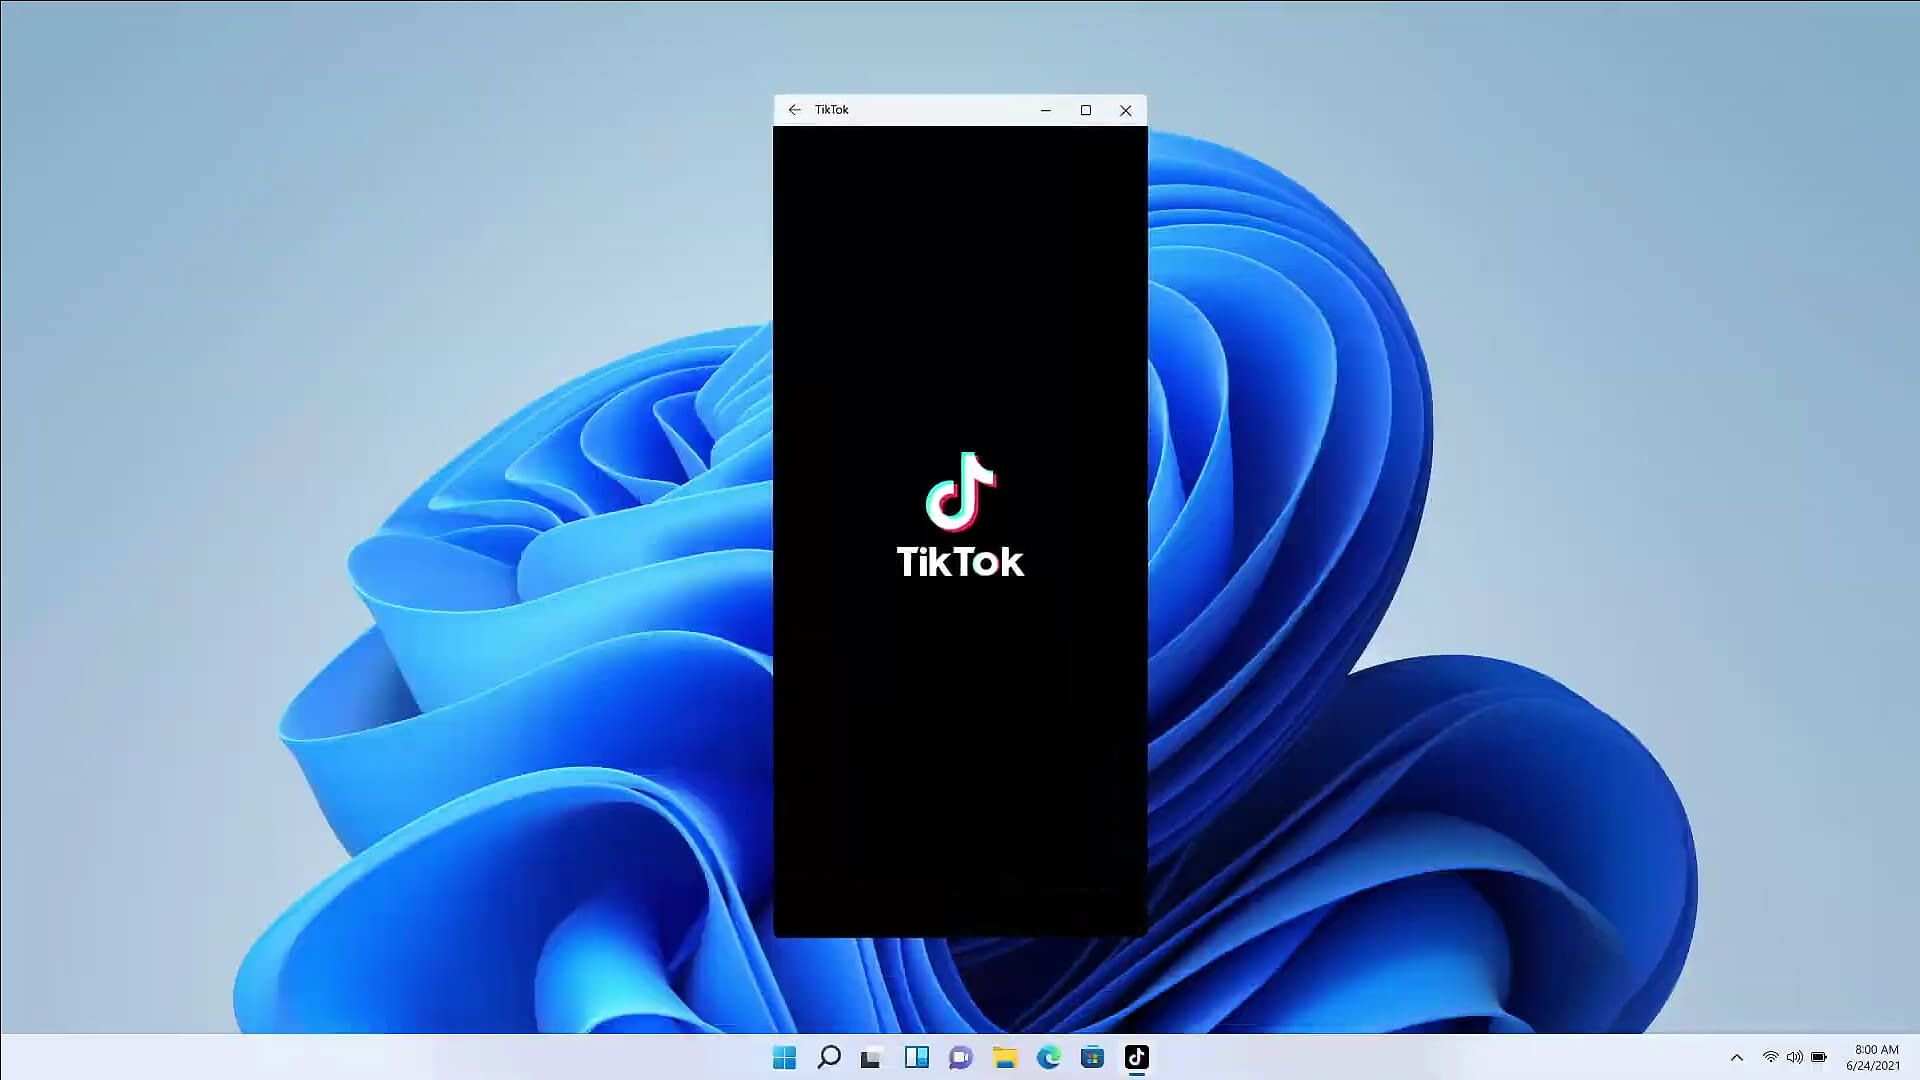 The euphoria around Windows 11 is not dying and reveal that Android apps will work natively inside Windows 11 has raised many emotions and questions.
So, Microsoft has announced that Android apps will run natively inside Windows 11 OS and that they will reside alongside your other installed ones as icons, etc.
It is no secret that many users have been using emulation software to run Android apps inside Windows so far, so what is the difference?
The euphoria around Windows 11 is not dying and reveal that Android apps will work natively inside Windows 11 has raised many emotions and questions.
So, Microsoft has announced that Android apps will run natively inside Windows 11 OS and that they will reside alongside your other installed ones as icons, etc.
It is no secret that many users have been using emulation software to run Android apps inside Windows so far, so what is the difference?
 California's Department of Fair Employment & Housing has widened its anti-discrimination lawsuit against Activision Blizzard and claims the publisher has been shredding vital documents relevant to the ongoing investigation.
A recent report from Kotaku described the department as offering poorly paid, highly insecure positions, with a culture of hostility towards LGBTQ+ testers. The DFEH's rewording of "employees" to "workers" now hopes to take these contractors' experiences into account.
"As a contract employee, I feel there's a lot of pressure to excel, impress, and move through the ranks as fast as you can before your contract ends and you're forced to go 3 months without income or find another job," Axios reports one worker saying. "I take pride in what I do, but it feels like it's never enough."
Activision's contentious hiring of union-busting third-party law firm WilmerHale "directly interferes" with its own investigation, it says. By going to WilmerHale, Activision appears to be claiming that all work related to the investigation is privileged and can't be shared with DFEH.
The suit also claims that Activision HR shredded documents related to "investigations and complaints", against its legal obligation to retain them during the investigation. The relevant parts of the updated lawsuit were shared by Axios reporters Stephen Totilo and Megan Farokhmanesh, the former also noting that the DFEH "fixed their misspelling of Bill Cosby's name".
"DFEH is also informed and aware that documents and records have not been maintained as required by law or by the DFEH's Document Retention Notice," the complaint reads, "including but not limited to documents related to investigations and complaints were shredded by human resource personnel and emails are deleted thirty days after an employees separation."
California's Department of Fair Employment & Housing has widened its anti-discrimination lawsuit against Activision Blizzard and claims the publisher has been shredding vital documents relevant to the ongoing investigation.
A recent report from Kotaku described the department as offering poorly paid, highly insecure positions, with a culture of hostility towards LGBTQ+ testers. The DFEH's rewording of "employees" to "workers" now hopes to take these contractors' experiences into account.
"As a contract employee, I feel there's a lot of pressure to excel, impress, and move through the ranks as fast as you can before your contract ends and you're forced to go 3 months without income or find another job," Axios reports one worker saying. "I take pride in what I do, but it feels like it's never enough."
Activision's contentious hiring of union-busting third-party law firm WilmerHale "directly interferes" with its own investigation, it says. By going to WilmerHale, Activision appears to be claiming that all work related to the investigation is privileged and can't be shared with DFEH.
The suit also claims that Activision HR shredded documents related to "investigations and complaints", against its legal obligation to retain them during the investigation. The relevant parts of the updated lawsuit were shared by Axios reporters Stephen Totilo and Megan Farokhmanesh, the former also noting that the DFEH "fixed their misspelling of Bill Cosby's name".
"DFEH is also informed and aware that documents and records have not been maintained as required by law or by the DFEH's Document Retention Notice," the complaint reads, "including but not limited to documents related to investigations and complaints were shredded by human resource personnel and emails are deleted thirty days after an employees separation."
