Cortana is your personal digital assistant fully integrated into Windows 10 designed to help you make your life easier. The more you use it, the more Cortana can learn about you, and the experience becomes more personalized and accurate. It can perform a variety of tasks, and it's full of handy tricks, but perhaps one of the best features is the advanced speech recognition that enables Cortana to understand the context of a natural voice conversation.
On Windows 10, and across platforms with the Cortana app on iPhone and Android, the assistant can understand virtually any voice command and perform tasks. For example, by just speaking you can find facts, create reminders and manage your calendar, launch applications, change settings, and a lot more.
Now, if you're looking for an official list of all the voice commands Cortana supports, you'll never find it because it doesn't exist. Cortana can understand natural language and context, there's no particular set of commands to make things happen. In a sort of way, you are speaking to Cortana as you would to any other person.
Before using voice commands, it's important to know the ways in which you can invoke Cortana using natural language:
The following list of commands are examples you can use to learn how to control Cortana with voice commands. Keep in mind that there isn't a specific way to speak the commands. For example, Hey Cortana: Let me listen to some tunes is the same as asking for a more systematic command like Hey Cortana: Play music.
It's important to note that Cortana is capable of conversational understanding, which means that you can also ask follow-up questions without having to be very specific.
For example, if you ask Cortana: "Who is the president of the United States", you can then ask a follow-up question, such as "Who is his wife?" or "When was he born?" and the assistant should be able to answer those questions accurately.
These commands require a tracking device, such as the Microsoft Band 2 to enable your fitness and health activities, and you need to connect Cortana with the Microsoft Health (Microsoft Band) service.
You can only start a one-timer at one point in time. If there is a timer already running, Cortana will ask you to restart it at a new time.
Sometimes asking a "How to do I" question will result in a web search response.

 Netflix was one that made streaming service standard and even after some stumbles even today it is still a respected service.
So in that spirit, we are bringing you the list of all new and old movies and TV series releasing to NETFLIX this September.
Netflix was one that made streaming service standard and even after some stumbles even today it is still a respected service.
So in that spirit, we are bringing you the list of all new and old movies and TV series releasing to NETFLIX this September.
Error Code 45 is a common device manager problem that users encounter on any Windows 2000 and later operating system versions.
The error occurs when your Windows system fails to acknowledge the connected device by either stating that the device is not present or that it was previously attached to a computer.
The error pops up and appears on your computer screen with the following message:
“Currently, this hardware device is not connected to the computer” (Code 45)
 Error Causes
The error is prompted either due to a temporary system file malfunction or a problem in the Windows registry system files. In the latter case, it could be due to a damaged or corrupted Windows registry.
While it may appear that Error Code 45 is a serious threat to your computer, it cannot be farther from the truth. Error Code 45, unlike other error codes, is the easiest one to fix. Here is how you can do it.
Unplugging and plugging the USB cable of the device into the computer is the easiest way to solve the error.
Doing this will help refresh the system and increase the likelihood of the device driver files loading and function properly.
It is often only a case of reconnecting the device back to your computer which helps eliminate the error and does not require any particular resolution other than this.
Although reconnecting the disconnected device is all you need to fix the error code, it is always safer to fix your Windows registry system files by using a program like DriverFIX.
DriverFIX, with its user-friendly approach to help you fix your PC issues, comes with an integrated database that detects which drivers you need to reconfigure within just a few seconds and downloads it automatically.
It further ensures that your drivers are installed in their entirety leaving no room for any corrupted or damaged registry.
It also has the added advantage of being able to backup and restores your files should there be the slightest possibility of system file damage.
Thus, registry damage can be averted by letting the software roll back the system files to an earlier healthy checkpoint. DriverFIX is the answer to fixing your PC error codes accurately and quickly.
Click here to download DriverFIX now!
 Error Causes
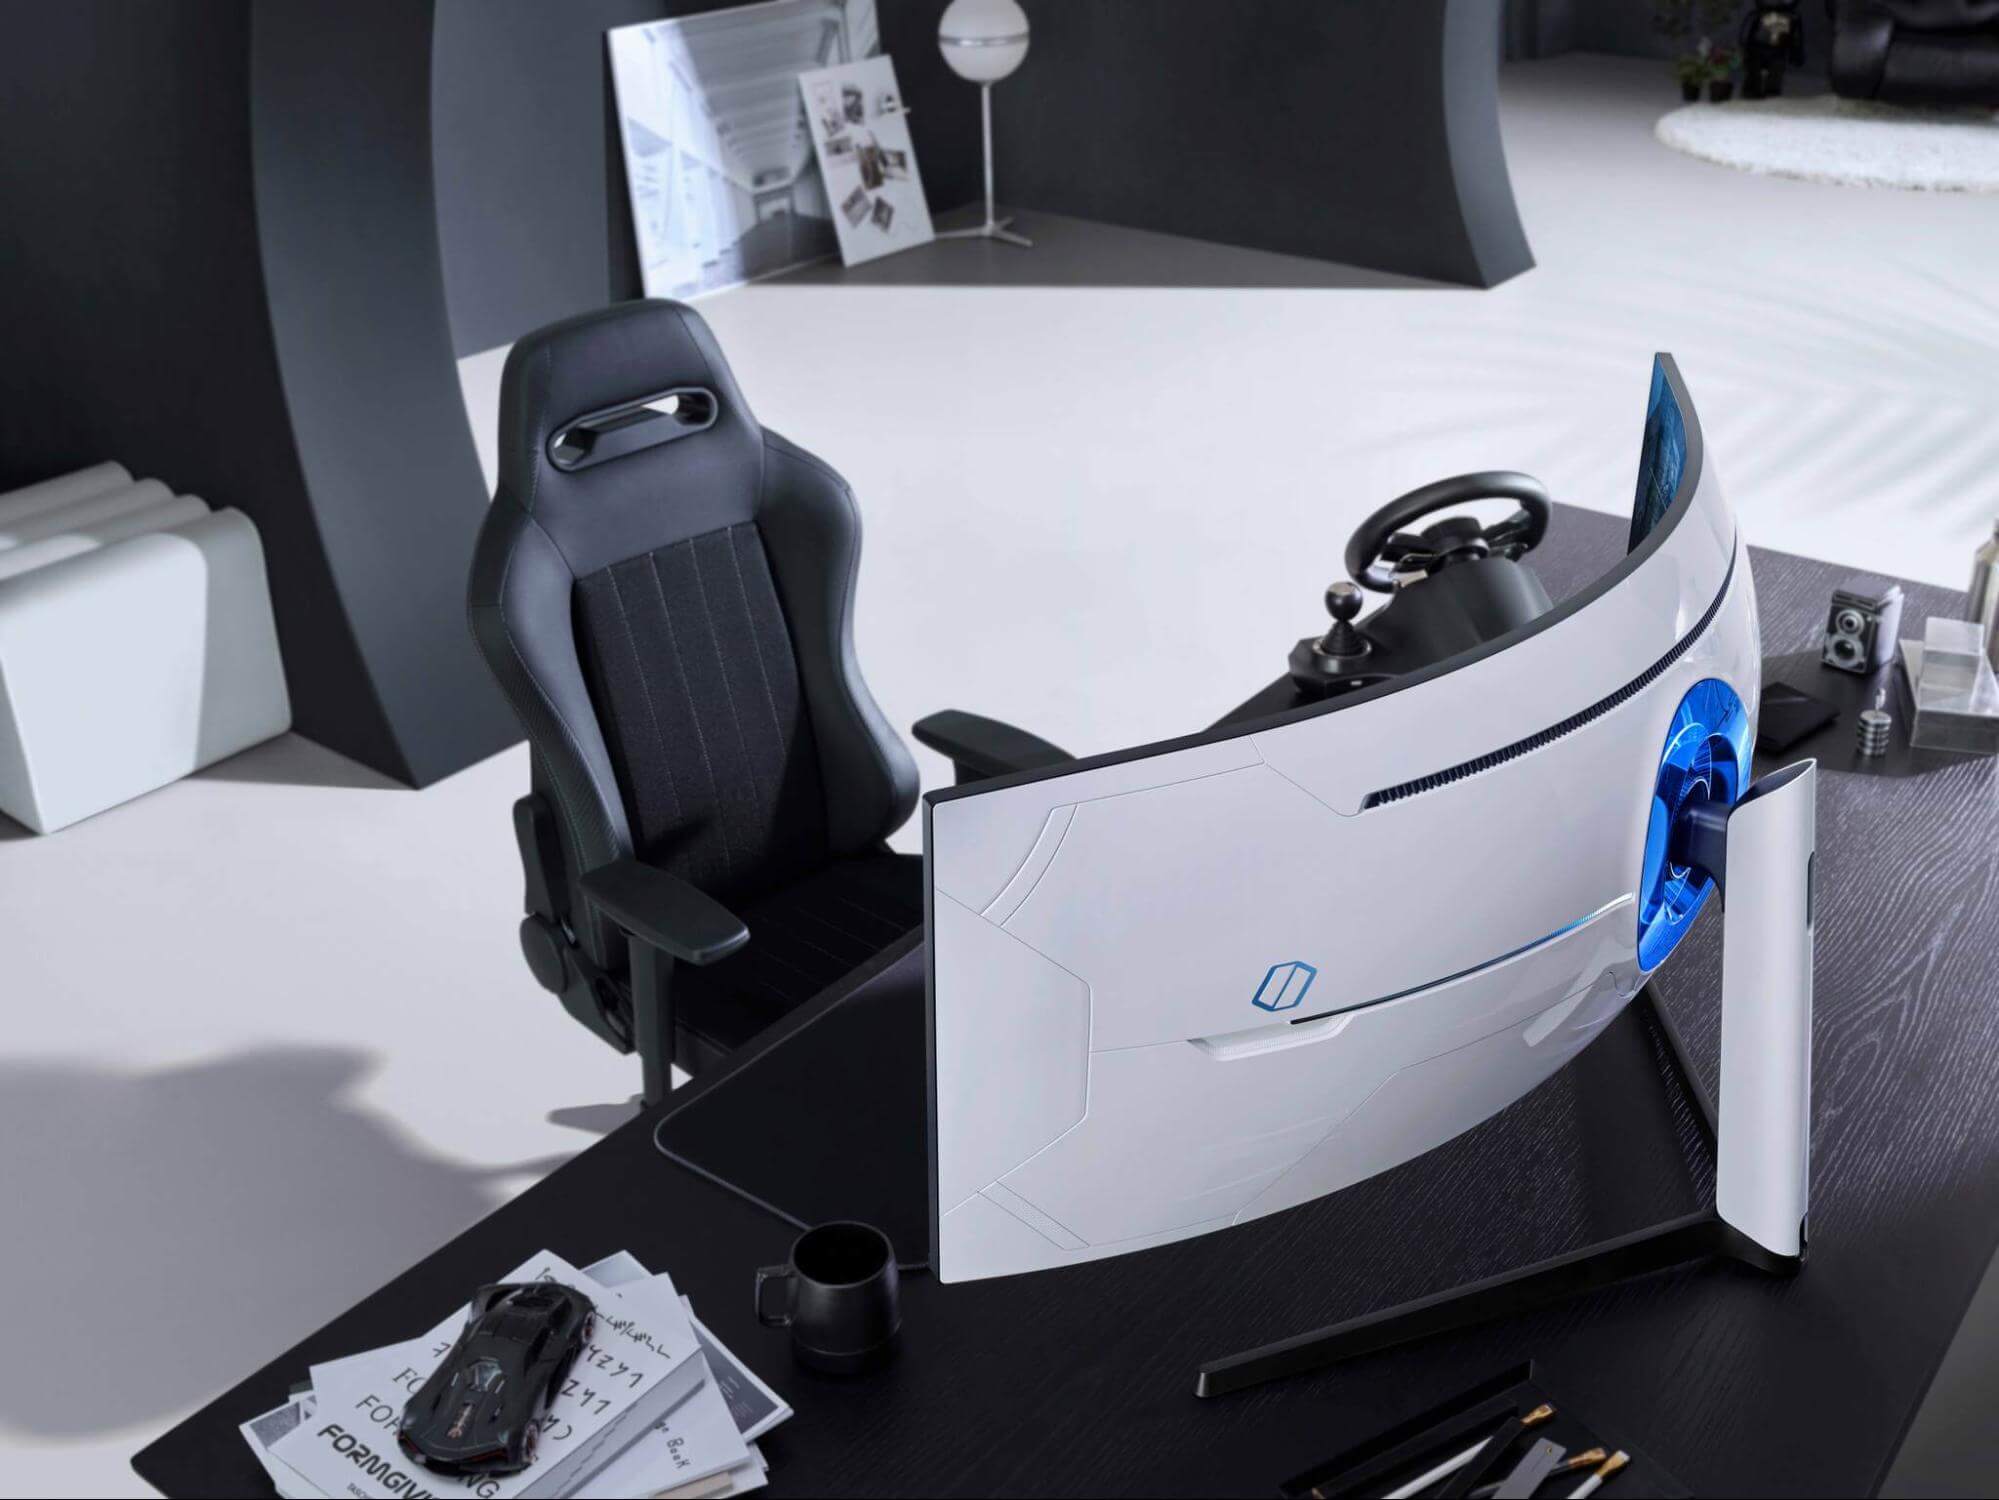 Odyssey Neo G9 is a successor to Odyssey G9 curved gaming monitor and it is aimed again at the gaming community with its specifications but of course, it can be used for work as well.
Gapping at a stunning $2500 USD price it is not really a cheap piece of hardware so it is normal to see what do you get for this kind of price and do features justify it, so let’s dive in.
Odyssey Neo G9 is a successor to Odyssey G9 curved gaming monitor and it is aimed again at the gaming community with its specifications but of course, it can be used for work as well.
Gapping at a stunning $2500 USD price it is not really a cheap piece of hardware so it is normal to see what do you get for this kind of price and do features justify it, so let’s dive in.