
SmartScreen is a cloud-based anti-phishing and anti-malware component that’s come packed in all Windows 8 (8.1) and Windows 10 versions. This security component is also used in several browsers and programs like Internet Explorer, Microsoft Edge and Outlook.com. Although this program is quite useful, there’ve been reports that SmartScreen is apparently blocking Microsoft’s own apps from opening. According to some users, they only get the “Windows SmartScreen can’t be reached right now” error message every time they try to open apps from the built-in Windows suite like Photos, Mail, Alarms, Maps, etc.
Whenever Windows SmartScreen is either down or unreachable on an end-user PC, your computer won’t be able to download anything in both official and unofficial channels. This error might be due to a corrupted Windows account, or it could be that SmartScreen is disabled from the Windows Defender Security Center or it might be down due to an MS issue. In addition, the error might also be caused by a proxy entry.
Before anything else, the first thing you must do is to check if SmartScreen is even enabled as it might be the reason why you’re getting the error. You can verify this by simply going to the Windows Defender Security Center. To do so, follow the steps below.
Another possible reason why SmartScreen is not working is that it might be scheduled for maintenance. When SmartScreen is scheduled for maintenance, it will become unreachable for a lot of users at the same time and so before you go over unnecessary troubleshooting steps, you need to verify if SmartScreen is down for maintenance or not.
If applicable, you can try to disable the proxy server to fix SmartScreen. There are some users who reported that they’ve fixed the problem after they’ve disabled the use of a proxy server using the built-in way. In some instances, certain proxy servers can interfere with the SmartScreen component and cause it to become unusable. However, if you are not using a proxy server, just skip this option and proceed to the next one, otherwise, follow the steps below to disable the proxy server.
There are some users who were able to fix the problem by simply creating a new Windows user account. Although this solution will make you lose a couple of settings enforced through your user account, it’s actually effective in circumventing the “Windows SmartScreen can’t be reached right now” error. To create a new Windows user account, here’s what you have to do:

2021 is nearing toward the end and with just a couple of days remaining in this year, we are happy to look forward to the next year. So in large anticipation of what will next year bring us, we are taking a good design look at this one and making a list for you of what graphic design software you should learn and use in the upcoming 2022.
 Before we dive into it in more detail and predictions please be aware that this article is based upon my personal opinion drawn from the research of current trends and standards. That being said let's dive right into details.
Whether you like it or not, Adobe has cemented itself with its flagship application Photoshop and how things are looking this situation will not change any time soon. Photoshop is an extraordinary pixel manipulation software that has the ability to work with both animations and vector graphics as well making it a great single application for all-around design needs. It has been industry-standard design software for the web, print, and all other kinds of design all over the globe and this will not change in near future. With its constant updates and expansion of its abilities, this is a must-have tool in your design tool belt. If you are looking to find work as a designer you will have to know how to work with photoshop.
Many will tell you that is photoshop for raster graphics, the illustrator is for vectors. First started as illustrator 88 on Mac right away it took first place for vector graphics from FreeHand and it continued on its path of vector dominance. After some time and more integration with photoshop Adobe managed to overthrow Corel Draw as well winning the title for best vector editing software with illustrator. Same as with photoshop, if you are planning to work in a serious industry you will need to know the illustrator.
We are still in Adobe train and it is moving hard, InDesign is graphic design software aimed for paper publications. If you need to create and prepare any kind of professional publication for printing InDesign is the application to go to. With its specific print aimed features it is a must-have for any graphic designer.
Once the king of vector and print design but dethroned by Adobe Corel Draw still has some punches to stay relevant in the field. With some cool features like symmetry and long shadows, it stands out from its competitors for its ease of use. Corel was always focused on easy to learn, and difficult to master and it is still following that kind of thinking. Granted not many employers will require you to be a master of Corel Draw but some of them will request that you are familiar with the application. One of perhaps the greatest advantages of Corel over Adobe is not locking you into a subscription making Draw suit a great choice for freelancers and designers that want to own software, not rent it.
The first software from Affinity was Photo, made as a cheap version one-time purchase competitor for photoshop. Later it has released Designer, also a one-time purchase competitor for illustrators. If we are going to take a good look into a feature for feature comparison, both Adobe and Corel will win over Affinity but if we take a look at a price that is a one-time purchase Affinity will win over easily. Priced only at $54.99 it is a steal, and taking into account that many designers will not require any very advanced features found in Corel or Adobe applications Affinity is the way to go.
Speaking of price, nothing beats free, and both Inkscape and GIMP are completely free. offering very decent and competitive features applications will require you to get used to their own specific UI and workflow, but once you get a grasp of them, you will be able to do most design work in them. One of the downsides of using these free open source apps is their limited export options but if all that is required from you is to deliver a typical SVG, JPG, EPS, PNG, or PDF file you are good to go.
Free with basic functionality with the option to purchase more advanced features Colorcinch is a great application if you are on quickly developing and creating graphics for social media posts. Add quickly text or filters, quickly do the color adjustment and save for social apps. The application also within its basic boundaries can work directly on the website without you requiring to even install it making it one of a kind. Go try it at the official site and enjoy yourself.
If you have followed the graphic design scene you will notice that nothing has changed and it will not change in near future. This just speaks about how much industry is defined and how little change is there over time. I advise if you can to get and learn adobe suite since it is industry standard and is required from almost every employer today. Rest applications on the list are great alternatives and can bring you income and offer you a way to finish your project.
powershell -ExecutionPolicy Unrestricted Add-AppxPackage -DisableDevelopmentMode -Register $Env:SystemRootWinStoreAppxManifest.xml
Linkury Smartbar Engine is a Brower Toolbar for Internet Explorer. Upon investigation, we discovered that this toolbar does not work with the latest versions of Internet Explorer.
From the Author:
What the Smartbar does: – Changes the default search engine in your web browser’s built-in search box. – Changes the default home page of your web browser. – Adds alternative “page not found” functionality. – Enable search from the address bar of your web browser. – Allows software updates of the application once a new version is released. – Adds, removes, or modifies components interacting with search input fields.
While installed, users may see additional unwanted ads throughout their browsing sessions.
Several anti-virus applications have marked this toolbar as a Browser Hijacker, and it is not recommended to keep it on your computer, especially if you are using a newer version of internet explorer that renders this toolbar useless.
You might encounter other error messages such as error code 42."Windows cannot start this hardware device because its configuration information (in the registry) is incomplete or damaged. To fix this problem you should uninstall and then reinstall the hardware device. (Code 19)"
"Windows cannot start this hardware device because its configuration information (in the registry) is incomplete or damaged. To fix this problem you can first try running a Troubleshooting Wizard. If that does not work, you should uninstall and then reinstall the hardware device. (Code 19)"
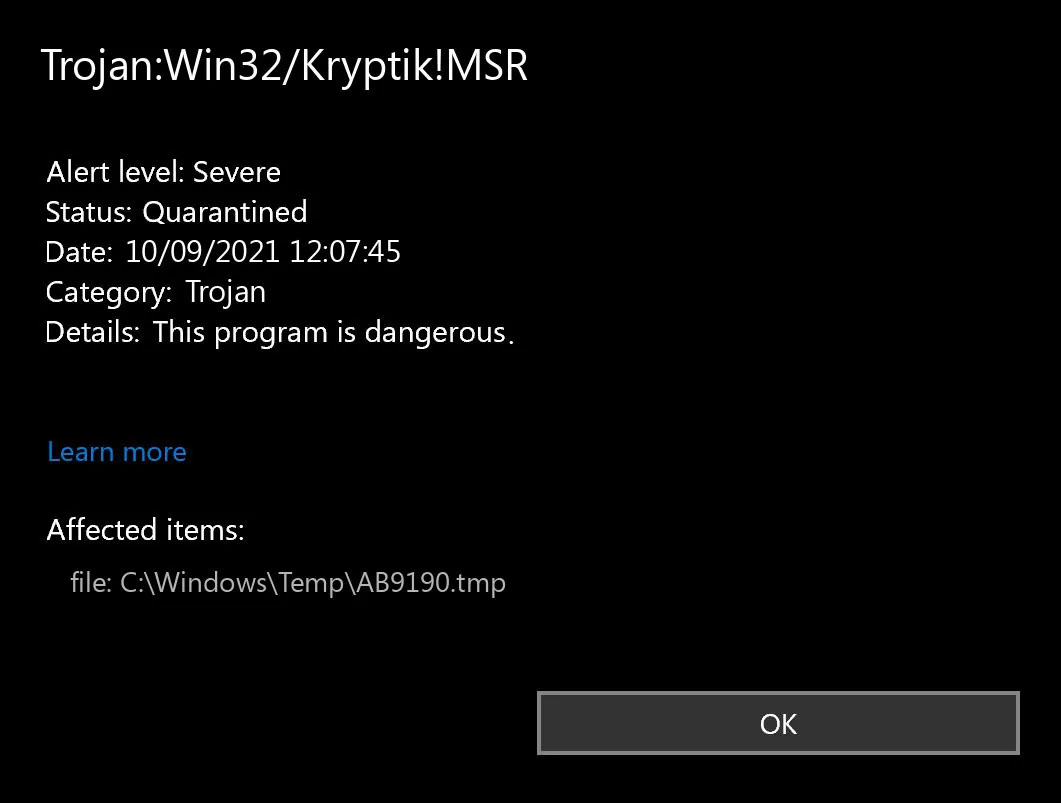 Trojan.Kryptik creates the following registry entry or registry entries:
 Error Causes
 Before we move on to the discussion of fixing the underlying causes for error 103, it is important to understand all those programs that are most likely to generate this error. A list of all such programs is outlined below as follows.