As of late, users have been reporting about getting an error saying, SAFE_OS phase error during Replicate_OC operation when they tried to upgrade their Windows 7 or Windows 8.1 computers to Windows 10. Although the error code in this problem could vary, in this situation, it states:
0xC1900101 – 0x20017, The installation failed in the SAFE_OS phase error during Replicate_OC operation
To fix this issue, you need to follow the given options below. But before you do, you need to create a System Restore point first so that if anything goes wrong, you can always undo the changes you’ve made.
According to security experts, one of the main causes of this error is the KB3064209Windows Update. This particular update is the one responsible for updating the CPU Microcode for processors made by Intel. Thus, if you don’t use an Intel processor, you can skip this option and proceed to the next one. However, if you use Intel, make sure to follow the instructions in this option carefully. Take note that in this solution, C: partition is referred to as the OS Partition while H: partition is referred to as the USB Pen Drive.
dism /Mount-Image /ImageFile:H:sourcesboot.wim /index:1 /MountDir:C:UsersUserDesktopmount
C:UsersUserDesktopmountWindowsSystem32mcupdate_GenuineIntel.dll
dism /Unmount-Image /MountDir:C:UsersUserDesktopmount /commit
Chances are, some unnecessary files in your computer might be interrupting the installation process which explains why you’re getting SAFE_OS phase error during Replicate_OC operation instead so you need to perform a Disk Cleanup in order to fix the problem.
Every now and then, drivers get corrupted or outdated so it’s no surprise that they conflict with the operating system and cause errors like the SAFE_OS phase error during the Replicate_OC operation. To fix the problem, you need to update all your drivers. Follow the steps below to update your drivers.
Note: You also have the option to go directly to the website of your graphics card manufacturer and check if there’s a new update – if there is, download it.
Aside from outdated drivers, outdated BIOS could also be the reason why you’re getting the SAFE_OS phase error during Replicate_OC operation which is why you need to update your system’s BIOS in order to resolve the issue.
There are many times when all the components of the RAM weren’t able to be used by the computer so you need to check the RAM modules.

Code 42 Error is referred to as a Device Manager Error code. Before we explain what this code indicates, it is important to understand what ‘Device Manager’ is and its functions.
Device Manager is basically a Windows tool that helps manage devices attached to the system such as the Printer, Scanner and the USB Device. The Device Manager Error code 42 occurs when a duplicate device is detected.
Error Code 42 is displayed in the following format:
“Windows cannot load the device driver for this hardware because there is a duplicate device already running in the system. Code 42”
 Error Causes
Narrowing down to one particular cause for error code 42 is not virtually possible because it may be triggered due to many underlying reasons. These include:
No matter what the reason for this error code,, to avoid inconvenience and to ensure proper hardware performance, it is advisable to fix it right away without any delay.
If you’re not technically sound, the code 42 message display can panic you. But don’t worry, the error message sounds complex but it is quite easy to fix.
To resolve code 42 in a few minutes, simply try the methods given below. These methods are easy-to-perform, effective and more importantly require no technical expertise.
Code 42 can pop up due to some temporary glitch in the Device Manager. By simply restarting your PC, you can resolve this problem.
Therefore, first things first, restart your system. However, in case it doesn’t work out, try other methods.
Launch the troubleshooting wizard to find the underlying problem and resolve it accordingly. To do this, proceed with the following steps:
Another method to fix code 42 is to use the System Restore tool to restore your PC to its previous working state before the error popped up. To do this,
Creating backup manually can be time-consuming and a painstaking task. The best way to create backup and restore your PC to its normal state is to download DriverFIX.
It is a user-friendly device driver management software that helps create data backup automatically and simultaneously restores your PC back to its normal working state in a few seconds.
This software is compatible with all Windows versions.
Click here to download DriverFIX on your system to resolve error code 42.
 Error Causes
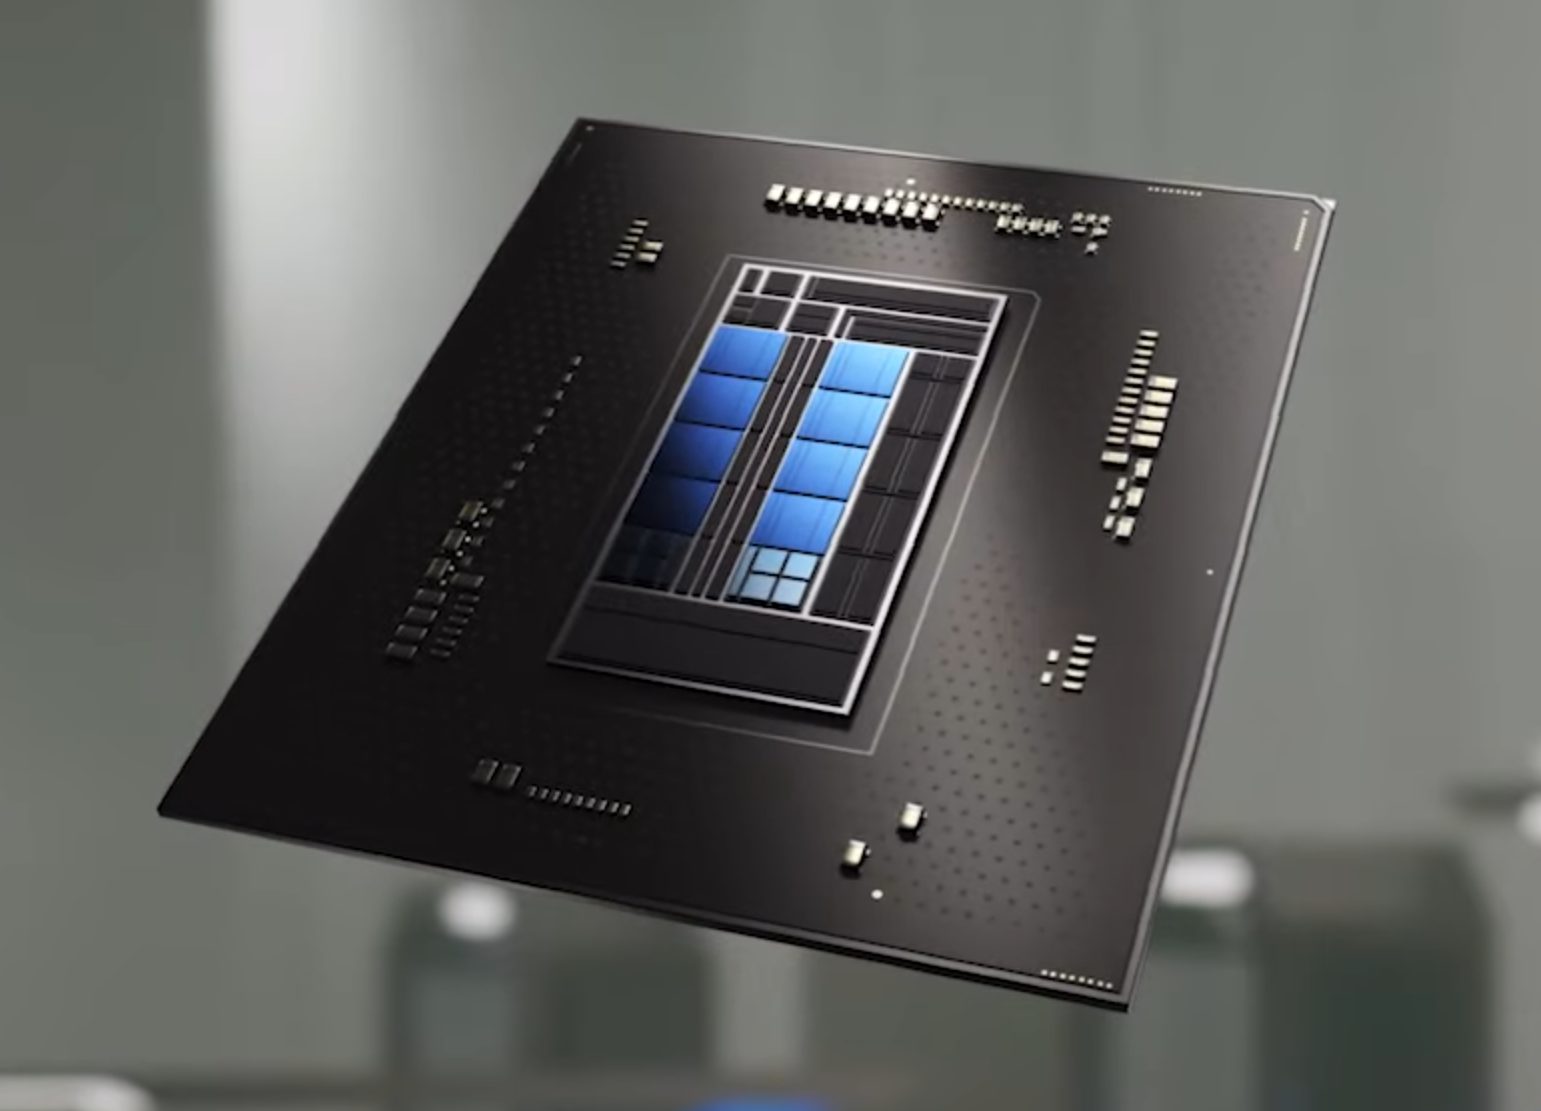 Now before you go on the bandwagon on bashing Intel itself take note that it is not Intel’s fault at all. The issue that arises is mostly due to DRM software and how it works. As you might know or not, Alder Lake has two sets of cores, standard performance cores, and power cores, and with Intel’s Thread Director on-chip right cores will be used for the right tasks, and here lies the issue.
DRM software might detect Thread Director as something suspicious and malicious, and then cut access to the game because of this. Intel, of course, has reached DRM manufacturers and places documentation about how software should be developed with this hybrid technology in mind.
Of course, newer games will be updated if needed and everything will work fine, also games on GOG will work fine because of GOG’s policy of no DRM store but some older ones might be left in limbo. They could work fine but DRM might be triggered and prevent them from loading, usually, game developer itself removes DRM protection after some time but that is not really always the case and there is a chance that some games might simply just not work on Alder Lake CPU only because of DRM protection.
Error Causes
Now before you go on the bandwagon on bashing Intel itself take note that it is not Intel’s fault at all. The issue that arises is mostly due to DRM software and how it works. As you might know or not, Alder Lake has two sets of cores, standard performance cores, and power cores, and with Intel’s Thread Director on-chip right cores will be used for the right tasks, and here lies the issue.
DRM software might detect Thread Director as something suspicious and malicious, and then cut access to the game because of this. Intel, of course, has reached DRM manufacturers and places documentation about how software should be developed with this hybrid technology in mind.
Of course, newer games will be updated if needed and everything will work fine, also games on GOG will work fine because of GOG’s policy of no DRM store but some older ones might be left in limbo. They could work fine but DRM might be triggered and prevent them from loading, usually, game developer itself removes DRM protection after some time but that is not really always the case and there is a chance that some games might simply just not work on Alder Lake CPU only because of DRM protection.
Error Causes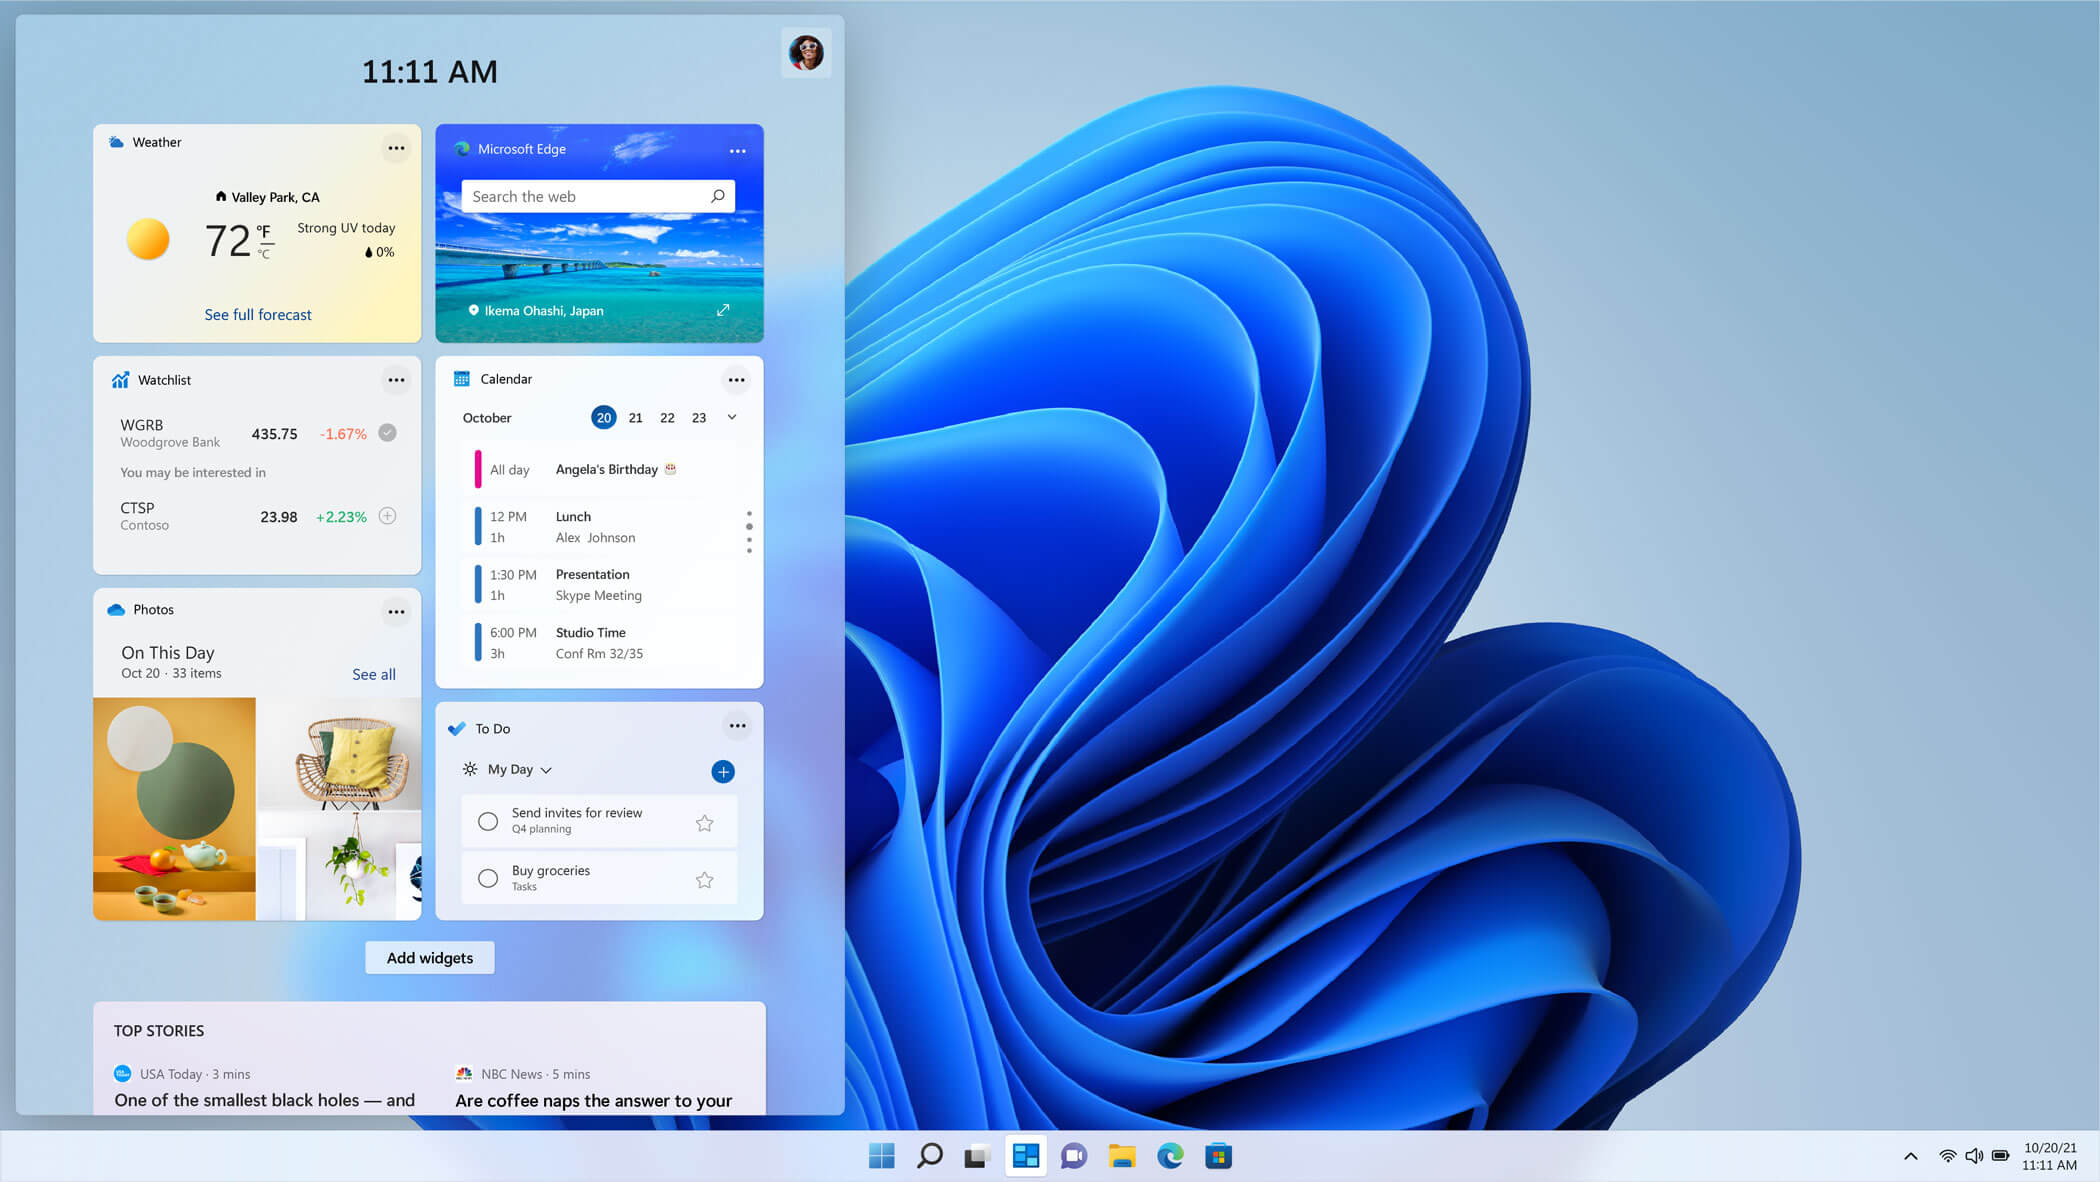 The new widget's menu inside Windows 11 is generally met with a positive attitude but there are still users which prefer not to have it. Luckily for them, Microsoft included a very easy way to turn the widgets menu on or off. Follow this easy guide to see how.
Right-click on the widget button in the taskbar and click on Hide from Taskbar and that’s it
Alternatively, you can also turn it off via the setting app.
Go to the settings app and navigate to Personalization > Taskbar > Taskbar Items and flipping the switch beside Widgets to Off.
Please note that both methods will only hide the button to toggle widgets menu, at the current state there is no really a way to actually turn it off, only hide it and make it not available to bring it up.
The new widget's menu inside Windows 11 is generally met with a positive attitude but there are still users which prefer not to have it. Luckily for them, Microsoft included a very easy way to turn the widgets menu on or off. Follow this easy guide to see how.
Right-click on the widget button in the taskbar and click on Hide from Taskbar and that’s it
Alternatively, you can also turn it off via the setting app.
Go to the settings app and navigate to Personalization > Taskbar > Taskbar Items and flipping the switch beside Widgets to Off.
Please note that both methods will only hide the button to toggle widgets menu, at the current state there is no really a way to actually turn it off, only hide it and make it not available to bring it up. GameGuard Execute Error: 115 ‘There are multiple events of game execution or GameGuard is already running. Close the game then try again.’
Error Causes It is not a secret that Windows 11 is the most secure Windows ever created, well at least up until now. It is packed with advanced security features like S-mode, Secure Boot, and Trusted Platform Module (TMP 2.0). All these new security features that Microsoft has advertised made people question are enough for security or do you still need third-party Antivirus software.
In order to get an answer to this question, let us first take a detailed look at what each one of them does, and then we will give you our opinion on a given subject.
It is not a secret that Windows 11 is the most secure Windows ever created, well at least up until now. It is packed with advanced security features like S-mode, Secure Boot, and Trusted Platform Module (TMP 2.0). All these new security features that Microsoft has advertised made people question are enough for security or do you still need third-party Antivirus software.
In order to get an answer to this question, let us first take a detailed look at what each one of them does, and then we will give you our opinion on a given subject.