There are times when an IT admin has to set up multiple IP addresses to the same network adapter. Setting up multiple IP addresses in scenarios like hosting various SSL sites, speed up traffic exchanges can help in avoiding being blacklisted in the SPAM filters, and so on. So in this post, you will be guided on how exactly you can assign multiple IP addresses to the network adapter in your Windows 10 computer.
There are several ways to assign multiple IP addresses in a network adapter. You can do it using the Network Adapter settings or using the Netsh utility, as well as the Windows PowerShell utility. To get started, refer to each one of the options provided below.
Option 1 – Assign multiple IP addresses via Network Adapter settings
Go to Settings first and from there, select Network & Internet, and then click on the Change adapter options. This will show you a list of both the physical and virtual network adapters in your computer.
Next, double click on the Ethernet adapter where you want to assign the multiple IP addresses and then click on the Properties button.
After that, you should see the Ethernet properties where you have to select the “TCP/IPv4” or “TCP/IPv6”.
Once done, click on the Properties button and then select the “Use the following IP address” option under the General tab.
Now you have to add an IP address, subnet, and default gateway to the network adapter and then click on the Advanced button.
This will open the Advanced TCP/IP settings where you have to click on the Add button so you can add an IP address. From here, you can keep adding multiple IP addresses to the network adapter. You also have the option to add multiple gateways or DNS IP addresses.
Once done, if you execute the “ipconfig” command, you should see all the secondary IP addresses listed.
Option 2 – Assign multiple IP addresses using the Netsh command
Another way to assign multiple IP addresses to your network adapter is via the Netsh command.
In the Start Search, type “command prompt” and from the search results that appear, right-click on Command Prompt and then select the “Run as administrator” to open it with admin privileges.
If a User Account Control or UAC prompt pops up, just click on Yes.
After that, run this command: Netsh int ipv4 add address name="Local Area Connection" 192.168.100.100 255.255.255.0 SkipAsSource=True
Note: You have the option to set “SkepAsSource” since it depends on your needs using the Netsh command. When it is configured as true, the IP address won’t be used by the OS for outbound connections.
Option 3 – Assign multiple IP addresses via Windows PowerShell
Tap the Win + X key combination and click on the “Windows PowerShell (Admin)” option.
After opening Windows PowerShell as admin, use the NetIPAddress command so you can add more IP addresses. Execute this command: Get-NetIPAddress | ft IPAddress, InterfaceAlias, SkipAsSource
Next, assign an IP address to a network adapter by executing this command: New-NetIPAddress –IPAddress 192.168.100.100 –PrefixLength 24 –InterfaceAlias “vEthernet” –SkipAsSource $True
Now to modify the “SkipAsSource” parameter, use this command: Get-NetIPAddress 192.168.100.100 | Set-NetIPAddress -SkipAsSource $False
Driver state power failure error can be linked to three things happening in your computer. Incorrect power settings, driver issues, or incompatible hardware. Sadly when this error happens you only receive a blue screen of death with this message:
Sadly receiving this blue screen does not really explain which of the three cases is the correct one and causing the unwanted issue.
That being said, this article will not offer you a direct solution this time, it will be more like a guide on what to check and to do in order to remove this error, reason for this is the nature of the error itself.
If your computer is booting properly and you can enter Windows without issues the first thing you can try is going into power options and set it to high performance, if you are on a laptop set high performance both ways, when plugged and when on battery. Power performance settings can reflect on some hardware and can cause mayhem. After setting reboot the computer and see if the error repeats itself.
If the error persists go to the device manager and see if there is hardware that has any kind of warning beside it. If there is, update the driver or remove the driver of the device to see if this fixes the issue.
If all of the previous two things fail there is another thing you could try. Turn off your computer and disconnect all hardware except the most basic one. Now, this may take a long period of time but boot your computer and then repeat this process but each time add a new piece of hardware to eliminate and find which one is causing the issue. When found try to see if it is repairable through driver updates or get a new device.
When you update or upgrade your computer to Windows 10, the setup will look for the compatibility of both the hardware and software. And in this process, if suddenly got an error message saying, “Some apps need to be uninstalled” or “You need to uninstall a program in order to continue”, you have to look for the program(s) that might be causing the compatibility issues. But worry not as this post will help you resolve the issue. Simply follow the given suggestions below.
Option 1 – Look for the incompatible programs
There are times when Windows 10 will point out the programs that are incompatible with Windows 10. In this situation, just click on the Uninstall and continue button and then wait for the process to be completed.
For more information, you can check out the official site Ready for Windows by Microsoft. This site can help you determine which software versions are compatible with Windows 10 and which ones are not. All you have to do is select the Windows 10 version and type your App name, after that, you will see the results about its compatibility. Thus, it’s now easier for you to figure out which software is causing an issue and if there is a new updated version available that you can install instead.
Option 2 – Try to install the Windows Update in a Clean Boot State
Putting your PC in a Clean Boot state can also help you install Windows Updates or Upgrades without any trouble because, during this state, you can start the system with a minimum number of drivers and startup programs that will surely help you in isolating the root cause of the issue.
Log onto your PC as an administrator.
Type in MSConfig in the Start Search to open the System Configuration utility.
From there, go to the General tab and click “Selective startup”.
Clear the “Load Startup items” checkbox and make sure that the “Load System Services” and “Use Original boot configuration” options are checked.
Next, click the Services tab and select the “Hide All Microsoft Services” check box.
Click Disable all.
Click on Apply/OK and restart your PC. (This will put your PC into a Clean Boot State. And configure Windows to use the usual startup, just simply undo the changes.)
After that, try to install the Windows Updates or upgrade again.
Option 3 – Try creating a new user account
Creating a new user account can resolve the “Some apps need to be uninstalled” error when upgrading or updating your Windows 10 PC. All you have to do is create a new admin account and initiate the setup. And this is a new user account, there will be no third-party applications installed on your computer. Thus, the installation should go through without any trouble. And in case you’ve already installed programs for that user, you just have to uninstall them all and then re-run the setup.
Option 4 – Perform a clean install
If none of the options worked, you can try to clean install Windows 10. Just make sure that you have the ISO from the official Microsoft Website and then a bootable USB drive to install Windows 10 again. Take note that this will delete all the data from your drive where Windows 10 was installed previously.
A couple of Windows 10 users have reported an error on domain-connected systems when they tried accessing their computer systems remotely. This occurs when the network level authentication or NLA is enabled on the computer. If you are one of these users, you better keep reading as this post will guide you on how you can fix this error. To resolve this issue, there are several workarounds you can try. You can either disable this option directly via properties or you can also modify some registry entries or sub-keys and restart the system.
When you encounter this problem, an error message pops up that states:
“The remote computer that you are trying to connect to requires network level authentication (NLA), but your windows domain controller cannot be contacted to perform NLA. If you are an administrator on the remote computer, you can disable NLA by using the options on the Remote tab of the System Properties dialog box.”
Or you could also see this error message instead:
“The remote computer requires Network Level Authentication, which your computer does not support. For assistance, contact your system administrator or technical support.”
Before you proceed in troubleshooting the problem using the options provided below, you need to create a backup for your data or system restore point as well as make a copy of any registry entries you are going to modify.
Option 1 – Disable Network Level Authentication via Properties
The NLA is a useful tool that provides your computer with extra security and helps network administrators in controlling who can log into the system with just a click of a single box. However, there are times when it can become a disadvantage and could prevent you from accessing your system remotely. Thus, you need to disable it using Properties.
Tap the Win + R keys to open the Run dialog box.
After that, type in “sysdm.cpl” and tap Enter to open System Properties.
Next, go to the remote tab and uncheck the checkbox for the “Allow connections only from computers running Remote Desktop with Network Level Authentication (recommended)” option.
Now click the Apply button to save the changes made and exit System Properties and then try logging into the remote computer again and see if the problem is fixed or not.
Option 2 – Disable NLA via Registry Editor
Note that you can only use this option if the first one didn’t work for you. Take note that this option will require you to restart your PC completely which could mean some downtime if your computer is running a production server. So make sure to save all your work.
Tap the Win + R keys to open the Run dialog box and then type in “Regedit” in the field and tap Enter to open the Registry Editor.
From there, click on File > Connect Network Registry and input the details of the remote computer and then try to connect.
Navigate to the path below after you’re connected:
HKLM >SYSTEM > CurrentControlSet > Control >Terminal Server > WinStations > RDP-Tcp
After that, change the values given below to “0”
SecurityLayer
UserAuthentication
The navigate to PowerShell and execute this command – restart-computer
Option 3 – Disable NLA via PowerShell
PowerShell allows you to tap into the remote computer and once you’ve targeted the machine, you can execute the commands given below to disable NLA.
Tap the Win + S to open Search and then type in “PowerShell” in the field. Right-click on the related result and select the “Run as administrator” option.
After opening PowerShell, execute the command below:
Once in the PowerShell, execute the following command:
$TargetMachine = “Target-Machine-Name”(Get-WmiObject -class “Win32_TSGeneralSetting” -Namespace rootcimv2terminalservices -ComputerName $TargetMachine -Filter “TerminalName=’RDP-tcp'”).SetUserAuthenticationRequired(0)
Note: In the command given, the “Target-Machine-Name” is the name of the machine you are targeting.
Option 4 – Use the Group Policy Editor to disable NLA
Another option you can use to disable NLA is via the Group Policy Editor. This is ideal for you if you are blanket disabling. Just take note that the Group Policy Editor is a powerful tool and that if you make some mistakes by changing values you have no clue about, you can render your computer useless so make sure that you create a backup for all the values before you proceed.
Tap the Win + R keys to open the Run dialog box.
Then type in “gpedit.msc” and tap Enter to open the Group Policy Editor.
From there, go to this path – Computer Configuration > Administrative Templates > Windows Components > Remote Desktop Services > Remote Desktop Session Host > Security
After that, search for “Require user authentication for remote connections by using Network Level Authentication” and set it to disabled.
Open Source Software is developed, tested, or improved through public collaboration and distributed with the idea that the must be shared with others, ensuring an open future collaboration. In other words, it is free software developed and maintained by public contribution. Many open-source projects have reached performance and usability like their paid alternatives, some have even surpassed them. Here we will explore open source alternatives to paid applications, you will find alternatives to paid ones that aim to do the same task.
LINUX - alternative to Windows or macOS
When it comes to the operating system, Windows and macOS mostly dominate the home market, but if you go a little deeper into the OS world you will hear this talk about LINUX and its distributions. LINUX is an open-source operating system, it has many various distributions aimed at different types of users and they are also open source as well. Its security and account privileges, as well as complete control over it, make it one of the best-operating systems in the world, many servers that run websites today use LINUX as their choice of operating system mostly due to its superior security features. If LINUX is good enough for big web companies, I am sure it will be at least satisfactory to you as well. Get your LINUX distribution here.
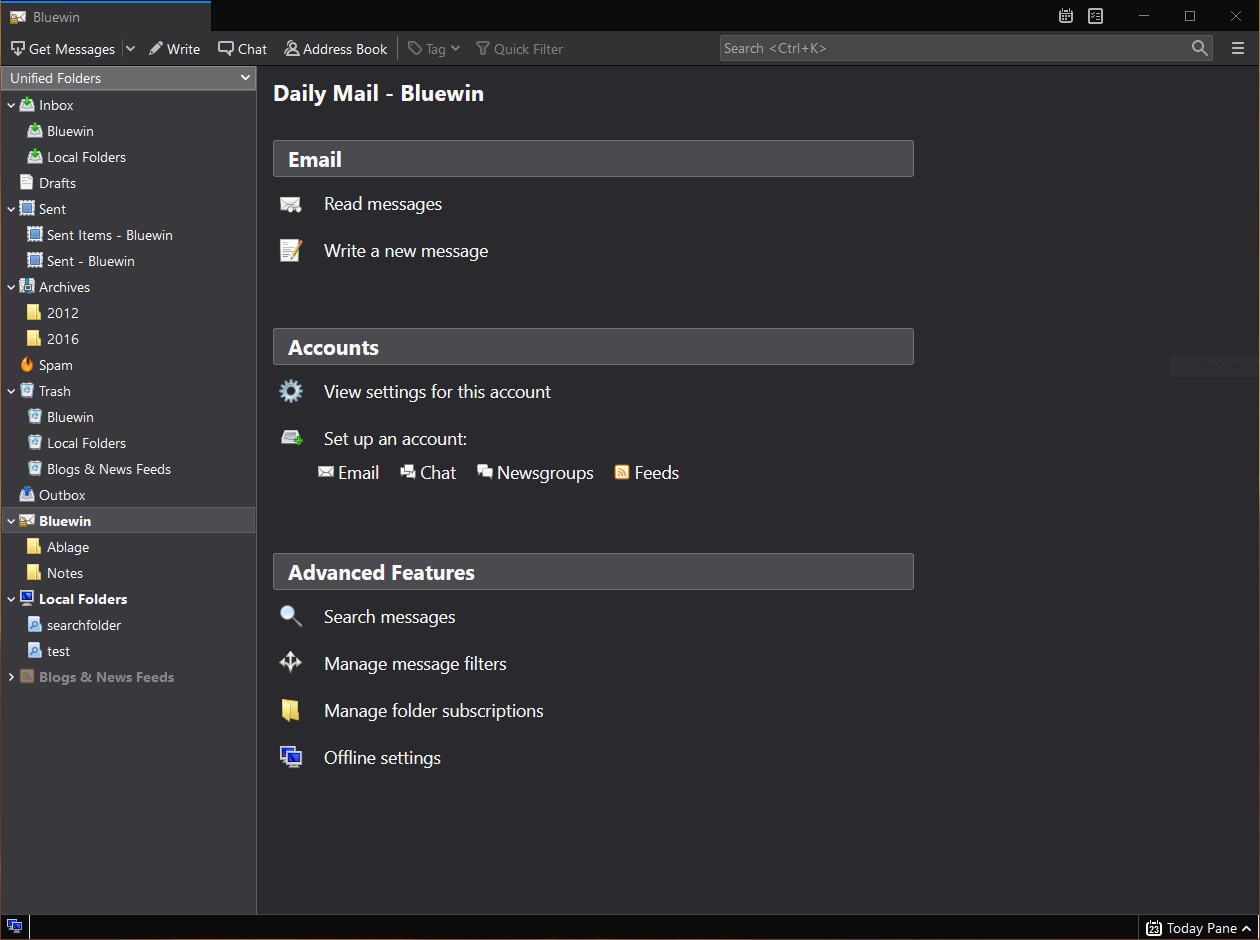
Thunderbird - alternative to outlook
A great alternative to any mail client actually, connect all of your emails into thunderbird and use it as the centralized email client for all of your email needs. Thunderbird does not lack any features that its paid counterparts have and overall it is a great application worth installing. Grab it from here.
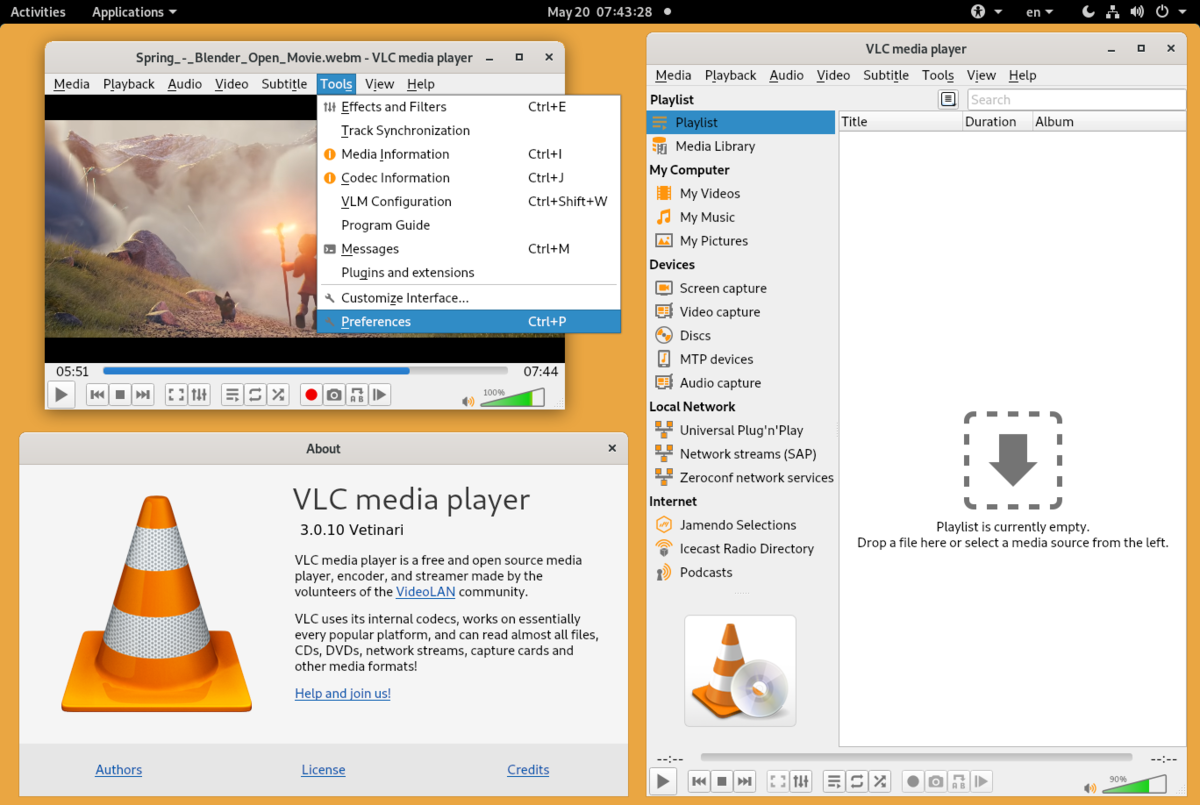
VLC media player - media player able to play almost anything
Are you looking for a great media player alternative to Windows media player or iTunes? Look no further, VLC is a lightweight media player that can play almost any file type, it is customizable and packed with features even its paid counterparts would envy. Its playback features are unmatched by other applications and once you try it, I am sure you will hardly go back from it. Give it a go and grab it from here.
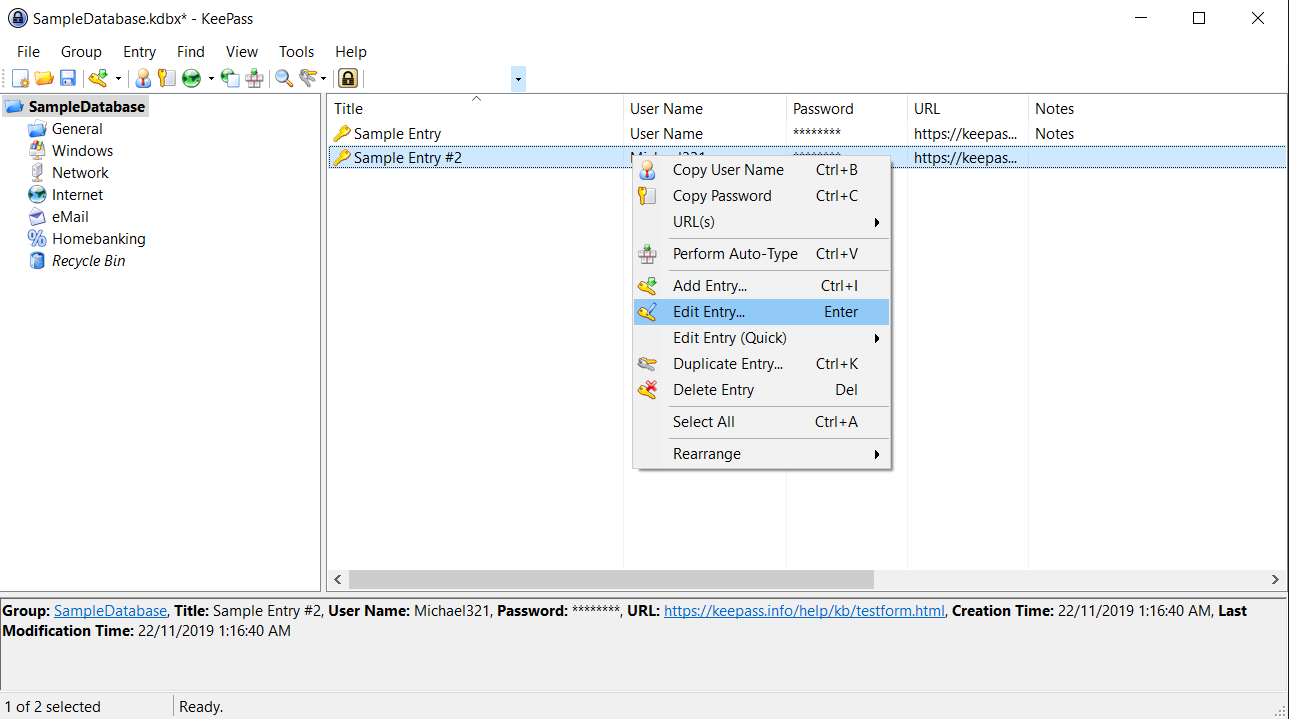
KeePass - password manager
Keepass is a simple, user-friendly lightweight password generator and manager, it uses industry-standard AES encryption and two-factor authentication to keep the details of your accounts safe and secure. you can store him and the database on a USB stick for safekeeping making it a great one to use on a go, wherever you need it. Get it from this link.
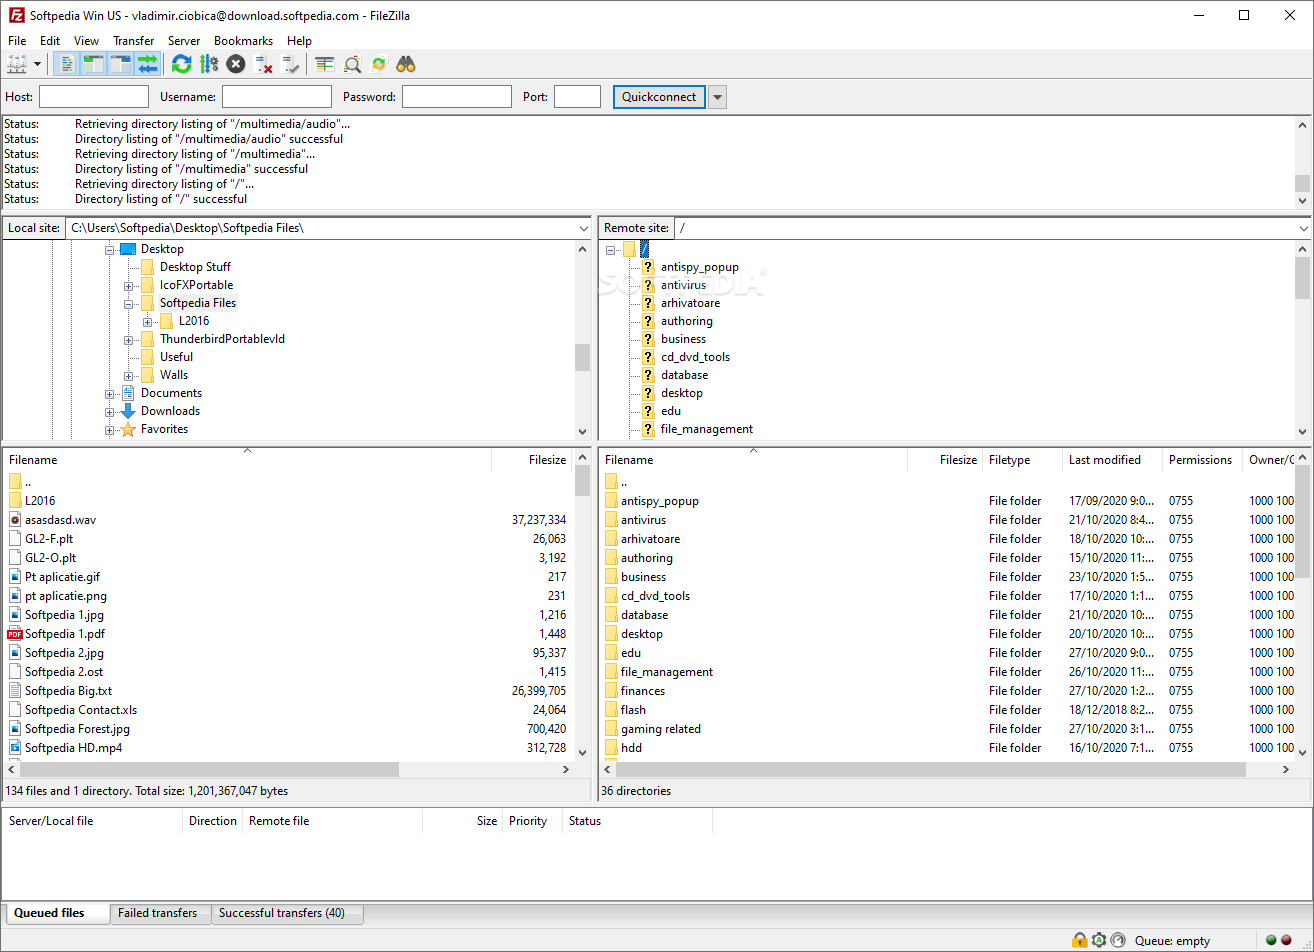
FileZilla - FTP client
A lightweight and future-rich FTP solution. It supports remote file editing and resuming of lost transfers, overall great application which anyone who needs this type of software should not overlook. Download it from its official website.
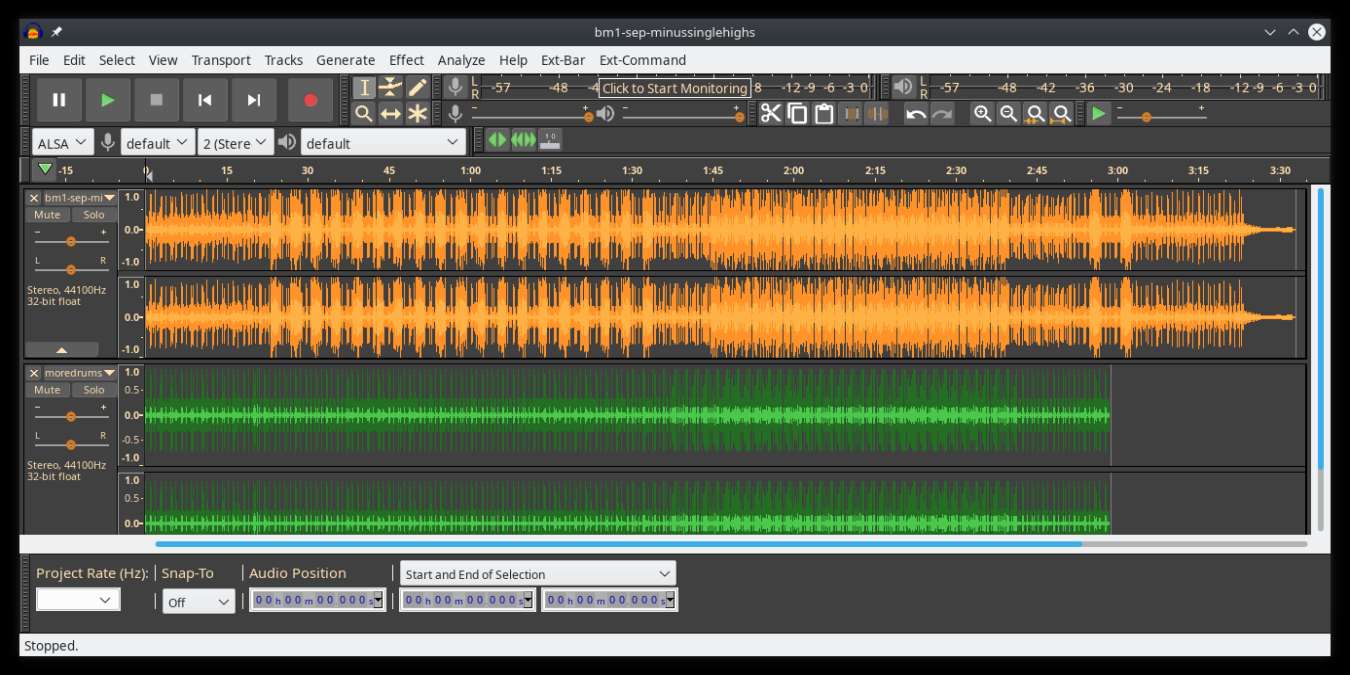
Audacity - alternative to Audition, Fl, apple logic pro,...
Digital audio editor and recording computer software with some great features like recording audio from multiple sources, post-processing of all types of audio, including podcasts by adding effects such as normalization, trimming, and fading in and out. Audacity has a great following and it is well documented, easy to learn and use. Grab it from here.
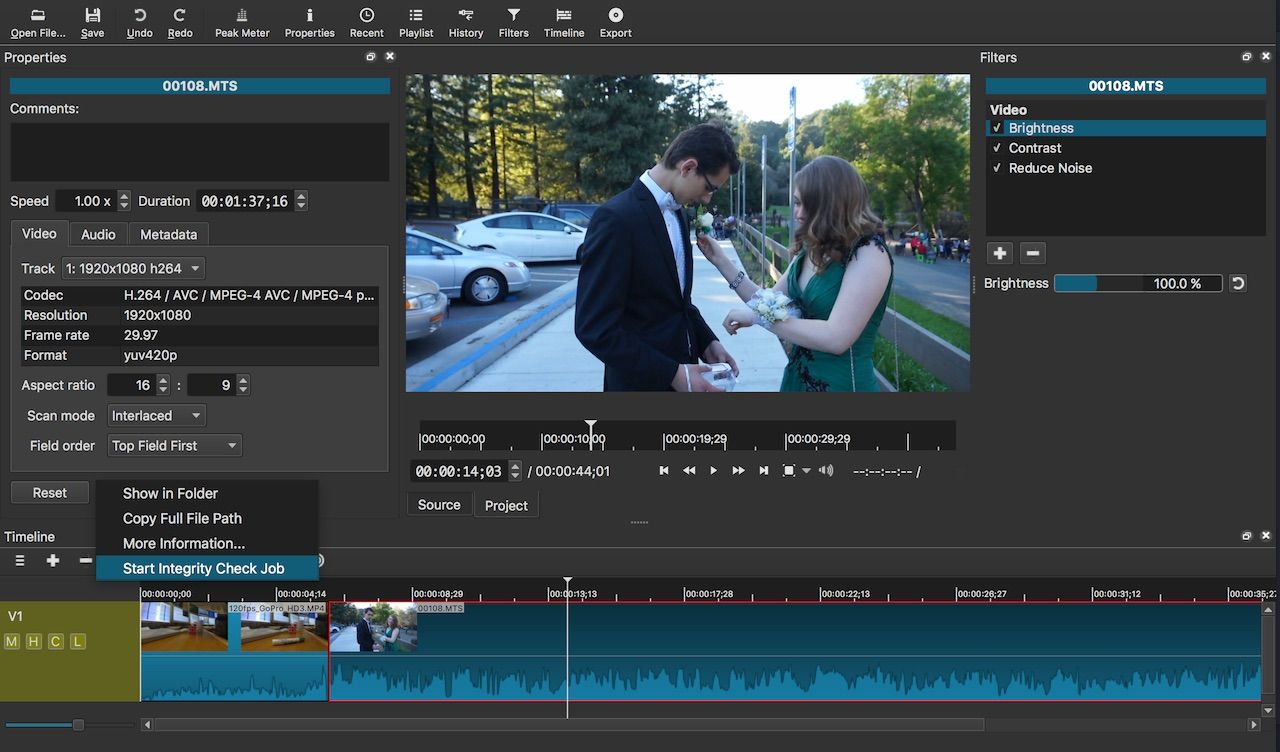
Shortcut - alternative to adobe premiere, avid media composer, DaVinci resolve
The shortcut is a video editor application that demonstrates how long an open-source project can go if enough dedication and work are put into it, started as not so great and not so feature-packed in beginning, today it can easily contend with its paid counterparts with its non-destructive editing, color gradation, keyframing, etc. It is running and using FFmpeg, an open-source video framework that lets it open and works with virtually any video or audio format. Download it from here.
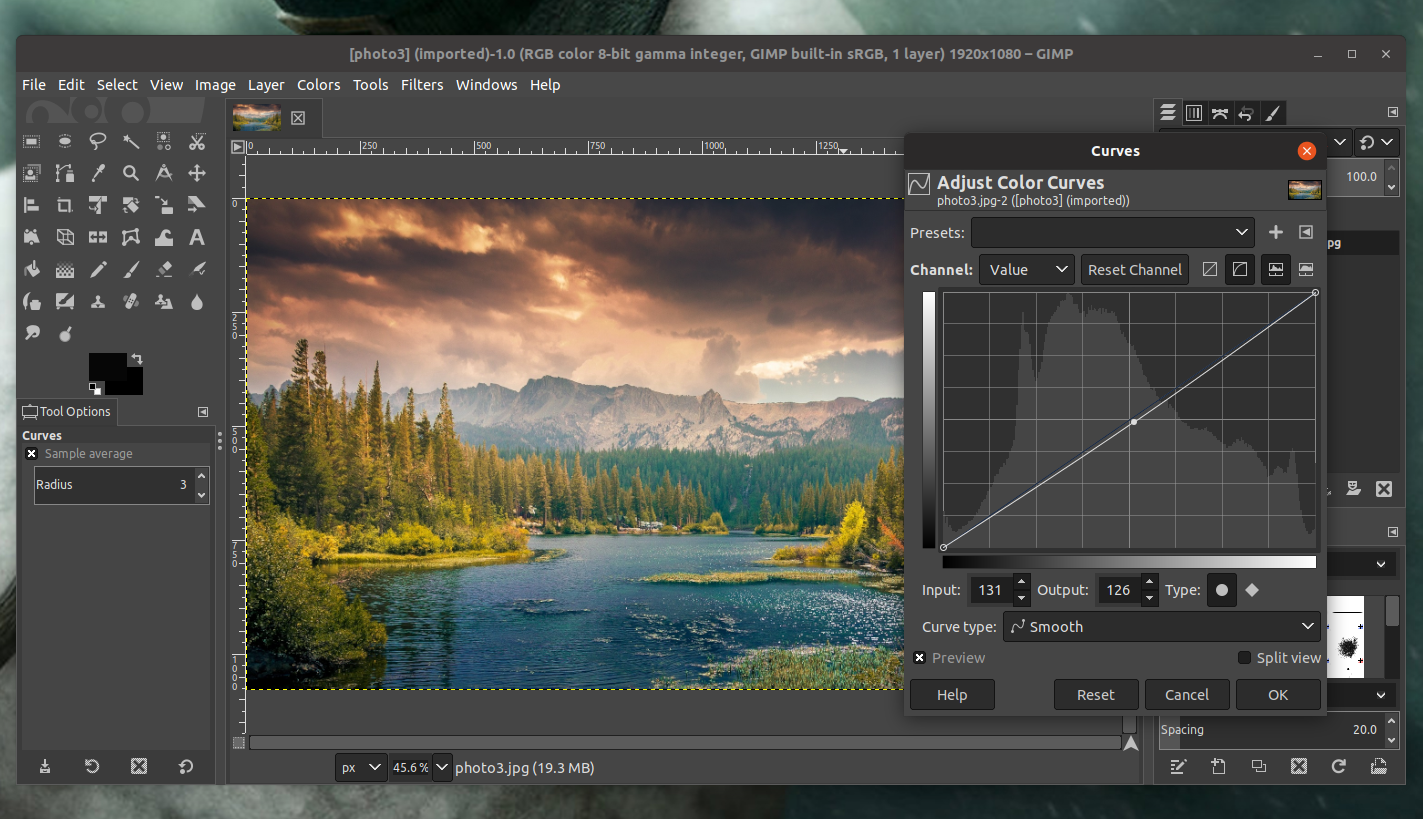
Gimp - alternative to adobe photoshop
This one has been around since 1996 and it is one of the best maintained open source applications. With its features like built-in support for layers, filters, and automatic photo enhancement. It also makes it easy to create new graphic design elements and you can really take things to the next level by downloading plug-ins created by the broader GIMP open source community. Gimp is the best pixel manipulation-free tool on the market and with the right skills, it can go side by side with adobe's flagship product. Check it out here.
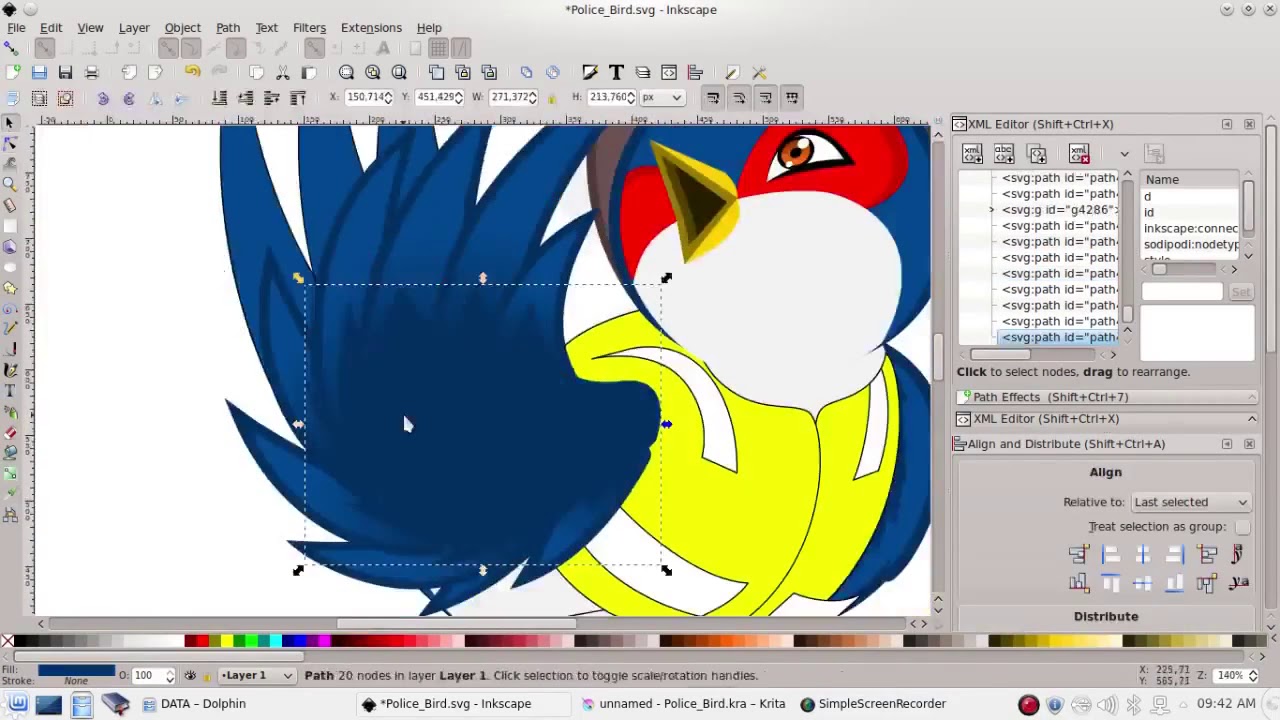
Inkscape - alternative to adobe illustrator, Corel draw
What is Gimp for photoshop that is Inkscape for illustrator. This free open-source vector graphic tool does not fall behind with its tools in comparison to its paid counterparts and I would highly recommend it for anyone. Features like alpha blending, cloning on-point path manipulations can assure that you can create anything you want inside it. get your copy from here.
Libre office - alternative to MS office
Libre office is one of the most quality office suite there, it has spreadsheets, word processor, presentation app, calculation applications, database application, and diagrams. All these applications create and make one great suite that can open Microsoft Office files and even work with them naturally. Completely free and active in development there is no reason, not t use it in your daily routine. Go to its official website and download it for a test run.
Amarok - alternative to iTunes
Amarok is an audio player with a broad range of features like integration with multiple Web audio services, dynamic playlists, bookmarks, scripting, context view, and more. get it from here.
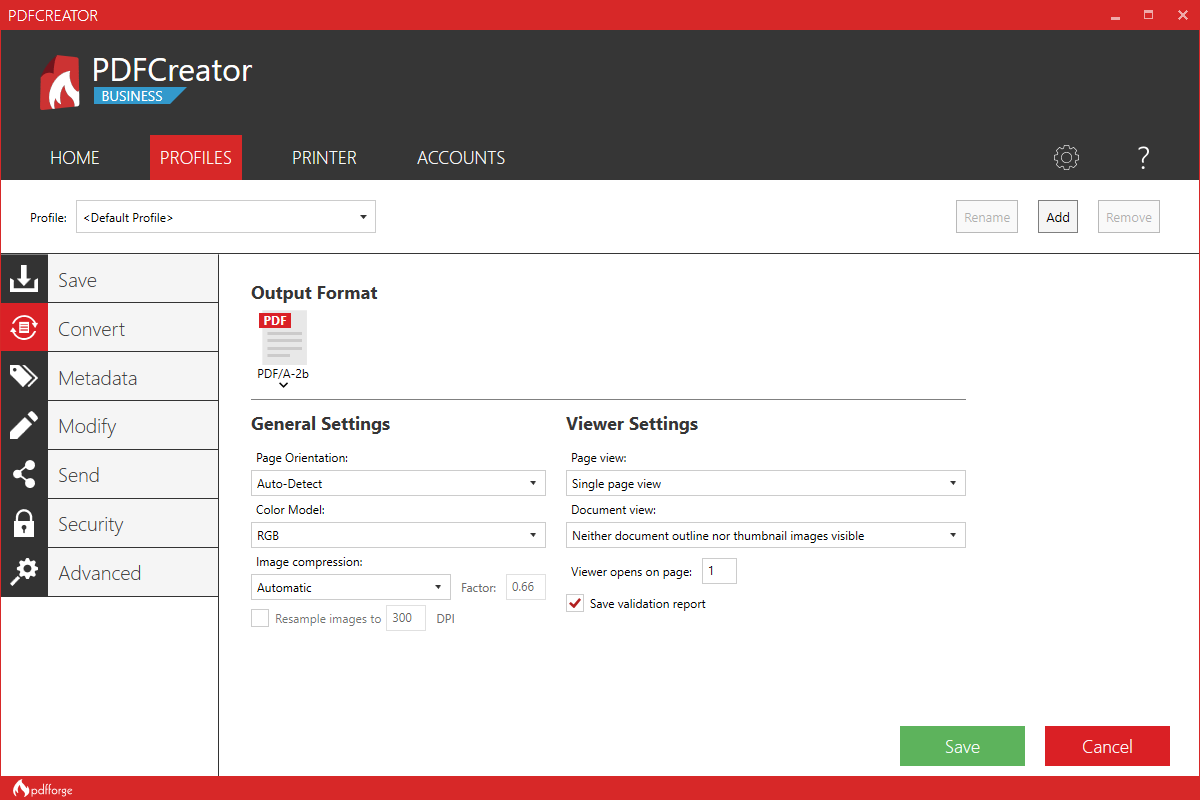
PDF Creator - alternative to adobe acrobat
As its paid counterpart PDF Creator lets you make PDF files from any application that could print. It works the same way as adobe acrobat and supports encryption and digital signature, it lacks in PDF forms a little but if that is not something that you need, it is a great alternative to acrobat and completely free. Download it from here.
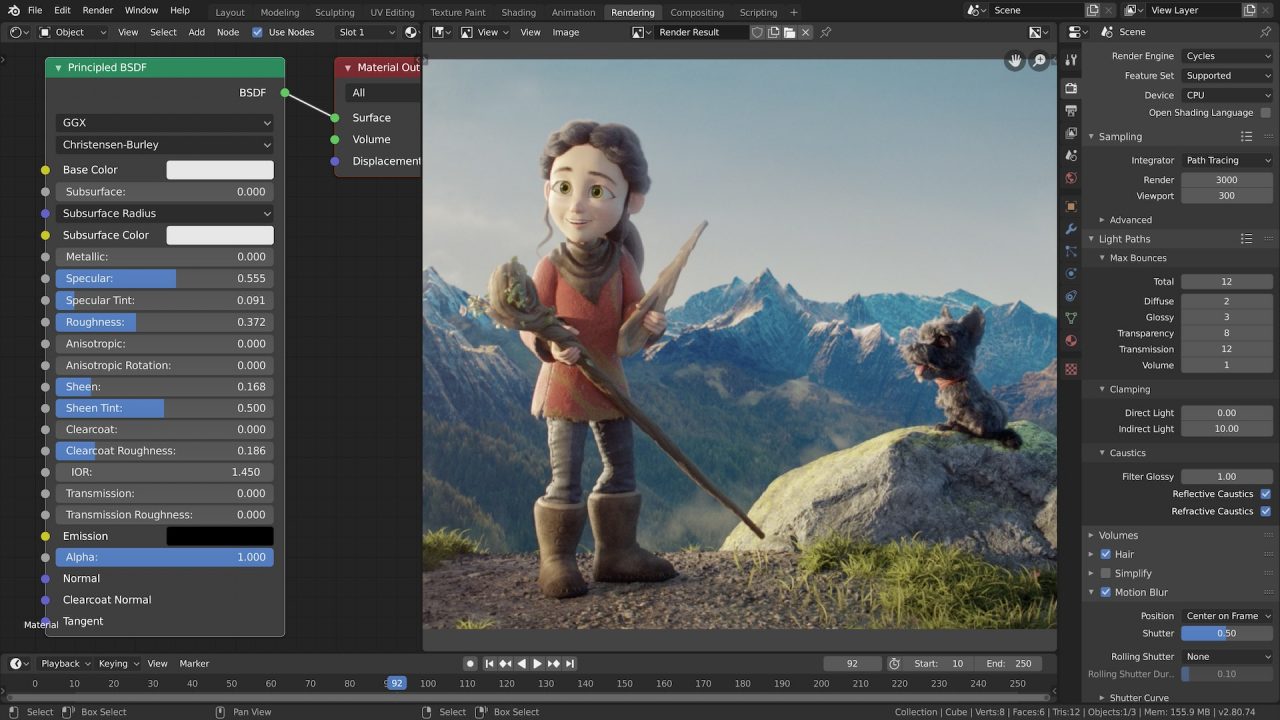
Blender - Alternative to Autodesk Maya, Autodesk 3dmax, foundry Modo, cinema4d,...
3D modeling and animation software is very expensive. From the point of home user long it has been lost dream to have industry quality 3D modeling, animation, and rendering application for an affordable price. Blender has made that dream a possibility, completely free and open-source this package offers everything that its paid counterparts offer, some could even argue that since its open-source nature and availability of full code it offers even more. Why you are still here? Go get it here.
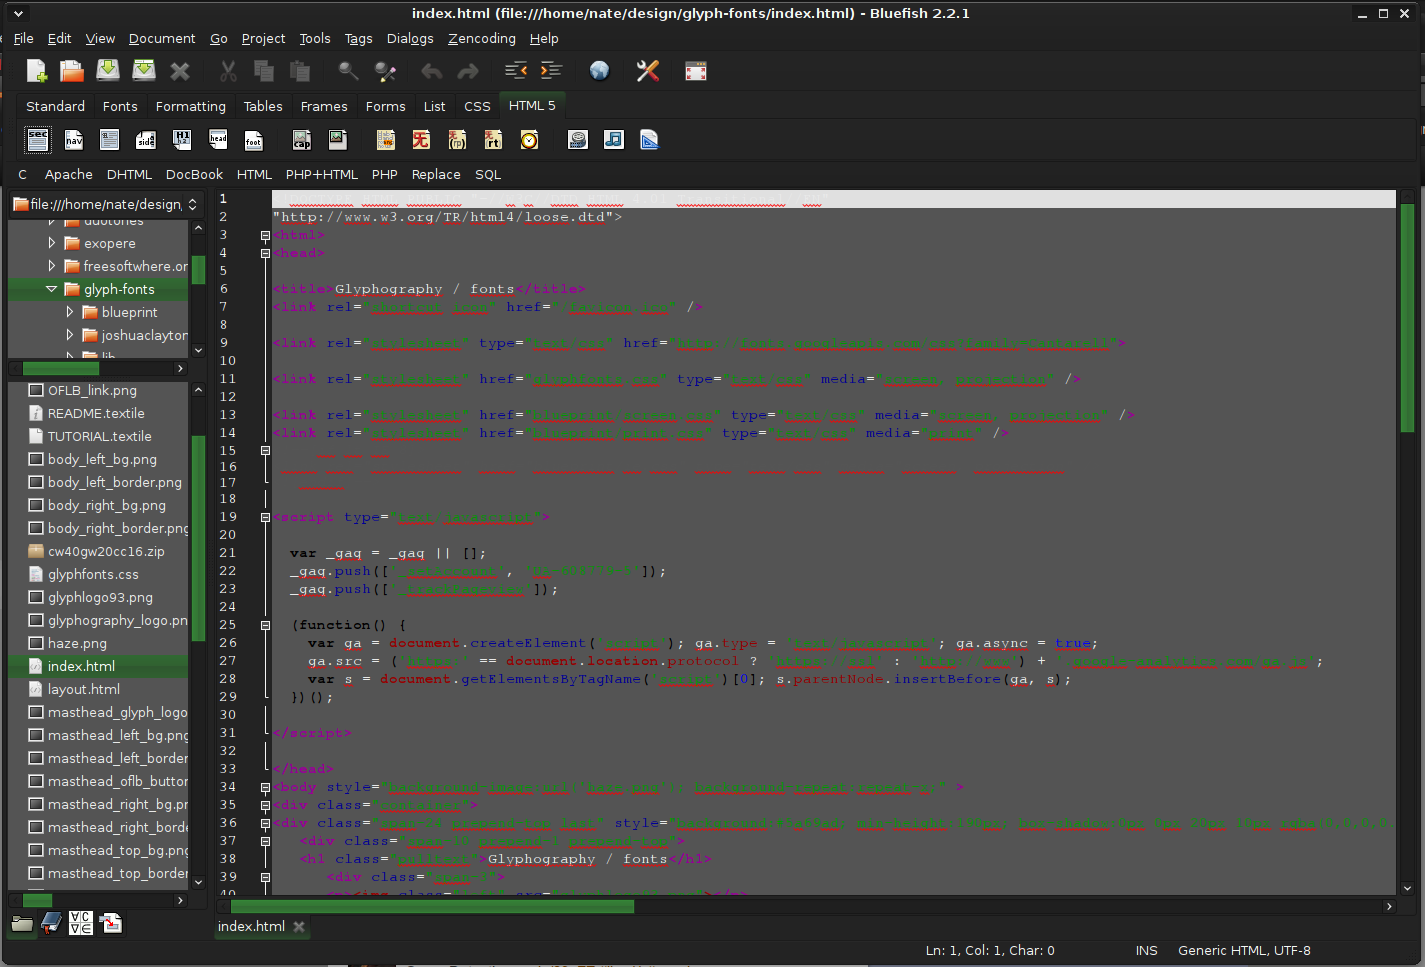
Bluefish - alternative to Adobe Dreamweaver
When it comes to web editing and code editing applications, notepad ++ seems like a person go-to application, but if you prefer a more professional suited IDE for web development check out Bluefish, auto-filling, code syntax, and constant development make sure that this application will not go away soon and it is worth investing your time in it. Get it from here.
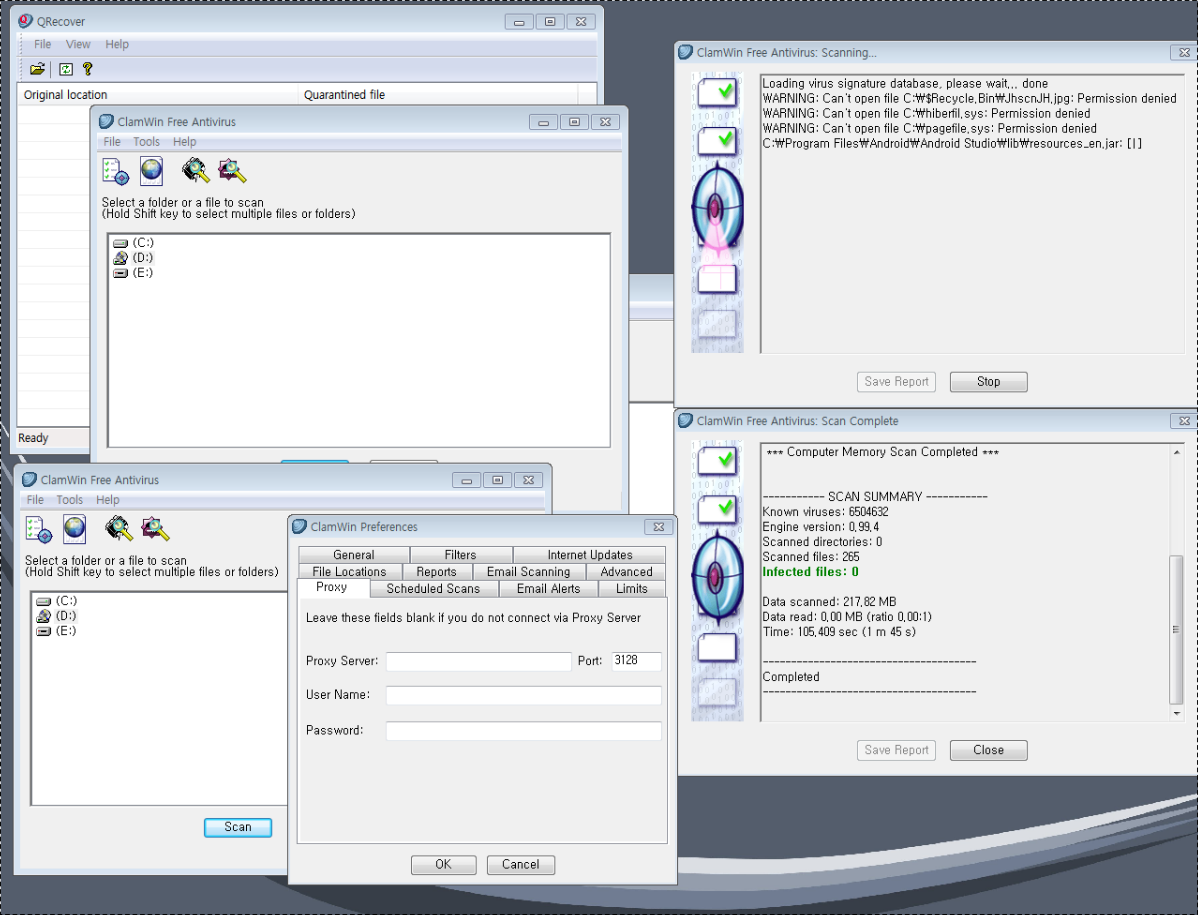
ClamWin - alternative to Kaspersky, BItdefender, Norton
This antivirus has over 600000 users and active database updates also feature a full email scanner, scanning scheduler, and File Explorer integration. It is far better than other freeware alternatives and if you are looking for a free antivirus option look no further, ClamWin is here to stay. Grab it from here.
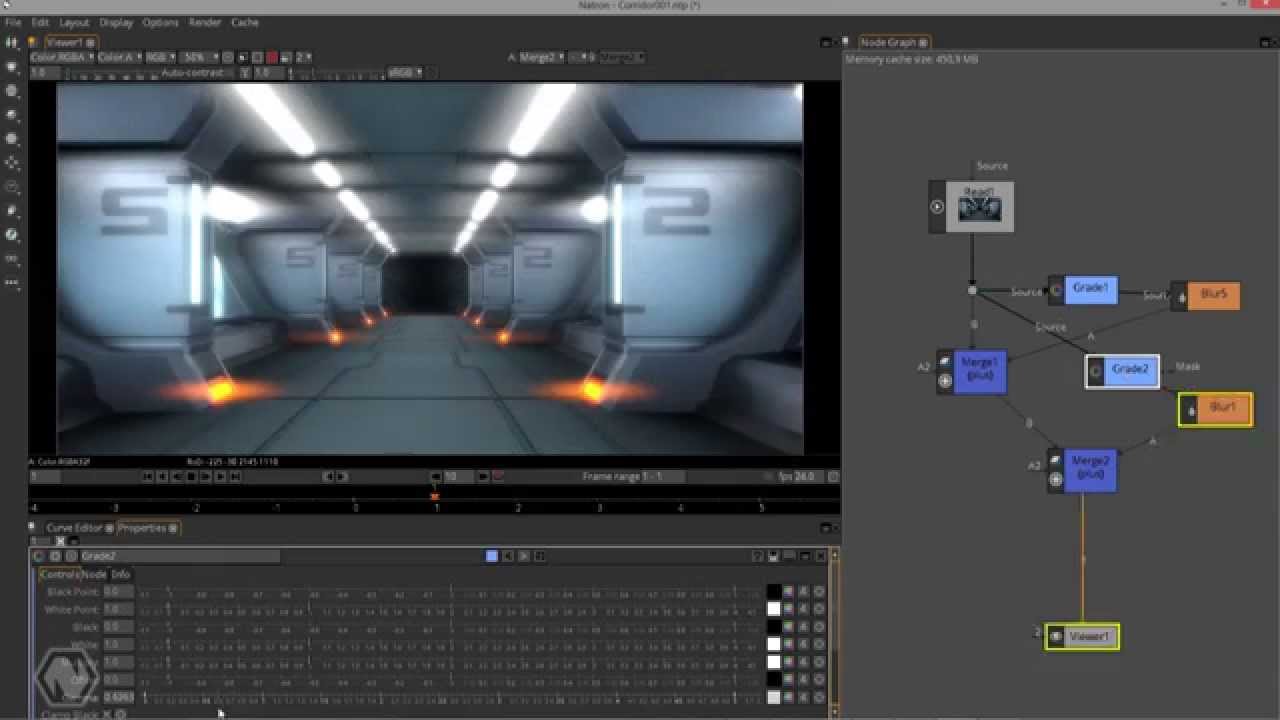
Natron - alternative to adobe aftereffects, foundry nuke
Full-featured node-based composition and effects suite. Natron is a powerful Digital Compositor that can handle all of your 2D/2.5D needs. Its robust OIIO file formats and OpenFX architecture is what makes Natron the most flexible open-source compositor for the visual effects community. Its interface and functionally are the same across all platforms such as macOS, Linux, and Windows. Natron has a powerful keying, roto/roto paint, 2D tracking tools that are staple for all current film production project that requires visual effects. Get natron from here.
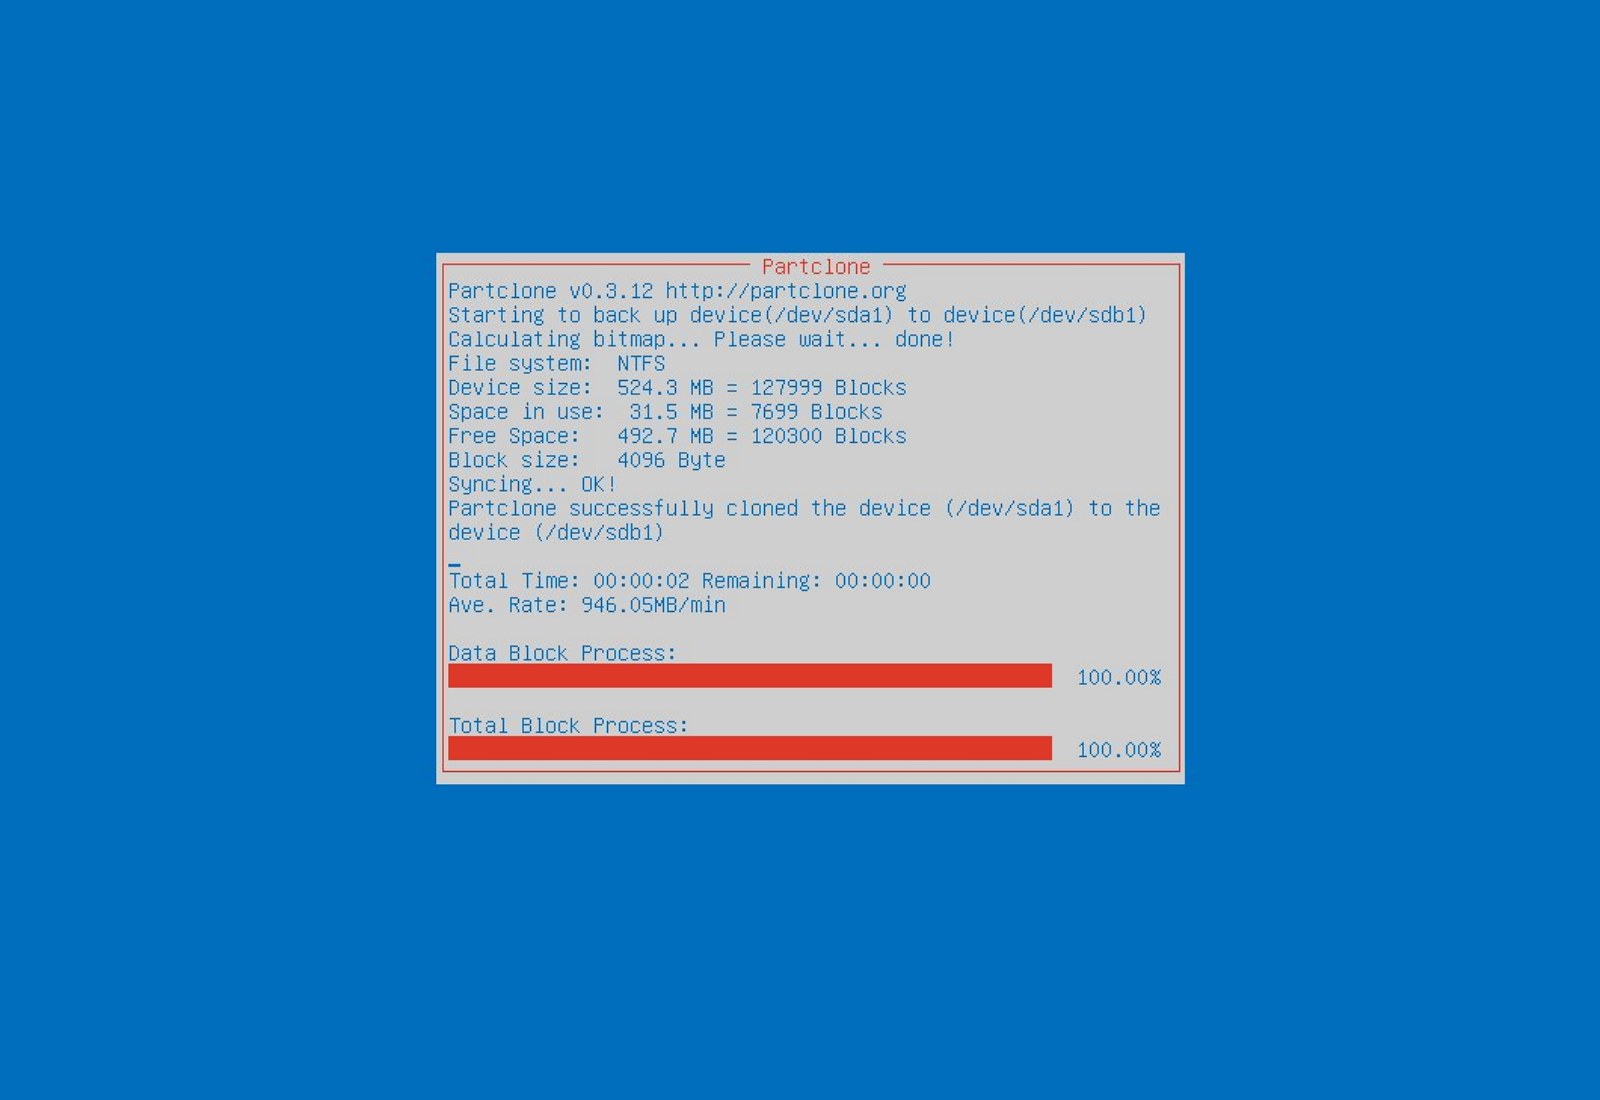
Clonezilla - alternative to Norton Ghost
When it comes to cloning hard drives usually there is only one application, Norton ghost. Clonezilla tends to change that by offering the same usability as the ghost. Grab your copy from here.
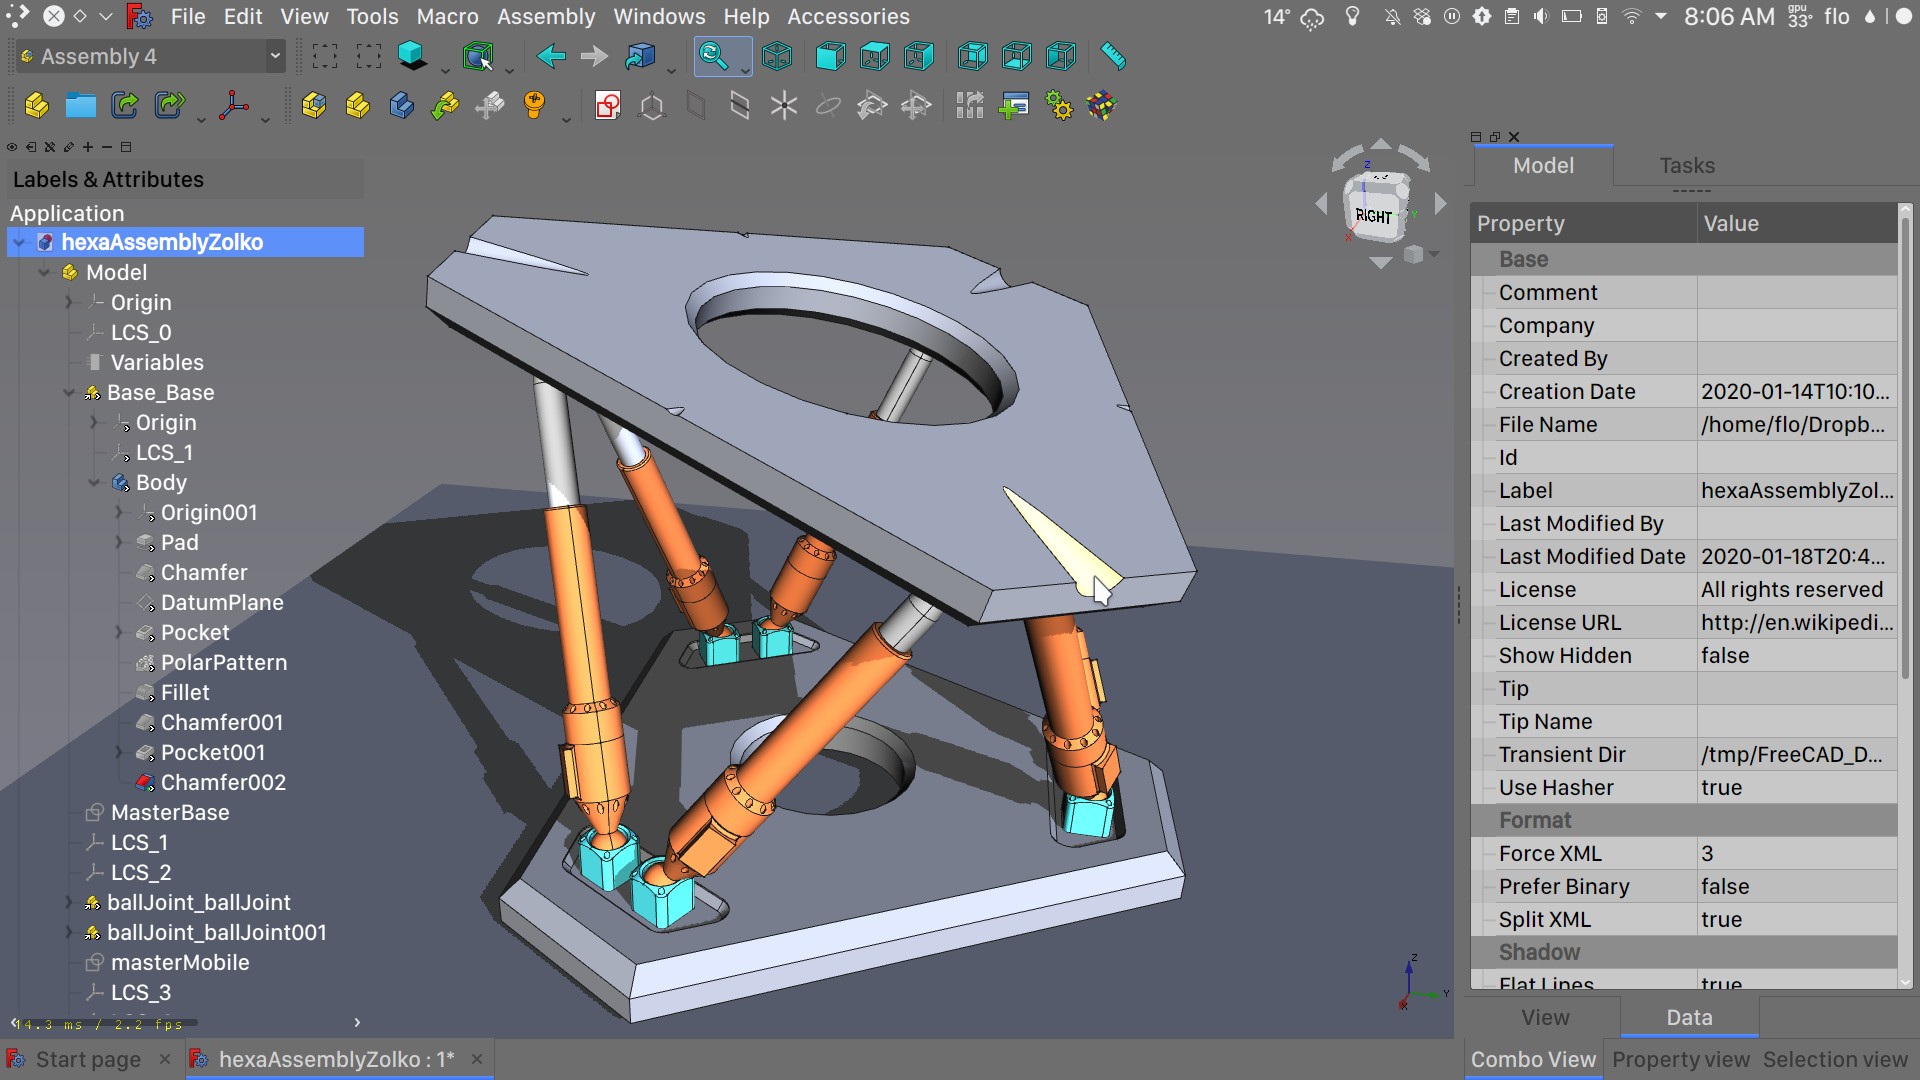
FreeCAD - alternative to Autodesk AutoCAD
Autodesk AutoCAD has years of development and dedication of its team behind it to keep it as the best CAD application on the market and it shows. However, if you are not really a hardcore professional who needs all of AutoCAD features and can live without some automation inside it FreeCAD is one of the best free open source options, it will certainly get the job done and with its dynamic simulation and analysis, it is guaranteed that you can achieve same results as in AutoCAD with little more time investment. Get if here.
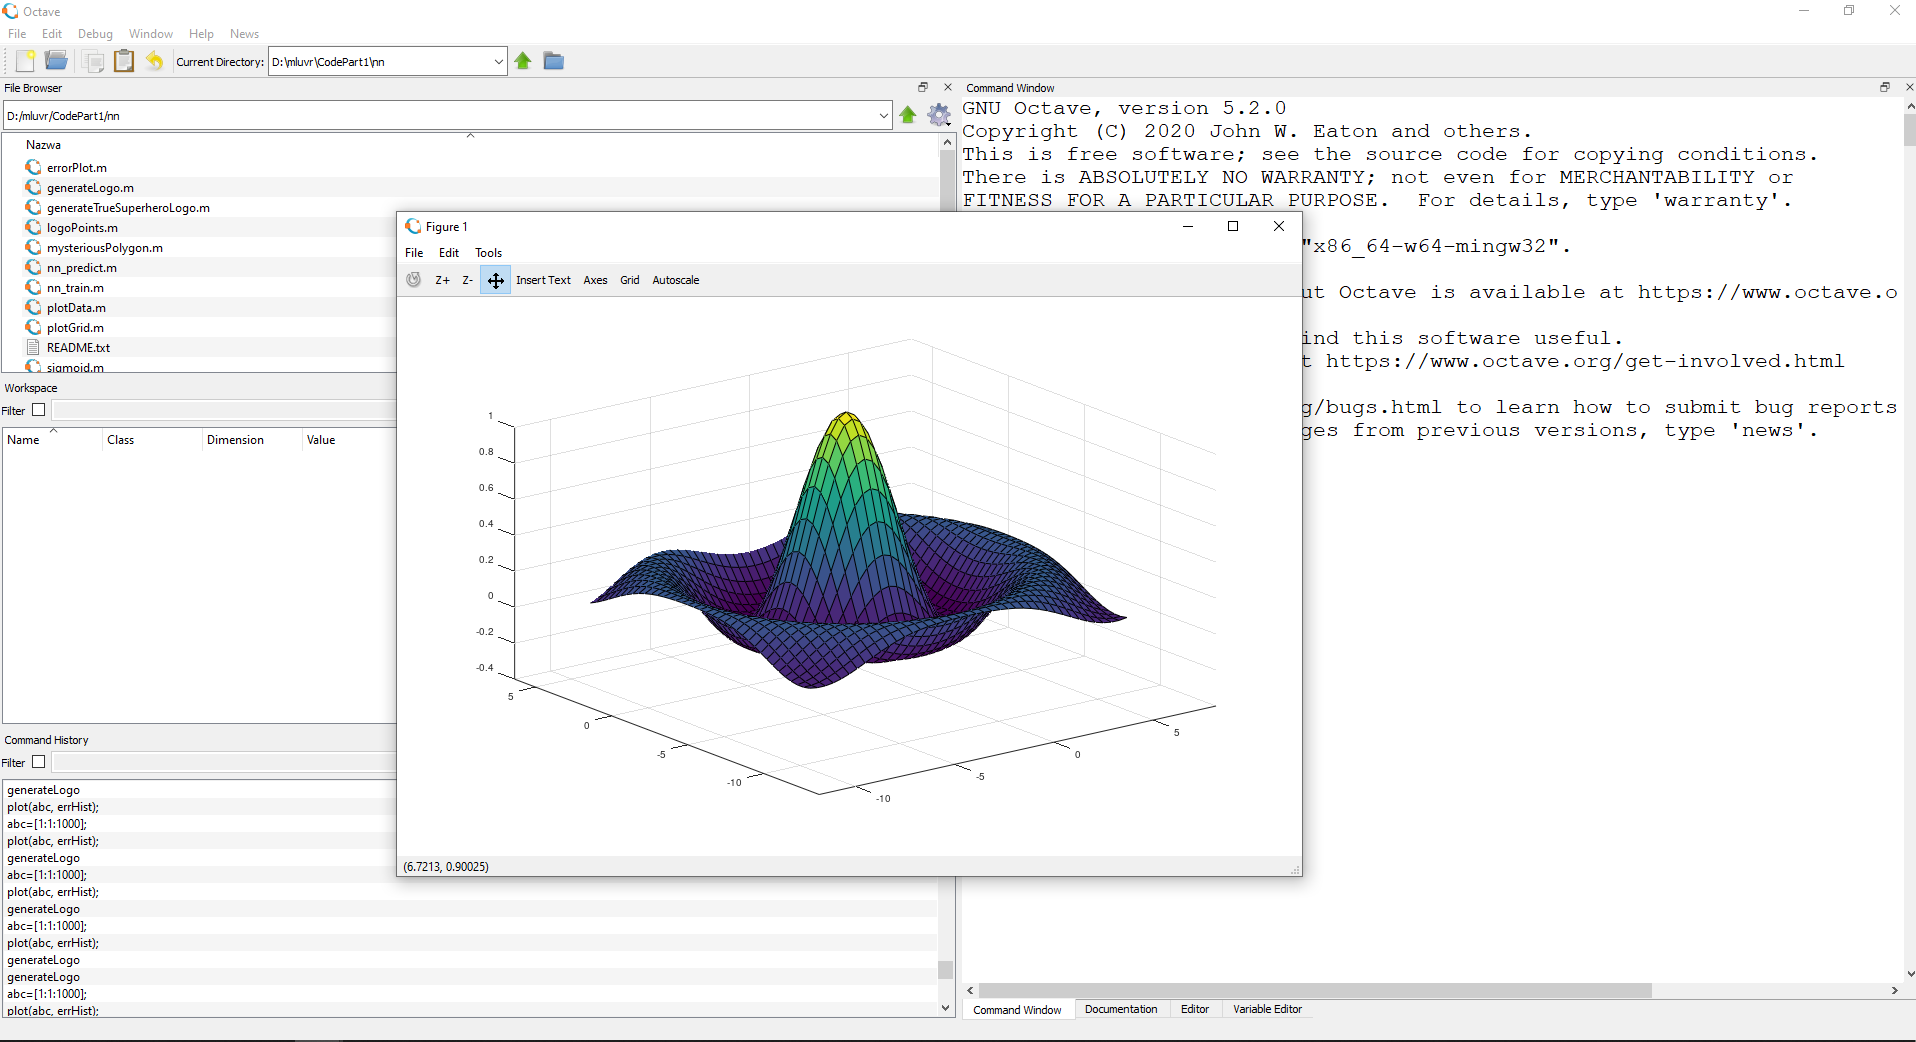
Octave - alternative to MATLAB
Octave is the best open-source educational tool used for numerical computation with an interactive environment. The tool features powerful mathematics-oriented syntax with built-in plotting and visualization tools and also Octave syntax is largely compatible with Matlab. Get your copy from here.
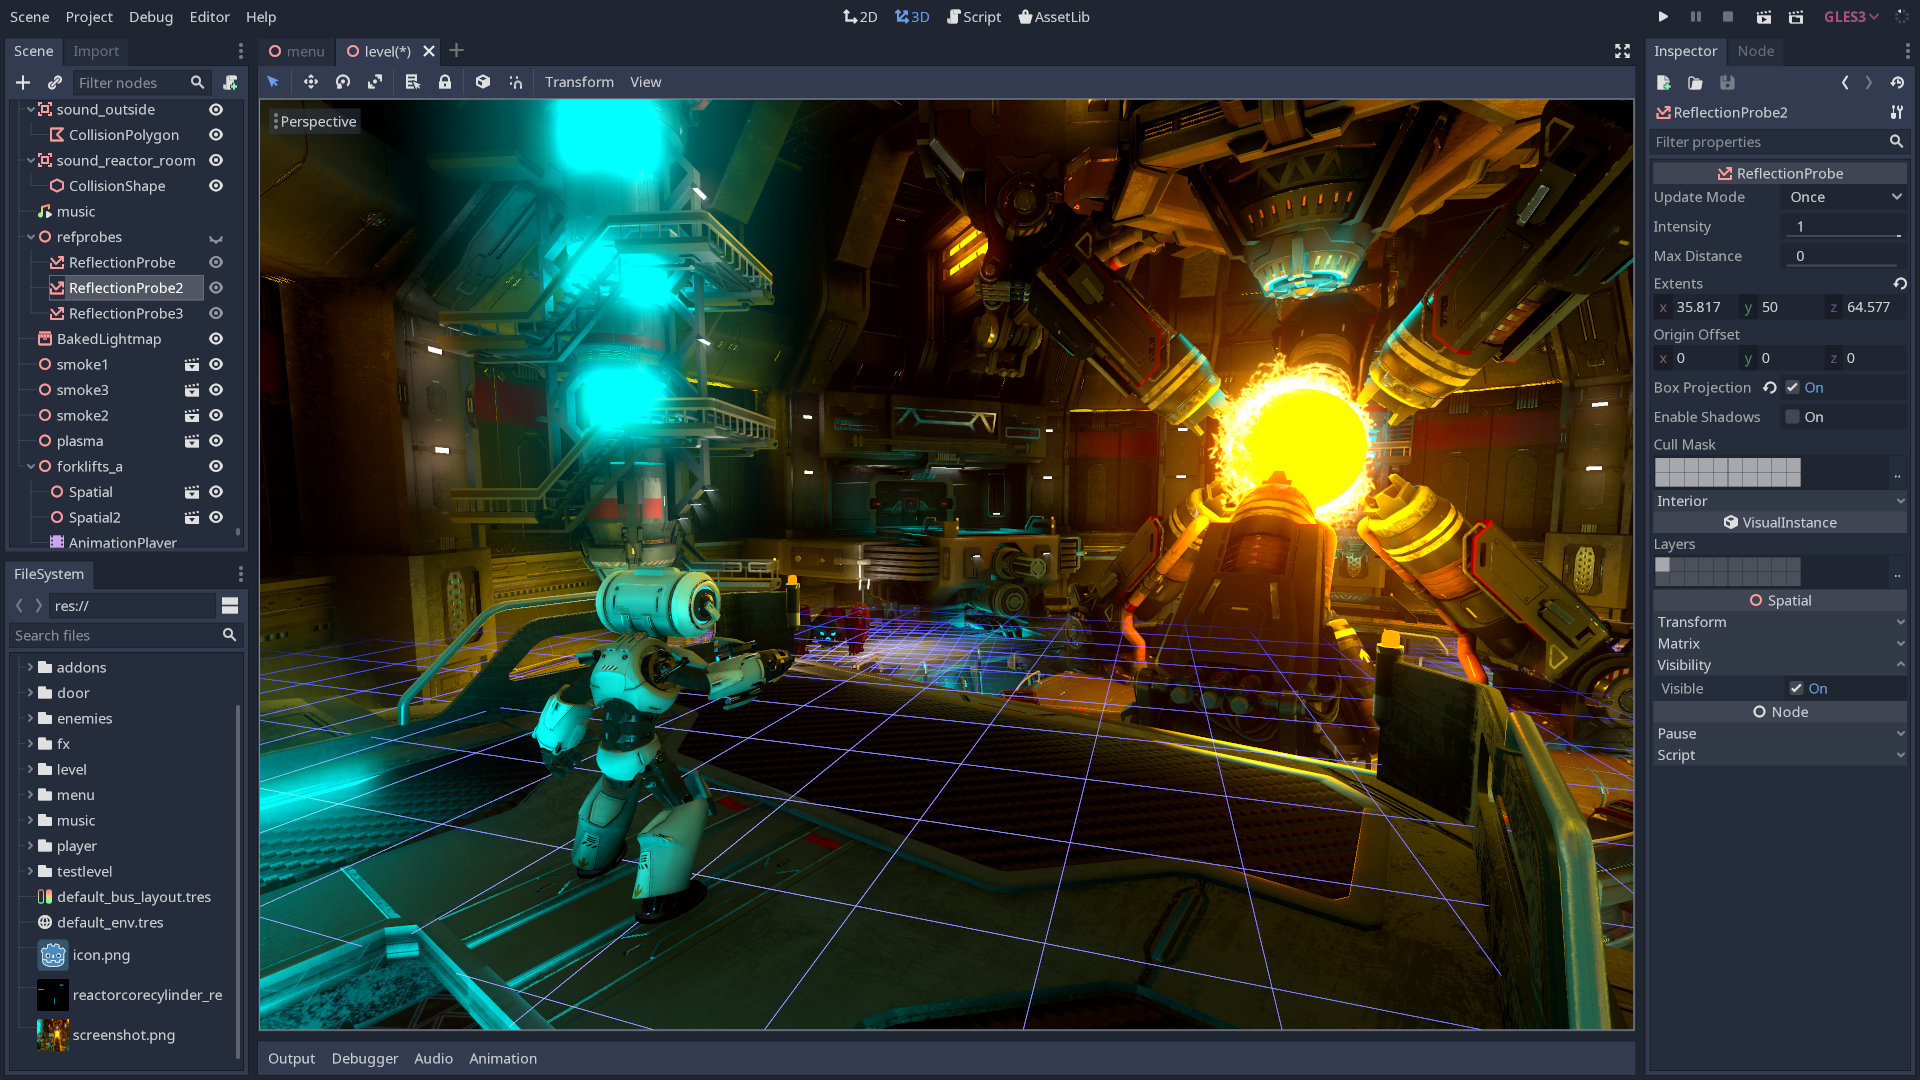
Godot - alternative to Unity3D, Unreal
Godot is a lightweight feature-packed node-based game development engine, completely open-source and free to use for commercial projects. The engine has reached 3.2 version and it is more and more adopted by various independent game makers across the globe, recently there are to of video tutorials and documentation to get you up and running and its open-source nature lets you modify the engine itself in any way that suits and benefits you. Also, any project made with Godot is completely yours, there are no hidden fees or anything similar. Download it from here.
Conclusion
That's it, my pick for 20 open source alternatives which I believe you should at least try and if you end up with at least one, you have saved some hard-earned money.
And always remember:
Open-source programs give you complete freedom without any shady terms and conditions.
Open-source software code is readily available for anyone who wants it, so anyone can use it, share it, modify it for their own needs, and study it.
No spying eyes, no tracking, and no telemetry
In some cases, open-source tools offer features or performance benefits that surpass their commercial counterparts.
No hidden charges, completely free.
If you would like to read more helpful articles and tips about various software and hardware visit errortools.com daily.
As of late, a number of users reported experiencing a problem where their Windows 10 computers get stuck on Airplane mode for some unknown reason. According to the affected users, they were unable to turn off the Airplane mode which means that their computers are also not able to connect to the internet. One of the possible reasons why this kind of issue occurs is that there could be a bug with the airplane mode or it could also be the doing of faulty network drivers or physical switch that’s turned on, and so on. If you are one of the few users who experience the same issue, then read on as this post will guide you on what to do if your Windows 10 computer gets stuck on Airplane mode.
There are a couple of suggestions you can check out to resolve the problem. You can try to check the status of the Radio Management service, flush the DNS cache or you could turn off the airplane mode via system settings. You could also update the network drivers or turn off the physical switch for airplane mode or make some adjustments in the Windows Registry. For more details, refer to each one of the suggestions provided below.
Option 1 – Try to check the Radio Management Service status
First, tap the Win + R keys to open the Run dialog box and type “services.msc” in the field, and hit Enter to open the Windows Services Manager.
Next, look for the Radio Management service and select Properties.
From there, change its Startup type to Disabled and click on the Apply and OK buttons to save the changes made.
Once done, restart your computer and check if you can now turn off the airplane mode.
Option 2 – Flush the DNS cache
You could also try to flush the DNS cache to fix the “ERR_ICAN_NAME_COLLISION” error. All you have to do is open Command Prompt as an administrator and then execute each one of the following commands sequentially to flush the DNS cache:
ipconfig/release
ipconfig/renew
ipconfig/flushdns
Option 3 – Try turning off the airplane mode via System settings
If flushing the DNS cache did not help in fixing the problem, then you might want to turn off airplane mode via system settings.
In the Windows Search bar, type “airplane mode”.
From the search results that appear, click on Airplane mode.
After that, a window will appear where you have to turn off the toggle button for Airplane mode.
Option 4 – Try to update, rollback or reinstall the Network adapter drivers
The next thing you can do to resolve the problem is to update the Network Adapter drivers by following these steps:
Tap the Win + R keys to launch the Run window and then type in the “devmgmt.msc” command and hit Enter to open the Device Manager window.
Under the Device Manager, you will see a list of drivers. From there, look for the Network Adapters and expand them.
Look for the Broadcom Network Adapter and right-click on it, as well as other network adapters that have an exclamation icon, and update them all.
Restart your PC and see if it helped in fixing the problem.
Note: If updating the network drivers didn’t help in fixing the problem, you can also try to roll back the very same drivers from their previous versions and restart your Windows 10 PC. After that, the system itself will reinstall the drivers you just uninstalled. Alternatively, you can also download and install the drivers from the manufacturer’s website directly.
To reinstall the network adapter drivers, refer to these steps:
Open the Devices Manager from the Win X Menu.
Then locate the device drivers and right-click on them to open the Properties.
After that, switch to the Driver tab and click on the Uninstall Device button.
Follow the screen option to completely uninstall it.
Finally, restart your computer. It will just reinstall the device drivers automatically.
Option 5 – Try to turn off the physical switch for Airplane mode
If your computer has a physical switch to turn on or off the airplane mode, then you might want to check that switch if you have one. Chances are, it could be the reason why you’re unable to turn off Airplane mode on your computer.
Option 6 – Try to make some adjustments in the Registry
Tap the Win + R keys to launch the Run utility.
Then type “Regedit” in the field and hit Enter to open the Registry Editor.
Next, navigate to this registry path: HKEY_LOCAL_MACHINESystemCurrentControlSetControlClass
From there, edit the registry value of “RadioEnable” to “1”.
Exit the Registry Editor once done, and restart your computer.
You have probably heard a lot of good things about gaming mice, how they are better feeling, better in any way possible and it is all true, everything you heard is actually true, they are superior in any way to a regular mouse but with one big disadvantage, and that would be the price. While you can find a regular mouse for pocket change, a gaming mouse is in comparison very expensive even for entry-level ones.
In this article we will explore all advantages and compare it with the regular one so you can come up with your own conclusion about do you really need one for yourself or if you are fine with regular.
Price
As stated price is one factor that does not favor gaming mice. Regular mouse for a personal computer goes around 10 or 20 USD, while entry-level in gaming one will be 40 USD and can go up to 250 USD, this large gap in price is usually determining factor why people pick up regular one. If you are on a really tight budget go for the regular one, but if you can afford a gaming one get it without second thoughts.
Software
This is where you will see the big difference between mice. Regular ones when connected are recognized and the driver is automatically installed and you can use it, same goes with gaming ones but with one big difference, you have an option to install additional manufacturers' software specially tailored for your mouse. In the application, you will be able to access some features that are specific to the mouse model that you could not set in typical Windows mouse properties. Beside more options software can also have features like setting your profiles and saving them to be recalled when you need them on the fly.
Sensitivity of mouse
The sensitivity of the mouse is measured in dots per one inch or short DPI, this is directly shown on your screen by how fast your mouse can move, higher sensitivity means your mouse will move faster across the screen and lower means it will move slower. All gaming mice come with buttons and settings that will allow you to change DPI on the fly and you can choose precise DPI settings in the software.
The regular mouse comes with DPI around 800 and goes to 1200 typically and does not have usually the option to change this while gaming mice start at 400 and can go as high as 26000 with the option to change it. Some regular mice can have only 1 option of DPI, usually very cheap ones.
Polling rates in mice
Pooling rate is the measurement of how often your mouse reports where it is positioned on the computer. The higher the pooling rate, the more responsive your mouse will be and vice versa. It is measured in hertz (Hz) and regular mice have them around 125Hz that is enough if you are using a computer for office, internet, and mail work.
If you are working in design or gaming you will need more than 125Hz polling rate, luckily gaming mice come with a minimum of 500Hz as an entry point and some hi-end models are going as far as 8000Hz. This very high pooling rate will get some extra load on your CPU but the mouse itself will be maximally responsive and will respond even to the smallest moves.
Ergonomics
Regular mice are well just mice, they are typical shape and size, gaming mice are made with ergonomics in mind. How they are made for extensive daily use of several hours per day they are constructed in a way to offer a pleasant and pain-free experience.
If you work on a computer for long periods of time consider gaming an ergonomic mouse since it will take the strain from hands and place them in a more natural position.
Macro keys
Gaming mice most of the time come with more keys compared with regular ones and good thing is that via its software you can tie certain actions to these extra keys making work or gaming more pleasant and quicker.
Components and material quality
In order to make regular mice more affordable and cheaper materials and quality of components had to suffer. Gaming mice have millions of guaranteed clicks by companies that make them before they break and regular ones usually do not guarantee a single one. This is due of course quality of materials that have been used in constructing these devices.
In the long term, if you use a gaming mouse for typical daily tasks it will outlive your regular one and on the side offer you more pleasant and responsive use along the way.
Error code 0x801901F7, also known as “The Server Stumbled” error because it shows a message saying “The Server Stumbled. We all have bad days” is associated with Windows Store. Server Stumbled Error 0x801901F7 is an error related to the MS server. The error occurs due to damaged registry files, malware, virus, and corrupted data. You should fix this error to prevent a system crash or a BSOD error. There are some things you can do to fix it. These are not so complex. So, anyone can try these methods to fix error 0x801901F7.
Common Symptoms for error 0x801901F7:
Problems with Windows startup
System becomes very slow or the system freezes
Blue screen of death appears
Windows fails to start some process due to Stop error code 0x801901f7
Solution
Error Causes
This error is generally caused by corrupt registry files.
Virus infection can cause this problem.
Outdated driver, missing .DLL files may also cause this error.
Microsoft server overload may cause this problem as well.
Incorrect configuration may cause this problem.
Further Information and Manual Repair
To fix error 0x801901f7, there are four methods listed below. Some might work for you and some might not. Please try all of them to fix this error.
Method 1:
Basic method to fix error code 0x801901F7: Resetting Windows Store Cache
Most of the time clearing or resetting the cache helps. It doesn't always work, but you should try this first before moving on to some advanced methods which are mentioned below.
To reset the Windows Store cache please follow the simple steps below
Open RUN by searching or pressing "Windows Key + R"
Type "wsreset.exe" and press Enter or click on OK.
Windows Store will open automatically along with a command prompt.
This will reset Windows Store and you might see it loading as it should.
This method might work but if it fails to solve Error 0x801901F7 then follow the method below.
Method 2:
Advanced method of fixing error code 0x801901F7: Deleting Windows Store database file.
By using this method, you will be deleting the database file for Windows Store. This file is located on your C drive or the drive where you installed your Operating System. Follow the steps below.
Navigate to C:WindowsSoftwareDistributionDataStoreDataStore.edb.
Delete DataStore.edb file from there.
Now Open Windows Store and see if you still get error code 0x801901F7.
The Datastore.edb file that you deleted will be automatically created once you perform Step 3 which is launching Windows Store.
If you still cannot get this error away then Close Windows Store and Reboot your PC then Launch Windows Store Again.
Method 3:
Modifying Windows update properties:
Perform the steps below only if the above-mentioned methods fail. You will be tweaking a few things in the Windows update to see if it helps.
Open Task Manager by right-clicking on Taskbar, then click on Task Manager.
Go to Services Tab. Click on Open Services at the very bottom of the Window.
Now a new window will pop up. Scroll down & find "Windows Update" from the list.
Double click on Windows update to open up its Properties.
Now from the Startup Type drop-down list, select Automatic. Click on Apply, Start, and then Ok.
Now you need to perform just one more step. Reset Windows Store again (Refer to method 1 for Steps). This should fix your Windows Store error that shows The Server Stumbled with 0x801901F7 Error Code.
Method 4:
If the error is due to a problem with a driver, then follow the method below to uninstall the current driver:
Open the Run command and type “sysdm.cpl” in the text box.
Click Enter.
Open the Hardware tab on the system properties dialog box.
Then press on Device Manager.
Double press on Device type and then press on the hardware device that is reporting error code 0x801901F7.
Go to the Driver tab and press on Uninstall button to uninstall the device driver completely.
Now, install the new driver on your computer.
Restart your computer.
Run virus scan of your PC
Try using a different USB port.
If you do not possess the technical expertise required to accomplish this yourself or do not feel comfortable doing so, download and install a powerful automated tool to get the job done.
Some Windows 7 or Windows 8/8.1 users are having a hard time upgrading to Windows 10 as they are being prompted for a product key. By default, the Windows 10 operating system does not require a product key and users should not be prompted for one, given you upgraded your computer from an activated Windows 7 or Windows 8/8.1 license or from the Windows 10 Preview build. However, there are some users encountering this problem and there are several reasons for this.
Solution
Error Causes
There are a few reasons why some users are being prompted for a product key when upgrading to Windows 10:
Windows 7 or Windows 8/8.1 license is not activated.
You’re upgrading to Windows 10 final release from a preview build.
There are broken operating system files.
Activation servers get overwhelmed due to the high volume of upgrades.
The Windows 10 copy you downloaded does not correspond with the current Windows system you are upgrading from.
Further Information and Manual Repair
Before you can fix this problem, you need to know why you’re being prompted for a product key. Some things you should know about Windows 10 product key activation are the following:
You cannot activate Windows 10 using your Windows 7 or Windows 8/8.1 product key. Windows 10 has a unique product key.
Error codes such as 0x8007232b, 0XC004E003, 0x8007007B, or 0x8007000D might pop up during system upgrade especially when the activation servers get overwhelmed with the high volume of upgrades.
You don’t really need to know your Windows 10 product key.
Now, if ever you’re prompted for a product key when you’re upgrading to Windows 10, you can apply the following methods:
Method One: Give It A Few Days
If you’ve been prompted for a product key upon upgrading to Windows 10, you should click on the “Do this later” option. Wait for a few days then Windows 10 will get activated automatically.
Method Two: Download A Copy of Windows 10 Corresponding Your Current System
One of the reasons Windows users are being prompted for a product key when upgrading to Windows 10 is that they have downloaded a wrong edition of Windows 10 and do not correspond with your current system.
Users of Home Basic, Home Premium, Windows 7 Starter, Windows 8.0 Core, and Windows 8.1 Core should download Windows 10 Home ISO.
Users of Windows 7 Ultimate, Windows 7 Professional, Windows 8.0 Pro, and Windows 8.1 Pro should download Windows 10 Pro ISO.
NOTE: Users of Windows 7 Enterprise, Windows 8.0 Enterprise, and Windows 8.1 Enterprise are not eligible for the free upgrade offer.
Method Three: Ensure Windows Is Activated
If your Windows 7 or Windows 8/8.1 is not genuine or activated, you will get prompted for a product key. You need to make sure first your current system is activated.
Click on Start then right-click Computer. For Windows 8 and up users, you can simply press on Windows key + X then select Choose Properties.
When the Properties window appears, check if the Windows you’re running is activated.
Method Three: Reset License Status
Press on Windows key + X.
Select Command Prompt (Admin).
Once the command prompt window appears, type vbs –rearm then press Enter.
Exit Command Prompt then restart your PC.
Input the product key by following the instructions given.
Method Four: Force Activation
Press on Windows key + X
Select Command Prompt (Admin).
Once the command prompt window appears, type vbs –ato then press Enter.
Exit Command Prompt then restart your PC.
Method Five: Run System File Checker
Another thing you can try doing is to run the system file checker utility to scan if there are any broken operating system files. In doing so, you’ll be able to detect problems that might be preventing the product activation of your Windows 10 upgrade.
Method Six: Contact Microsoft Activation Center
If in case you’ve exhausted all your resources and you are still being prompted for a product key when upgrading to Windows 10, you can try contacting the Microsoft Activation Center for further details.Check herefor the appropriate telephone numbers to contact.
Method Seven: Download An Automated Tool
If you still experience the error after doing the methods above, you might want to try a powerful and trusted automated tool to fix the job.
The error 0x0000001 also known as APC_INDEX_MISMATCH is one of the fatal errors that users encounter upon starting their computers. This error appears when there is a sequence mismatch in the driver or system file when it is disabling or re-enabling Asynchronous procedure calls. The mismatch happens maybe because of a virus or malware attack, not shutting down your computer properly and incomplete installation of the system files.
There are many ways to fix this error. The easiest way is to download a repair utility program. The use of these programs perfectly fits those that are not so technical. All you have to do is download the program and install it on your computer. As soon as it is installed, the program will now scan and diagnose your computer for any errors. After it identifies the errors, it will then repair your PC through either manual or automatic tools.
To those who are techie and enjoy the manual resolution, you may take advantage of Microsoft’s analyze debug extension which tells you the cause of the error. After determining the cause then you can now start fixing the error.
Check if Hardware is functioning properly. If the cause is due to a hardware malfunction, you will have to make sure that all the pieces you are using are working. All the wires should be attached to their respective ports. Not only that, but you also must make sure that before installing the hardware, it is compatible with the Windows version that is installed into your computer.
Use Compatible software. If the problem was caused by software or a driver, you can uninstall and reinstall it. Always make it a rule that whenever you install a program or new software to your computer, make sure it is compatible with your operating system and never skip a step during the installation process. You also have to see to it that the program you are installing does not contain any viruses, malware, or spyware that can be harmful to your computer.
Update your Drivers Regularly. In most cases though, the cause of the APC_INDEX_MISMATCH error are outdated device drivers. To resolve this, you will have to go to your Control Panel then look for Device Manager. As soon as you are in the Device Manager window, you can now see the different devices running on your computer. You right-click on each device and check the Properties. In the Properties window, click on the Driver Tab and look for the date when it was last updated. You can then go to the manufacturer’s website and compare the dates.
For a new Windows operating system, you no longer have to go to the manufacturer's website though. All you have to do is click on Update Driver and it will automatically search for updates online.
Use a Genuine Operating System. There are also cases where the 0x0000001 error won’t allow you to access your computer. In this case, we have to suspect that the problem could be in your Operating system. To resolve this, you can reinstall your Operating System or update your current operating system. Only use a genuine licensed Windows Operating System because this will not only protect you from Malware and Viruses but it allows you to get all the recent update available from Microsoft. Update your Windows 10 regularly by going to Settings > Windows Update > Check for Updates. You may also turn on the Automatic Update by going to the Advanced options is found on the Windows Update Page.
You can always get help online but it really helps to know the basics and determining the root cause of the error.
A lot of users lately reported getting an error that says, “The application has failed to start because its side-by-side configuration is incorrect”. This kind of error can pop up when you try to open a number of programs, regardless of their origin, the developer, and compatibility.
Here’s the full context of the error message:
“<PATH OF THE EXECUTABLE FILE>, This application has failed to start because its side-by0side configuration is incorrect. Please see the application event log or use the command-line sxstrace.exe tool for more detail”.
This kind of problem has something to do with the C++ runtime package in the background. It could also be related to an error for a registry value. Whatever the cause is, you can fix this error with the help of some suggestions provided in this post. You can try to reinstall the application or check the registry setting or reinstall the suitable Visual C++ Runtimes or re-enable the Microsoft .NET Framework. For more details, refer to the instructions given below.
Option 1 – Try to reinstall the application
There are times when some supporting module for your application under the hood could have messed up the application. And so to fix that, you need to uninstall the concerned application and then try reinstalling it again. Once you’re done, check if it fixed the problem or not.
Option 2 – Try to change the Registry setting
Tap the Win + R key combination to open the Run dialog box.
Then type “Regedit” in the fields and tap Enter to open the Registry Editor.
Next, navigate to this registry key: Computer HKEY_LOCAL_MACHINE SOFTWARE Microsoft Windows NT CurrentVersion SideBySide Winners x86_policy.9.0.microsoft.vc90.crt_1fc8b3b9a1e18e3b_none_02d0010672fd8219 9.0
From there, look for a String value named “default” and double click on it.
After that, change its Value data to match the one as the third value in BINARY.
Now restart your computer to successfully apply the changes made.
Option 3 – Try reinstalling the appropriate Visual C++ Runtime
You need to open the Event Viewer first by searching for it in the Windows Search box.
After opening Event Viewer, look for the error events that are sourced by SideBySide.
Next, look for the actual Visual C++ Runtime module that’s causing the error.
Now download the module from the official website of Microsoft Support and then install it and see if it fixed the problem.
Option 4 – Re-enable the Microsoft .NET Framework
You could also try to disable the Microsoft .NET Framework then enable the latest version of the .NET Framework on your PC and check if the error is fixed.

 Sadly receiving this blue screen does not really explain which of the three cases is the correct one and causing the unwanted issue.
That being said, this article will not offer you a direct solution this time, it will be more like a guide on what to check and to do in order to remove this error, reason for this is the nature of the error itself.
If your computer is booting properly and you can enter Windows without issues the first thing you can try is going into power options and set it to high performance, if you are on a laptop set high performance both ways, when plugged and when on battery. Power performance settings can reflect on some hardware and can cause mayhem. After setting reboot the computer and see if the error repeats itself.
If the error persists go to the device manager and see if there is hardware that has any kind of warning beside it. If there is, update the driver or remove the driver of the device to see if this fixes the issue.
If all of the previous two things fail there is another thing you could try. Turn off your computer and disconnect all hardware except the most basic one. Now, this may take a long period of time but boot your computer and then repeat this process but each time add a new piece of hardware to eliminate and find which one is causing the issue. When found try to see if it is repairable through driver updates or get a new device.
Sadly receiving this blue screen does not really explain which of the three cases is the correct one and causing the unwanted issue.
That being said, this article will not offer you a direct solution this time, it will be more like a guide on what to check and to do in order to remove this error, reason for this is the nature of the error itself.
If your computer is booting properly and you can enter Windows without issues the first thing you can try is going into power options and set it to high performance, if you are on a laptop set high performance both ways, when plugged and when on battery. Power performance settings can reflect on some hardware and can cause mayhem. After setting reboot the computer and see if the error repeats itself.
If the error persists go to the device manager and see if there is hardware that has any kind of warning beside it. If there is, update the driver or remove the driver of the device to see if this fixes the issue.
If all of the previous two things fail there is another thing you could try. Turn off your computer and disconnect all hardware except the most basic one. Now, this may take a long period of time but boot your computer and then repeat this process but each time add a new piece of hardware to eliminate and find which one is causing the issue. When found try to see if it is repairable through driver updates or get a new device.