
In today's age of smart gadgets and complete replacement of even some simple things with their smart counterpart, it is not really a surprise to see some strange innovations that try to take advantage of modern technology.
One of these innovations is a smart book, or to be more precise smart note, a reusable notebook that could be connected to your phone.
Why Rocketbook Fusion smartbook
One thing that could justify, well it should justify buying Rocketbook is the preservation of trees and the environment since it can be reused. The second argument would be its price since it is not expensive considering what it offers.
On top of all, you also have a free application for your phone in order to take full advantage of it.
What is a smartbook?
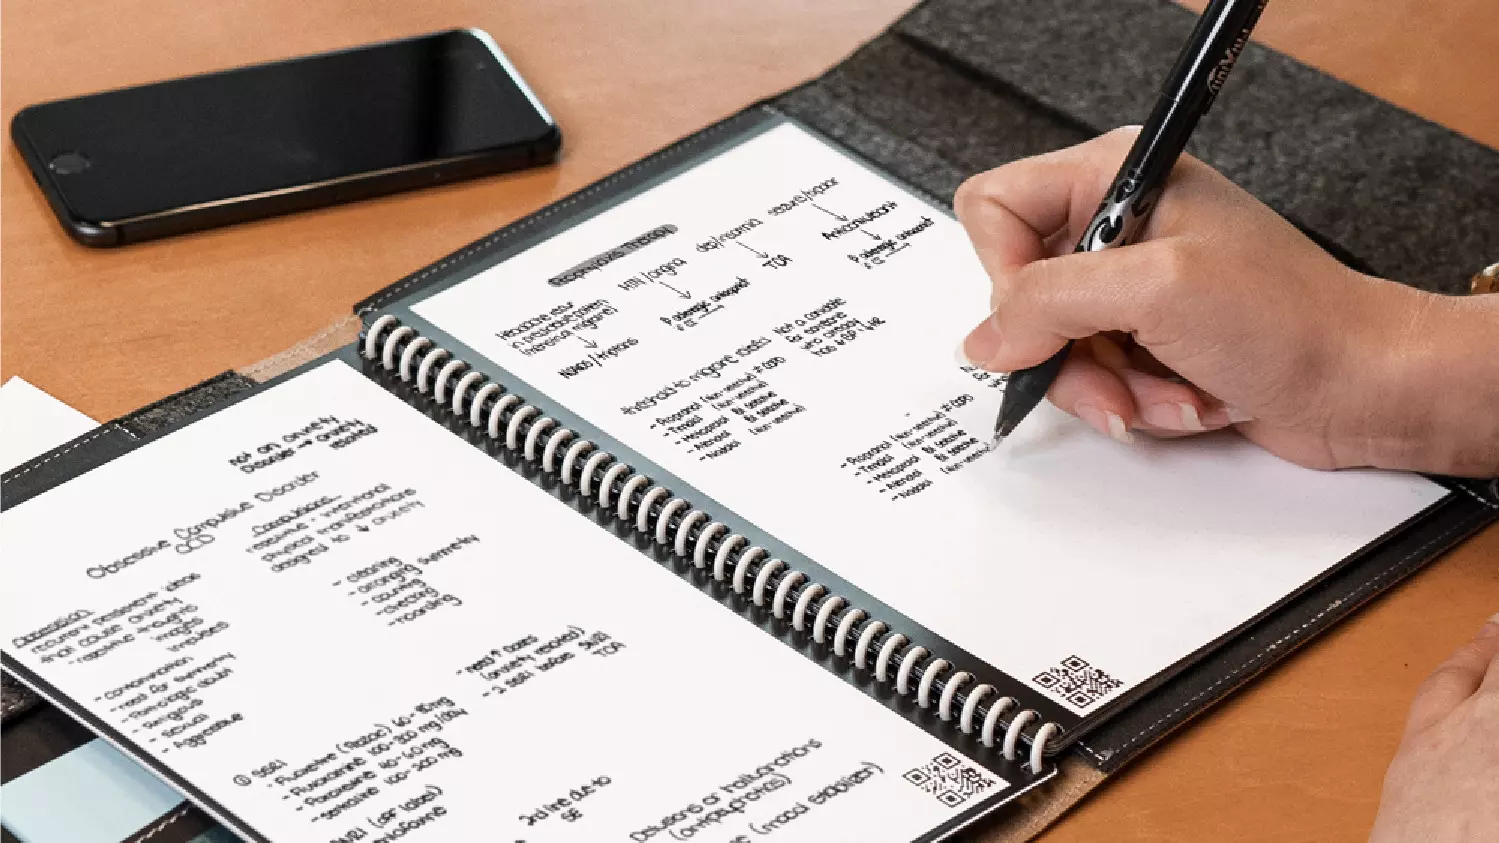
Imagine this scenario, you have a notebook of 42 pages with several different page styles inside. You write in it and after it is filled you upload its content to your email or cloud service of your choice, get a cloth, erase everything and start again from zero.
So as mentioned notebook comes with 42 pages of various page styles. Most of the pages are either lined or dotted but the notebook also includes a monthly calendar, two-week detailed calendar pages, and three pages for project or idea tracking. Since everything can be erased this is enough variety to cover all basis and eliminate any need for another workbook ever.
When you feel like you want to save work or once it is filled you can easily upload and save the workbook from the scan page option in the free Rocketbook app. Once scanned pages can be uploaded to your preferred cloud service or sent to your email.
Now in order to write and be able to erase any of Rocketbook's notebooks, you will have to use Pilot's Frixion writing pens. They will dry around 15s on the page and can be of course easily wiped with a damp microfiber cloth that is included with the purchase. One pen also comes with a workbook when purchased.
Application
Application has cool features, of course, the most important and most useful one is setting your upload scan destination so when you scan your pages they get automatically uploaded to your chosen destination.
In the application settings, you can also toggle some handwriting recognition features that will allow you to easily search your uploaded documents. For example, you can search through documents just by writing now or two words. There is also a Smart List feature as well that will take your checklist and make it into a virtual checklist.
The app also has a fun Explore section where you can find all sorts of fun hacks and different ideas on how to use your Rocketbook.
