Error 10013 - What is it?
Error 10013 is a type of Socket Windows PC error. Socket error 10013 occurs when the attempt to access the server is denied. This indicates that the needed socket connection is denied which further implies that a port is blocked or unreachable.
Solution
 Error Causes
The socket error 10013 can occur due to multiple reasons:
- Antivirus or firewall software
- Incompatible drivers
- Registry corruption
- Misconfigured files
Further Information and Manual Repair
To resolve the socket error 10013 on your PC, here are some methods that you can try:
1. Disable Firewall
To resolve this issue on your PC, you may have to temporarily disable Firewall. Sometimes Firewall can stop you from connecting to the server. Try doing this; it is most likely to resolve the error. If the Firewall is the reason for the denied access, turning it off will surely help.
2. Disable your Antivirus Software
If disabling the Firewall doesn’t resolve the issue, try disabling your antivirus software temporarily. If the error still persists, then try other solutions listed below.
3. Upgrade Drivers
Incompatible drivers could be a reason too for denied server access.
Your server may no longer be using the drivers that you have on your PC which is why you may not be getting permission to access it. If this is the cause, then the best way to resolve it is to upgrade drivers. To find out about new drivers, visit the software manufacturer’s website for new drivers and then download them to your PC.
4. Registry Issues
Sometimes the underlying cause of the error could be registry issues and misconfigured files.
If you don’t wipe out unnecessary and obsolete files from your systems like junk files, cookies, internet history, temporary files, and other files from your PC, it can damage and corrupt the registry and misconfigured files thereby causing socket error 10013 on your system.
To resolve registry issues and repair your PC, download Restoro. It is an advanced, easy to use, and highly functional PC fixer embedded with multiple utilities including a powerful registry cleaner. It is deployed with an intuitive algorithm that scans and detects all registry issues in seconds.
It removes all the unnecessary and obsolete files stored in your PC overloading your
registry. This registry cleaner repairs the damaged and misconfigured files and restores the registry, thereby resolving socket error 10013 on your system right away.
It has simple navigations and a user-friendly interface which makes it very easy for all levels of users to work around and use it to its maximum advantage. Furthermore, it can be installed on all Windows PC.
Restoro is compatible with all Windows versions.
In addition to this, it also includes several other value-added features such as an antivirus, a system optimizer, and an Active X controls and class scanner. These utilities can be used to resolve numerous other PC-related errors.
Click here to download Restoro today and resolve socket error 10013 on your PC right away.

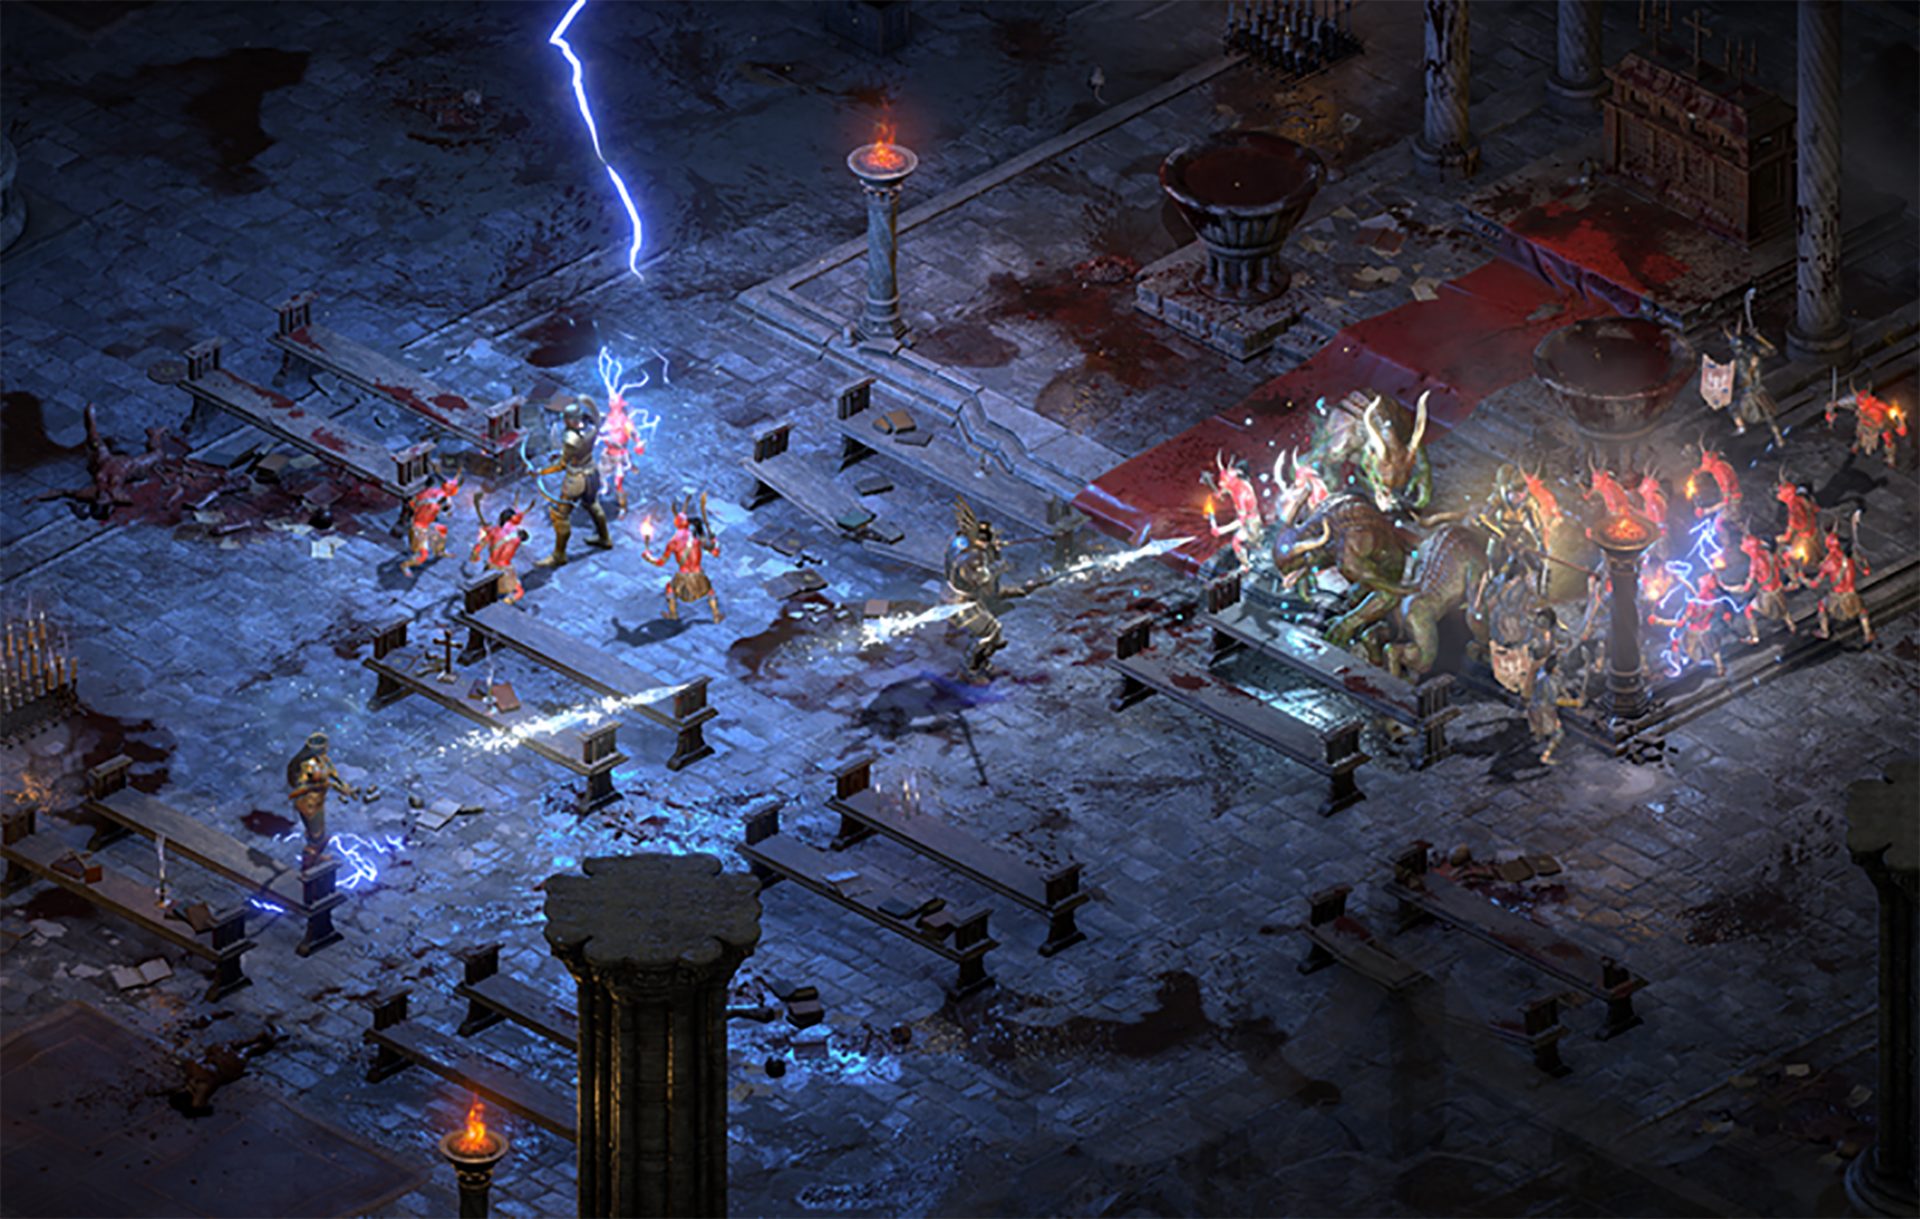 Speaking of old players of old Diablo 2, they can transfer their old characters into remaster and continue playing them within this new great HD environment. There are some steps and requirements but we are here to help and transferred characters will bring full stash, inventory, and equipped items with them.
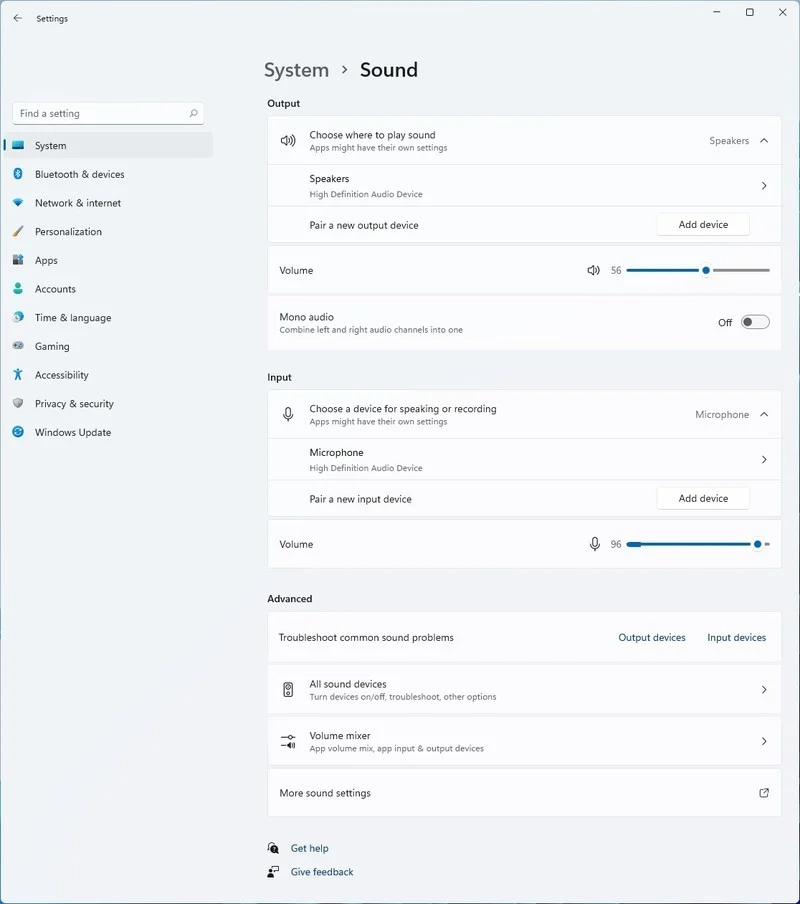 Windows 11 has brought some new features and changed some of the existing ones. One of these changes includes quick switching of audio devices which will play audio.
Audio switching can still be done under the taskbar, it is just a little different and one could say even hidden. Follow this quick guide and you will be switching from your headphones to speakers as an example in a matter of seconds.
Windows 11 has brought some new features and changed some of the existing ones. One of these changes includes quick switching of audio devices which will play audio.
Audio switching can still be done under the taskbar, it is just a little different and one could say even hidden. Follow this quick guide and you will be switching from your headphones to speakers as an example in a matter of seconds.