If your Microsoft Edge browser encountered a Stop Error that says, “INVALID_POINTER_READ_c0000005 (atidxx64.dll)” in your Windows 10 computer, then this indicates that your Graphics card driver is outdated. According to security experts, Microsoft has already acknowledged the problem and stated that this issue exists with Windows 10 v1809, Windows Server 2019, and Windows Server version 1809.
Although there is no direct way to resolve the problem, there are still some workarounds you can try. If you are using a RadeonHD2000 or HD4000 series video card, the update will be blocked for you. Some users also claim to experience performance issues with the lock screen or the ShellExperienceHost. However, if you are using AMD, the problem is that it no longer supports Radeon HD2000 and HD4000 series graphics processing units or GPUs. Even though Microsoft is already working for a way to resolve the problem, here are some alternative solutions you can check out:
Note: You also have the option to go directly to the website of your graphics card manufacturers like NVIDIA, Intel or AMD and go to the section called Drivers then check if there’s a new available update – if there is, download and install it.
Although this is not exactly a perfect solution, removing AMD drivers will make the operating system fall back to the default GPU available on your motherboard. You also have the option to completely disable the hardware.
You might want to use another browser especially when you already updated your computer and Microsoft Edge still keeps on crashing. You can use Google Chrome, Mozilla Firefox, and other browsers as alternatives until you sort out the problem.
You might also want to try removing both AMD Radeon HD2000 and HD4000 as they are very old graphics cards. And since AMD is not going to roll out anything, at least on its own if your motherboard has an onboard GPU, it would be best to get rid of the cards. After that, install the Windows v1809 update and then put them back in. You also have the option to install the driver but just don’t use Microsoft Edge.

 Error Causes
“Windows Sandbox failed to start, Error 0x80070057, The parameter is incorrect”.This particular error in Windows Sandbox occurs due to its dependence on numerous components of Windows 10 that are related to Hyper-V and Virtualization mainly. To fix this error, there are several options you can check out. You can try to install any pending updates on your Windows 10 computer, as well as make sure that all the services related to Windows Sandbox are enabled.
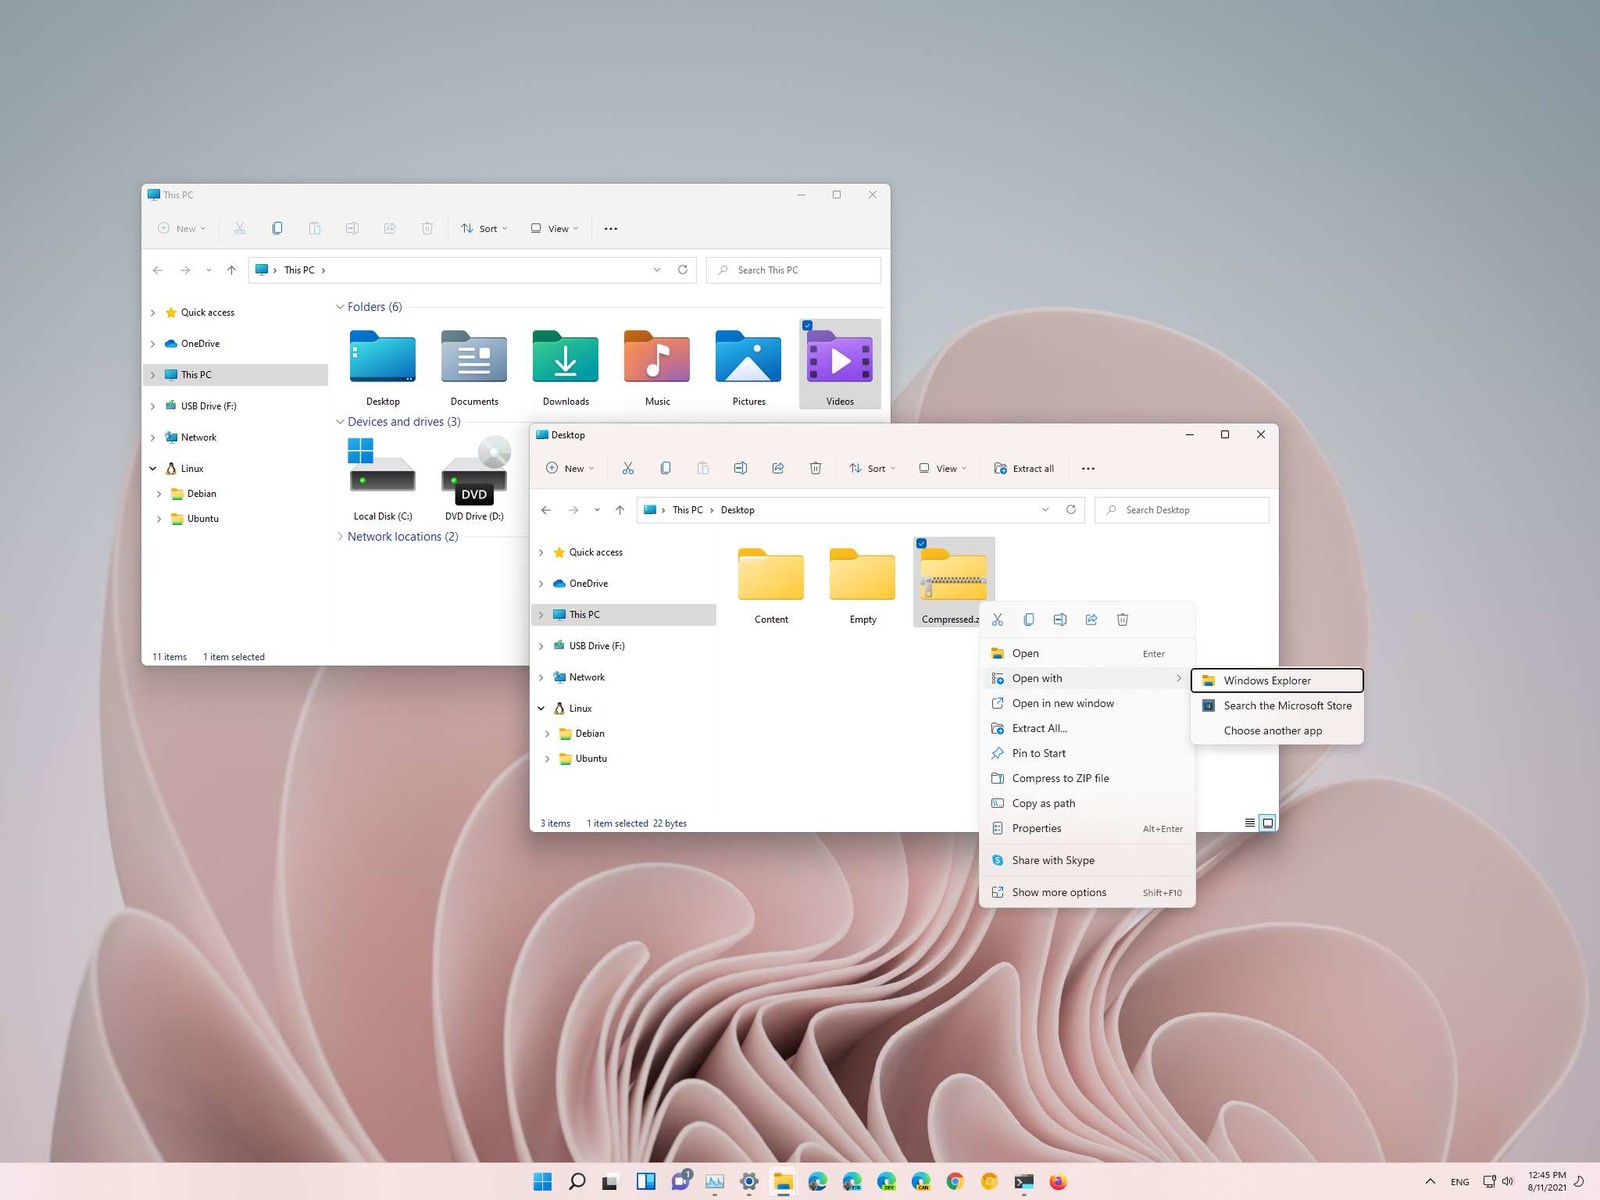 How this is the case we have decided to put a little tutorial on how to accomplish this very task and run file explorer with administrator privileges.
PrivateSearchPlus is a browser extension that redirects all your searches through yonto. This way the extension claims you are browsing privately.
From the author: Search the web without tracking your search history or any personally identifiable information Access quickly to popular websites with icons sliding from this homepage is easy speedy and accessed ..Google Search, Yahoo, Aol, Facebook, Amazon, eBay, and more from all world without login However, PrivateSearchPlus monitors your browsing activity, the websites you visit, the links you click, and stores personal information that is later sent to server ads. This extension changes your default search engine to Yonto, it displays additional unwanted ads, may display pop-up ads, and hijacks your home page. Several anti-virus scanners have classified this extension as a Browser Hijacker and are therefore not recommended to keep on your computer.Error code 0x8007267C is specific to Windows 10. This error is triggered when no DNS server is currently configured in your network settings during the Activation process. If you are fairly confident in your ability to address command-line tools and networking issues, you can follow the steps below to try to remedy the error code on your own. If not, you may need to contact a qualified technician in order to resolve the error successfully.
Error CausesThe cause of Error Code 0X8007267C within the Window 10 system is fairly straightforward. Windows Activation requires a valid DNS server to be configured in order to complete the Activation process; if one is not available or properly configured, then you may see this error code and Activation will fail.
The following methods may help you to resolve this error, but you’ll need to have some familiarity with command-line tools to complete the steps successfully. If these methods do not work or if you are uncomfortable in using the command prompt, you may need to consult a technician to fully resolve this particular error code on the Windows 10 system.
In order to resolve this error code, client connectivity to a DNS server must first be established. The following steps may help you to determine the root problem with your connectivity status:
ping <DNS Server IP address>
If basic connectivity to the DNS server in question is failing, then you will need to resolve that issue before going further in the process.
After troubleshooting the above basic connectivity issues to the DNS server, you can reattempt Windows Activation by using the command below from within an Elevated Command selection:
cscript windowssystem32slmgr.vbs -ato
If the steps above did not work for you, you may want to try the steps found in method 2.
If a DNS server is not connected to your network, you can use an alternative method to complete the Windows Activation process. Bypass Method 1 by using a MAK product key instead to activate the volume license installation. Certain MAK product key providers have a variation on the specific key numbers that you will need to use. If you are using TechNet media or MSDN media, you will have to change the product key listed to the product key provided. The product keys provided by either TechNet media or MSDN media for Windows Server 2008 or for Windows Vista Enterprise will be the MAK product key that you will enter in a later step.
Like the previous method, you will need to have some familiarity or confidence in your ability to operate Command Line tools before proceeding. Once you have found your MAK product key, you’ll need to open a command prompt and use the following command to change the product key to match the MAK product key, which should look something like the example below:
slmgr –ipk xxxxx-xxxxx-xxxxx-xxxxx-xxxxx-xxxxx
After completing the product key change, use the following command to initiate the phone activation wizard, thereby completing the activation of the system:
slui 04
The activation wizard should be able to walk you through the remainder of the process in a step-by-step manner. In addition to appearing as an error code in Windows 10, this particular error may apply to multiple versions of Windows, including:
Steps to address the error code may be different in any of these other versions of Windows. If you have difficulty in resolving the error effectively, seek professional technical help.