
Error Code 0xc0000142, What is it?
Error code 0xc0000142 is an error code that affects Windows 10 users. It often occurs when users attempt to run Windows applications. The message in the application error box allows users to recognize the error as it states that “the application was unable to start correctly (0xc0000142).” Common symptoms of this error code include the following:
- Inability to start applications
- Inability to completely run Windows applications
- The appearance of error code 0xc0000142 message box
Error Causes
Error code 0xc0000142 in Windows 10 is often caused by issues related to startup programs, corrupted files or other applications. To address this issue, the source of the issue needs to be located. But how will users be able to do this while the error code is present?
Further Information and Manual Repair
To fix error code 0xc0000142 users will need to employ at least one manual repair procedure. This may include checking your system for corrupt files through tools like Microsoft’s System File Checker (SFC). If you are uncertain of your skills or prefer to get professional support, contact a Windows repair technician to assist you.
The top three methods to resolve error code 0xc0000142 include the following:
Method One: Perform a Clean Boot
A clean boot is one of the most basic procedures you can run to solve a Windows-based error code of this nature. It works by identifying whether or not conflict among startup programs is preventing Windows applications from running properly. This occurs through a clean boot process involving Windows using a minimal set of drivers and startup programs when you reboot.
Here is what you’ll need to do:
- Step one: Go to Start and type msconfig
- Step two: Right-click and select System Configuration
- Step three: Select Service tab and click Hide all Microsoft Services then click Disable all.
- Step four: Click Startup tab within the System Configuration dialog box.
- Step five: Select Open Task Manager
- Step six: Within the Startup tab of Task Manager, select Disable for each Startup item, then close Task Manager.
- Step seven: Click OK on the Startup tab of System Configuration.
- Step eight: Restart your computer.
This method resolves software conflict arising when you attempt to update, run a program or simply use your operating system. However, if error code 0xc0000142 remains unresolved after you restart your machine, follow the next step below.
Method Two: Run a System File Checker Scan
System File Checker (SFC) is a utility tool built into the Windows 10 operating system, as well as other versions of Windows, to detect and repair corrupted system files. Since corrupted system files can result in error code 0xc0000142, run this tool by following the steps below:
- Step one: Go to Start and type Command Prompt or CMD.
- Step two: Right-click and select Administrator
- Step three: Check for and repair corrupted system files. Simply type sfc /scannow. (Be sure to place a space between “sfc” and “/scannow”).
Once these procedures are followed, the System File Checker tool will automatically scan your machine, and find and repair corrupted files. If this is the source or underlying cause of error code 0xc0000142 on your system, the error code will be resolved. However, if the source of the issue is not due to corruption in our system or is simply a more complicated issue try the next method highlighted below.
 Once the device window opens, click once on printers and scanners, and on the right window go to the bottom and uncheck Let windows manage my default printer.
 Unchecking that box will let Windows know that we do not wish anymore for him to set our default printers according to their use. Once the checkbox is clear go up to your printer list and click on the printer you wish to use as the default one. I will choose Microsoft Print to PDF as my default printer and click on it. Once the printer is clicked option menu will appear.
 When the option menu appears under the printer name, click on Manage which will take you to the printer management screen. When you are on the manage screen, click on the Set as default button, and you are done.


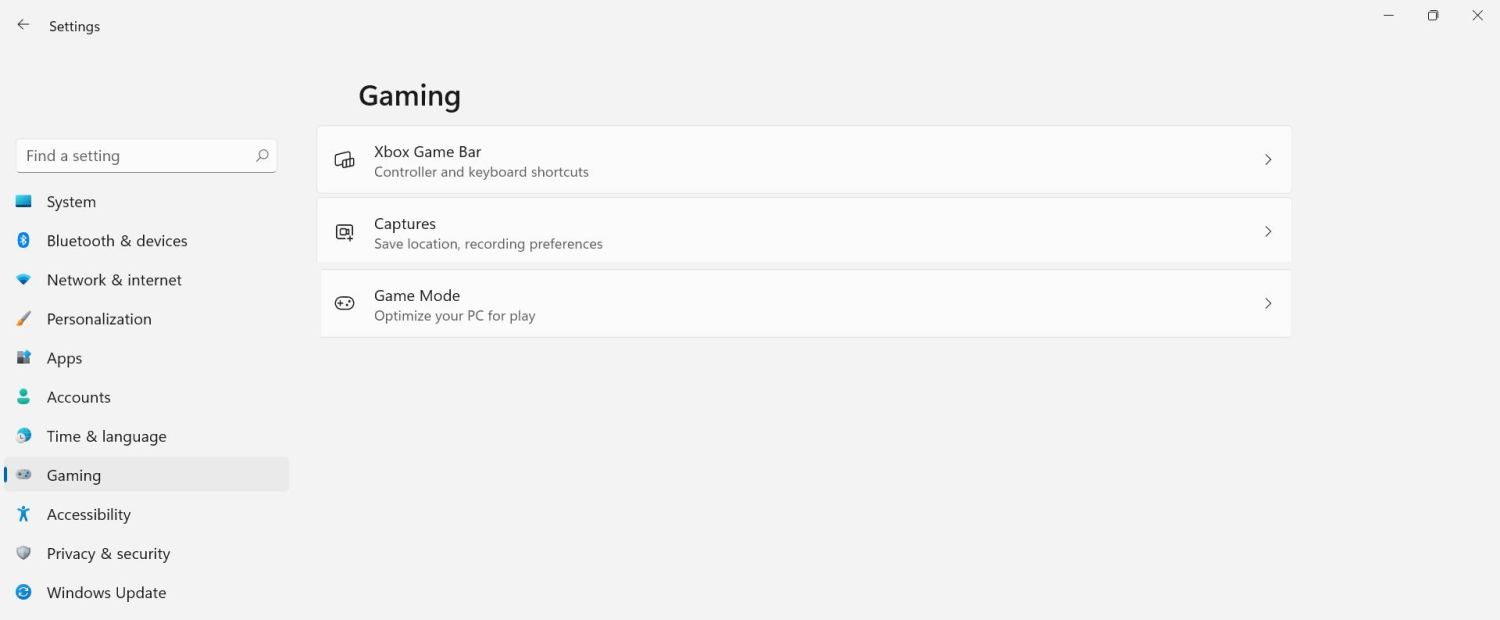 The game mode is active at all times and usually, everything works great but in some instances, it can sadly cause some performance issues. If you are one of these unlucky people where game mode is not working as supposed to do, don’t panic, we have a quick guide for you on how to turn it off.