What Is Htmlayout.dll Error?
Htmlayout.dll is a linked library which is also known as HTMLayout. In simple words, it is an embeddable HTML layout and rendering component.
htmlayout.dll is generally associated with Avast Internet Security, Bit Defender Internet Security 2011, and other similar programs.
If you’re noticing that a continuous popup that reads:-
‘HTMLayout.dll cannot be loaded to properly start GUI. Therefore process cannot continue’, ‘Htmlayout.dll not found’,
‘The file htmlayout.dll is missing’,
and so on, then your system may be exposed to serious privacy and security threats.
Solution
 Error Causes
To begin with, DLL files are shared files, and they can and do exist outside the software applications.
While these files do provide benefits to software developers, once they are separated, they can only spell trouble. Hence, you start seeing the HTMLayout error, which will most probably occur at system startup, program startup, or when trying to use specific functions in a program.
There are a number of reasons why the HTMLayout errors occur, and some of the common ones include:
- The file is missing because it was accidentally deleted from the system.
- The file was damaged by a virus and as a result, your system cannot access it.
- The file was related to the registry and is now corrupt or obsolete.
- The program that was related to the file was not uninstalled properly.
- The file was overwritten by a corrupt or outdated version.
- The spyware or malware deleted the original file and disguised it as the HTMLayout.
Further Information and Manual Repair
While the HTMLayout DLL error may sound like too much trouble, it is rather easy to resolve with a few steps. If you are getting the error because of a specific program or file, then you should reinstall to make sure the error does not pertain. For that, follow these steps:
- Go to Start and select the Control Panel.
- Click on the Add/Remove Programs icon and select the programs that show the error on the list.
- Select Remove/Uninstall to safely remove the program from your system.
- Restart the system and reinstall the program again.
This is the easy way out if the HTMLayout DLL error is occurring as a result of the file missing. However, there can be cases when the file has been tampered with by virus or registry issues. For that, the safest bet is to download Restoro.
Restoro is not just another registry cleaner. Instead, it is a multi-functional PC Fixes that works as an antivirus, registry cleaner, system optimizer, and much more.
What’s more interesting about Restoro is that it provides real-time results as opposed to other registry cleaners. In other words, you will actually feel a difference in PC performance and security after installing and using the program.
The software is compatible with all Windows versions.
So just click here and download Restoro to get rid of HTMLayout error and other issues in your system!

 The World of Superhero movies has gone through some interesting variations, from good ones to bad ones, from big-budget ones to small ventures, even from large well-known characters to niche ones.
No matter what you think of some of them no one would disagree that since the release of Iron Man and starting Marvel cinematic universe superheroes movies exploded in popularity.
Following the Superhero craze, let’s see what is coming up in comic books transferred to big screens with their release dates.
The World of Superhero movies has gone through some interesting variations, from good ones to bad ones, from big-budget ones to small ventures, even from large well-known characters to niche ones.
No matter what you think of some of them no one would disagree that since the release of Iron Man and starting Marvel cinematic universe superheroes movies exploded in popularity.
Following the Superhero craze, let’s see what is coming up in comic books transferred to big screens with their release dates.

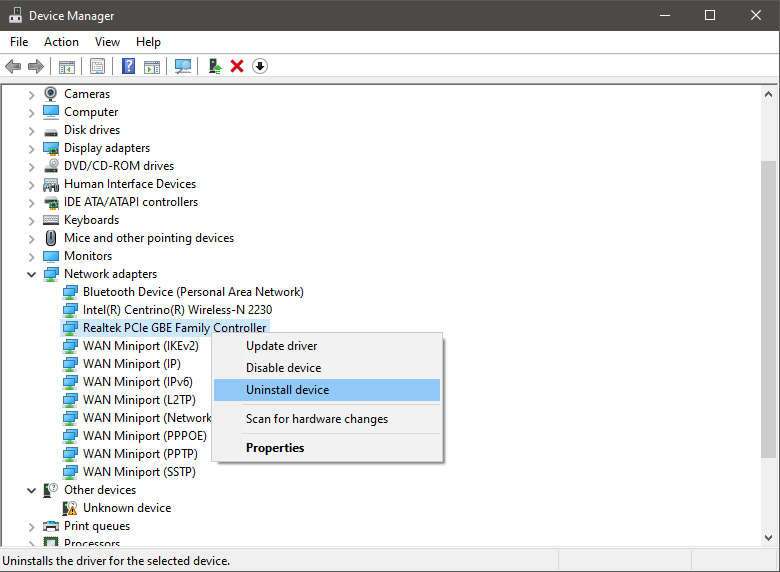
 In the Device Manager expand Network adapters, choose adapter, right-click on it and choose Uninstall.
 Install latest driver or reboot so Windows will install the driver automatically
 In command prompt type next line and press ENTERDEL /F /S /Q /A “C:\Windows\System32\drivers\mfewfpk.sys
Reboot the system
In command prompt type next line and press ENTERDEL /F /S /Q /A “C:\Windows\System32\drivers\mfewfpk.sys
Reboot the system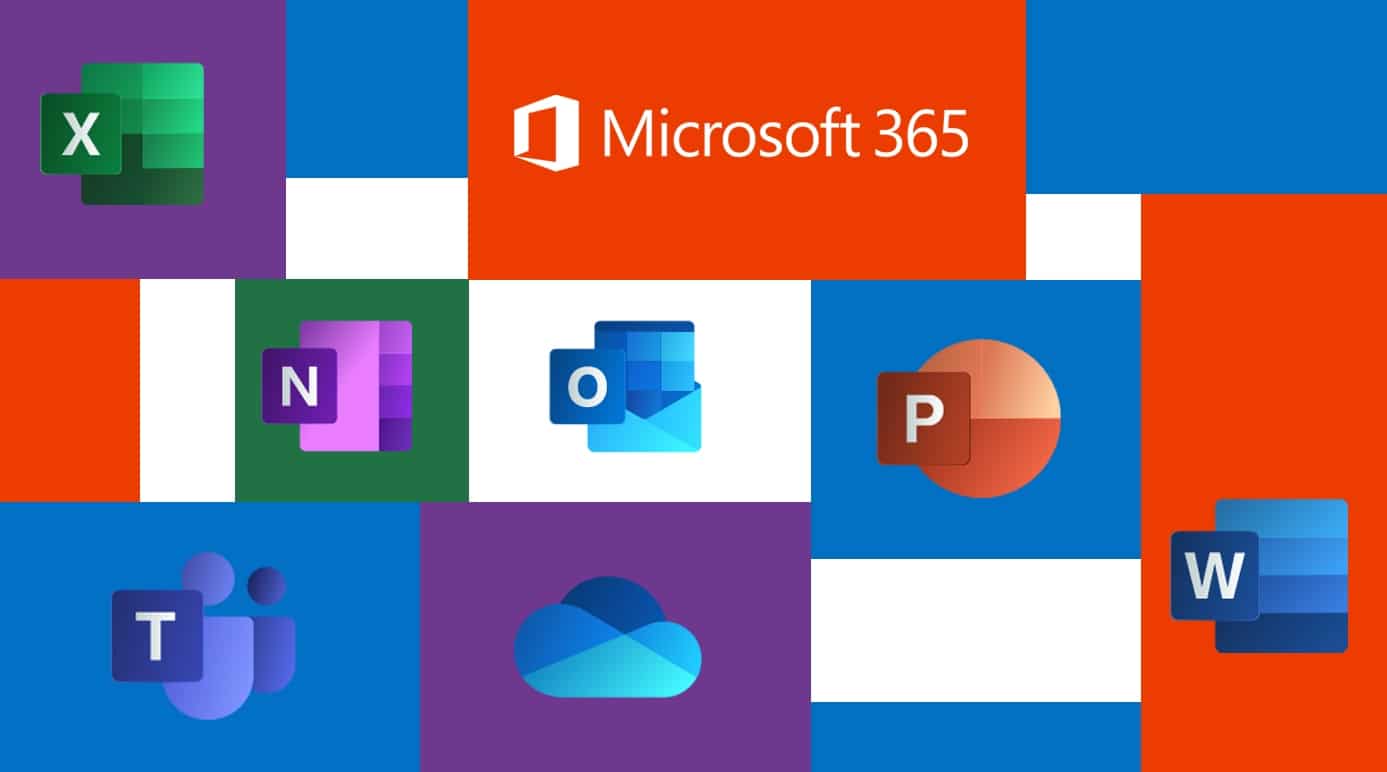 Microsoft starting as of today will block its Office 365 users if they are using Internet Explorer or early versions of Edge browsers.
So if you are using older non Chromium Edge versions of Microsoft browsers you can no longer access Office services until you switch. Now normally I would fully support this kind of decision since Internet explorer is a slow and vulnerable browser and the edge is similar in that regard.
The new edge browser is great and it should be used but the issue I have is that Office 365 is not free, it is a premium feature and I am wondering how Microsoft plans to deal with people that have already paid for service but suddenly cannot access it anymore.
Microsoft starting as of today will block its Office 365 users if they are using Internet Explorer or early versions of Edge browsers.
So if you are using older non Chromium Edge versions of Microsoft browsers you can no longer access Office services until you switch. Now normally I would fully support this kind of decision since Internet explorer is a slow and vulnerable browser and the edge is similar in that regard.
The new edge browser is great and it should be used but the issue I have is that Office 365 is not free, it is a premium feature and I am wondering how Microsoft plans to deal with people that have already paid for service but suddenly cannot access it anymore.