It is no secret that Fortnite is one of the most played games in the world. Epic has done a great job offering it to plenty of other platforms with cross-play feature meaning that you can play with your friends no matter on what platform they are on.
But how Fortnite is a piece of software which is constantly updated and maintained it is pretty normal to have some bugs or issues from time to time.
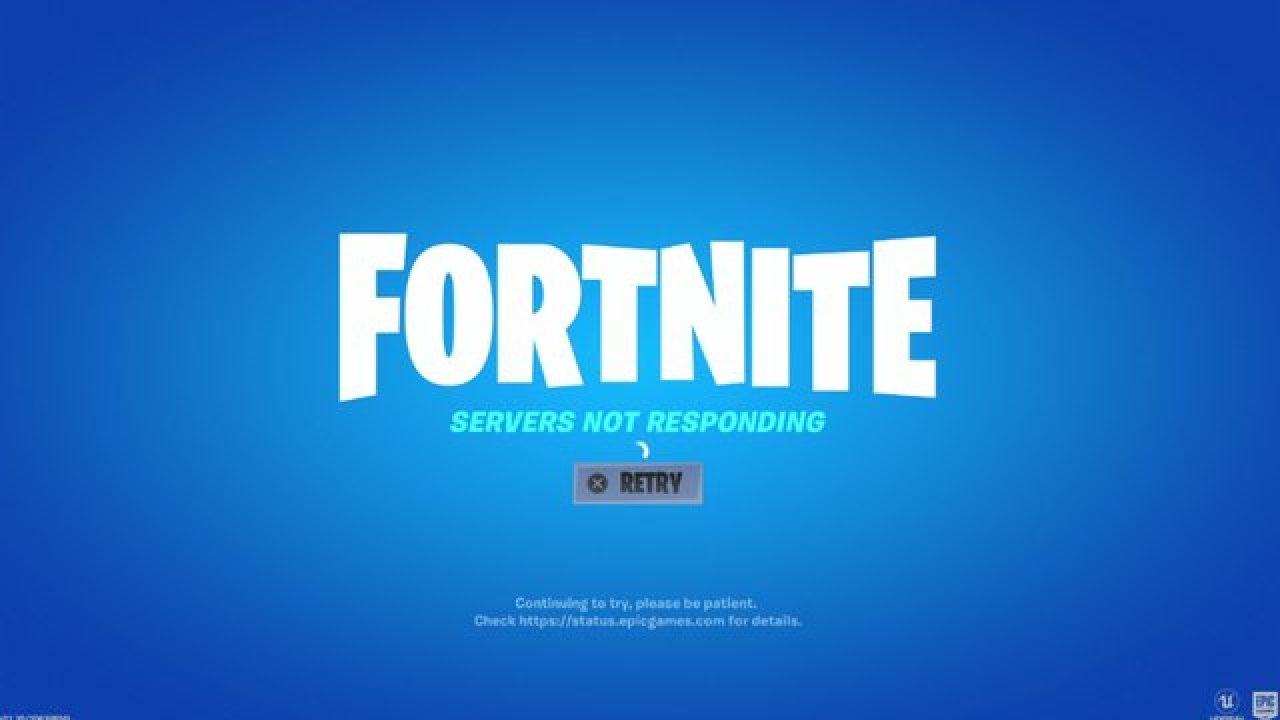
One of the before-mentioned issues is a connection issue or unable to connect to game servers.
In our article, we will go through common fixes and solutions in order to get you back in-game as fast as possible. Keep on reading.
 Check the Epic Games Status page
Check the
Epic Games Server Status page to make sure all systems are operational. If the issue you’re experiencing is related to an outage or system-wide issue, you won’t be able to connect to the Epic Games Launcher or Fortnite until it's resolved.
Use a wired connection
Wireless connections are not as stable as wired connections. This means that the signal can be unreliable and result in packet loss, connection problems, or higher latency or ping. Connect directly to your modem or router with an Ethernet cable to eliminate this possibility and have the fastest connection possible.
Disable your firewalls
Often the quickest way to fix connection problems due to firewalls is to temporarily uninstall and/or disable it.
Windows Firewall disable guide:
- Click on Start.
- Click on Control Panel.
- Click on System and Security.
- Click on Windows Firewall.
- Click on Turn Windows Firewall on or off (You might need to provide the Administrator password at this step)
- Under each Network location, select the Turn off Windows Firewall option
Uninstall any other firewalls
Using a third-party firewall may prevent you from being able to connect to the Epic Games Launcher, Fortnite, or another Epic Games product. We recommend removing any third party firewalls temporarily to see if this resolves your issue. If it does resolve the problem, make sure to add the following executables as exceptions to your firewall:
Epic Games Launcher
- C:\Program Files (x86)\Epic Games\Launcher\Engine\Binaries\Win64\EpicGamesLauncher.exe
- C:\Program Files (x86)\Epic Games\Launcher\Engine\Binaries\Win32\EpicGamesLauncher.exe
Fortnite
- C:\Program Files\Epic Games\Fortnite\FortniteGame\Binaries\Win64\FortniteClient-Win64-Shipping.exe
- C:\Program Files\Epic Games\Fortnite\FortniteGame\Binaries\Win64\FortniteClient-Win64-Shipping_BE.exe
- C:\Program Files\Epic Games\Fortnite\FortniteGame\Binaries\Win64\FortniteClient-Win64-Shipping_EAC.exe
- C:\Program Files\Epic Games\Fortnite\FortniteGame\Binaries\Win64\FortniteLauncher.exe
Contact your firewall manufacturer for instructions on how to add these as exceptions to it as this varies between them.
Unblock your network ports
Network ports allow certain types of data to be successfully sent over a network that is used by our services. If you have any of these blocked, it may result in you being unable to connect to our games or use our services properly. To unblock your ports on your router do the following:
Windows
First, you will need to get your default gateway and internal IP address:
- Click on Start.
- Type cmd and press Enter.
- Type ipconfig and press Enter.
- Take note of your Default Gateway and IPv4.
Configuring your router to unblock the ports
- Open your web browser.
- Type your Default Gateway into the address bar and press Enter. (A common Default Gateway is 192.168.1.1)
- You may be asked for a username and password. This varies for each router. Before entering anything, try just hitting OK. If that doesn't work, try the common default username and password below:
Username: admin
Password: password
If these don't work, you can check this website for a list of usernames and passwords based on your router model.
- Locate the Port Forwarding page in the administration tool and click on it.
- Make sure you have Port Forwarding selected and not Port Triggering as this is completely different.
- On this screen, you will need to enter the ports and port ranges below with the correct protocol and local IP of which you took note of above: 80 (TCP/UDP), 433 (TCP), 443 (TCP), 3478 (TCP/UDP), 3479 (TCP/UDP), 5060 (TCP/UDP), 5062 (TCP/UDP), 5222 (TCP), 6250 (TCP/UDP), and12000-65000 (TCP/UDP).
If you have any trouble doing the above on your router, make sure to check out the router manufacturer's support site for additional instructions as these will vary from router to router.
VPN and Proxy Servers
Do NOT use VPN or Proxy Servers. These cause issues that can't be resolved by us without having you disable them. Check out
this article for information on how to disable your proxy server.
Switch Domain Name Systems (DNS)
Switching your DNS can result in better connectivity and performance for your internet connection. There are two different DNS services we recommend to have you try if you are having issues with your connection. Below are the followings links with instructions on how to change your DNS:
Epic Games Launcher: Edit your Engine.ini file (Windows only)
Editing these settings can result in better download speeds using the Epic Games Launcher:
- Click on Start.
- Type %localappdata% and press Enter.
- Open the EpicGamesLauncher
- Open the Saved
- Open the Config
- Open the Windows
- Open ini and add the following lines to it:
[HTTP]
HttpTimeout=10
HttpConnectionTimeout=10
HttpReceiveTimeout=10
HttpSendTimeout=10[Portal.BuildPatch]
ChunkDownloads=3
ChunkRetries=20
RetryTime=0.5
- Save the file and open the Epic Games Launcher.
 Builders with no depth knowledge and experience can sometimes choose improper CPU or GPU, picking one of them to be much more powerful than another thus not using it to its full potential because another component cannot handle stuff at the same speed. In order to not be trumped by this kind of stuff, there is a website that is completely free and you do not even need to be registered in order to use it.