Hal.dll Error - What is it?
Hal.dll error is a type of dynamic link library error that is common in Windows.
Hal.dll is the critical file in all Windows installations and the error occurs when this file cannot be correctly loaded. Hal is the abbreviation for ‘Hardware Abstraction Layer’. Communication between Windows and different PC hardware is facilitated with this file.
The error causes inconvenience and hampers your ability to use the hardware.
The error message is displayed in either one of the following formats:
- "Windows could not start because the following file is missing or corrupt: C:Windowssystem32hal.dll. Please re-install a copy of the above file."
- "Cannot find WindowsSystem32hal.dll"
- "C:WindowsSystem32Hal.dll missing or corrupt: Please re-install a copy of the above file."
Solution
 Error Causes
Hal.dll error occurs due to multiple reasons. These include:
- BIOS are not configured properly
- Damaged hard drive
- Hal.dll file is missing, damaged, or corrupt
- Viral Infection
Further Information and Manual Repair
To fix and resolve the Hal.dll error code on your system, you don’t always have to hire a professional technician for the job.
Though Hal.dll error is critical but easy to resolve, here are some solutions that you can try to fix it right away even if you don’t have any technical expertise.
1) Restart Your PC
Sometimes this can be a temporary error, so try restarting your PC. If the error is resolved then that’s great. However, if it still persists, then try other solutions.
2) Change the Boot Order
The underlying cause for the Hal.dll error is often not properly configured BIOS; if this is the cause, simply change the boot order of the bootable devices like your hard drive.
The BIOS setup utility is used to change boot order settings. This can be done by restarting your PC. Once you restart, press F2 to enter the setup. Now go to SATA operation and change RAID AHCI to RAID ATA.
Save changes and then exit. By doing so, you will be able to re-configure the BIOS and resolve the error.
3) Use BOOTMGR
Another way to resolve is to update the volume boot code to use BOOTMGR.
To do this, access advanced startup options, open the command prompt and type bootsect command and then press Enter. Run the command and then you’ll get the following message:
C: (\?Volume{37a450c8-2331-11e0-9019-806e6f6e6963})
Successfully updated NTFS filesystem bootcode.
Bootcode was successfully updated on all targeted volumes.
After that close the command prompt. This is most likely to resolve the error.
4) Repair Registry With Restoro.
In case the error is still not fixed, then this means that the problem is bigger than you thought. It may be due to hard drive failure, viral infection, or sometimes because of hal.dll file corruption. In the event of these error causes, it is recommended to download Restoro.
Restoro is an advanced, next-generation, and multi-functional PC repair tool embedded with numerous utilities like a registry cleaner, an antivirus, and a system optimizer. The registry cleaner utility:
- Scans for all registry issues
- Wipes out the unnecessary files saved in the hard drive like the junk files, cookies, internet history, and temporary files
- Cleans the disk
- Repairs damaged and corrupt files
- Restores the registry
The antivirus utility scans and removes all malicious software from your PC including viruses, Trojans, malware, adware, and spyware. Simultaneously, it also boosts the speed of your system.
It is safe and efficient PC repair software. It has simple navigation and a user-friendly interface. Whether you are using Windows 7, 8 or Vista, it is compatible with all. It can also be used on Windows XP.
Click here to download Restoro and resolve the Hal.dll error today!

 Researchers have discovered 16 vulnerabilities in Bluetooth connections that could be exploited and make from minor to some serious damage to your device. The flaw can be used on chips manufactured by Intel, Qualcomm, and Texas Instruments while connecting to external devices like speakers, headphones, keyboards, mice, etc.
 Inside personalization, click on the Lock Screen tab.
 On the right screen, under the picture, you will find Windows spotlight, click on it to bring a drop-down menu up.
 Your choice is presented as a single picture for background or slideshow, a series of pictures that are going to be looped in a given time interval.
If you would like just a single picture for your background, choose that and click on it.
Your choice is presented as a single picture for background or slideshow, a series of pictures that are going to be looped in a given time interval.
If you would like just a single picture for your background, choose that and click on it.
 Once you are in choose picture dialog, click on the browse button and navigate to the picture on your storage which you would like to have as a background.
If however, you fancy slideshow as your lock screen background, click on the background drop-down menu and choose the slideshow. Next, click on add a folder and navigate to a folder where you have pictures that you would like to have as a slideshow for your Windows lock screen.
Once you are in choose picture dialog, click on the browse button and navigate to the picture on your storage which you would like to have as a background.
If however, you fancy slideshow as your lock screen background, click on the background drop-down menu and choose the slideshow. Next, click on add a folder and navigate to a folder where you have pictures that you would like to have as a slideshow for your Windows lock screen.

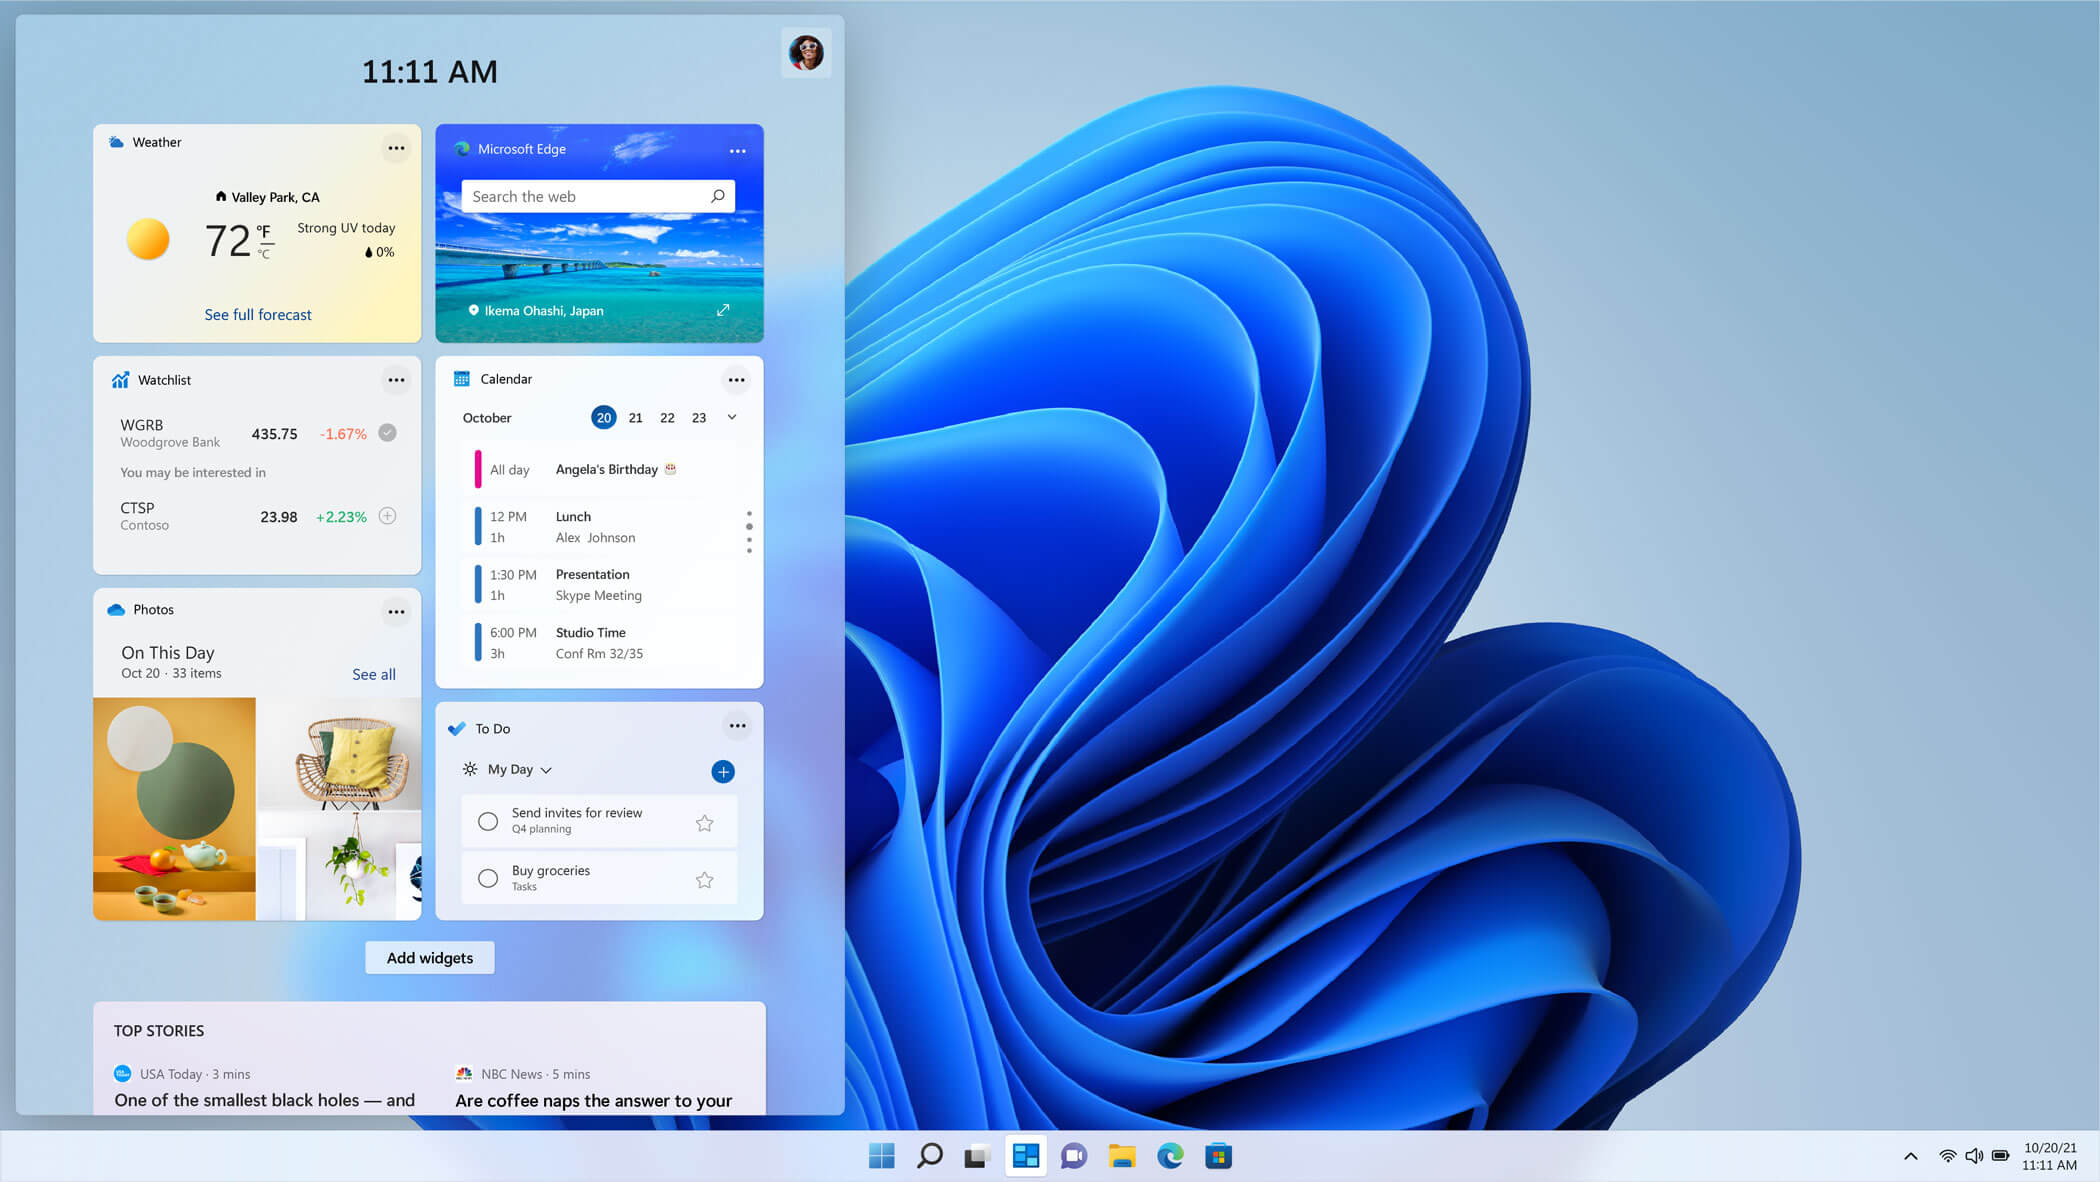 The new widget's menu inside Windows 11 is generally met with a positive attitude but there are still users which prefer not to have it. Luckily for them, Microsoft included a very easy way to turn the widgets menu on or off. Follow this easy guide to see how.
Right-click on the widget button in the taskbar and click on Hide from Taskbar and that’s it
Alternatively, you can also turn it off via the setting app.
Go to the settings app and navigate to Personalization > Taskbar > Taskbar Items and flipping the switch beside Widgets to Off.
Please note that both methods will only hide the button to toggle widgets menu, at the current state there is no really a way to actually turn it off, only hide it and make it not available to bring it up.
The new widget's menu inside Windows 11 is generally met with a positive attitude but there are still users which prefer not to have it. Luckily for them, Microsoft included a very easy way to turn the widgets menu on or off. Follow this easy guide to see how.
Right-click on the widget button in the taskbar and click on Hide from Taskbar and that’s it
Alternatively, you can also turn it off via the setting app.
Go to the settings app and navigate to Personalization > Taskbar > Taskbar Items and flipping the switch beside Widgets to Off.
Please note that both methods will only hide the button to toggle widgets menu, at the current state there is no really a way to actually turn it off, only hide it and make it not available to bring it up.