When you try to open Outlook 20016 and other programs on your Windows 10 PC and end up getting an error instead saying, “Failed to register a VB Script DLL. Reinstall or run Regsvr32.exe Vbscript.dll to self-register”, read on as this post will help you resolve the problem and help you re-register the vbscript.dll file. Follow each one of the steps below carefully to fix the problem.
On the other hand, if re-registering the DLL file didn’t work, you might have to log on to your computer using an administrator account and then try re-registering the DLL file once more. But before you do that, you need to create a system restore point first so that if anything goes wrong, you can always undo the changes you’ve made. After creating a system restore point, double-click on the downloaded .reg file to add its contents to the Registry. After that, try opening the program you were trying to open but weren’t able to because of the error.
If it doesn’t work, you can always reinstall the affected programs that throw up the error and see if it resolves the problem. You could also seek the help of a one-click solution to fix the problem for you. This program is a useful tool that does not only repair corrupted registries and optimize your PC’s overall performance but also resolves any DLL issues like the Failed to register a VB Script DLL. Reinstall or run Regsvr32.exe Vbscript.dll to self-register” error. Aside from that, it also cleans out your computer for any junk or corrupted files that help you eliminate any unwanted files from your system. This is basically a solution that’s within your grasp with just a click. It’s easy to use as it is user-friendly. For a complete set of instructions for downloading and using it, refer to the steps below.

Are you trying to update your Windows 11 OS and are receiving a 0x800f0905 error? Do not sweat and do not worry we have a couple of solutions that you can try in order to fix this issue. How this error is tied to various things like misconfigured settings, corrupt system files, and more there is no way to present one simple solution that will solve everything in one click.
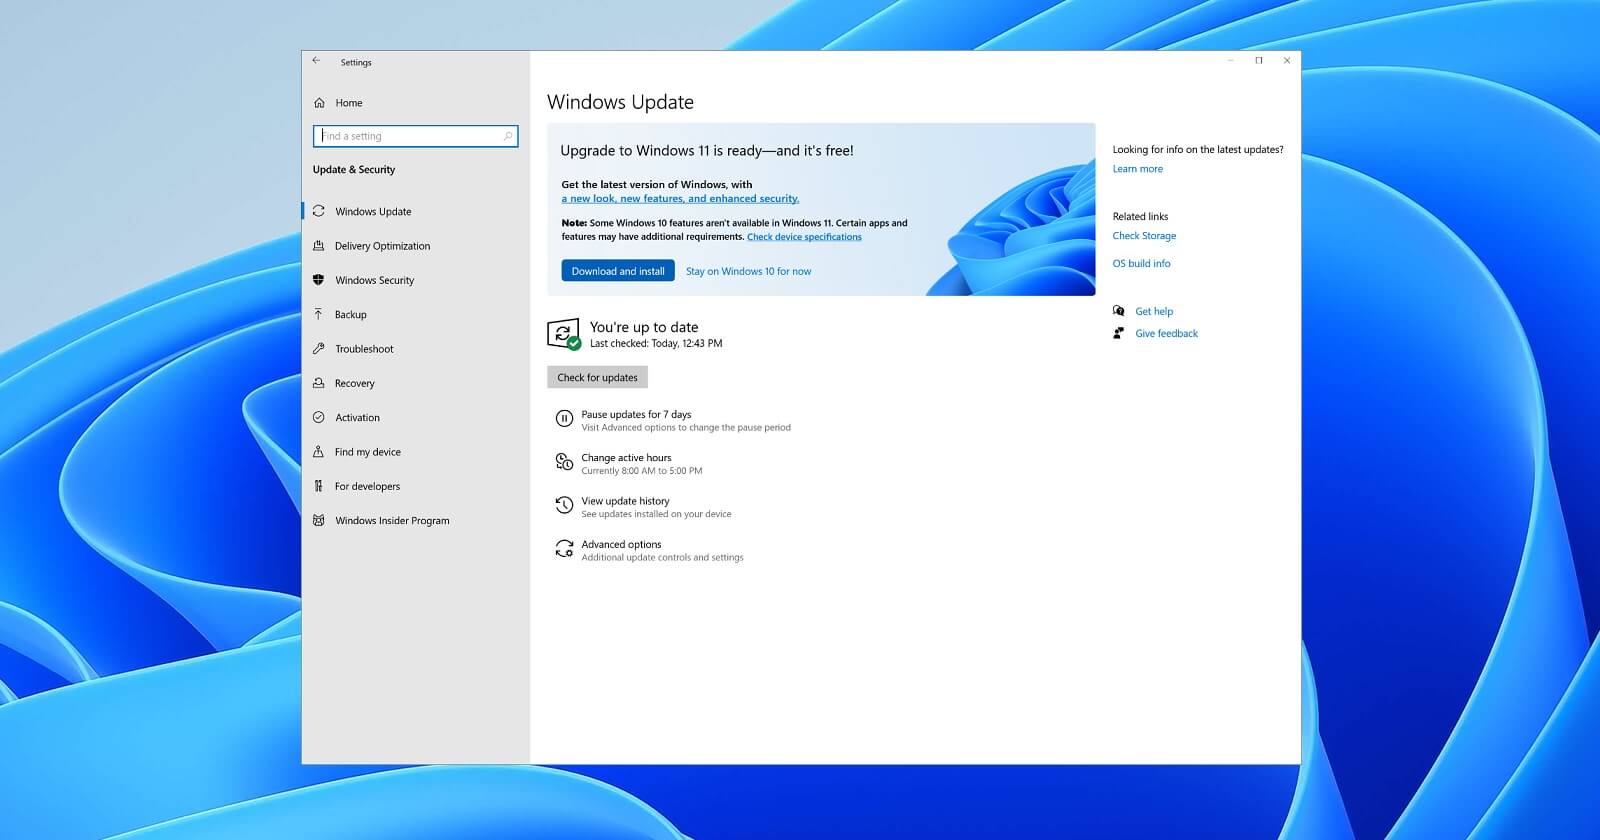 Therefore we are presenting a couple of solutions that will fix your issue, it is advisable to follow them as presented since they will go from the most common to the more complex one.
The most common fix and one that will actually repair things most of the time is simply running the Windows Update troubleshooter.
If the previous solution did not work we will need to do things manually. Follow the steps as presented in order to reset Windows update components.
Well, that was a lot of typing or copy and pasting line by line followed by ENTER after each one but hopefully, your issue is solved. These provided solutions fixed most users' issues with this error but if for some reason this is not the case for you, move to the next step.
If you are still having 0x800f0905 error after previous attempts do the following:
If for any reason previous solutions have not provided you with the solution we will try to fix the issue by performing system restore.
If for any reason Windows still cannot install the update, try installing it manually.
If nothing worked, reset your Windows 11 to its factory settings to fully repair and reset the whole operating system.
 Razer had some strange dives into stuff not really aimed at gamers and the gaming community overall like its Zephir smart mask and now it is venturing into the area of smartwatches teaming up with Fossil. I am not clear if this initiative was set in motion by Razer or Fossil and I really do not know why limited production numbers. Officially named RAZER X FOSSIL GEN 6 SMARTWATCH, this watch comes with the official following text on Razer's page:
Way more. Way faster. Way ahead of the game. Get time on your side with the limited-edition Razer X Fossil Gen 6 Smartwatch—only 1,337 pieces worldwide. Designed for the next generation of gamers, supercharge your style with customizable straps, dials, Razer Chroma™ RGB effects, and more.Now, I am a fan of Razer and I like their products, mostly keyboards and mouse altho chair is also very good and in top of the product line in that field but I can not really stand behind this product and decision, and the only reason why I can not stand behind it is this 1337 (leet, or elite) a limited number of available pieces that is nothing more than a gimmick to sell watches at a higher price. Watch itself is not really bad, as a matter of fact, it has some solid hardware statistics.
Error code 12 is a typical Device Manager error code. It usually pops on the computer screen when the computer experiences device driver problems or system resource conflicts.
Error code 12 is mostly displayed on the computer screen in the following format:
‘This device cannot find enough free resources that it can use. If you want to use this device, you will need to disable one of the other devices on this system.’
 Error Causes
The error code 12 occurs when 2 devices installed on your PC are accidentally assigned the same I/O (input/output) ports or the same direct memory access channel.
This assignment is known to be made either by BIOS (Basic Input/output system) or by the operating system. It can sometimes be assigned by a combination of the two. Also, code 12 can also appear on your monitor screen if the BIOS didn’t allocate enough resources to the device.
Although this error code is not fatal, it is nonetheless advisable to fix it immediately to avoid inconvenience and hassle. This error is most likely to lower and hamper the performance of your system.
Here are some of the easiest and most effective do-it-yourself methods to resolve error code 12 on your PC. To perform these fixes, you don’t have to be technically sound or a computer programmer for that matter. Simply follow the steps to fix the problem right away.
To repair error code 12, simply go to the start menu and type Device Manager in the search box. Now go to the Device Properties dialog box. After that click on the ‘General Tab’ and now access Troubleshoot to start the Troubleshooting Wizard.
The Wizard will ask you some questions and provide you a solution accordingly. Follow the instructions and resolution steps provided by the troubleshooting wizard to repair error code 12 on your PC.
By disabling the problematic device in the Device Manager, Windows will ignore that piece of hardware. Once disabled, Windows will then no longer assign system resources to that device and no driver/software will be able to use that device.
To disable, go to the Device Properties in the Device Manager and then click the Driver tab. Click disable located at the bottom of the window. Then you will be prompted with a message stating ‘Disabling this device will cause it to stop functioning. Do you wish to disable it?’ Click yes to continue and then click OK to save changes.
Another method to resolve error code 12 is to restore your PC to its previous state when it was working properly.
For this, it is important to backup all your data first to avoid data loss issues that are likely to occur during this process. Creating backups manually can be a time-consuming and tedious task. To save time and quicken the process, it is best to install a program like DriverFIX.
DriverFIX is a user-friendly and intuitive device driver management software that helps backup all your data automatically and efficiently, while simultaneously restores your PC back to its previous state before you encountered problems.
Click here to download DriverFIX on your system to resolve error code 12
RegClean Pro is a program developed by Systweak Inc. RegClean Pro cleans such invalid registry errors using its advanced scan engine. It not only fixes invalid registry entries, it also defragments the registry, keeping it streamlined for smoother system performance.
RegClean Pro defines auto-start registry entities that allow the program to run each time the system is restarted, it also adds various Scheduled tasks in Windows Task Manager in order to launch the application at various times. This application has been found bundled up with various other potentially unwanted applications, also several anti-virus programs have detected this application for optional removal.
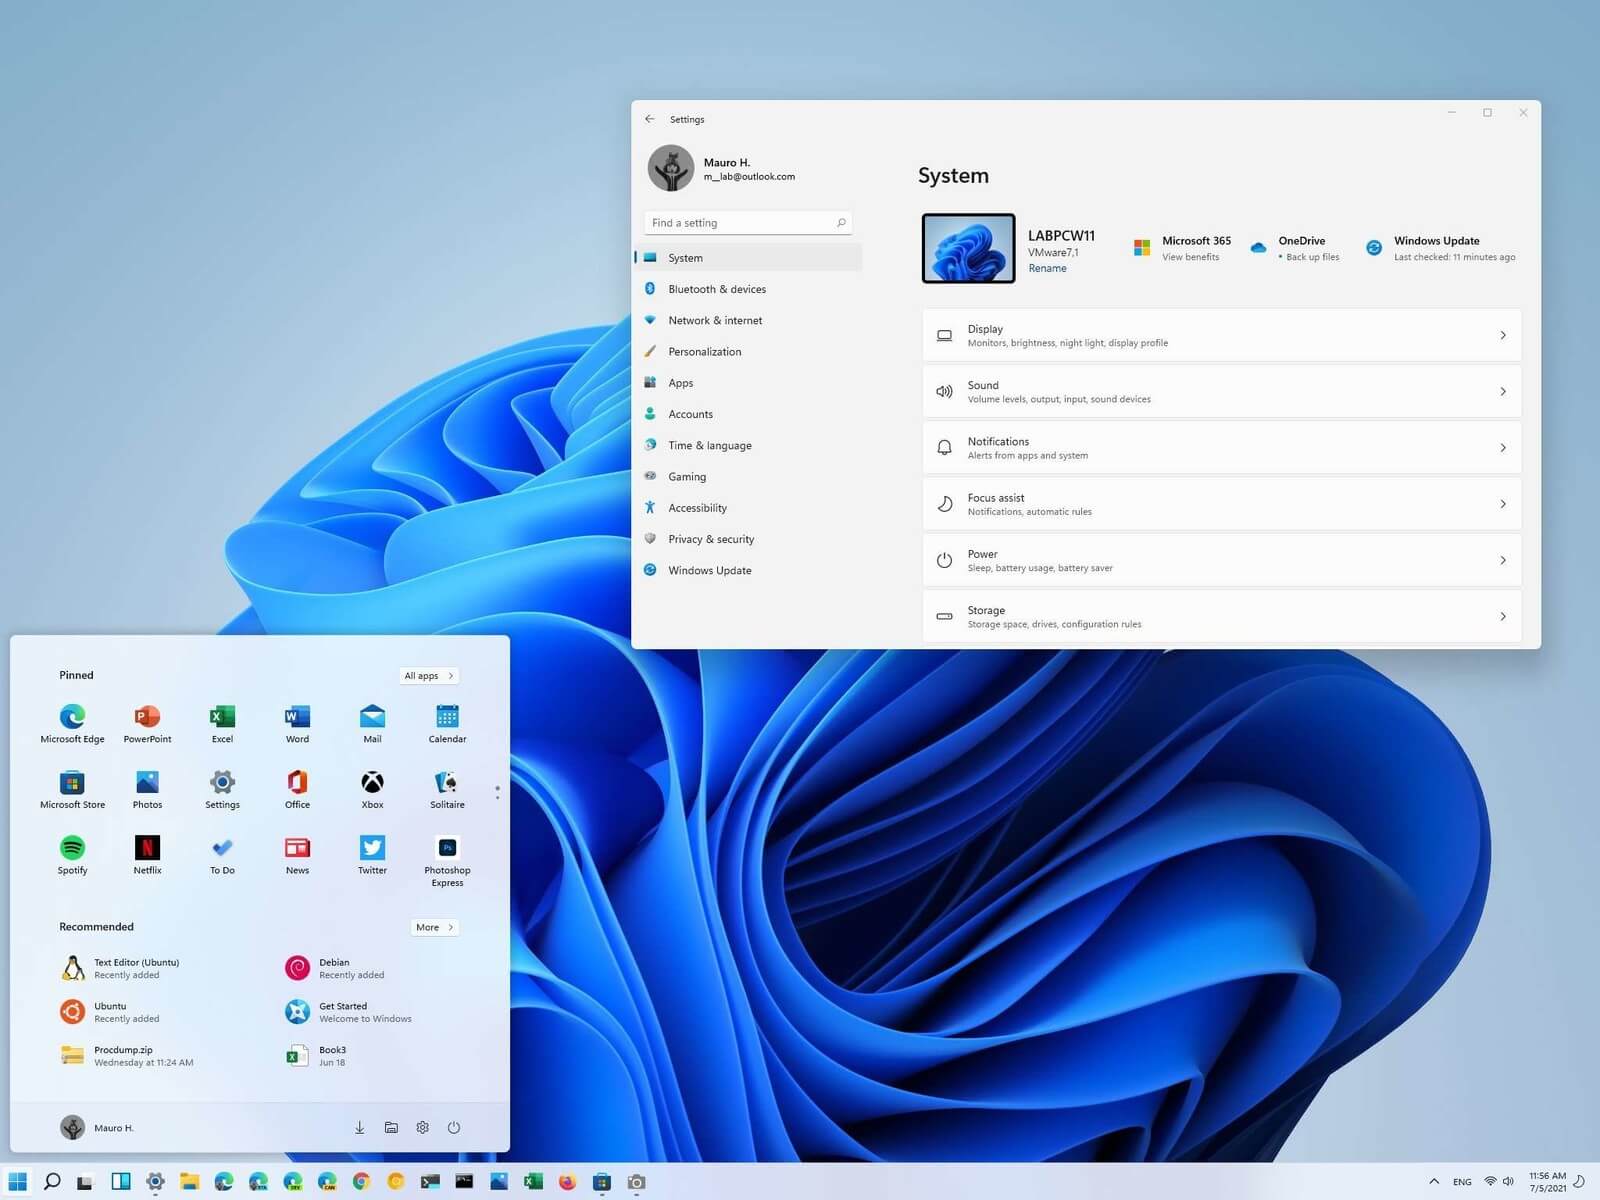 Most scrollbars are hidden by default if they are not used in Windows 11. If you are not ok with this feature and want scrollbars to be always visible and available do not worry, turning them ON is very easy.
Windows 11 will save settings automatically and apply setting right away. Close settings and continue with work.