 in system dialog click on the clipboard and on the right screen turn ON CLipboard history.

Error Code 37 is a Device Manager Error Code that you may come across when you are unable to use an installed hardware device on your PC. It will pop up on your screen with the following display:
“Windows cannot initialize the device driver for this hardware. (Code 37)”
If you receive the above message, it means that your operating system was unable to acknowledge the drivers for a particular peripheral device.
 Error Causes
Error Code 37 mainly occurs due to device driver corruption. However, there are other factors that can trigger this error code, some of which are the following:
Device driver corruption or other data corruption is not uncommon and part of everyday PC use.
From an installation gone wrong to an unexpected shutdown, commonly generated data errors are considered the main culprit behind error codes.
Just like most PC error codes, Error Code 37 isn’t that difficult to get rid of. There are many DIY methods you can try to have your PC running smoothly in no time. Here are a few methods to resolve this issue:
It is possible that the display of the error code is merely due to a temporary issue with your peripheral device and not anything serious.
Therefore, the quickest and easiest method to solve the error code 37 is to simply restart your PC.
If restarting does not do the trick, a quick scan for viruses and removing them is another simple method you can follow to fix your PC.
Since the error code is due to corruption of data, viruses such as malware or spyware create error in your PC’s registry and eliminating them can help restore some of the corrupt data, which also speeds up your PC.
A possible explanation for the error code may be the recent changes in your Device Manager or due to the peripheral device installation. You can thus undo the changes by either:
If the above stated methods do not help in speeding up your PC and is still giving you an error code, you may want to manually uninstall and reinstall the corrupt or missing drivers. Here are the following steps:
However, updating the missing or corrupt drivers can be time consuming and may also require having a hardware documentation ready that contains specific details about the driver that you should download.
To avoid this time-consuming process, you can use DriverFIX software.
DriverFIX will help you to download the required driver without you having to waste your precious time and effort looking it up in a user manual. This latest software technology is embedded with its own database that tracks the missing or corrupt driver according to your PC’s motherboard version and specific details.
It is user-friendly, which means that it will relieve you from the frustration of such PC error codes appearing from time to time and enable your PC to work efficiently in no time.
Click here to download DriverFIX to resolve Device Manager error code 37 today!
 in system dialog click on the clipboard and on the right screen turn ON CLipboard history.
“There were some problems installing updates, but we’ll try again later. If you keep seeing this and want to search the web or contact support for information this may help: (0x8024002e)”.Common symptoms include:
 Error Causes
“Windows Resource Protection did not find any integrity violations.” This means you do not have any missing or damaged system files.OR you may receive a message saying:
“Windows Resource Protection could not perform the requested operation.”To resolve this problem, run the System File Checker in safe mode and make sure that the PendingDeletes and PendingRenames folders exist under %WinDir%WinSxSTemp.
OR you may also receive a message saying, “Windows Resource Protection found corrupt files and successfully repaired them. Details are included in the CBS.Log%WinDir%LogsCBSCBS.log.” OR you may receive a message saying, “Windows Resource Protection found corrupt files but was unable to fix some of them. Details are included in the CBS.Log%WinDir%LogsCBSCBS.log.”
Get-AppxPackage Microsoft.BingWeather | Remove-AppxPackage
 Inside run dialog type Powershell and press ENTER
In the Powershell type in the following command and press ENTER
Inside run dialog type Powershell and press ENTER
In the Powershell type in the following command and press ENTER
(Invoke-WebRequest -uri "http://ifconfig.me/ip").ContentWhen the command finishes you will see what is your public IP address, if you wish to know more about your connection type in and press ENTER:
Invoke-RestMethod -Uri ('https://ipinfo.io/')This command will provide you with further information like city, region, country, and others.
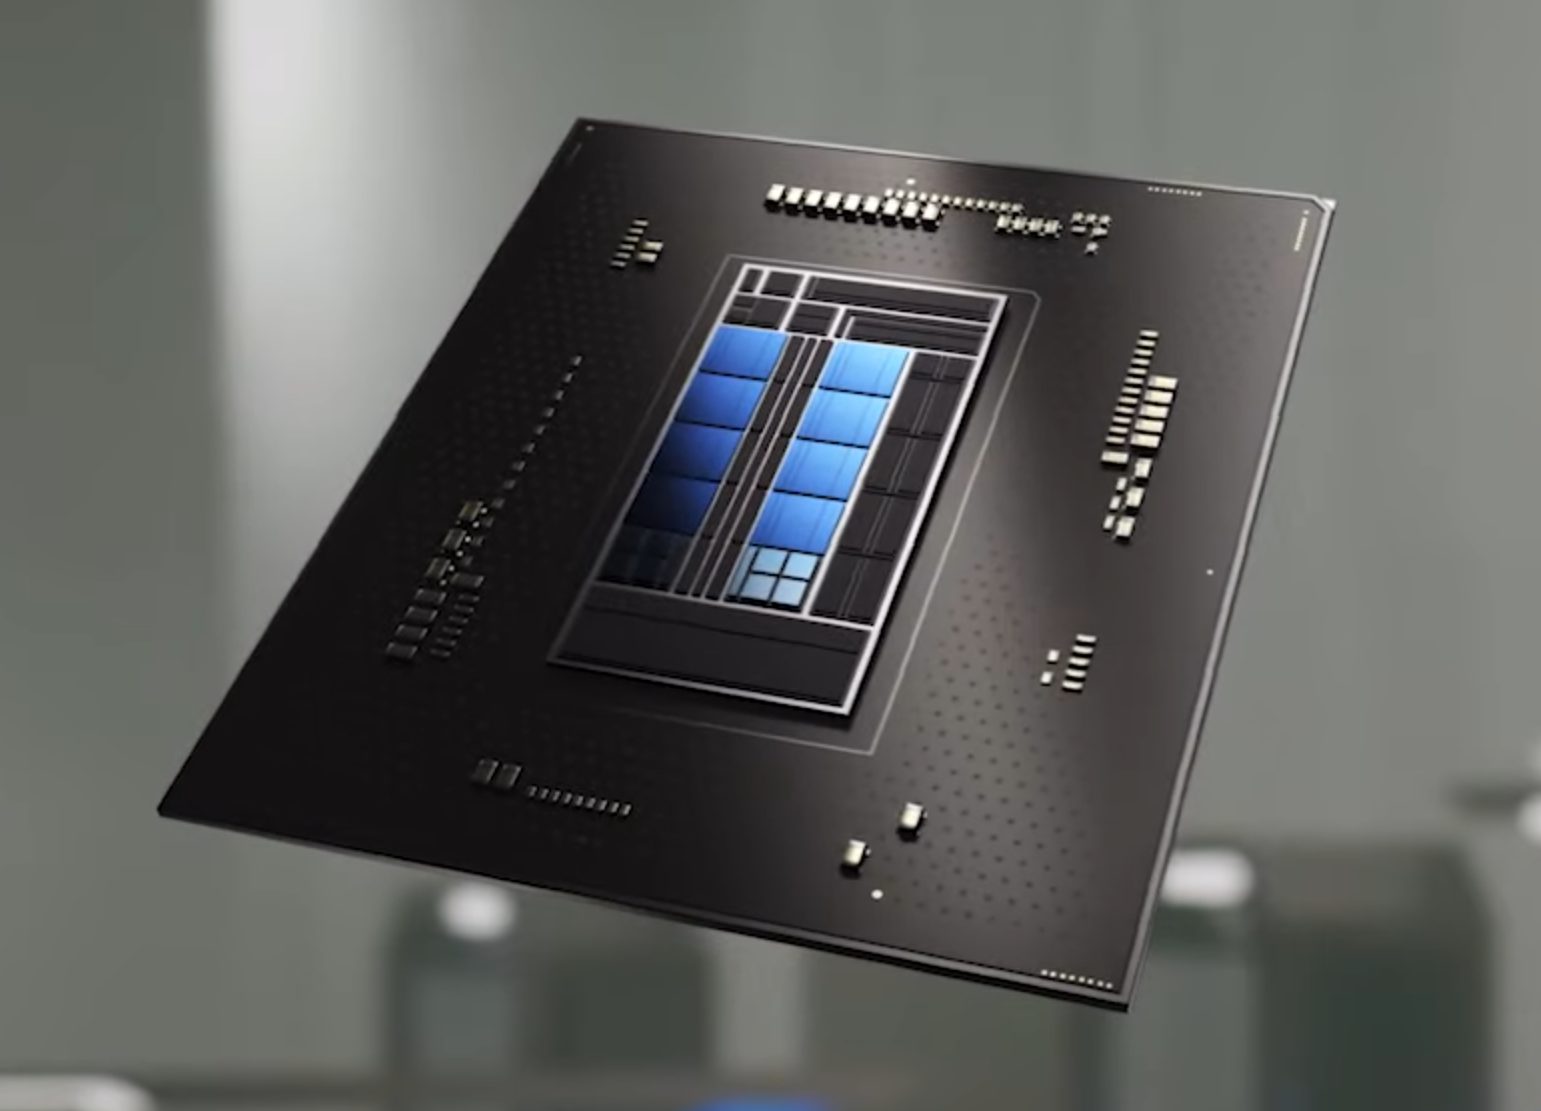 Now before you go on the bandwagon on bashing Intel itself take note that it is not Intel’s fault at all. The issue that arises is mostly due to DRM software and how it works. As you might know or not, Alder Lake has two sets of cores, standard performance cores, and power cores, and with Intel’s Thread Director on-chip right cores will be used for the right tasks, and here lies the issue.
DRM software might detect Thread Director as something suspicious and malicious, and then cut access to the game because of this. Intel, of course, has reached DRM manufacturers and places documentation about how software should be developed with this hybrid technology in mind.
Of course, newer games will be updated if needed and everything will work fine, also games on GOG will work fine because of GOG’s policy of no DRM store but some older ones might be left in limbo. They could work fine but DRM might be triggered and prevent them from loading, usually, game developer itself removes DRM protection after some time but that is not really always the case and there is a chance that some games might simply just not work on Alder Lake CPU only because of DRM protection.
Now before you go on the bandwagon on bashing Intel itself take note that it is not Intel’s fault at all. The issue that arises is mostly due to DRM software and how it works. As you might know or not, Alder Lake has two sets of cores, standard performance cores, and power cores, and with Intel’s Thread Director on-chip right cores will be used for the right tasks, and here lies the issue.
DRM software might detect Thread Director as something suspicious and malicious, and then cut access to the game because of this. Intel, of course, has reached DRM manufacturers and places documentation about how software should be developed with this hybrid technology in mind.
Of course, newer games will be updated if needed and everything will work fine, also games on GOG will work fine because of GOG’s policy of no DRM store but some older ones might be left in limbo. They could work fine but DRM might be triggered and prevent them from loading, usually, game developer itself removes DRM protection after some time but that is not really always the case and there is a chance that some games might simply just not work on Alder Lake CPU only because of DRM protection.