If this unfortunate COVID-19 worldwide pandemic has managed to teach us, I would argue it is that our health is the most important thing. So in that spirit, we will continue in this article reviewing some of the best fitness trackers that can be found in the time of writing this article in 2021.
Now the market for fitness trackers is not small by any means and offerings are also not small, from no-name manufacturers costing only a few bucks to more serious one’s going slightly over 100 USD there is a fitness tracker for everyone.
In this particular article, we will not focus on cheap few dollars no-name ones, instead, we will be offering top ones in the field among some in the middle range simply because we can stand behind them considering quality and precision.
Fitbit Charge 4 fitness and activity tracker
Fitbit is not a pioneer company in the world of fitness trackers and it shows. Charge 4 model offers maybe the best quality, performance, and features for its price. It stands out with implemented GPS meaning that you will need your phone for tracking workouts. It also offers step tracking, sleep tracking, automatic workout-tracking, active zone minutes, etc.
It weighs 30g and has 1 inch grayscale OLED. Battery life is said to hold up to 4 days if you use built-in GPS regularly, if you decide to use GPS constantly device will last only 5 hours. Without GPS it can last up to 7 days and it is water-resistant and waterproof up to 50 meters.
Amazfit Band 5
Amazon’s offering of fitness tracker is aimed at beginners and as such, it is lacking some advanced features including an automated working tracker or GPS, also the model does not have replaceable bands so customization is not an option.
It does however offer activity and sleep tracking, heart rate monitoring and it is the only model that integrates with Alexa. The manufacturer states that the battery can last up to 15 days depending on usage which places Amazfit Band 5 as a device that has a longer life of use.
The device itself is packed with a 1.1-inch color OLED and it weights 12g. It is splash-resistant, not water-resistant.
Xiaomi Mi Band 6
Xiaomi tracker is the best budget version on this list including in it 30 sport modes like running, cycling, yoga, swimming, and more. Battery life is not bad also packing up to 14 days of life but only if the device is not used constantly.
It has activity and sleep tracking, a heart rate monitor, sleep tracking, customizable replicable bands and it is water-resistant up to 50m.
It comes in a 1.56 inch AMOLED color display and it weighs 63g. The device also has menstrual health tracking making it a great device for women.
Samsung Galaxy Fit 2 fitness tracker
Now we are getting into serious and little more expensive ones. Galaxy Fit 2 is among the top-notch trackers currently on the market. It of course can work along with Samsung’s smartwatches and mobile phones. Packed in the military-grade 1.1-inch casing with color AMOLED and weighing 91g with battery life up to 21 days and water resistance up to 50m this bracelet is an absolute beast.
It comes packed with features from standard sleep tracking to automated workout-tracking but it also has a connection to Samsung’s Health mobile app to choose from over 90 workouts, it monitors heart rate and stress levels making it really one of the complete solutions for serious fitness enthusiasts.
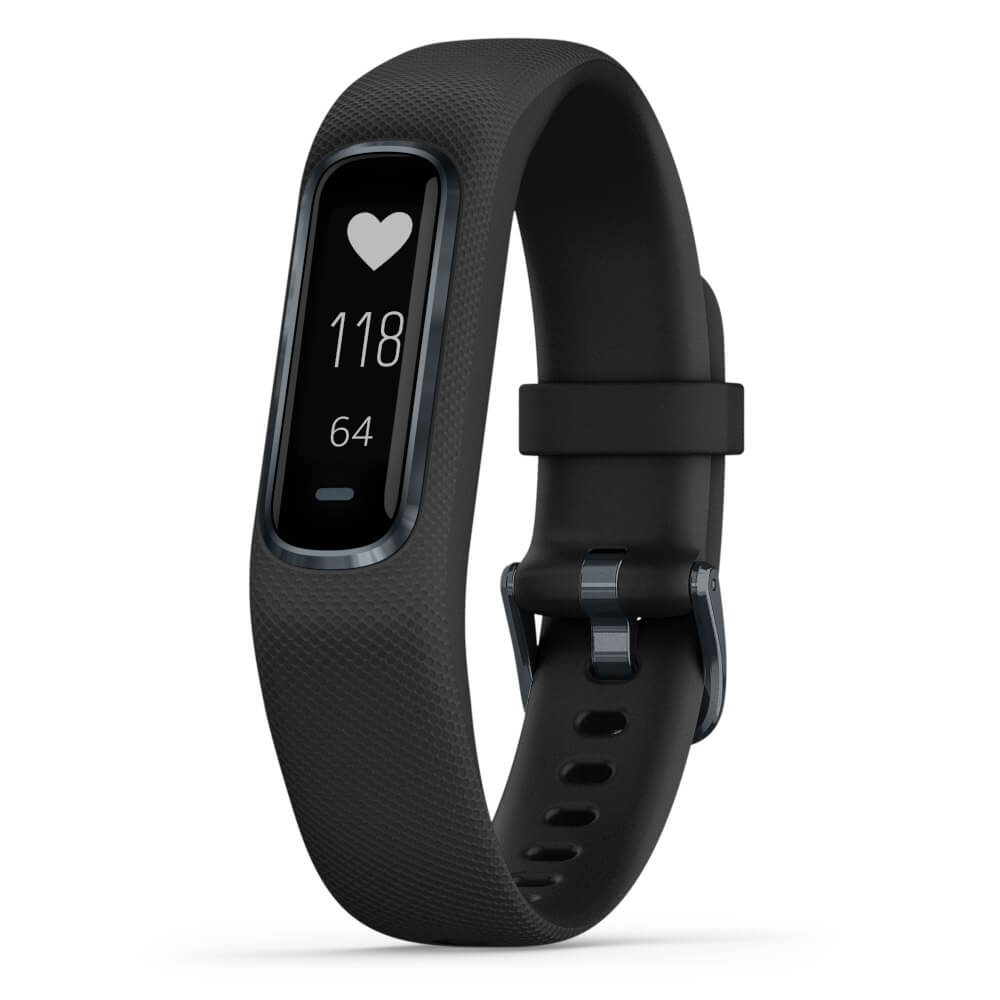
Garmin Vivosmart 4 fitness tracker
Last on our list is Garmin vivosmart 4. The device itself is not very impressive, 7 days battery life with 0.7 inch OLED display and 17g weight packed with 50m water resistance is nothing spectacular, Samsung’s model is packing better hardware and way more battery life but all of the mentioned devices fall flat if we compare software to Garvin.
Garvin’s Vivosmart 4 software is best on the list, it keeps track of your steps, sleep, calories burned, floors climbed, various exercises, and heart rate as standard features but you'll have advanced sleep tracking with REM sleep. It can also gauge blood oxygen saturation levels during the night with its wrist-based Pulse Ox sensor. In addition, a relaxation breathing timer complements the all-day stress tracking feature. Lastly, the "Body Battery" monitor helps optimize your daily activities based on your energy levels making it truly the only complete tracking solution on this list.
That's it for our review of fitness trackers of today, be sure to come back each day to find more interesting articles and tips for your everyday digital life.