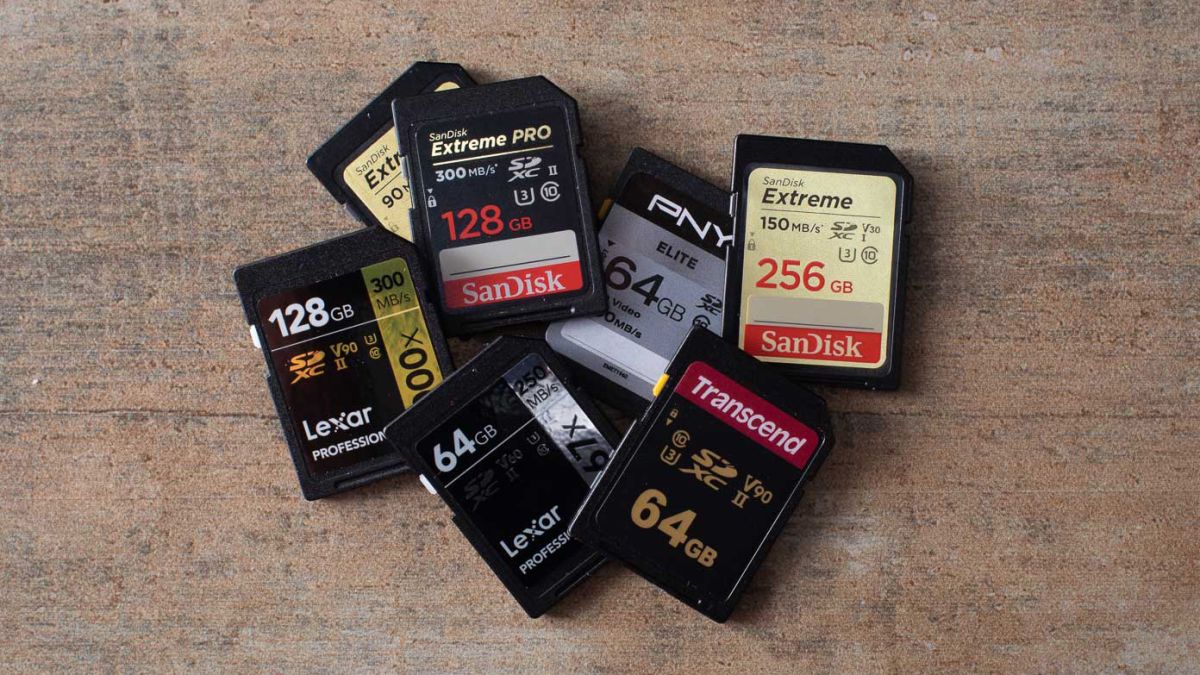
SD memory cards have surfaced as standard cards for digital cameras and microSD as phone standard memory cards. Most people have and use at least one daily, so naturally copying files and even formatting SD cards is a natural thing to do, but what if you cannot copy files or format SD cards?
Fear not because we had this issue and tried several things in order to overcome the problem and after some time here is a list of what can you do if you are facing this exact issue. The list is written from most simple solutions to more complex ones and it is advisable to follow it as presented. That being said, let's dive into solving the problem.
1. Remove Write Protection on SD card
First and in my experience the most usual thing preventing deleting, copying files, and formating SD card is due to write protection. Take an SD card out of the laptop, camera, or card reader and visually inspect it. On side of almost every SD card, there is a hardware lock switch and mark where it needs to be positioned in order to be locked. Even if the switch is positioned on unlocked state, switch it to locked and then back to unlocked. Sometimes this easy moving of switch can resolve some contact issues and the card will start working normally.
Another type of lock that could be turned ON is a software one. If for any kind of reason data protection has been turned ON, you will need to turn it off in order to be able to format an SD card. In order to do this follow this guide:
- Press ⊞ WINDOWS + R to open the Run dialog
- In run dialog type in diskpart and press ENTER
- Once diskpart is opened in command prompt type in: list disk and press ENTER
- Locate your SD card and type in select disk x, where x is disk number followed by ENTER
- After the SD card is selected type in: attributes disk clear read-only and press ENTER
This process will clear the software lock on the SD card, after following this method try to format the card again, if the problem still exists go to the next solution.
2. Format SD card using Command prompt
Command prompt is a great tool and can perform some commands that are not been able to be completed using file explorer or another tool inside Windows.
- In the taskbar search box, search for cmd and select the Command prompt
- On the right part select run as administrator
- If needed click on YES on UAC prompt
- Inside command prompt type in diskpart and press ENTER
- type in list disk followed by ENTER
- Select your SD card by locating its number in the list and typing select disk X, where is X SD cards number in list and press ENTER
- Once SD card is selected type in format fs=ntfs quick and press ENTER
This should format SD card but if for reason even this step is provided as unproductive, go to the next solution.
3. Format your card with the Disk Management tool
- Go into the taskbar and search for Disk Management and open it
- Select SD card partition that you wish to format
- Right-click on the partition and select format
- After the format is done, enter the volume label, file system, and allocation unit size. Confirm with OK
- Press OK again to confirm the formatting process.
If you have not managed to format your SD card even with this method go to the next solution.
4. Repartition card with Disk part
If all previous solutions have failed there is a chance that the SD card has bad sectors on it. If this is the case that we will need to partition cards in order to isolate bad sectors and use healthy ones.
- Press ⊞ WINDOWS + R to open the Run dialog
- In run dialog type in diskpart and press ENTER
- Once diskpart is opened in command prompt type in: list disk and press ENTER
- Locate your SD card and type in select disk x, where x is disk number followed by ENTER
- Type in Clean and press ENTER
- Type in Create partition primary and press ENTER
- To select a new partition type select partition 1 followed by ENTER
- Make partition active by typing active and pressing ENTER
- Format the drive by typing format fs=ntfs label=SDCard quick followed with ENTER
- Assign a letter to drive by typing assign letter=h followed with ENTER
- Type exit to close Command prompt followed again by ENTER and open File Explorer to check if the drive is active
5. Try a dedicated SD card formating fool
If anything failed so far, one last thing you could do is to download and try a dedicated SD card formatting tool. One that I would recommend is
SD Memory Card Formatter, which is free software make specifically for formatting SD memory cards.

 As in most usual online scams, everything starts with a strange email containing threats and other poorly written and composed speech. At the end of the given email, there would be a link claiming that you, of course, need to read it and follow instructions about the threat, if you click the link it will open a web page where you will have an innocent-looking PDF file with more information about the threat itself.
If you click on a seemingly innocent PDF file it will summon Windows 10's AppInstaller.exe tool, kickstarting a download-and-run process that'll put you in a bad place very quickly. From there, you'll have to deal with the dangers of malware BazarBackdoor, including data and credential theft.
This kind of scam is nothing new but the interesting thing here is that it uses App installer and by clicking on a link you are opening and giving permission for a malicious crook to use it. So, stay safe and do not click on any links from unknown emails no matter what.
As in most usual online scams, everything starts with a strange email containing threats and other poorly written and composed speech. At the end of the given email, there would be a link claiming that you, of course, need to read it and follow instructions about the threat, if you click the link it will open a web page where you will have an innocent-looking PDF file with more information about the threat itself.
If you click on a seemingly innocent PDF file it will summon Windows 10's AppInstaller.exe tool, kickstarting a download-and-run process that'll put you in a bad place very quickly. From there, you'll have to deal with the dangers of malware BazarBackdoor, including data and credential theft.
This kind of scam is nothing new but the interesting thing here is that it uses App installer and by clicking on a link you are opening and giving permission for a malicious crook to use it. So, stay safe and do not click on any links from unknown emails no matter what. 
 If your disk doesn’t have ample space to accommodate the installation then you should free up some of the space on your disk to make sure the Windows can be installed on it.
You can also reinstall the Windows on another disk that has sufficient space.
If your disk doesn’t have ample space to accommodate the installation then you should free up some of the space on your disk to make sure the Windows can be installed on it.
You can also reinstall the Windows on another disk that has sufficient space.
 in the menu, on the bottom choose taskbar settings. Once the settings dialog opens, on the right side locate the taskbar location on screen.
 Click on the dropdown menu and choose the desired location for the taskbar.
 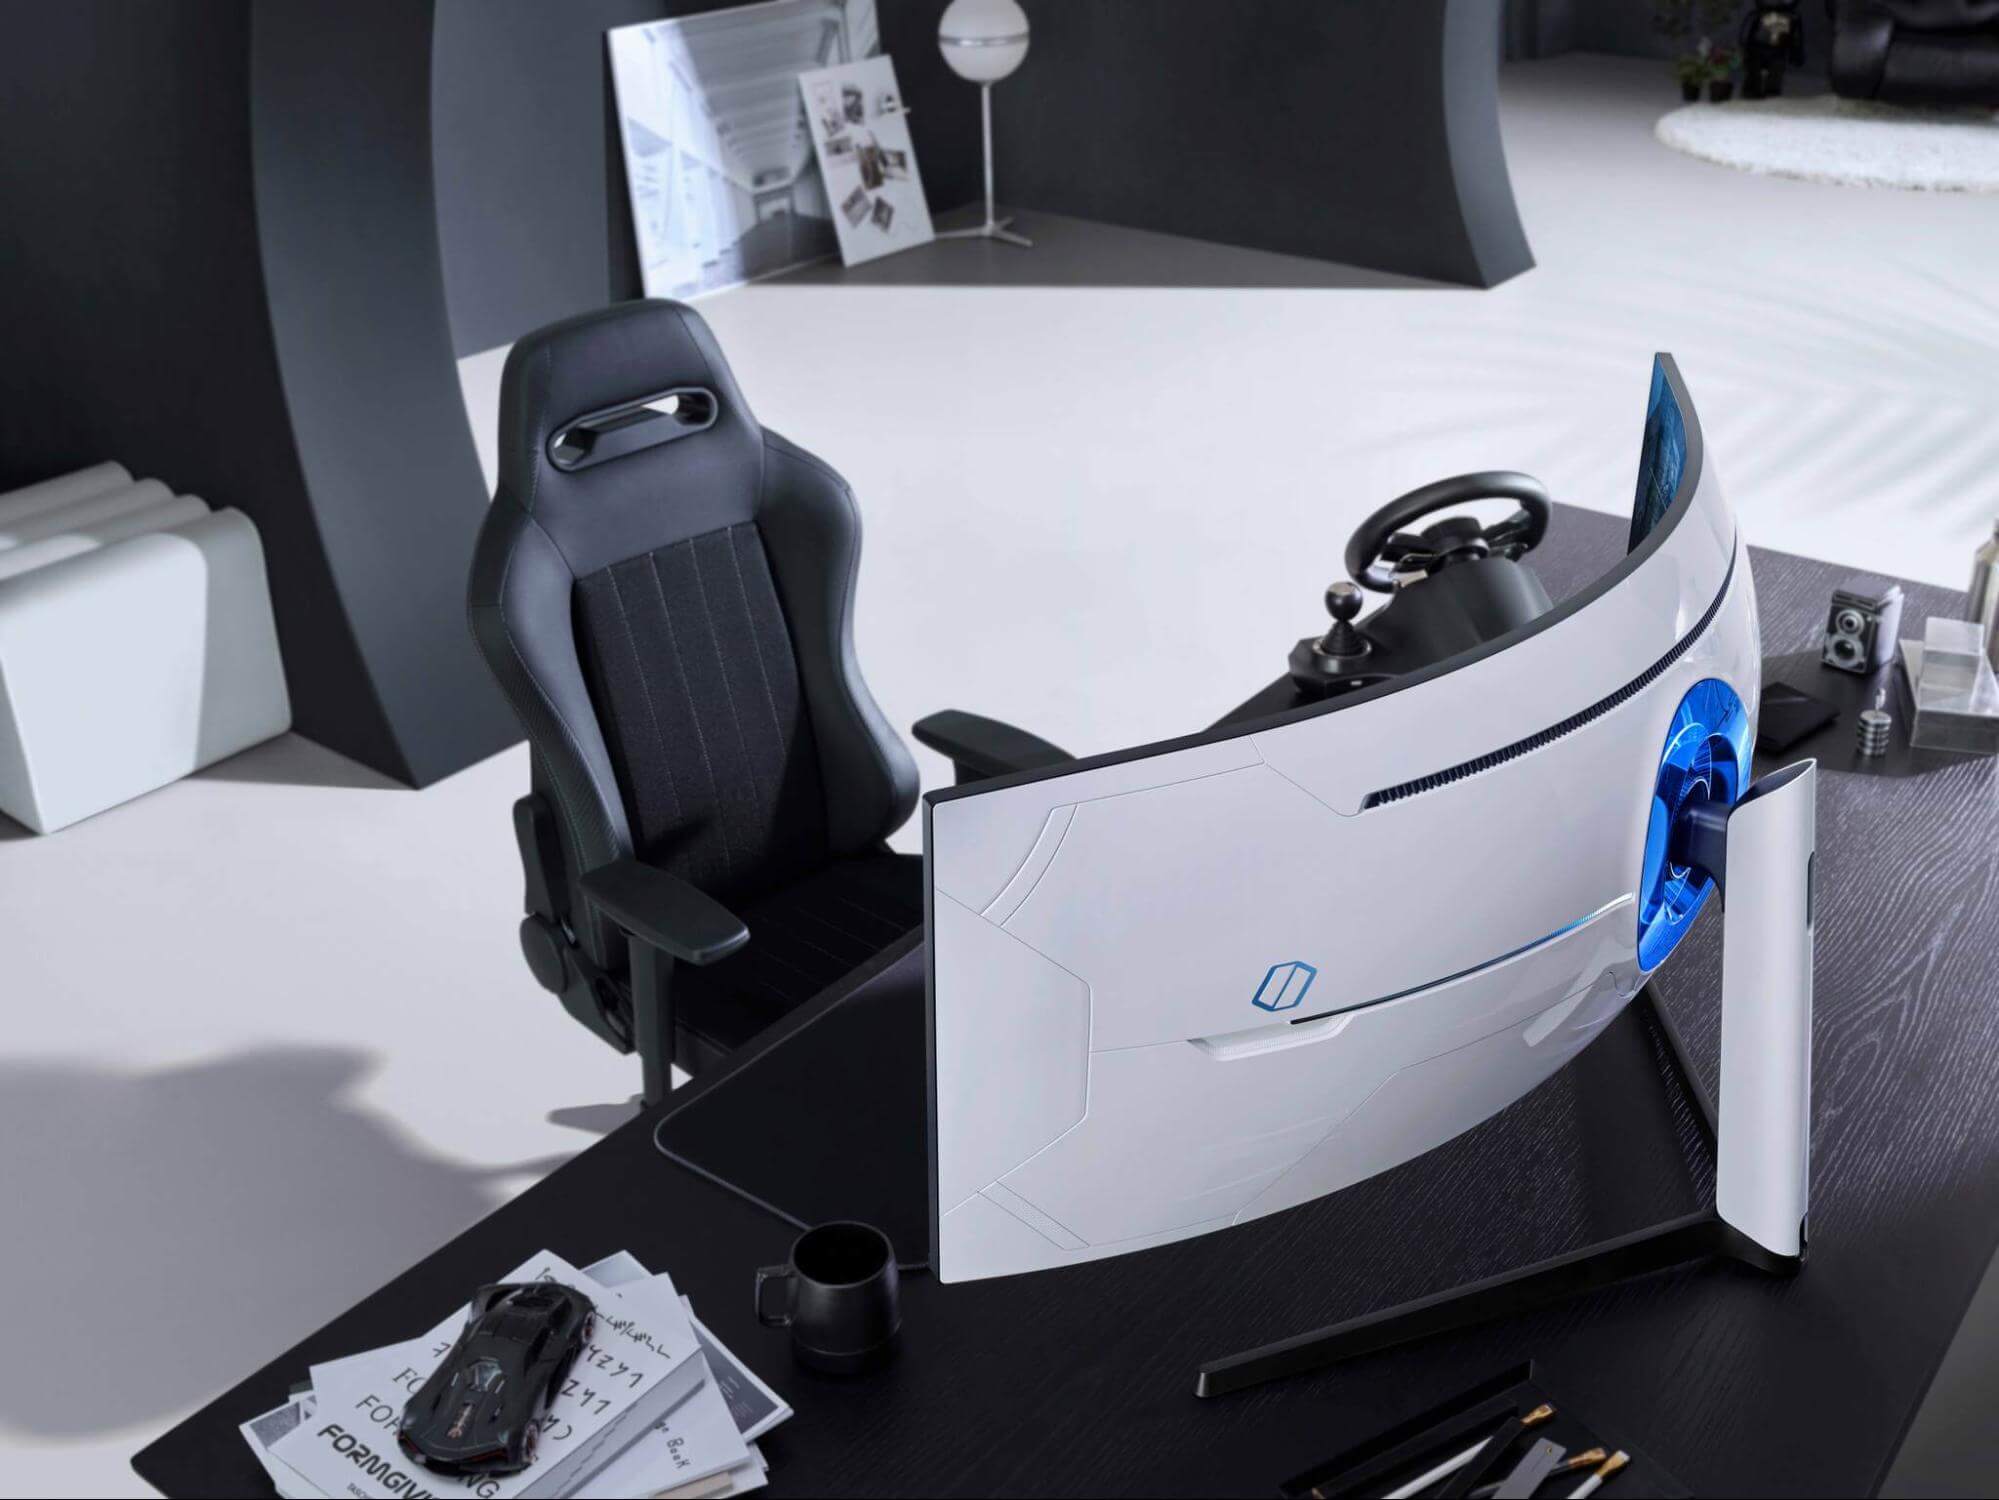 Odyssey Neo G9 is a successor to Odyssey G9 curved gaming monitor and it is aimed again at the gaming community with its specifications but of course, it can be used for work as well.
Gapping at a stunning $2500 USD price it is not really a cheap piece of hardware so it is normal to see what do you get for this kind of price and do features justify it, so let’s dive in.
Odyssey Neo G9 is a successor to Odyssey G9 curved gaming monitor and it is aimed again at the gaming community with its specifications but of course, it can be used for work as well.
Gapping at a stunning $2500 USD price it is not really a cheap piece of hardware so it is normal to see what do you get for this kind of price and do features justify it, so let’s dive in.