Microsoft just released Windows 11 ISo file, based on the latest Insider Preview Build 22000.132. Inside build, you can try all-new features like clock updated app, snip tool, and everything releases so far via various patches. You can also use Windows 11 ISO file to do a clean install on your computer, but if you go with this option all of your existing files will be deleted.
Microsoft says it added the ability to name your PC during the setup experience. You’ll also get to experience the Get Started app that’s designed to help you get going on your new Windows 11 PC (even if it’s not actually a new one).
Download ISO
Go to the Windows Insider Downloads page. You will need to sign in with a Microsoft account registered with the Insider Program.
Scroll down to Select Edition and select the build you want to download. You will most likely want the one at the top from the developer channel, as this is where Windows 11 should arrive first. So far, only Windows 10 builds are available. Click confirm.
Select your preferred language. Not all languages available for Windows are compatible with the Insider program, so you may have to stop depending on where you are from.
Click the download button and the ISO file will start downloading.
This is definitely an easier method, but unfortunately, it is not available yet. We will update this article once Windows Insider ISOs are available. Later, once Windows 11 64 bit is available to everyone, you can also download the stable build of Windows 11 iso. Microsoft offers the Media Creation Tool and Upgrade Assistant, which usually do just that. It will be some time before Windows 11 versions of the tools are available, as the operating system is only getting closer to this holiday.
If you have received a BSOD error message that says, “Tcpip.sys”, read on as this post will show you how you can fix the problem. The “Tcpip.sys” means Transmission Control Protocol over Internet Protocol. It is a library of a set of rules that are used to interconnect different devices all over the internet. The Tcpip.sys file is a driver and if a BSOD error message includes this one, it could only mean that the driver file is corrupted or incompatible with your system or there are some conflicting programs installed in your computer.
To fix this error, you can try the following workarounds. Make sure to carefully follow each one of them.
Option 1 – Check for conflicting or incompatible programs by putting your PC in a Clean Boot state
As mentioned, the “tcpip.sys” BSOD error might be caused by some problematic programs that clash with your existing operating system. Several users reported that numerous programs that are supposedly designed to enhance computer performance are causing conflict in the system instead. To identify which program is causing the problem, you need to put your computer in a Clean Boot State. To do so, follow the steps below.
Log onto your PC as an administrator.
Type in MSConfig in the Start Search to open the System Configuration utility.
From there, go to the General tab and click “Selective startup”.
Clear the “Load Startup items” checkbox and make sure that the “Load System Services” and “Use Original boot configuration” options are checked.
Next, click the Services tab and select the “Hide All Microsoft Services” checkbox.
Click Disable all.
Click on Apply/OK and restart your PC. (This will put your PC into a Clean Boot State. And configure Windows to use the usual startup, just simply undo the changes.)
After putting your PC in a Clean Boot State, try creating a system restore point and see if the problem still occurs. Clean Boot troubleshooting is designed to help you isolate the problem. For you to execute a clean boot troubleshooting, you must do a couple of actions (the steps are given above) and then restart your PC after every action. You might have to disable one third-party app after the other to really isolate the issue. And once you’ve narrowed down the problem, you can either disable the third-party app that’s causing the problem or remove it. Note that you must switch your PC back into the Normal Startup mode after you’re done troubleshooting the problem. Here’s how you can do it:
From the “Start” menu, go to System Configuration.
After that, switch to the General tab and click the option for “Normal Startup”.
Next, go to the Services tab and clear the checkbox for “Hide all Microsoft services”.
Then find and click “Enable all” and if prompted, you have to confirm.
Afterward, go to the Task Manager and enable all the Startup programs and confirm the action.
Restart your PC when prompted.
Option 2 – Disabling Antivirus Software
There are cases when the “tcpip.sys” BSOD error is caused by the antivirus program installed in your computer that’s blocking some essential operations. Because of this, the operating system fails which throws up the BSOD error. As you know, the antivirus program is designed to protect the computer and monitor every action in the system. However, there are instances when the antivirus program gives false positives and shuts down some modules even if it’s harmless. So this could be the case for the “tcpip.sys” error. To verify if the problem is indeed caused by the antivirus program in your computer, you need to temporarily disable it. After you’ve disabled it, restart your PC and then check if the problem’s fixed or not.
Option 3 – Try to update all your Drivers
From time to time, drivers get corrupted or outdated so it’s no surprise that they conflict with the operating system and cause errors like the “tcpip.sys” BSOD error. To fix the problem, you need to update all your drivers especially the network driver since the “tcpip.sys” error is closely related to this driver. Follow the steps below to update your drivers.
Tap the Win + R keys to launch Run.
Type in devmgmt.msc into the box and tap Enter or click OK to open the Device Manager.
After that, a list of device drivers will be displayed. If you see a red or yellow sign that shows up against the driver, right-click on the driver’s name and select “Update Driver Software” or “Uninstall”. And if you find any “Unknown device”, you need to update it as well.
Select the “Search automatically for updated driver software” option and then follow the instructions to complete the process.
Restart your PC.
Note: You also have the option to go directly to the website of your graphics card manufacturer and check if there’s a new update – if there is, download it. After that, you could also check if there’s a new update of the game you’re getting the issue of the black bar.
Anxiety from all these digital threats lurking everywhere? An antivirus program can help put your mind at ease.
What can a virus do to your device?
A virus is malicious software that can affect pretty much any device and does so in a variety of ways. Be it your computer, your phone or your smart lightbulb - as long as there’s access to the internet, malware can get to it.
How exactly does this kind of attack manifest itself? Well, there’s a wide variety of effects ranging from mild to severe. Among other things, they depend on which type of malware attacks your device - a virus, spyware, ransomware, adware or something else.
These are some of the things you can expect to happen:
Slow performance
System crashes
Theft of data and sensitive information
Connectivity issues
Constant browser redirects
Strange messages sent to your contacts
Interference with files
It really can be the stuff of nightmares. So, if you want to sleep peacefully knowing that your devices are completely safe, you should definitely consider getting an antivirus.
P.S. don’t let its name fool you - an antivirus does indeed protect your devices against more than just viruses.
What is antivirus software exactly?
Antivirus software is designed to help you battle and ward off malware. Basically, it scans your device to detect any suspicious activity and offers tools to get rid of the culprit.
At first, antiviruses were developed to fight against viruses only, but nowadays they cover a lot more ground. Here are some of the biggest benefits of getting yourself a powerful defender.
Advantages of antivirus software
1. It fights those pesky ads
Look, constant ads that pop up everywhere aren’t the absolute worst thing that can happen on your computer. If anything, they are annoying, like when you’re trying to sleep but that one fly in your room just won’t stop buzzing.
Now, there’s a free, well-established solution for that - installing an ad blocker. And we’re about a hundred and ten percent sure you’ve already done that on each and every browser you use.
However, “if I can’t see it, it doesn’t exist” isn’t the most ideal approach for your online safety. Ad blockers can’t block everything and they won’t protect you from potential adware. An antivirus on the other hand offers that layer of protection against malware snuck into pop-ups and spammy websites.
2. It protects you from hackers
Hackers don’t target government institutions only. They’ll target regular people too if they have something to gain.
Credit: Clint Patteron (Unsplash)
There are different types of hacking, such as phishing e-mails, transmission of malicious programs, credential reuse, denial of service and more. In any case, they take control of your device and hijack your data.
The good thing is that, as threats evolve, antiviruses evolve too and there are tons of quality programs on the market that can keep you secure for an affordable price.
3. It keeps your files and data safe
When malware enters your device, it can target pretty much any file and get access to any and all data.
Installing an antivirus program will make sure that every single file, new or old, is monitored at all times, warning you against threats immediately. That way, you can make sure to react before your other files become infected and data is lost or stolen.
Another great thing for data protection is that the best antivirus software normally comes with a password manager, so no one can use malware to steal your passwords.
4. It blocks all kinds of malware
As we already stated, malicious attacks can be performed in many ways and malware comes in in different shapes an sizes, such as:
Trojan horse
Spyware
Ransomware
Adware
Rootkit
RAT (remote access Trojan)
Keyloggers
Worms
Botnets
Credit: Growtika (Unsplash)
Nowadays, antivirus software is designed to fight against all of these types. That’s why more often than not we hear the term 'antivirus' used interchangeably with 'anti-malware,' like in this article.
5. It keeps your children protected
You can’t keep your eyes on your kid every second of the day and you can’t protect them from everything. But at least you can limit their exposure to the threats they can encounter at every corner of the digital world.
An antivirus program will block harmful or suspicious websites and ads, which is great both for you and your children. To take it a step further, though, many such programs come with special parental controls and offer monitoring as well. It’s a great solution for keeping your kids safe online without sounding like the irritating, overbearing, controlling parent who “just doesn’t get it!”
How to pick one
There are definitely lots of different antivirus programs out there, both free and paid. We recommend you look for a paid option, since free ones are unfortunately a lot more susceptible to being compromised through malicious attacks.
Now, there are a few factors to consider when choosing the right software. If you use your PC for basic things then a basic antivirus will suffice. However, the more complex your use and the more sensitive the data you deal with, the stronger it needs to be.
It’s also crucial that you take into account the features it includes. As we already mentioned, some programs have additional security options. For example, depending on the package you select, Bitdefender provides:
Some are included in plans and some are separate products, so make sure to check out all the offers.
And don’t worry if you have multiple PCs or you’re looking for protection for your smartphone or tablet as well; Bitdefender has suitable solutions for your needs. Of course, you can also just pick their classic antivirus software if you’re not in need of advanced protection.
Another important point is how regularly the software is updated and enhanced. The more frequent the updates the better, as bugs can make the program more vulnerable. Other things we advise you consider are user-friendliness, impact on performance, reputation (user reviews especially) and, of course, price.
The bottom line
Fact is: anyone can be a malware victim. Don’t let it be you.
You can’t put a price on peace and security, so don’t be reluctant to pay for yours - especially since a lot of options out there are extremely affordable. Is $159.00 a year really too much to pay for cross-platform protection for up to 10 devices? We don’t think so.
Explore your options and protect your files and data before it’s too late.
If you are currently facing the “A required device isn’t connected or cannot be accessed” error with codes 0xc0000185, 0xc0000225, 0xc0000001, 0xc00000f, and 0xc000000e on your Windows 10 computer, worry not for this post will help you resolve this problem. All these error codes point out the same thing – your computer needs to be repaired. Some of these error codes are related to the “winload.efi” file which means that you are using the UEFI system. This file also loads up important drivers in order to start the Windows Kernel. And if you got a remark from any of these error codes indicating that there is a hardware failure or that the driver configuration is incorrect, then you must physically check if the wires are connected properly.
This kind of error occurs mostly when your computer wasn’t able to locate the system files that are needed to boot up your computer. Thus, the only way to fix this problem is to correct the boot record. It is recommended that you utilize the “/RebuildBCD” option in order to rebuild the BCD files. To do so, follow these steps:
You can start by booting into the installation environment for Windows 10 from an installation media.
After that, click on Repair your computer and on the blue screen, select Troubleshoot and then select the Advanced options menu.
From there, select Command Prompt and once you open it, enter each one of the commands given below by sequence.
bootrec /FixMbr
bootrec /FixBoot
bootrec /ScanOS
bootrec /RebuildBcd
Once you’re done executing the commands given above, type “exit” to close the Command Prompt window and then restart your computer and see if it fixed error code 0xc000014c.
On the other hand, if rebuilding the BCD using the /RebuildBCD option didn’t help, you can try a crude way to rebuild the boot record from scratch. You can do that by following the given steps below which will export and delete/backup the BCD available in the system.
Go to the Advanced Recovery Mode.
From there, go to Command Prompt and execute the commands given below and make sure to enter them one after the other.
bcdedit /export C:BCD_Backup
c:
cd boot
attrib bcd -s -h –r
ren c:bootbcd bcd.old
bootrec /RebuildBcd
If it still didn’t help, then troubleshoot the problem further with the help of the following instructions.
Option 1 – Disable the Secure Boot in the BIOS
Disabling the Secure Boot in the BIOS settings is definitely recommended to resolve the error. To disable Secure Boot, here’s what you have to do:
First, boot your computer into Windows 10.
Next, go to Settings > Windows Update. From there, check if there is anything that you have to download and install if you see any available updates. Usually, OEMs send and update the list of trusted hardware, drivers, and operating systems for your computer.
After that, go to the BIOS of your computer.
Then go to Settings > Update & Security > Advanced Startup options. If you click on Restart Now, it will restart your computer and give you all the advanced options.
Next, select Troubleshoot > Advanced Options. As you can see, this screen offers you further options including System restore, Startup repair, Go back to the previous version, Command Prompt, System Image Recovery, and UEFI Firmware Settings.
Select the UEFI Firmware Settings which will take you to the BIOS.
From there, go to the Security > Boot > Authentication tab where you should see Secure Boot. Note that every OEM has its own way of implementing the options so it varies.
Next, set Secure Boot to Disabled and set Legacy Support to On or Enabled.
Save the changes made and exit. Afterward, your computer will reboot.
Option 2 – Run System File Checker
You could also run a System File Checker or SFC scan. All you have to do is select Command Prompt from the Advanced Options. Once you’ve opened Command Prompt, type the “sfc /scannow” command and tap Enter to execute it.
Option 3 – Disable the Early Launch Anti-Malware Protection
You need to restart your computer in the Start Menu first while holding down the Shift key on your keyboard.
After that, it will restart your computer to Startup Settings.
Now ensure that the 8th option is labeled as “Disable early launch anti-malware protection.
Then tap the F8 key since the aforementioned option above is listed at number 8. This should launch and load Windows on your PC with the Early Anti-malware protection disabled for that session only when you try to carry out the same task and then check if the error related to the Winload.efi file is now fixed.
Option 4 – Try to run Automatic Startup Repair
In this option, you need to boot your computer into the Advanced Startup Options and from there, run the Automatic Startup Repair and then wait until the process is completed.
Option 5 – Try to reset the BIOS or the UEFI Settings
If updating the BIOS didn’t help in fixing the error, you can try to reset the BIOS instead.
Start your computer and tap the F10 key during the booting process to enter the BIOS. If it does not work, you can try tapping the F1 or F2 key as well as the Del key.
Once you’re already in the BIOS, tap the F9 key to get the prompt to RestoreLoad default configuration now for the BIOS.
Next, click on Yes and then follow the next on-screen instructions that appear to set the BIOS back to its default settings.
Once you’re done restoring the default settings of the BIOS, restart your computer and then check if it now boots properly.
Option 6 – Try to physically check the hardware
You should also check the physical status of the hardware in your computer. You can clean the dust off the hardware components like the Network Card of the computer. You might want to use a small blower or you could also use a soft cloth and run the components gently. Make sure that you don’t damage any parts with moisture or cause harm to any circuits while you carry out this task.
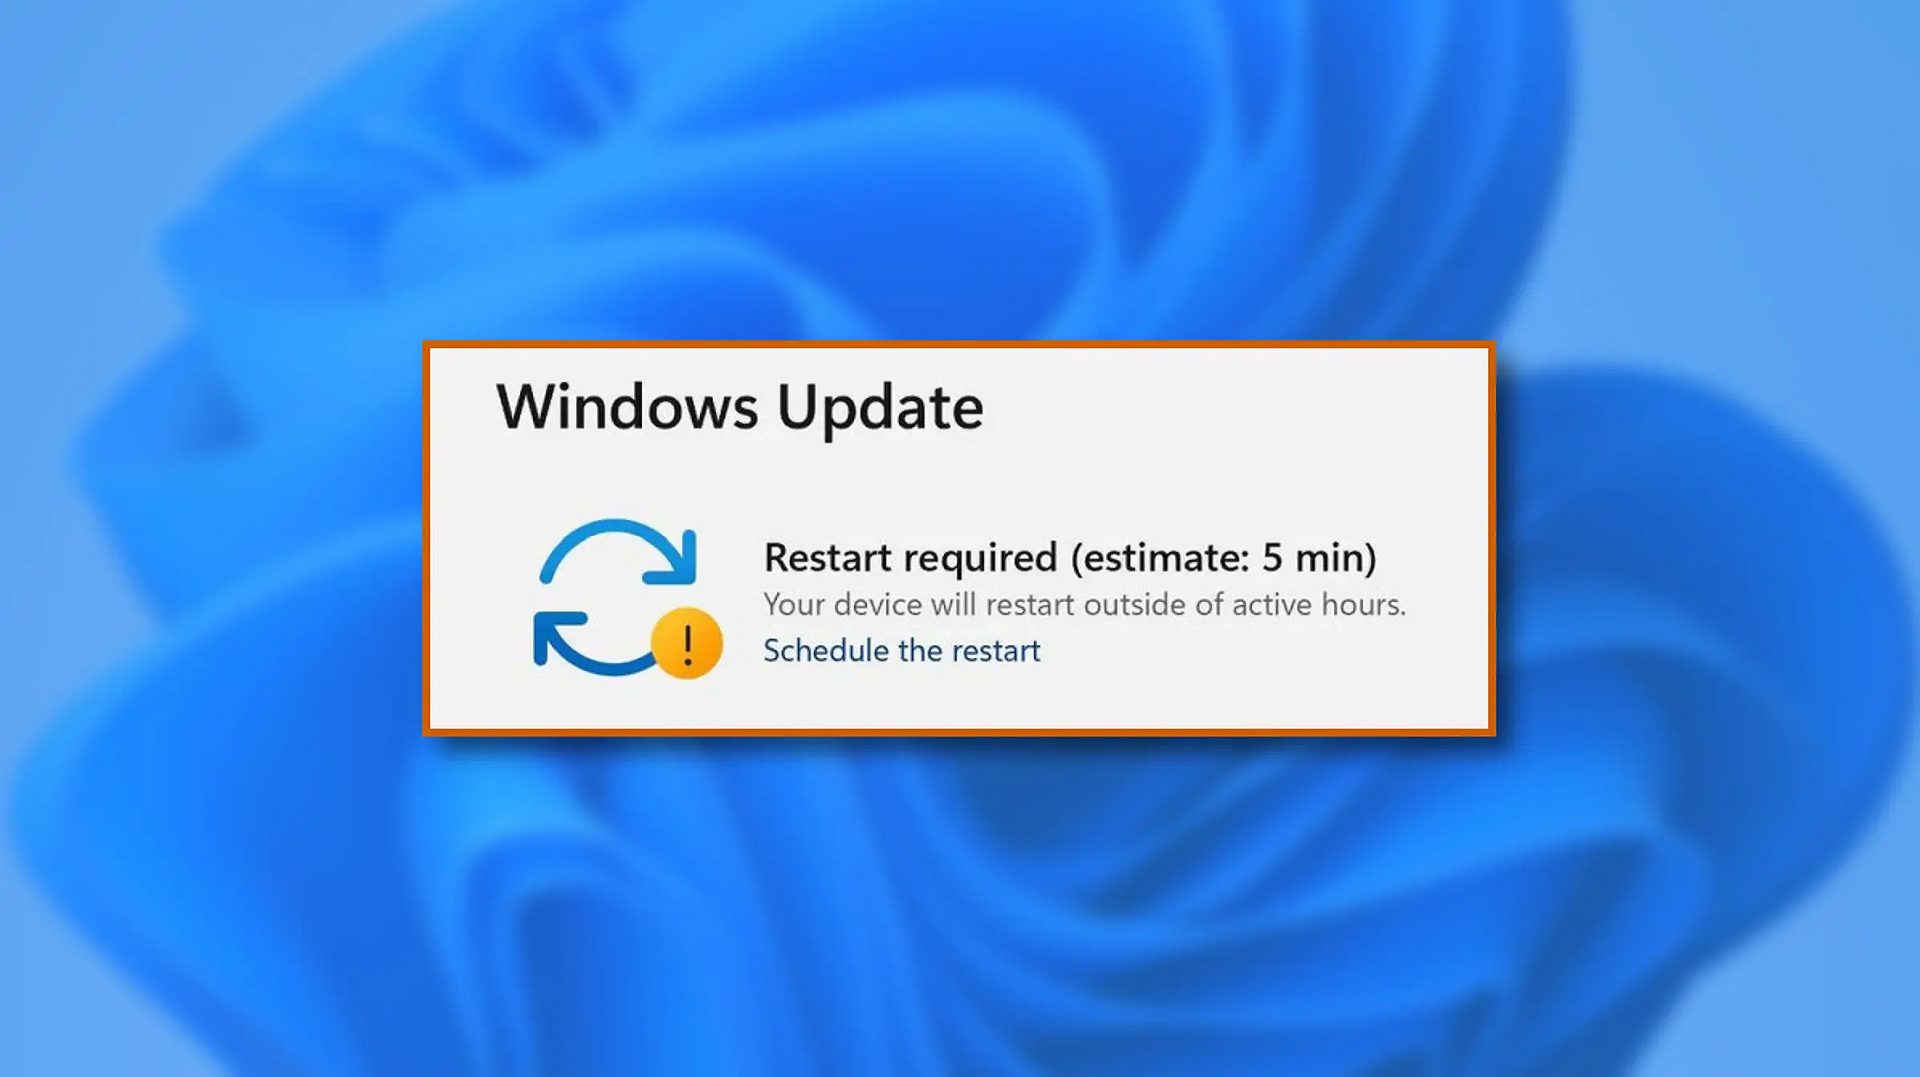
When Windows 11 update is available but you do not wish to restart right away because you are in the middle of using a computer, you can schedule a restart for up to 7 days. It is very easy and we will show you how to do it.
Press ⊞ WINDOWS + I to open settings
Click on Windows Update
At the top, under the Restart required to click on Schedule the Restart
Click the switch under Schedule a Time to turn it ON
Use the Pick a Time and Pick a Day menu to set time and day when you want to update
Go back to one screen and visually confirm that the date is set
Close the settings
The scheduled restart will be confirmed in a message on the Windows Update page.
The new upgraded Surface Laptop Go 2 is the new iteration of the affordable original Surface Laptop Go aimed to offer good performance at a lower price of under $1000. The new version is not anything vastly different from the original but it comes with much-needed upgrades.
The biggest and main upgrade is the CPU, the Surface Laptop Go 2 is packing now Intel Core i5 1135G7, an Intels 11th generation CPU that should increase battery life. The laptop is also coming with an improved WEB camera and the cheapest one comes now with 128GB of storage instead of 64GB. Price went up from $550 to $599 which is not a big increase considering what was upgraded.
The bad news of new models is that sadly they are still packing only 4GB of RAM, that's really not enough for most applications released in 2022 and the screen is having a relatively low resolution of 1536 X 1024.
Microsoft is still offering all the color variations as in its first offering but added as well a new Sage color that is muted green in tint.
When we look at hardware it seems a little weak but for this price, there is not much competition in the field, and after all this line of models is aimed to provide good performance for an affordable price. If you really need something better you will go with a standard Surface or MAC book instead.
The new laptops are available to pre-order at Best Buy and Microsoft’s online store, and they’ll start shipping on June 7.
One of the most sophisticated Artificial Intelligence or AI assistants there is in the market is Cortana. However, no matter how sophisticated this AI assistant may be, there are still times when you encounter issues with it. So if your Cortana is not connecting to the internet, worry not for this post will guide you in fixing the problem.
This connection issue in Cortana might have something to do with the settings, network connectivity, or your Microsoft account. In addition, it could also be that the Firewall or antivirus program interferes with its connection. Whichever the case is, here are some possible solutions that could help you resolve the problem.
Option 1 – Try to power cycle the modem, router, and computer
Connect the modem, router, and the PC hard-wired and then switch all of these three devices off.
Turn on the modem and wait for 30 seconds.
Turn on the router and wait for 30 seconds as well.
Finally, turn on the computer and check if you can now successfully connect to the internet.
Option 2 – Check if your router or ISP is properly working
Since the basis for this issue is that Cortana is not connecting to the internet even though you are able to access websites using your browser, you might want to check your router or ISP (Internet Service Provider) and see if they’re functioning properly.
Option 3 – Try changing your internet connection
You can also try changing your internet connection and see if it fixes the problem. If you are using Ethernet, you can try connecting to a Wi-Fi connection and see if Cortana is able to connect or not.
Option 4 – Try to run the Search and Indexing troubleshooter
You might also want to run the Search and Indexing troubleshooter in Windows 10 as it checks whether the settings for Cortana are in place and automatically corrects any issues if the update or software installation has changed the settings. To run it just click on the Start button and select Settings > Updates and Security > Troubleshoot. From there, select the Search and Indexing Troubleshooter.
Note: You can also run the Network Troubleshooter as it can also help in resolving the issue especially if the problem is in the network.
Option 5 – Try to remove Proxy
Removing the Proxy might also help you in fixing the connection issue in Cortana. Here’s how you can do it:
Tap the Win + R keys to open the Run dialog box.
Then type “inetcpl.cpl” in the field and hit Enter to pull up the Internet Properties.
After that, go to the Connections tab and select the LAN settings.
From there. Uncheck the “Use a Proxy Server” option for your LAN and then make sure that the “Automatically detect settings” option is checked.
Now click the OK and the Apply buttons.
Restart your PC.
Note: If you are using a third-party proxy service, you have to disable it.
Option 6 – Verify your Microsoft account
In some cases, Cortana might not be able to connect to the internet because your Microsoft account is no longer verified. This usually happens when you use a two-step authentication system with your Microsoft account. To verify it, just open Settings and click on Accounts. After that, check if you have a Verify hyperlink under your Microsoft account or not then click on Verify. Afterward, follow the next on-screen prompts to verify your Microsoft account. Once your account is verified, restart your computer.
Option 7 – Try resetting Cortana
Open Cortana and go to the Settings section where you’ll see the “Turning off Cortana clears what Cortana knows on this device, but won’t delete anything from the Notebook. After Cortana is off, you can decide what you’d like to do with anything still stored in the cloud” option. Turn this option off.
Restart your PC.
After your computer boots, launch Cortana again and check.
Option 8 – Try to reinstall Cortana
If none of the options given above works, you must consider reinstalling Cortana.
First, right-click on the Start button and click on the Windows Powershell (Admin) option from the list.
Next, type the following command and hit Enter to execute it:
A surprisingly large amount of things present at your home can and do interfere with your wi-fi signal making it weak so devices are dropping it, having trouble connecting, or being slow.
Hello and welcome to our latest article where we will take a look at all things that are present in a lot of homes but are very bad for your WI-Fi signal.
Bad router placement
Having a router in a bad position can have some really large effects on WI-Fi signal strength and its availability. Usually, we do not give great attention to where we are placing our router but it has been proved over and over again that being close to certain objects does indeed have a great influence on the wireless signal strength and performance.
So, what are these objects and bad positions where we could place the router and effectively kill his Wi-Fi capabilities?
Fish Tanks
Water will block all radio waves including Wi-FI signals and waves themselves, so having a router next to the aquarium or any large source of water is a bad idea. You should always look at water as something bad for your Wi-Fi and move your router away from it as far as possible.
Bookshelves
Paper is another story and example of the dampening effect on radio waves. Did you know that various patterns of paper are used in silent rooms and recording studios in order to eliminate sound reflection from surfaces? Well besides absorbing sound waves, the paper also absorbs Wi-Fi signals and if you have a large bookshelf with a lot of books packed one beside another you just have a great wall of signal absorbing.
Mirrors
The problem with mirrors is in their coating that goes over the glass in order to turn it into the mirror, that coating is metal and as such, it is absorbing signals in large amounts. If you have an old or high-quality mirror that has a silver coating things are even worse since silver will absorb even more waves than modern cheap ones.
TV
Yup, TV is also on this list and for a similar reason as a mirror, although TV does not have coatings of metal, they have something even worse: a large metal plating on the back. Metal plating is there to produce structural integrity of the TV set and provide it with shielding from electromagnetic waves and as such it will prevent Wi-Fi waves as well. Do not place the router behind your TV.
Things that influence signals in homes
Any kind of metal decoration
Now when we covered mirrors and TV because of the metal they have, we must take a look at the metal itself. Any kind of metal stuff that you might have like baskets, figures, statues, frames, etc will effectively block your signal.
Kitchen appliances and Home utilities
Kitchen appliances like refrigerators, microwaves, ovens, stoves, etc. along with home appliances and utilities like dishwashers, washing machines, dryers, etc are large metal objects enclosed in a metal cage that will block signals from spreading further and it is no secret that most kitchens have weaker Wi-Fi because of this reason.
Home gyms
This is a logical conclusion as to everything explained so far if you have a workout room or small gym at home it is probably filled with weights that are metal and have mirrors inside, all of that will interfere and block signals.
Things blocking your Wi-Fi that you have no easy control over
Walls
Thick walls will dampen signals, thick walls from bricks will dampen even more and concrete walls will kill it almost completely. Any kind of metal reinforcement wiring inside walls will reduce and kill signals as well.
Floors and ceiling
This is somewhat important if you have a floor beneath or under the room where is your router located, but for the same reason how walls are blocking your signal floor and ceiling can do it as well, especially since most of the time they are made of some stronger material like concrete with metal fence inside.
Heating systems
If you have a heating system that is composed of metal radiators with water inside, then in terms of Wi-Fi signal strength you have an aquarium but in a metal box, and as such it will greatly reduce signal strength.
RocketDock is one of the most popular app launchers as it has been used excessively back in several windows versions. This was modeled based on the Mac OS X launch bar and offers an animated response when you hover the mouse over the apps gathered on the Dock. This is perched at the top of your screen, and you can easily drag your favorite app icons to have them in one place. The dock keeps all your most favorite shortcuts intact for faster and easy access. Like other apps, you can easily customize the dock with skins and other add-ons.
If you would like to read more helpful articles and tips about various software and hardware visit errortools.com daily.
If you are trying to start a service using the Windows Services Manager but you got an error message stating, “The executable program that this service is configured to run in does not implement the service”, then you’ve come to the right place as this post will provide you instructions on how you can fix this error.
Since almost all program requires service to run on your computer, if the service is not listed in the corresponding registry key, then you will most likely encounter this error on your Windows 10 computer. Here’s the entire content of the error message:
“Windows could not start the service on Local Computer. Error 1083: The executable program that this service is configured to run in does not implement the service.”
To fix this error, you have to add the service name in the respective host in the Registry Editor, and to do that, here are some steps you need to take on.
Step 1: The first thing you have to do is to take note of the service name that’s given in the error message. For instance, you get the “Windows Management Service.
Step 2: Next, you need to open the Services Manager by tapping the Win + R keys and typing “services.msc” in the Run dialog box, and then tapping Enter.
Step 3: After opening the Services Manager, look for the Windows Management Service and once you see it, double click on it. This will open a new mini window.
Step 4: From the newly opened window, copy the Service name and the Path to executable under the General tab. If the path to the executable is displayed as “C:/Windows/system32/svchost.exe -k netsvcs –p”, you need the “netsvcs” part only. Note that it can be different for different services and you need the part that comes after “-k”.
Step 5: Now tap the Win + R keys again to open Run utility and type “Regedit” in the field and click OK to open the Registry Editor.
Step 6: After that, navigate to the following registry path:
Step 7: From the given registry path, look for a key named “REG_MULTI_SZ” located on your right-hand side. This key is named after the “Path to executable” part. For instance, you should see “netsvcs”.
Step 8: Double click on the REG_MULTI_SZ key and enter the Service name that you’ve copied earlier and then write it down at the end of the preset list.
Step 9: Now save the changes you’ve made and try to open the program or run the service again.
There are times when you encounter some issues while your Windows 10 computer. One of the errors you can encounter in the update process is the “Something went wrong, error code 0x8007042B”. This kind of error might be caused by several reasons and it could also pop up in lots of cases like upgrading to a new feature update or a new build using the Media Creation tool or Windows Update Assistant.
There are times when the Windows Update error code 0x8007042B is followed by another error code like 0x2000d. Whatever the extra error code that follows, the core issue still remains the same. To resolve the problem, here are some options that could help. And while going over these troubleshooting tips, you have to keep clicking the Update button right after you carry out a troubleshooting option.
Option 1 – Try to restart the Background Intelligent Transfer Service
The Background Intelligent Transfer Service or BITS is a part of the Windows Update service and is the one that manages the background download of Windows Update, as well as scans for new updates and so on. And if Windows Update is experiencing some problems, you can try restarting BITS but make sure that you have admin privileges to do so.
Tap the Win + R keys to open the Run dialog box.
Next, type “services.msc” in the field and hit Enter to open Windows Services.
From the list of Services, look for the Background Intelligent Transfer Service and double-click on it to open Properties.
After that, you need to set the Startup type to “Automatic (Delayed Start) and click on Apply.
Now click the Stop button to stop BITS and then click the Start button to restart the service.
Click OK to save the changes made and then restart your PC.
Option 2 – Try creating Windows 10 ISO media
In this option, you will have to create a Windows 10 bootable media and use it to install the latest Windows 10 version. The most user reported that this option works and the reason why it does have something to do with the Windows Update client since the Windows Updates downloaded from the regular Windows Update client seems to create issues such as the Windows Update error code 0x8007042B. However, issues like this one don’t occur when the very same Windows Updates are downloaded and installed via an ISO file. Take note that when using a Windows ISO file, you will be asked to choose what you want to do with the previous settings and apps. A lot of users opted for the “Not to keep the old Windows settings” option which has resolved the issue. So if you want to keep the previous settings then you must try to update Windows first while keeping the old settings. However, if it doesn’t work, you have to try installing the latest version of Windows without keeping the previous settings.
Click this link and then click the Download Tool Now button.
Next, click the “Use the tool to create installation media (USB flash drive, DVD, or ISO file)…” option and follow the next given instructions on the screen.
Now select the ISO file option in step 5.
After that, you should now have an ISO file.
Next, go to the location where you’ve downloaded the ISO file.
Then right-click on the Windows 10 ISO file and select the Open with option and then select File Explorer.
Now click on “setup.exe” and follow the next instructions that appear on the screen. When asked, you have to select either the Nothing (clean install) or the Keep personal files only option. Take note that you must not select the “Keep personal files, apps, and Windows settings since it doesn’t really work.
Option 3 – Run the DISM tool
You can run the DISM tool as well to help fix the error code 0x8007042B during Windows Update. Using this built-in tool, you have various options such as the “/ScanHealth”, “/CheckHealth”, and “/RestoreHealth”.
Open the Command Prompt with admin privileges.
Then type in the following commands and make sure to hit Enter right after you type each one of them:
Dism /Online /Cleanup-Image /CheckHealth
Dism /Online /Cleanup-Image /ScanHealth
exe /Online /Cleanup-image /Restorehealth
Do not close the window if the process takes a while as it will probably take a few minutes to finish.
Option 4 – Perform a System File Checker scan
The SFC or System File Checker scan could detect and automatically repair damaged system files that could be causing the Windows Update Error 0x8007042B to appear. SFC is a built-in command utility that helps in restoring corrupted files as well as missing files. It replaces bad and corrupted system files with good system files. To run the SFC command, follow the steps given below.
Tap Win + R to launch Run.
Type in cmd in the field and tap Enter.
After opening Command Prompt, type in sfc /scannow and hit Enter.
The command will start a system scan which will take a few whiles before it finishes. Once it’s done, you could get the following results:
Windows Resource Protection did not find any integrity violations.
Windows Resource Protection found corrupt files and successfully repaired them.
Windows Resource Protection found corrupt files but was unable to fix some of them.
Option 5 – Run the Windows Update Troubleshooter
You might also want to run the Windows Update Troubleshooter as it could also help in fixing Windows Update Error 0x8007042B. To run it, go to Settings and then select Troubleshoot from the options. From there, click on Windows Update and then click the “Run the troubleshooter” button. After that, follow the next on-screen instructions and you should be good to go.
Option 6 – Contact Microsoft Support for assistance
If you’re at your wits’ end in trying to update your Windows 10 computer, you should consider contacting Microsoft Support for help as they can offer you various options that would make fixing Windows Update Error 0x8007042B a lot easier and faster.
 Microsoft just released Windows 11 ISo file, based on the latest Insider Preview Build 22000.132. Inside build, you can try all-new features like clock updated app, snip tool, and everything releases so far via various patches. You can also use Windows 11 ISO file to do a clean install on your computer, but if you go with this option all of your existing files will be deleted.


 When Windows 11 update is available but you do not wish to restart right away because you are in the middle of using a computer, you can schedule a restart for up to 7 days. It is very easy and we will show you how to do it.

