One of the common causes of Blue Screen of Death or BSOD errors is system driver files due to varying reasons. So if you encounter a Stop error caused by some system driver files such as isapnp.sys, gv3.sys, storahci.sys, or myfault.sys, on your Windows 10 PC, then this post should help you fix the problem.
These system driver files are associated with different error codes. The isapnp.sys file is related to the following error codes:
- SYSTEM SERVICE EXCEPTION
- PAGE FAULT IN A NONPAGED AREA
- KERNEL DATA INPAGE
- SYSTEM THREAD EXCEPTION NOT HANDLED
- IRQL NOT LESS EQUAL
- KMODE EXCEPTION NOT HANDLED.
While the gv3.sys file is related to the following BSOD error codes:
- IRQL NOT LESS EQUAL
- KMODE EXCEPTION NOT HANDLED
- PAGE FAULT IN NONPAGED AREA.
On the other hand, the storahci.sys file is related to these error codes:
- IRQL NOT LESS EQUAL
- KMODE EXCEPTION NOT HANDLED
- PAGE FAULT IN NONPAGED AREA.
And the myfault.sys file is associated with this error code:
SYSTEM SERVICE EXCEPTION.
Although this system driver file causes different kinds of Blue Screen errors, some of their potential fixes are quite the same so you need not carry out tons of troubleshooting steps. But before you troubleshoot the problem, you might want to check out System Restore first, especially if you create a System Restore point from time to time. To perform System Restore, follow these steps:
- Tap the Win + R keys to open the Run dialog box.
- After that, type in “sysdm.cpl” in the field and tap Enter.
- Next, go to the System Protection tab then click the System Restore button. This will open a new window where you have to select your preferred System Restore point.
- After that, follow the on-screen instructions to finish the process and then restart your computer and check if the problem is fixed or not.
If System Restore didn’t help in fixing the Blue Screen error, now’s the time for you to resort to the troubleshooting tips provided below but before you get started, make sure that you create a System Restore point first and boot your computer into Safe Mode.
Option 1 – Use the System Configuration utility
Note that this first fix is only applicable for Blue Screen errors associated with the myfault.sys file.
- In the Cortana Search box, type “MSConfig” and click on the “System Configuration” entry to open it.
- After opening System Configuration, go to the Processes tab.
- Then scroll down and look for the “Digital Line Detection” process and disable it.
- Now restart your computer and check if the Stop error is fixed or not.
Option 2 – Try to update, rollback or disable related device drivers
Incompatible and outdated drivers can also cause computer malfunctioning or crashing as well as Blue Screen errors. To fix that, you can update, roll back or disable the device drivers in your computer.
- Tap the Win + R keys to launch the Run window and then type in the “devmgmt.msc” command and hit Enter to open the Device Manager window.
- After opening the Device Manager, from the list of device drivers, look for the “WIN ISA Bus Driver” if you are facing a Stop error related to the isapnp.sys file. While you have to look for the Sony Recovery CDs PCG-Z1RAP Series device drivers if you face a Stop error concerning the gv3.sys file. For the storahci.sys, on the other hand, look for any outdated drivers and update them.
- To update or roll back or disable these drivers, just right-click on each one of them, and depending on your preference, you can either select “Update driver”, “Disable device” or “Uninstall device”.
- After that, restart your PC and see if it helped in fixing the Blue Screen error.
Option 3 – Use System File Checker
One of the built-in tools in Windows that you can use to fix Blue Screen errors is the System File Checker. This built-in command utility can help you restore corrupted or missing files as well as replace bad and corrupted system files. Chances are, any of the aforementioned system driver files might be corrupted so to fix them, use System File Checker.
- First, right-click on the Start button and click on the “Command Prompt (Admin) option.
- Next, type in the sfc /scannow command and hit Enter to execute it.
The command will start a system scan which will take a few whiles before it finishes. Once it’s done, you could get the following results:
- Windows Resource Protection did not find any integrity violations.
- Windows Resource Protection found corrupt files and successfully repaired them.
- Windows Resource Protection found corrupt files but was unable to fix some of them.
- Now restart your computer.
Option 4 – Run the Blue Screen Troubleshooter
Troubleshooting Blue Screen of Death errors wouldn’t be complete without the Blue Screen troubleshooter. As you know, it is a built-in tool in Windows 10 that helps users in fixing BSOD errors. You can find it in Settings, under the Troubleshooters page. To use it, refer to these steps:
- Tap the Win + I keys to open the Settings panel.
- Then go to Update & Security > Troubleshoot.
- From there, look for the option called “Blue Screen” on your right-hand side and then click the “Run the troubleshooter” button to run the Blue Screen Troubleshooter and then follow the next on-screen options.
- Note that you might have to boot your PC into Safe Mode.

 Error Causes
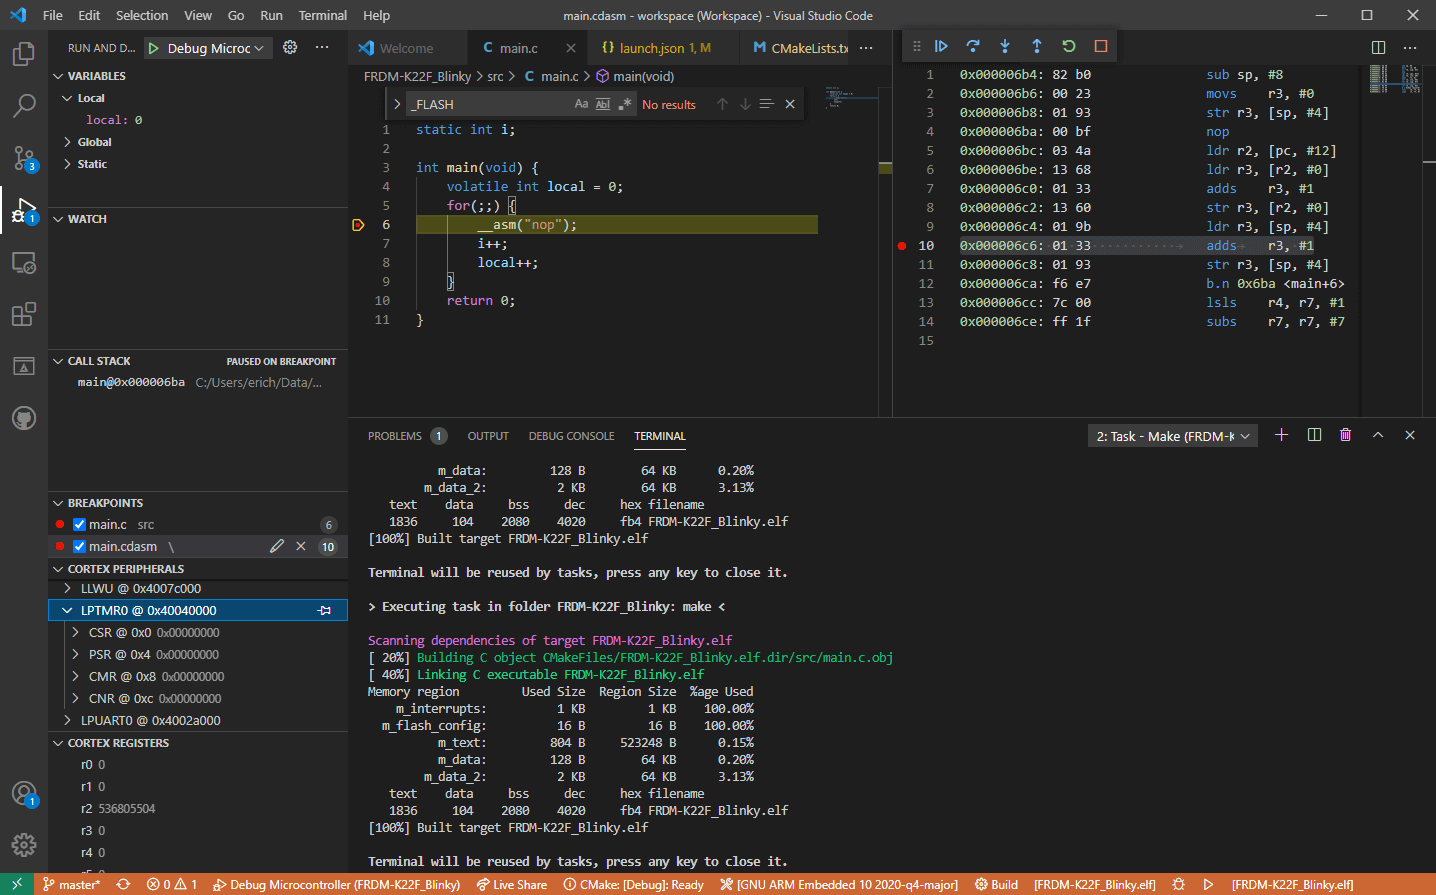 Visual studio code is a code editor available for Windows, Linux, and macOS. It is a completely free tool offering you to code in any language without the need to switch to another editor.
Visual Studio Code is part of Microsoft Visual Studio which is a complete integrated development environment (IDE). Take notice that Visual studio itself has more advanced tools for developing and testing, it has 24/7 support, training, and Azure for WEB apps.
Visual Studio Code is an editor lacking in some advanced features Visual Studio offers.
Visual studio code is a code editor available for Windows, Linux, and macOS. It is a completely free tool offering you to code in any language without the need to switch to another editor.
Visual Studio Code is part of Microsoft Visual Studio which is a complete integrated development environment (IDE). Take notice that Visual studio itself has more advanced tools for developing and testing, it has 24/7 support, training, and Azure for WEB apps.
Visual Studio Code is an editor lacking in some advanced features Visual Studio offers.