- 0 – Incognito mode is enabled by default
- 1 – Incognito mode is disabled
- 2 – Chrome is forced to always open in Incognito mode
If the Sleep option is missing from the Power Menu then this could be caused by the power settings, local group policy configuration, etc. in your computer. Based on the reports of users who experience the same problem, the issue occurred after they’ve updated or upgraded their Windows 10 computers.
As you know, the sleep mode is quite useful in certain cases and is utilized by most users. If you put your computer in sleep mode, it actually minimizes the power usage of your computer while at the same time keeps your current session running. So if sleep mode is suddenly missing, then that could be a problem but worry not for this post will give you possible fixes to resolve the issue. Make sure to follow each one of them carefully to achieve good results.
As mentioned, one of the reasons why the Sleep option is missing could be the power settings in your computer. To check this possibility, make sure that you’ve enabled the sleep mode in the Power options setting window. How? Refer to these steps:
If the Power setting isn’t the cause of the problem, then you might want to check the Local Group Policy and modify it. There is a dedicated policy for showing the sleep option in the power menu and if this policy is disabled, then it’s no wonder why you don’t see the sleep option in the power menu. To change this policy, refer to the steps below.
Standby, also known as InstantGo, is a feature in Windows 8 and 10 that allows users to maintain network connectivity after a computer has been put into sleep mode. Thus, if this feature is disabled, it can cause the Sleep option to disappear from the power menu. To turn it on, follow these steps:
Note: If you were not able to find the CsEnabled key, then this indicates that your computer does not support the Standby feature. And if that’s the case, proceed to the next given option below.
On the other hand, some users reported that the problem was caused by the video card driver. And if your computer lacks the video adapter driver, it can also cause the same problem. Windows 10 typically install the video card driver on its own, however, there are rare cases when it doesn’t which is why you have to do it yourself manually. All you have to do is go to your manufacturer’s website and look for the video card driver, download it and then install it. Once you’ve installed the video card driver, reboot your computer and check if it has fixed the problem.

ComputerHKEY_CURRENT_USERSoftwareMicrosoftWindowsCurrentVersionExplorerUser Shell Folders
%USERPROFILE%Downloads
Music – {1CF1260C-4DD0-4ebb-811F-33C572699FDE} Pictures – {3ADD1653-EB32-4cb0-BBD7-DFA0ABB5ACCA} Videos – {A0953C92-50DC-43bf-BE83-3742FED03C9C} Documents – {A8CDFF1C-4878-43be-B5FD-F8091C1C60D0} Desktop – {B4BFCC3A-DB2C-424C-B029-7FE99A87C641}
 Error Causes
When you receive the error 0x800ccc79 it may hamper your ability to send emails. Therefore it is advisable to fix it to ensure your emails are sent and received without any difficulty.
This Outlook error 0x800ccc79 is quite easy to repair. By following the quick fix 0x800ccc79 error code solutions given below you can resolve this error in just a couple of minutes.
Here’s what you need to do to fix this error right away:
Solution: If the error occurs due to Outlook Express being configured to use the SSL protocol while sending and receiving emails via the web, then to resolve it, you need to allow Outlook Express to bypass the Secure Socket Layer settings.
To do so, click on ‘tools’ and then on ‘Accounts’. Now select the email account that you want to modify.
Now select the ‘Properties’ tab and then click on ‘Advanced Settings’.
Here search for the following text message ‘This server requires a secure connection’. Once you locate it, uncheck all the checkboxes given next to this option. After that save the changes and restart Outlook Express to see bring the changes into effect.
Solution: If the error 0x800ccc79 occurs due to missing or corrupt registry entries, then the best way to fix this error is to download and install a good registry cleaner on your PC.
The registry cleaner will help you clean your corrupt and damaged Windows registry entries and get rid of this error right away. It is suggested you download the registry cleaner tool from a reliable website to avoid any malware or virus downloads simultaneously.
Once you download the registry cleaner on your system, click on scan. The cleaner will scan your computer completely for registry errors and show you the results in a list form.
After the scanning is complete, click on repair to fix the errors.
So, next time, if you or anyone at your office comes across the Outlook Express error 0x800ccc79, you can try these solutions and fix the error immediately without waiting for the network personnel to come and resolve it.
Website breaches and stealing user data is nothing new in the world of the internet. Although a very unpleasant experience it still happens even on some high-quality websites. In this article, we will not focus on how can you not be the target of this kind of attack, because you really cannot. Weel you can kind of if you decide not to have your data on websites at all, but let's just say that is not something you are willing to do.
 So, in this case, you have some social, forum, or gaming accounts but you heard that service has been breached and that your email or password might be stolen. Well in this case all you need to do is of course to login into the service and change your password. But, what happens if you are not aware at all that service has been compromised?
Mozilla foundation has asked themselves this same question it seems and they have decided to help us out. They have placed a free online service where you can just by typing in your email address find out if your email or data has been compromised in any way.
Go to https://monitor.firefox.com/ and check it out, if you find out that there is some website that you did not know was breached, change your password right away, and if you have used the same password for anything else (I hope not), change them as well.
DISM.exe /Online /Cleanup-image /Restorehealth
sfc /scannow
findstr /c:"[SR]" %windir%LogsCBSCBS.log >"%userprofile%Desktopsfclogs.txt"The command you entered will open up the logs on your Desktop where you can look for files that are causing the error on your computer manually.
chkdsk /f /r
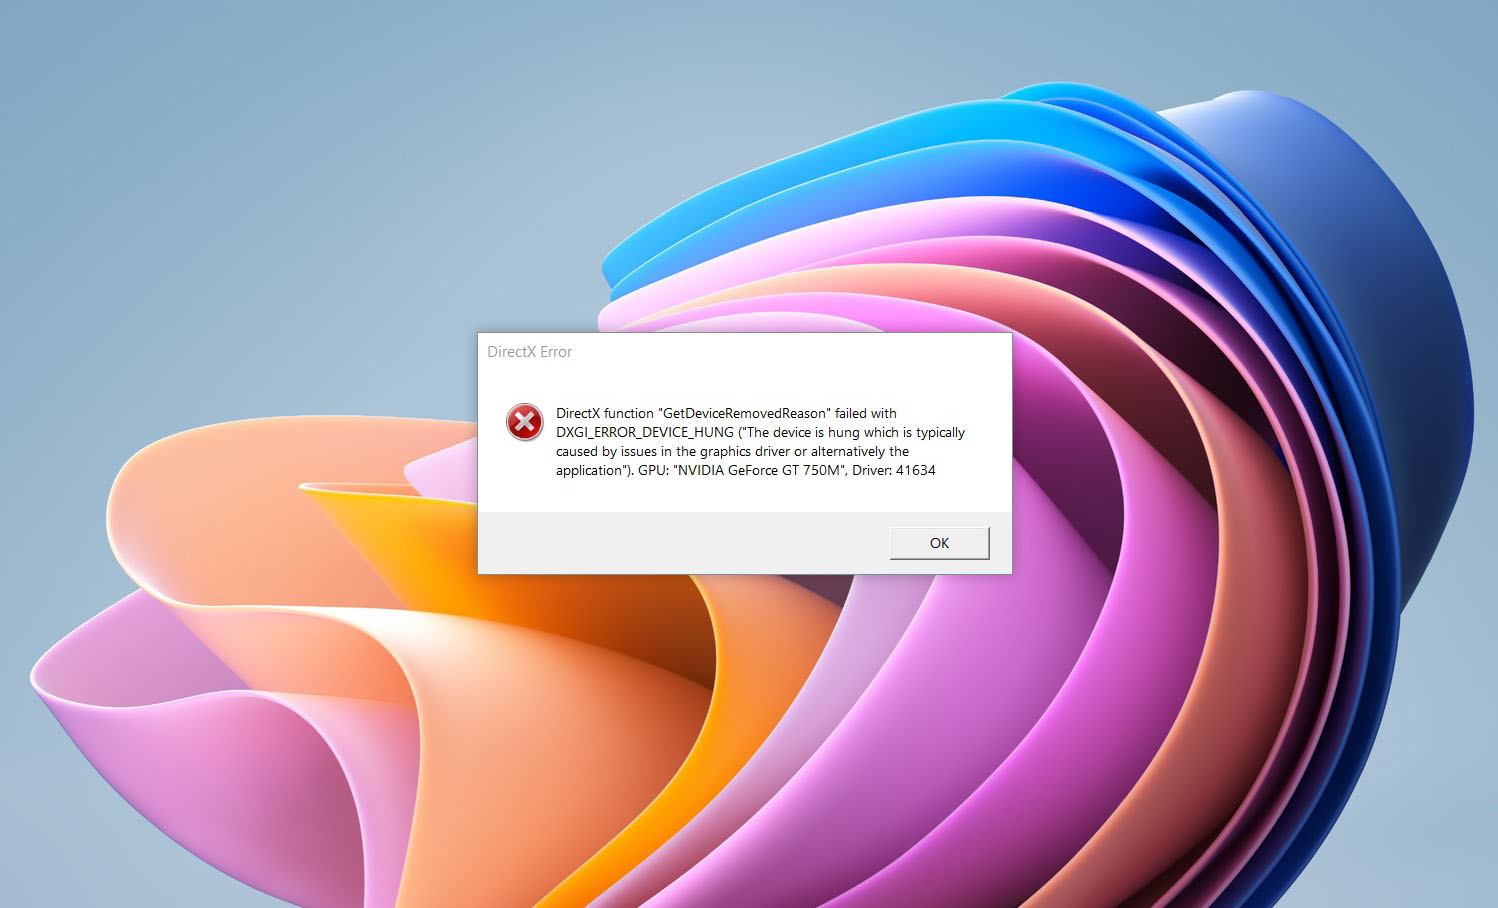 If you are one of the gamers affected by this error, fear not because we have a solution for you. Follow provided fix guide in order to correct this error and get back to gaming asap.
The Free Wifi Hotspot is offered to users that own a laptop and a desktop PC that has a wired connection to the Internet and no WiFi modem. The Free Wifi Hotspot is said to help users share their Internet connection with mobile devices that support the 2G/3G/4G/USB tethering connectivity. However, users will need a 2G/3G/4G modem attached to the computer/laptop with access to the Internet if they intend to benefit from the Free Wifi Hotspot software. Additionally, the Free Wifi Hotspot may collect data like your Internet history, downloads log, and software configuration for product placement optimization. PC users that run the Free Wifi Hotspot software may be shown pop-up windows with marketing materials from time to time and maybe redirected to promotional offers.
Several anti-virus applications have flagged Free Wifi Hotspot as a Potentially Unwanted Applications and may come bundled with other PUP-s that may harm your computer or steal some information, due to these risks it is marked for optional removal.
“The scratch directory size might be insufficient to perform this operation”This kind of error in DISM occurs when the DISM command is executed from the Windows Recovery Environment due to the limited size permissions of a delivery where the operating is being performed. To fix this DISM error, you need to follow the instructions laid out below. Step 1: First, tap the Win + R keys to open the Run utility and then type “cmd” in the field and tap Enter to open Command Prompt. Step 2: Next, you have to specify a scratch directory that contains the Windows folder and to do that, you can either use the DIR command or the BCEDIT command. So in the elevated command prompt type and enter “dir” or “bcedit”. Step 3: After that, you will see a list of folders inside the C: partition. Now you have to create a folder named “scratch” inside the partition. To do so, execute the following command:
mkdir C:ScratchNote: The command you just entered will create a directory inside the root of the C: partition named Scratch. Step 4: Now that you’ve created the Scratch folder, note that each time you run any of the DISM commands, you have to enter the following code snippet in them:
/ScratchDir:C:ScratchNote: For instance, if you are using the DISM tool to repair the offline Windows image, instead of executing the “Dism /Online /Cleanup-Image /RestoreHealth” command, you now have to execute the “DISM /Image:C: /ScratchDir:C: Scratch /Cleanup-Image /Restorehealth” command. And if you want to remove a selected installed update package, you can use the “DISM /image:C: /ScratchDir:C:Scratch /Remove-Package /PackageName:Package_for_RollupFix~31bf3856ad364e75~amd64~~16299.196.4.9” command. Keep in mind that the mentioned package is only an example. And lastly, you also have to replace the drive letter in the new code snippet when you execute the commands given above.
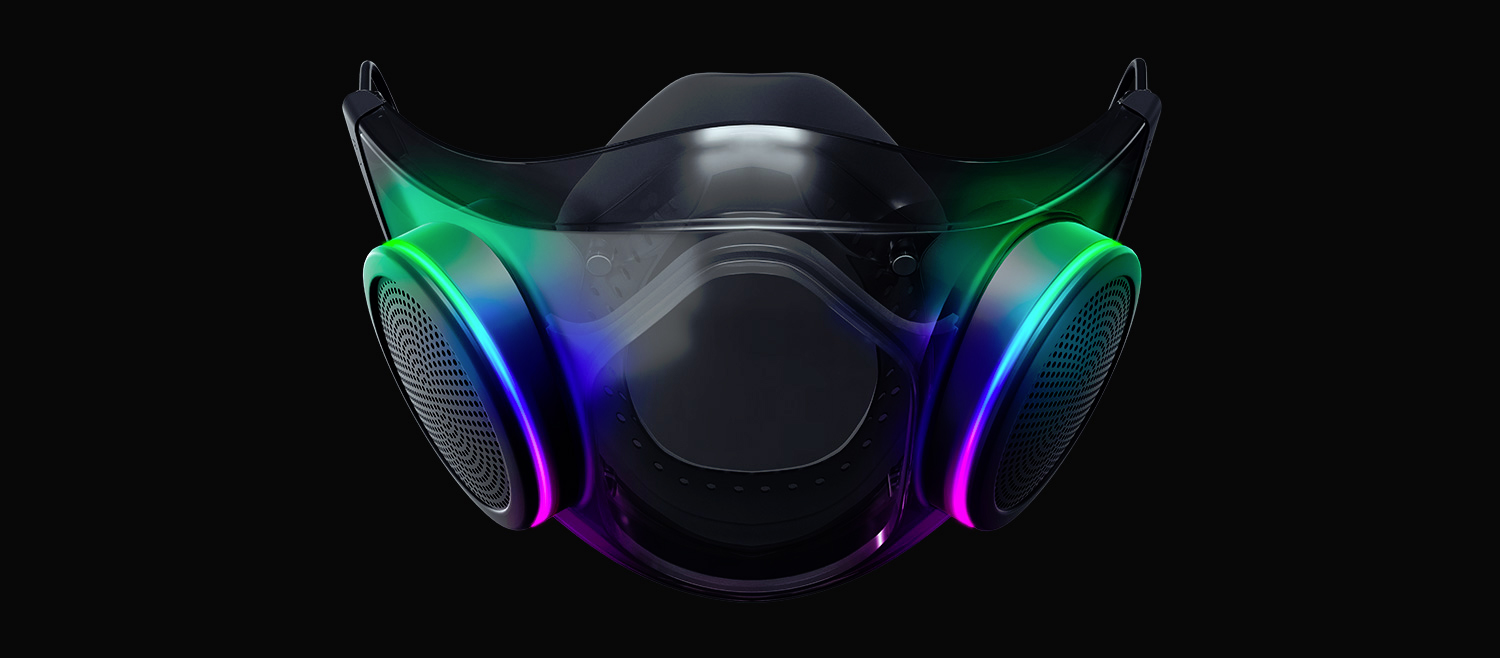 The world today is still sadly under pandemic and by the looks of it, COVID-19 is here to stay, well at least for some time in the near future. Razer seems to think so as well since their upcoming gear is not really what you would expect.
Enter Hazel, a new and upcoming Razer smart mask.
The world today is still sadly under pandemic and by the looks of it, COVID-19 is here to stay, well at least for some time in the near future. Razer seems to think so as well since their upcoming gear is not really what you would expect.
Enter Hazel, a new and upcoming Razer smart mask.