D3dx9_43.dll – What is it?
D3dx9_43.dll is a type of dynamic link library. This is one of the many files contained in the DirectX software collection which is used to load and run most of the Windows PC based games and advanced graphics programs.
D3dx9_43.dll error message is displayed when any one of the Microsoft games fails to load.
The error message is displayed in either of the following formats:
“D3dx9_43.DLL Not Found"
"The file d3dx9_43.dll is missing"
"File d3dx9_43.dll not found"
"D3dx9_43.dll not found. Reinstalling might help fix this."
Solution
 Error Causes
D3dx9_43.dll error may occur due to multiple reasons. These include:
- D3dx9_43.dll files get corrupt or damaged
- Missing Microsoft DirectX file
- Viruses and malware on your system
- Driver issues
- Registry overloaded with invalid entries
If the D3dx9_43.dll error is not fixed timely, it not only causes you a great deal of inconvenience as it hampers your ability to play Microsoft games but since the underlying causes of the error are critical, it can result in serious PC damages like system failure, system crash, and data loss.
Therefore to avoid it, it is advisable to resolve the error code immediately.
Further Information and Manual Repair
Though this is a critical PC error but the good thing is that it is easy to resolve. To fix it, you don’t always have to pay hundreds of dollars to a professional technician or be technically sound.
Here are some of the best ways to repair and resolve D3dx9_43.dll error on your system:
Check the Recycle Bin
If you get the error message "The file d3dx9_43.dll is missing" then the best method to resolve this error from your system is to
check your recycle bin.
The Microsoft Direct X file could be there especially if you recently uninstalled a gaming program.
Here’s why: dll files are shared by multiple programs. So, it is possible that the program you deleted from your PC also shared the same file to load and run.
And because of this reason, the file also got removed from your PC when you uninstalled that particular program. Therefore, check your recycle bin. If you find the d3dx9_43.dll in there, restore it and try running the desired Microsoft game again. See if it works.
Re-Download DirectX
Nonetheless, if you can’t relocate it, try installing the
latest version of DirectX on your system. This can be done by downloading the DirectX End-User Runtimes Web Installer on your system from the official Microsoft website.
Update Your Drivers
If the error is related to video card driver, then it is advisable to
update the driver. By updating the driver for your video card you can fix the D3dx9_43.dll error instantly.
Repair the Registry
Other reasons for the D3dx9_43.dll error could be corrupt and damaged dll files. It triggers registry issues and sometimes even malware infections.
DLL files often get corrupt when the registry overloads with too many files these include mostly unnecessary and obsolete files like junk files, cookies, temporary internet history, invalid and bad registry entries.
As the clutter and overload the registry, the important files like
dynamic link libraries get damaged.
Here cleaning and restoring of the registry is the best way to resolve the error pop-ups like D3dx9_43.dll. You can repair the registry manually however, it is time consuming and somewhat technical. But if you are looking for a simple and a quick fix, then download Restoro.
Try Restoro.
Restoro is a next-generation and multi-functional PC repair tool. It is embedded with a variety of PC fixing and
performance-boosting utilities all in one.
It includes a registry cleaner with an intuitive algorithm that detects all types of registry issues on your system and resolves them in seconds. It cleans the registry, restores the damaged D3dx9_43.dll files, and repairs the registry.
Furthermore, Restoro also includes utilities like an antivirus, Active X controls and class detector. With the help of the in-built antivirus you can scan for viruses and malware infecting your system and remove them right away.
It also functions as a system optimizer boosting the speed of your PC dramatically. It is safe, efficient, and compatible with all Windows versions.
Click here to download Restoro, resolve the D3dx9_43.dll error, and resume enjoying Microsoft games on your PC.

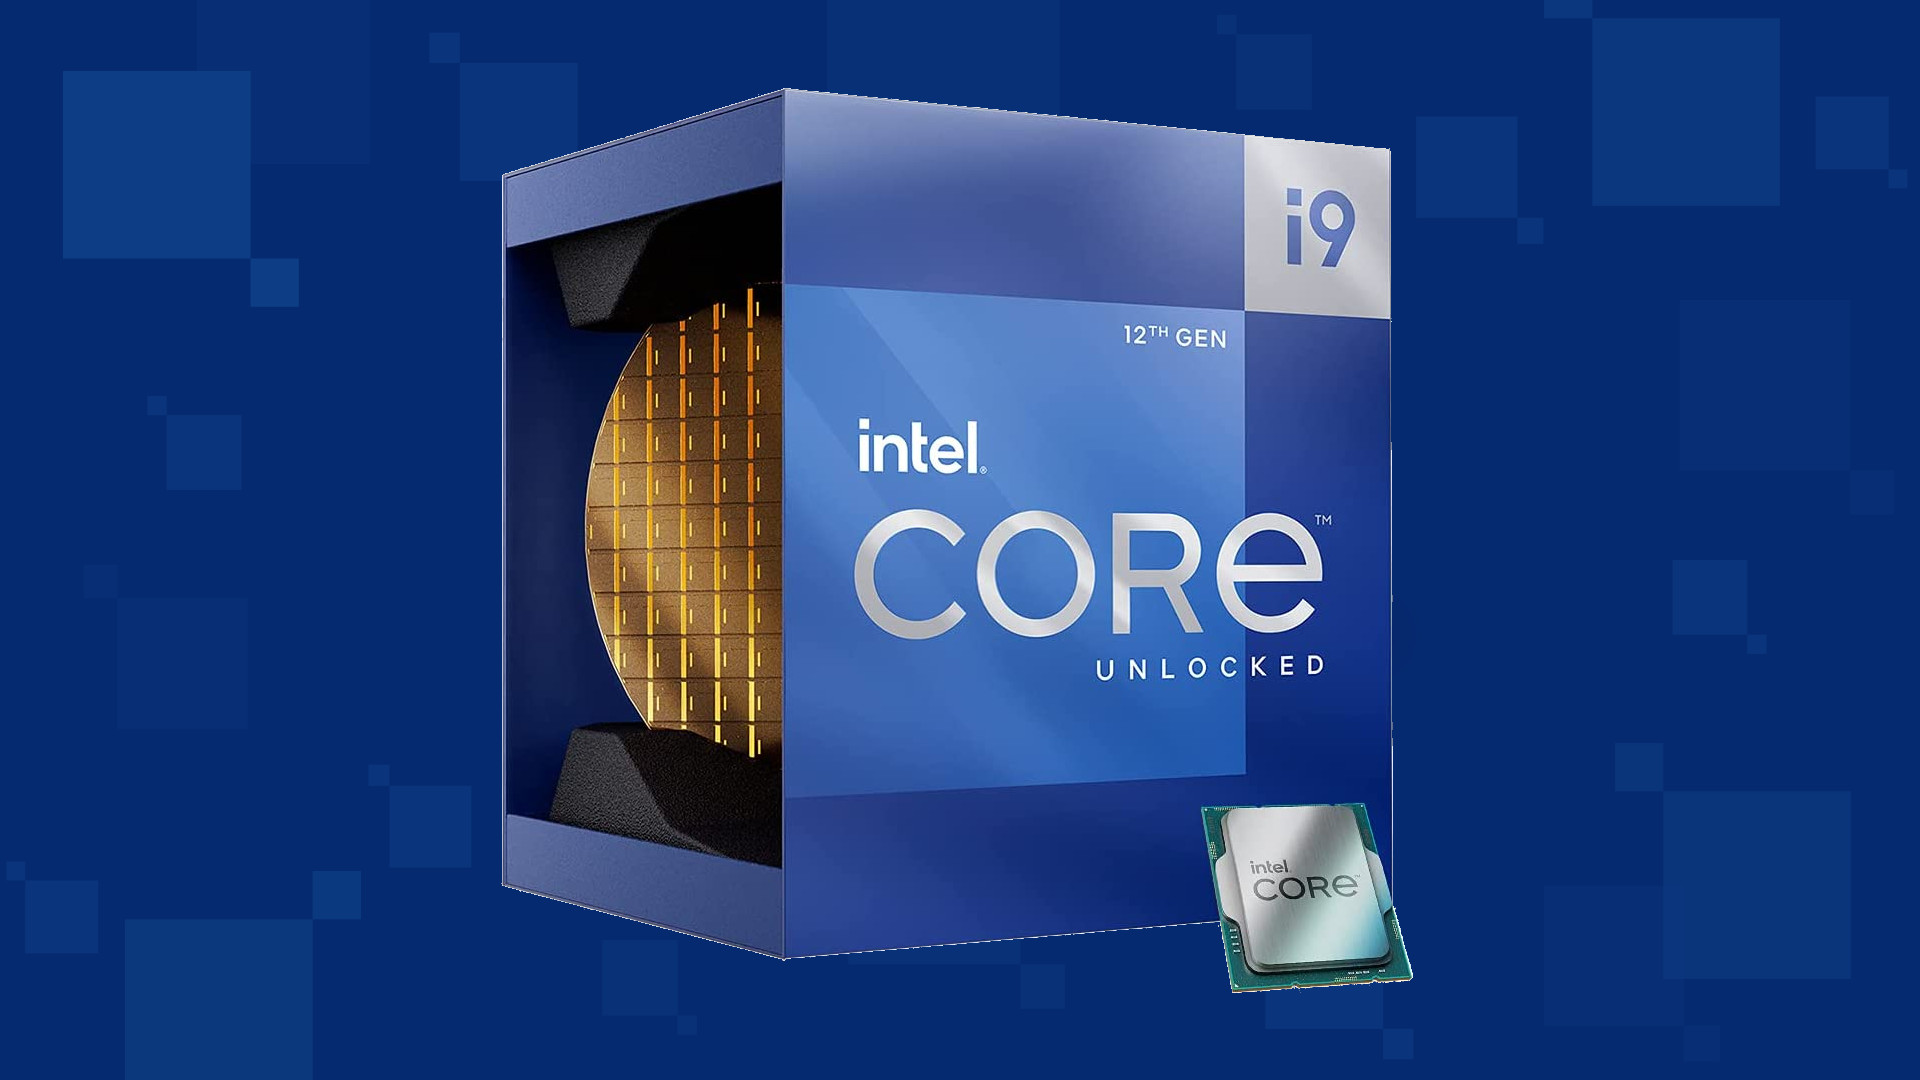 Intel says that the remedy to the issue for these games is the scroll lock fix which can be done so by enabling Legacy Game Compatibility mode from the BIOS of your motherboard. When running the said games, you can press scroll lock to park the E-cores on Intel's Alder Lake Desktop CPUs to get rid of DRM issues.
Certain motherboard manufacturers such as MSI and Gigabyte have made this even easier through software tools with which you don't have to access the BIOS. All you need to do is select a button in the tool which works on both Windows 11 and Windows 10 operating systems and you will enable compatibility mode.
Intel says that the remedy to the issue for these games is the scroll lock fix which can be done so by enabling Legacy Game Compatibility mode from the BIOS of your motherboard. When running the said games, you can press scroll lock to park the E-cores on Intel's Alder Lake Desktop CPUs to get rid of DRM issues.
Certain motherboard manufacturers such as MSI and Gigabyte have made this even easier through software tools with which you don't have to access the BIOS. All you need to do is select a button in the tool which works on both Windows 11 and Windows 10 operating systems and you will enable compatibility mode.