There is a built-in tool in Windows 10 the Disk Cleanup Utility which can help you restore hard disk space by removing temporary files, Thumbnails, old Windows files, Windows Upgrade logs, Delivery optimization files, and many more. However, from time to time, this built-in tool also experiences some issues. One of these issues is when it gets stuck on Windows Update Cleanup. Read on to find out what you can do in such a case.
When the Disk Cleanup Utility is stuck on the Windows Update Cleanup, the process could be slow and take a long time to complete when purging the files. If this happens, click on Cancel to close the dialog box. After that, try running the Disk Cleanup Tool again as administrator and check if the files that you want to clean is still there or not. If it isn’t there, then this means that the cleanup has been done, otherwise, you need to refer to the options given below.
net stop wuauserv
net start cryptSvc
net start bits
net start msiserver
After resetting the SoftwareDistribution folder, you need to reset the Catroot2 folder to restart the services you just stopped. To do that, follow these steps:
net start wuauserv
net start cryptSvc
net start bits
net start msiserver
The Windows.old folder is the one that holds the older version of Windows when you upgrade. It comes really useful when you want to revert to the previous version of Windows 10. Thus, you can delete the Windows.old files in case the cleanup tool is stuck.
Another thing you can try is to restart your computer in a Clean Boot State or Safe Mode. Chances are, there are some programs that are preventing the Disk Cleanup Utility tool to run properly. After you restart your computer in a Clean Boot State or Safe Mode, try to run the Disk Cleanup tool again and then see if it now works or not.
You might also want to run the Windows Update Troubleshooter as it could also help in fixing this issue. To run it, go to Settings and then select Troubleshoot from the options. From there, click on Windows Update and then click the “Run the troubleshooter” button. After that, follow the next on-screen instructions and you should be good to go.
You can try running the Deployment Imaging and Servicing Management or DISM tool to fix the Wdf01000.sys Blue Screen error. Using this built-in tool, you have various options such as the “/ScanHealth”, “/CheckHealth”, and “/RestoreHealth”.

Nectar Toolbar is a Browser addon for Internet Explorer developed by AIMIA Coalition Loyalty. This addon changed your default search provider to Yahoo UK. While installed, you might see additional unwanted ads and sponsored links injected in the search results.
From the Author: We all search the web every day for information from handy how-to’s, must know news about shopping. So wouldn’t it be great if you could collect extra Nectar points just for doing something you do already? Like to shop online? Nectar Search will also tell you when you’re on a shopping website (like Argos, Debenhams, Next, Play.com, and Apple) where you can collect points too.
Several anti-virus scanners have marked this addon as a Browser Hijacker and are therefore not recommended to keep on your computer.
Nvidia announced the third generation of GeForce RTX GPUs called Ada Lovelace. New technology is bringing 76 billion transistors with 18,000 CUDA cores along with new gen ray tracing cores and improved Tensor cores as well. The new lineup also comes with DLSS 3 which is vastly improved from its previous version pushing a 4 times increase in frame rates over native rendering.
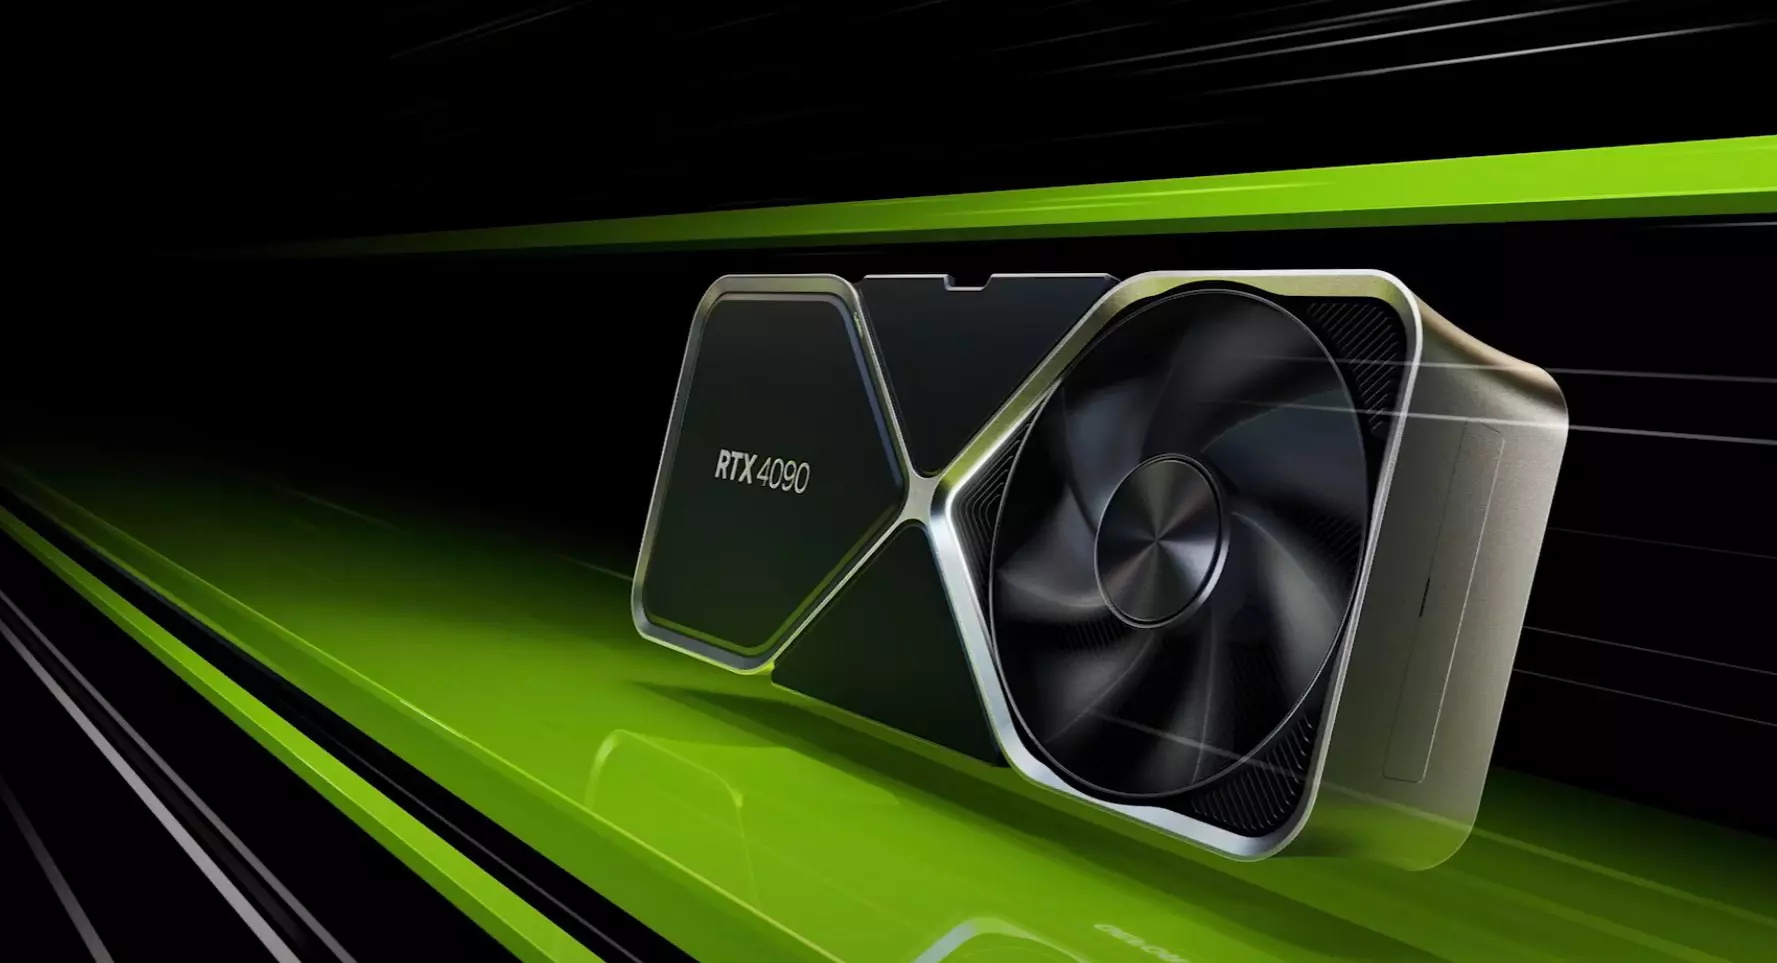
RTX 4090, a better model of GPU will come with 16,384 CUDA cores and a boost clock speed of 2.52 GHz. Also, it is packed with stunning 24 GB of GDDR6V VRAM. In Nvidia's words, its performance is twice faster than the 3090 Ti in games like Flight simulator, three times faster on Portal RTX, and four times faster on RacerX.
RTX 4080 comes in two modes, one with 12GB VRAM and a stronger one with 16GB VRAM but differences do not end here. The lower model is packing 7,680 CUDA cores while the stronger one is going to 9,728 CUDA cores. We will wait to see how will these cores count impact real-world performance in games.
As for prices, the flagship model RTX 4090 will be $1,600 USD and it will hit the market on October 12th. RTX 4080 12GB model will be $900 USD and the model with 16GB VRAM will go up to $1,200 USD. This, of course, is the price for Founders Edition cards, OEM cards from third parties like ASUS, MSI, Gigatech, etc will cost more.
get-hotfix KB1111111, KB2222222, KB3333333Note: In the command given above, you need to replace “KB1111111, KB2222222, KB3333333” with the actual update KB numbers.
Error code 0x80070652 occurs when Windows users attempt to upgrade their operating system while another program is in the process of being downloaded. It may also occur due to problems related to previously failed update attempts within Window Update. When this Windows 10 upgrade occurs, Windows users fail to access the version of Windows they are attempting to download. Instead, a message box occurs stating that error code 0x80070652 has occurred on the device. If this error message is not rectified, it could give birth to other Windows 10 errors such as error code 0x80072EE2.
 Error Causes
Error code 0x80070652 may result from Windows 10 users attempting to download another program while upgrading their operating system. It may also be caused by an issue related to previous installations of updates. For instance, in some cases, your previous installation of the Windows process may have been interrupted or it was simply not completed properly. This causes any other upgrade process that follows to result in error code 0x80070652.
But what can be done in such a situation to resolve the error code? Windows users have several options available. For instance, they can wait on any additional program that may be in the process of downloading to complete the process before attempting to upgrade Windows. They may also troubleshoot problems related to any failed updates or select a system restore point in which the error code was not present.
The manual repair methods Windows 10 users choose may involve any of the solutions mentioned previously. The choice is largely dependent on the user and his determination to fix the error code. However, note that automated tools or Windows repair technicians may also provide solutions to PC issues like error code 0x80070652.
Since previously failed updates within Windows Update can lead to the occurrence of error code 0x80070652, Windows 10 users will need to verify which of these failed updates occurred by checking the history section of the Windows Update tool. Once you’ve been able to verify that failed updates have occurred in the recent past, you’ll need to troubleshoot these problems to rectify the error code. Follow the instructions below to check for updates that have failed to install properly via Windows Update.
Once you’ve completed the troubleshooting of any updates which failed, proceed by rebooting your device. You may then reattempt to upgrade to the latest version of Windows 10 once no other program is in the process of being downloaded.
If the problem causing error code 0x80070652 was related to failed updates of the past, these issues will likely be resolved once you successfully troubleshoot them. However, if the error code reoccurs, apply the next manual repair solution mentioned in this article.
Another option available to users is simply downloading updates manually by visiting the official Microsoft website, specifically the Windows section which provides downloads. To successfully complete this process, ensure you look for stand-alone packages of these downloads available on the website. You will need to know the Microsoft Knowledge Base (KB) article number related to the specific update(s) which failed.
Once a Windows user has verified the KB article number of the specific update, download it from the Microsoft website, then select Run to install the update. Reboot your PC, then check Windows Update to see if you are able to successfully complete the Windows 10 upgrade.
If the upgrade fails, you may need to implement the next manual repair method as is mentioned below.
One of the best options for Windows 10 users facing certain PC problems is to apply System Restore. This allows them to reset their machine for a period of time in which the problem was not present. This is known as the restore point. To apply this manual repair method, follow the steps below.
If you wish to always have at your disposal a utility tool to fix these Windows 10 and other related issues when they do arise, download and install a powerful automated tool.
chkdsk /f /r
powercfg /hibernate /size 100
Dism /Online /Cleanup-Image /CheckHealth Dism /Online /Cleanup-Image /ScanHealth Dism /Online /Cleanup-Image /RestoreHealthalso