What exactly is no audio device malfunction?
No audio device error is among the malfunctions that many Computer consumers run into. No sound or audio can be heard from the computer when the error occurs.
Solution
 Error Causes
There are numerous elements that may be the basis of this malfunction. Corrupted or broken sound card drivers, incorrect Device Manager Options for example, or even incorrect BIOS configurations.
Further Information and Manual Repair
How could you recover the standard production of audio by your personal computer and solve this malfunction?
Like a number of additional malfunctions, the method of the repair depends on its trigger. To properly solve this dilemma, you are required to run through an evaluation of the pc system so that you can pinpoint the cause. This is because there are numerous variables, which alone, or concurrently may trigger this dilemma.
These measures will allow you to work out the no sound device error in your personal computer programs, identify the trigger and fix it.
Follow the directions in step 1 if your computer has an onboard audio device installed in it and assess the BIOS settings. You can jump step 1 and move to step two if you utilize a separate sound card.
STEP #1 - Assess the BIOS options.
No sound device error can be caused by incorrect BIOS configurations in your Personal Computer. By fixing these settings if they are the cause of the malfunction, you can easily solve it. Make Sure you restart the pc and immediately access the BIOS options.
By locating the Sound card, which is usually known as the AC97 Audio, you should subsequently open the Integrated Peripherals. As soon as you locate it, set it to Allow or Auto.
Finally, you should access the On-Board Audio AC97 Control and set it to Allow or Auto as well. If it doesn't solve the situation, proceed to Step Two.
STEP #2 - Analyze the Device Manager
No sound device malfunction can be additionally caused by malfunctions with the Device Manager.
To solve this issue, go to My Computer, right-click it, select properties, click on the Hardware tab, then click on Device Manager. At this windowpane, analyze the movie, audio, and game controllers. If you learn that there is a cross on any of the sub things, right-click it subsequently and set it to Enable.
The sound card driver may have not been correctly installed or may be damaged if there is Exclamatory Mark or Question Mark on the device manager menu.
This does not mean that the sound card driver is ok. It may have malfunctioned even though you do not locate anything unusual. This is because the Device Manager doesn't always recognize errors in audio hardware.
After this, you can proceed to step 3.
STEP #3 - Upgrade or reinstall the Sound Card Driver.
About 80% of "no sound system discovered/installed" malfunctions come from broken and/ or out-of-date card drivers. The sound card will not be detected by the Windows Operating System, when the audio card driver is corrupted, damaged, or out-of-date and therefore no sound will be produced by your computer.
If this is the cause of the no sound device malfunction, you should reinstall the Audio Card Driver on your computer. Still, you can utilize driver upgrade applications on the web that will help you upgrade out-of-date drivers.

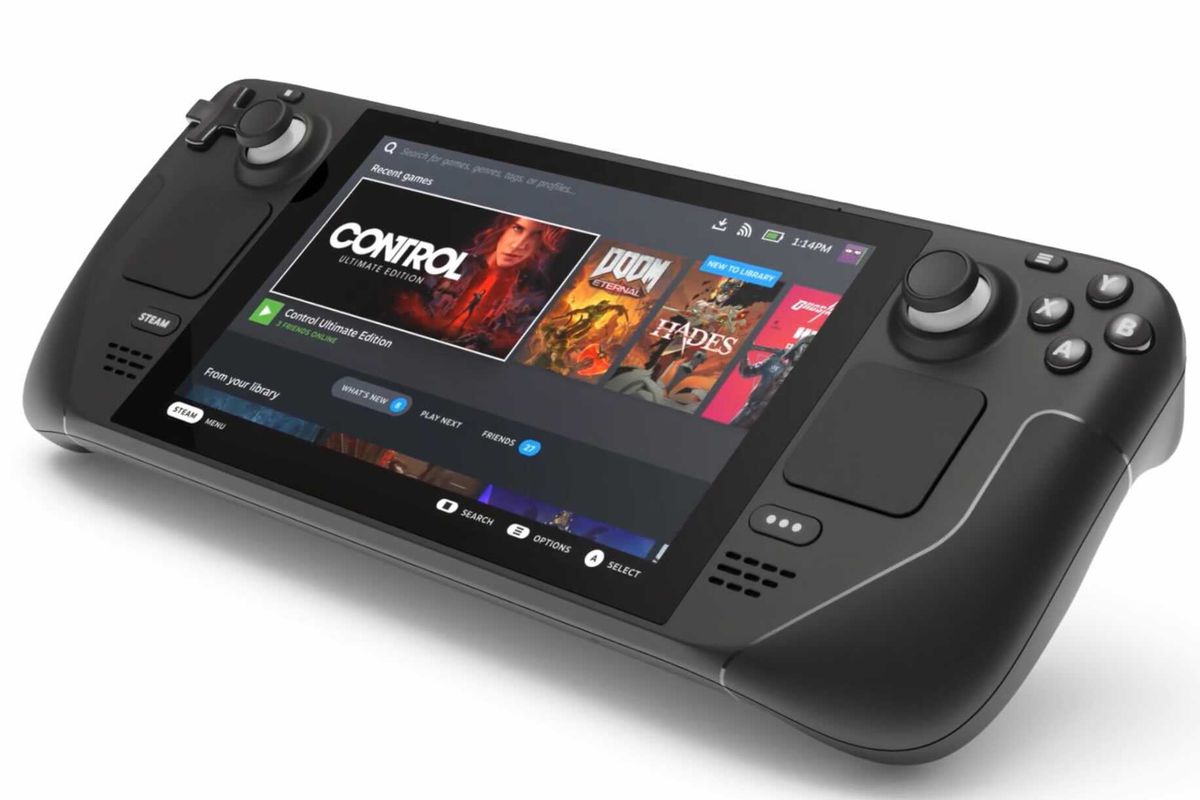 Valve has announced the first gaming PC handheld console: Steam Deck. At its core, Stead Deck is just a portable, small PC in little casing. It uses AMD Zen 2 CPU and RDNA 2 GPU architecture, has 16GB of RAM, Wi-Fi, and Bluetooth.
It is a portable device with both a touchpad and joystick packing a seven-inch screen with a resolution of 1280x800 (16:10 aspect ratio). The screen has an ambient light sensor for automatic light adjustments same as your modern mobile device.
Stating to Valve battery will hold up from two to eight hours depending on the activity of the user and what exactly he is doing. The handheld comes also with a carrying case.
Valve has announced the first gaming PC handheld console: Steam Deck. At its core, Stead Deck is just a portable, small PC in little casing. It uses AMD Zen 2 CPU and RDNA 2 GPU architecture, has 16GB of RAM, Wi-Fi, and Bluetooth.
It is a portable device with both a touchpad and joystick packing a seven-inch screen with a resolution of 1280x800 (16:10 aspect ratio). The screen has an ambient light sensor for automatic light adjustments same as your modern mobile device.
Stating to Valve battery will hold up from two to eight hours depending on the activity of the user and what exactly he is doing. The handheld comes also with a carrying case.
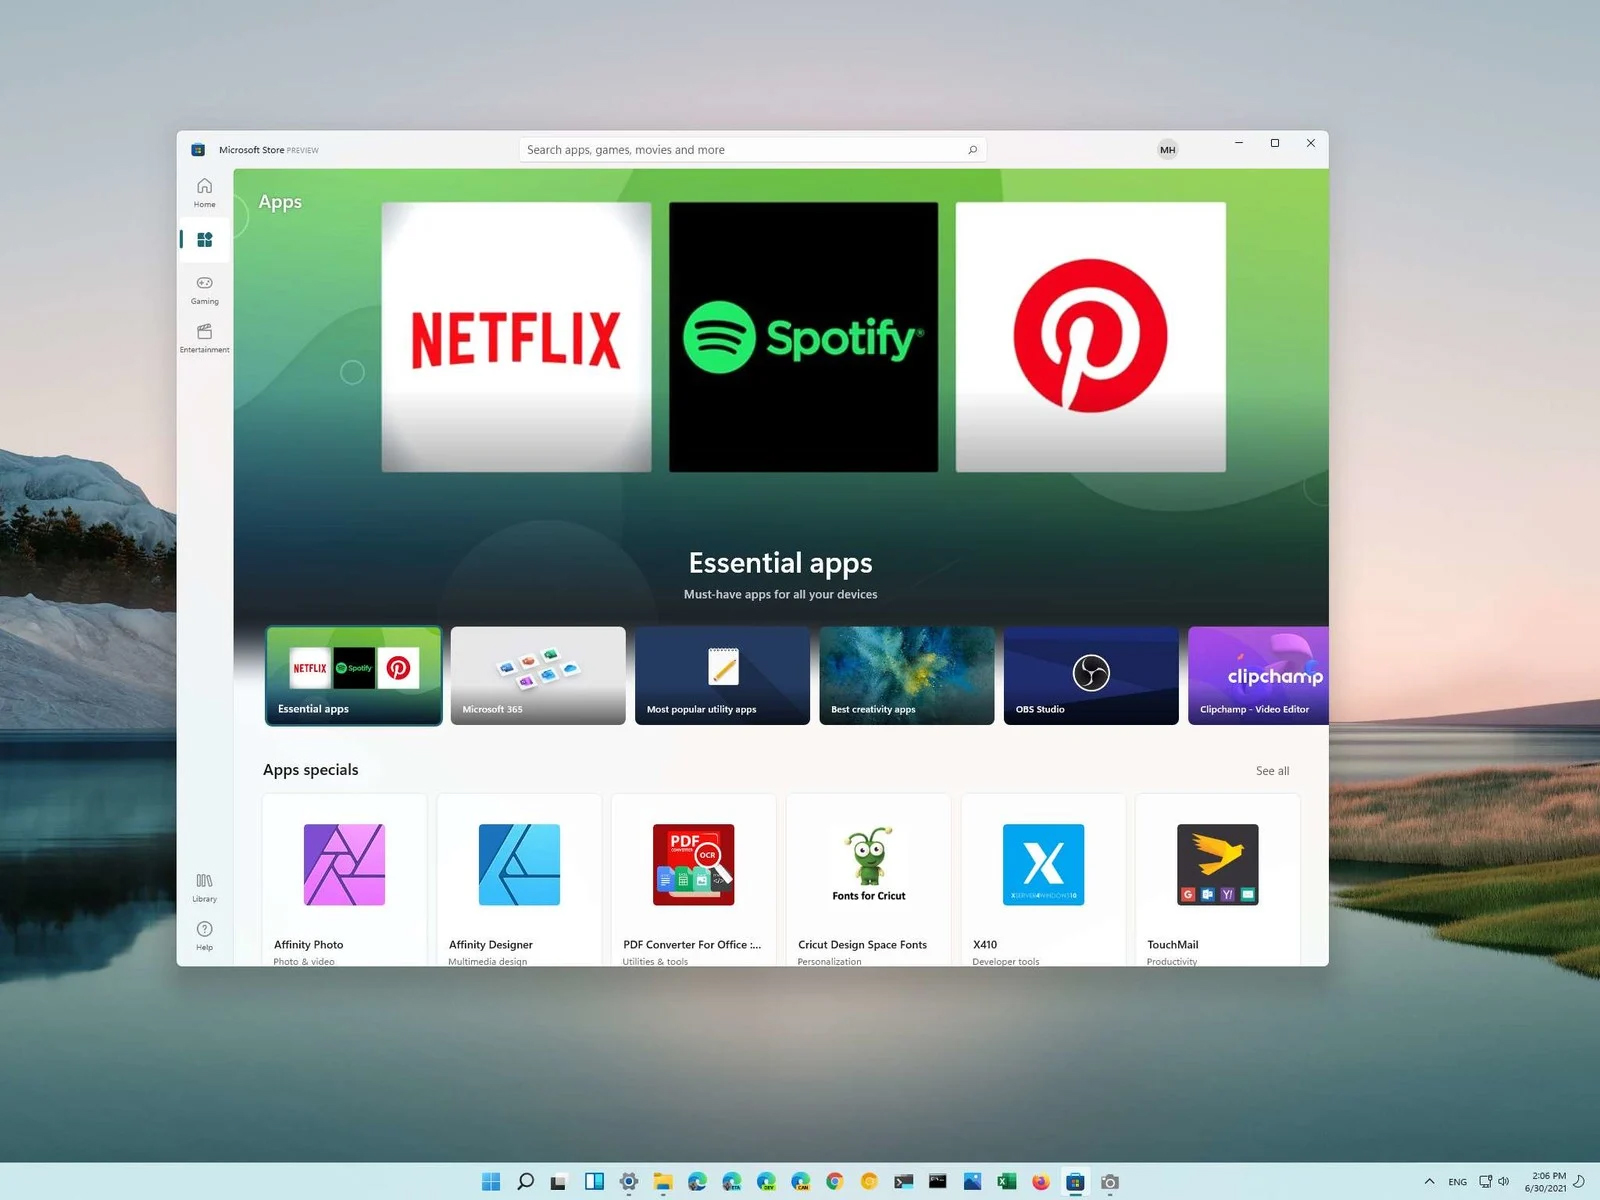 You can prevent starting of app installations files if they have not come from the MS store inside Windows 11.
This can make your PC more secure because all apps in the store will have to be digitally signed and overall it can provide you with more control over what will be installed.
Follow the guide below to find out how can you easily turn this feature ON.
You can prevent starting of app installations files if they have not come from the MS store inside Windows 11.
This can make your PC more secure because all apps in the store will have to be digitally signed and overall it can provide you with more control over what will be installed.
Follow the guide below to find out how can you easily turn this feature ON.

 If we are to believe news from Intel, new series of processors based on Alder Lake architecture are about to be released somewhere in October. Alder Lake is the 12th Generation Core of Intel processors and it is meant to have all advantages of the current CPU structure.
I9 is aimed to pack a punch against its competitors with technology including eight high-performance Golden Cove cores (P-cores) with Hyper-Threading and eight energy-efficient Goldmont (E-cores) equipped with a 30MB L3 cache and operating at high clock speeds.
During the benchmark test, the new CPU outperformed all of Intel’s previous Rocket Lake structure processors which is logically expected but the big surprise came from results that indicate better performance than Apple’s new M1 processor even in single-threaded performance which is supposed to be best in that field.
Another surprise was really beating AMD Ryzen 9 in each field. If we take into account that i9 has 16 cores in total and can process 24 threads against Ryzen 9 with 16 Cores and 32 threads this is an impressive feature.
Now truth to be told Alder lake has massive L3 cache and microarchitectural advantages and consumes much more power but the results of performance are high. Also, note that this early CPU is not really a mass production one and maybe some things will still change but early results are very satisfactory.
We will see what will price tag be since in this age of shortage and competition that will also play a big role in its overall success. Speaking of competition I eagerly await AMD’s response to this, in any way it seems that the CPU market is for some turbulence which is always a good thing for the final customer and I welcome it.
If we are to believe news from Intel, new series of processors based on Alder Lake architecture are about to be released somewhere in October. Alder Lake is the 12th Generation Core of Intel processors and it is meant to have all advantages of the current CPU structure.
I9 is aimed to pack a punch against its competitors with technology including eight high-performance Golden Cove cores (P-cores) with Hyper-Threading and eight energy-efficient Goldmont (E-cores) equipped with a 30MB L3 cache and operating at high clock speeds.
During the benchmark test, the new CPU outperformed all of Intel’s previous Rocket Lake structure processors which is logically expected but the big surprise came from results that indicate better performance than Apple’s new M1 processor even in single-threaded performance which is supposed to be best in that field.
Another surprise was really beating AMD Ryzen 9 in each field. If we take into account that i9 has 16 cores in total and can process 24 threads against Ryzen 9 with 16 Cores and 32 threads this is an impressive feature.
Now truth to be told Alder lake has massive L3 cache and microarchitectural advantages and consumes much more power but the results of performance are high. Also, note that this early CPU is not really a mass production one and maybe some things will still change but early results are very satisfactory.
We will see what will price tag be since in this age of shortage and competition that will also play a big role in its overall success. Speaking of competition I eagerly await AMD’s response to this, in any way it seems that the CPU market is for some turbulence which is always a good thing for the final customer and I welcome it. 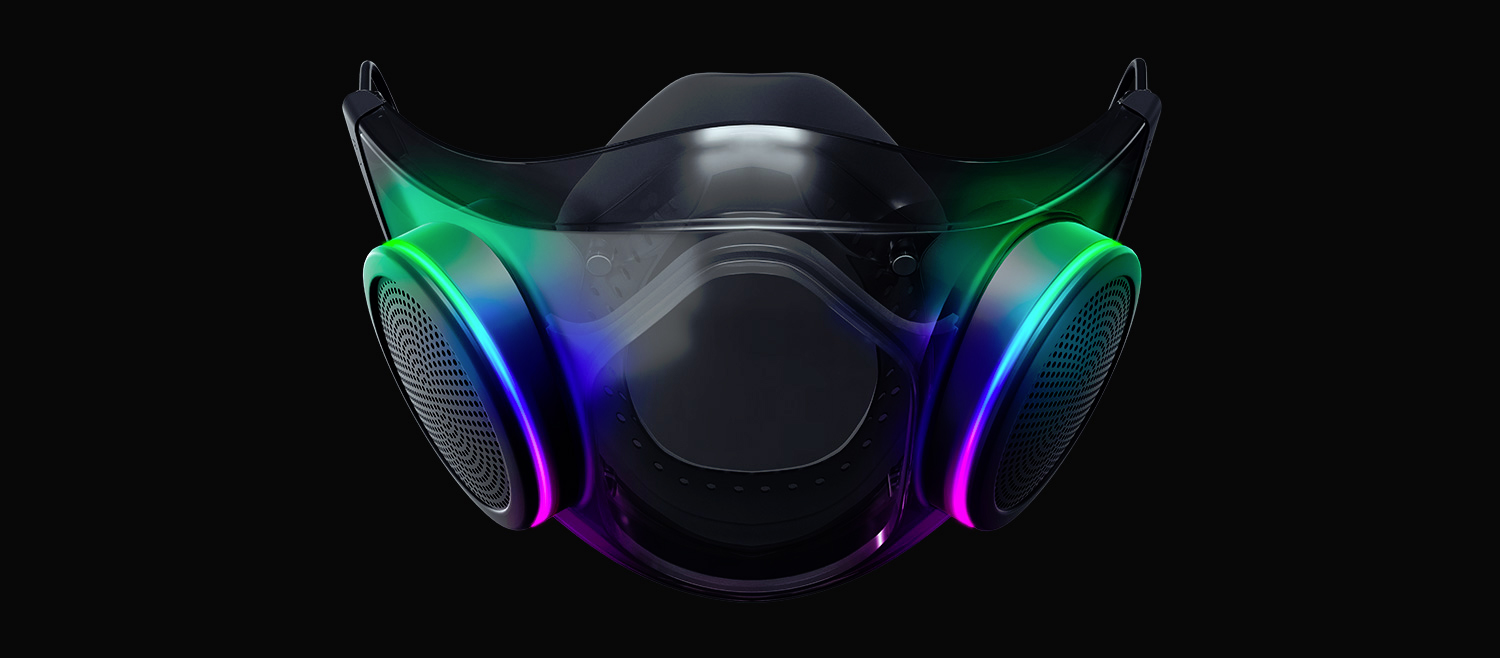 The world today is still sadly under pandemic and by the looks of it, COVID-19 is here to stay, well at least for some time in the near future. Razer seems to think so as well since their upcoming gear is not really what you would expect.
Enter Hazel, a new and upcoming Razer smart mask.
The world today is still sadly under pandemic and by the looks of it, COVID-19 is here to stay, well at least for some time in the near future. Razer seems to think so as well since their upcoming gear is not really what you would expect.
Enter Hazel, a new and upcoming Razer smart mask.