
Code 0x80070070 – 0x50011 – What is it?
If you’ve recently tried installing Windows 10, you might have encountered error code 0x80070070 – 0x50011 or its alternatives (error code 0x80070070 – 0x50012 and 0x80070070 – 0x60000). Whatever formats this error code presents itself in, it's usually accompanied by a barrage of other errors, as underscored on Microsoft’s official site. If you’ve encountered this error code, it simply means that your computer system might not have the required or required space to install the upgrade.
Likely, if you’ve experienced error code 0x80070070 – 0x50011, it’ll likely appear in the formats highlighted below:
- 0x80070070 – 0x50011
- 0x80070070 – 0x50012
- 0x80070070 – 0x60000
Solution
 Error Causes
At present, this Windows 10 upgrade error is triggered or caused by various factors:
- Lack of computer resources or space
- Virus/malware infestation
- A clogged registry
Further Information and Manual Repair
Whilst new, not much information has been propagated regarding this error. However, there are some manual / practical steps you can take to have your Windows 10 upgrade up and running. Since the primary aspect of solving this problem is to make space on your computer system, here are some ways in which you can do so manually.
Method 1: Get more space
- Check the current space on your computer
Before making attempts to create space on your computer, it’s vital that you check to decipher how much free space you have available.
- Make use of Disk Clean-up
Since there’s a free service available on your computer to create space, why not use it and save time? If the Disk Cleanup tool is employed regularly, this will free up hard drive space and optimize your computer to work better.
- Remove unwanted desktop apps
There are several apps lying around on your computer that you simply don’t use, uninstall those and make space to elude error code 0x80070070 – 0x50011 or its alternatives (Code 0x80070070 – 0x50012, Code 0x80070070 – 0x60000)
- Remove or archive files
If you have lots of photos, media, documents (files), videos, etc, that you don’t use or will only need in the future, try cloud storage. You’ll still have those files within your possession but just not in a physical location. However, they’re still accessible. Another suggestion: If you use programs such as One Drive or Google Drive for desktop, limit your use to only the online application.
- Add more storage
If you’re not able to implement the above steps to clear some space to accommodate your Windows 10 upgrade due to error code 0x80070070 – 0x50011, acquire more storage. This can be expanded by incorporating storage devices such as USB flash drives, CDs, cloud storage, and SD Cards.
Method 2: Scan your computer for virus/malware
If you regularly download stuff, especially software on the Internet from ‘not so secured’ sites, you might have picked up something. You might have downloaded malware or virus (along with other legit programs).
To resolve this issue, it’s advised and very important that you download a powerful antivirus and perform a complete scan of your computer system. After you’ve detected and removed the suspected malware/virus, you’ll then be able to eliminate error code 0x80070070 – 0x50011 and resume with your Windows 10 upgrade.
Method 3: Clean up your computer’s registry
If you do not clean your computer’s registry often, it could become congested or clogged by .XML files, junk files, and cookies. To resolve this problem, clean your registry by using a powerful and user-friendly tool to clean up the problem.
Click here to download Restoro.
 Razer is a well-known brand among PC gamers and users, it started as a peripheral manufacturer focused on keyboards and mouse but after years passed Razer expanded its inventory offerings. It soon started offering headphones and lately has branched into wider product lines like gaming chairs and protection masks.
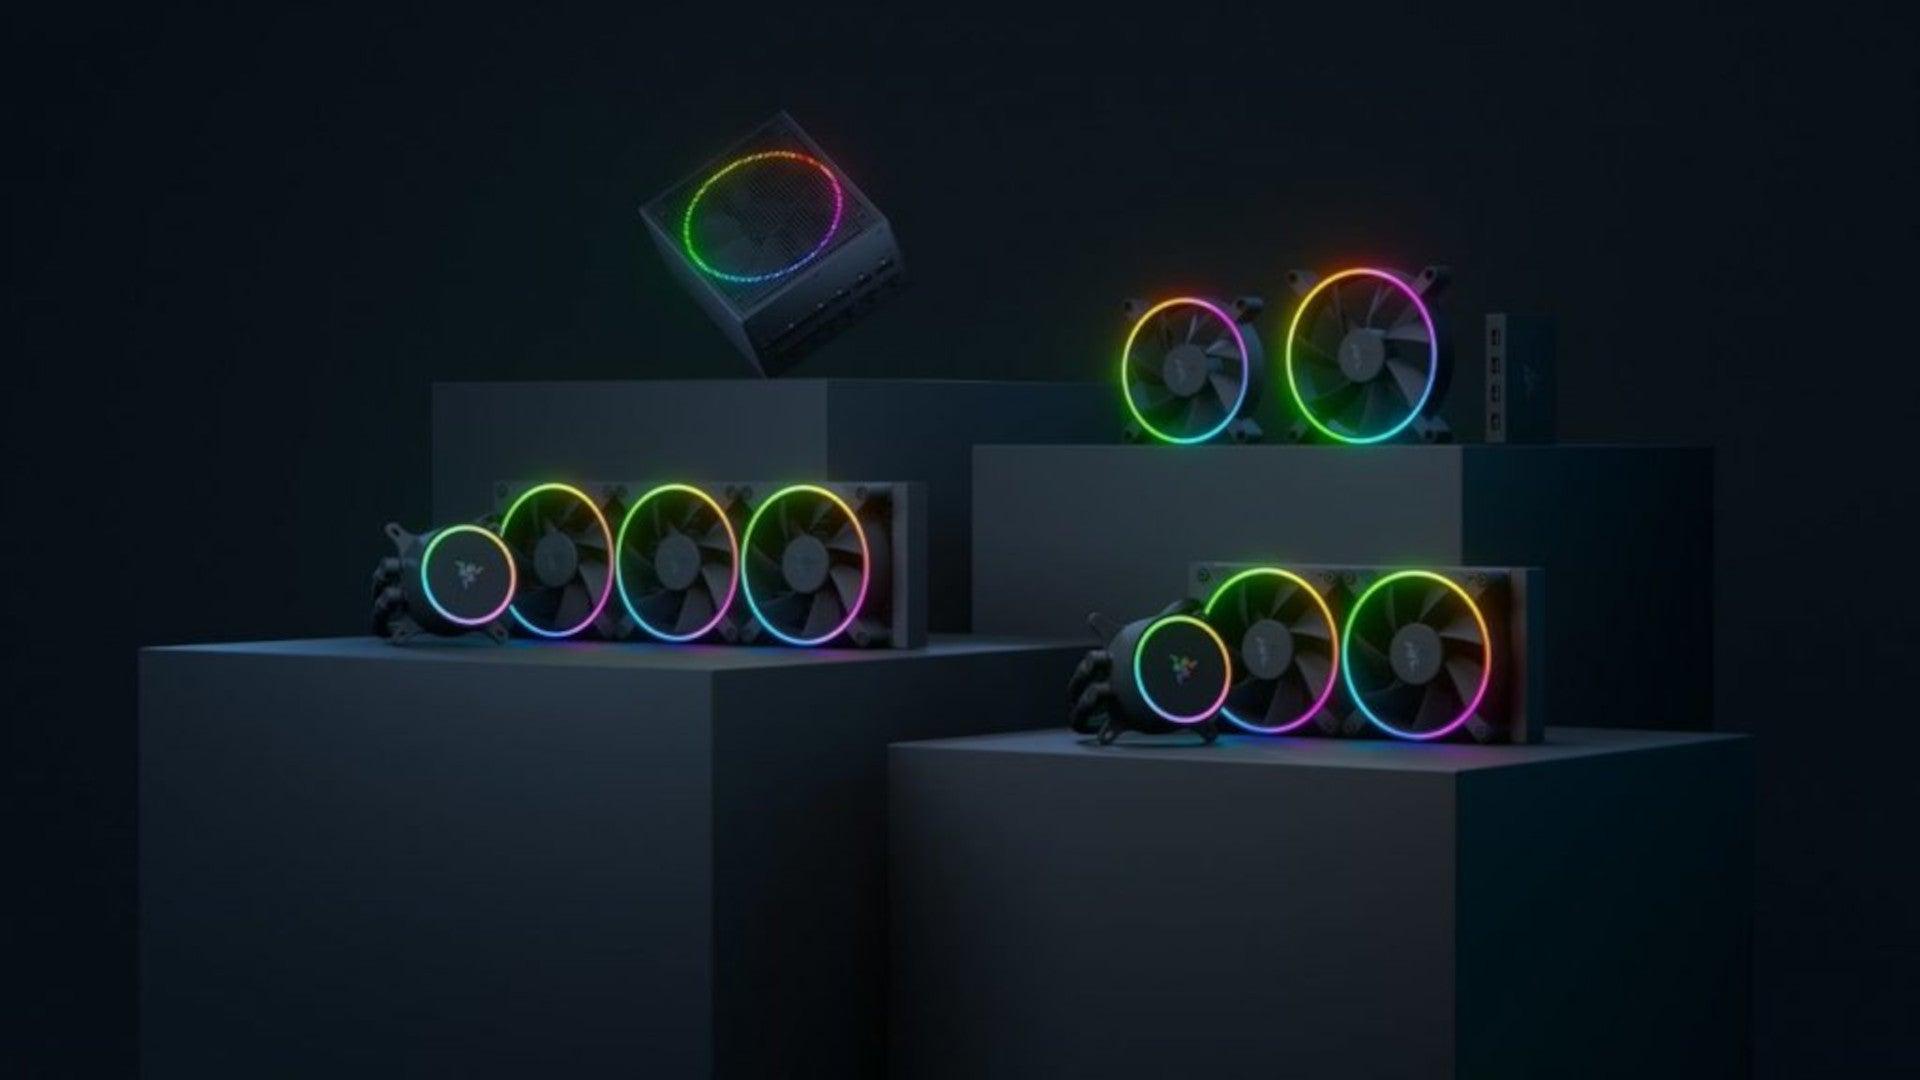
It is not a big surprise that Razer is expanding into other branches of the PC industry. This time, however, it has revealed not one but three new hardware for your PC. Case fans, all in one liquid cooler and power supply.
There are not many details about the products themselves but one thing is one hundred percent confirmed, they come with Razer Chroma, all of them, even the fans.
Razer is a well-known brand among PC gamers and users, it started as a peripheral manufacturer focused on keyboards and mouse but after years passed Razer expanded its inventory offerings. It soon started offering headphones and lately has branched into wider product lines like gaming chairs and protection masks.
It is not a big surprise that Razer is expanding into other branches of the PC industry. This time, however, it has revealed not one but three new hardware for your PC. Case fans, all in one liquid cooler and power supply.
There are not many details about the products themselves but one thing is one hundred percent confirmed, they come with Razer Chroma, all of them, even the fans.
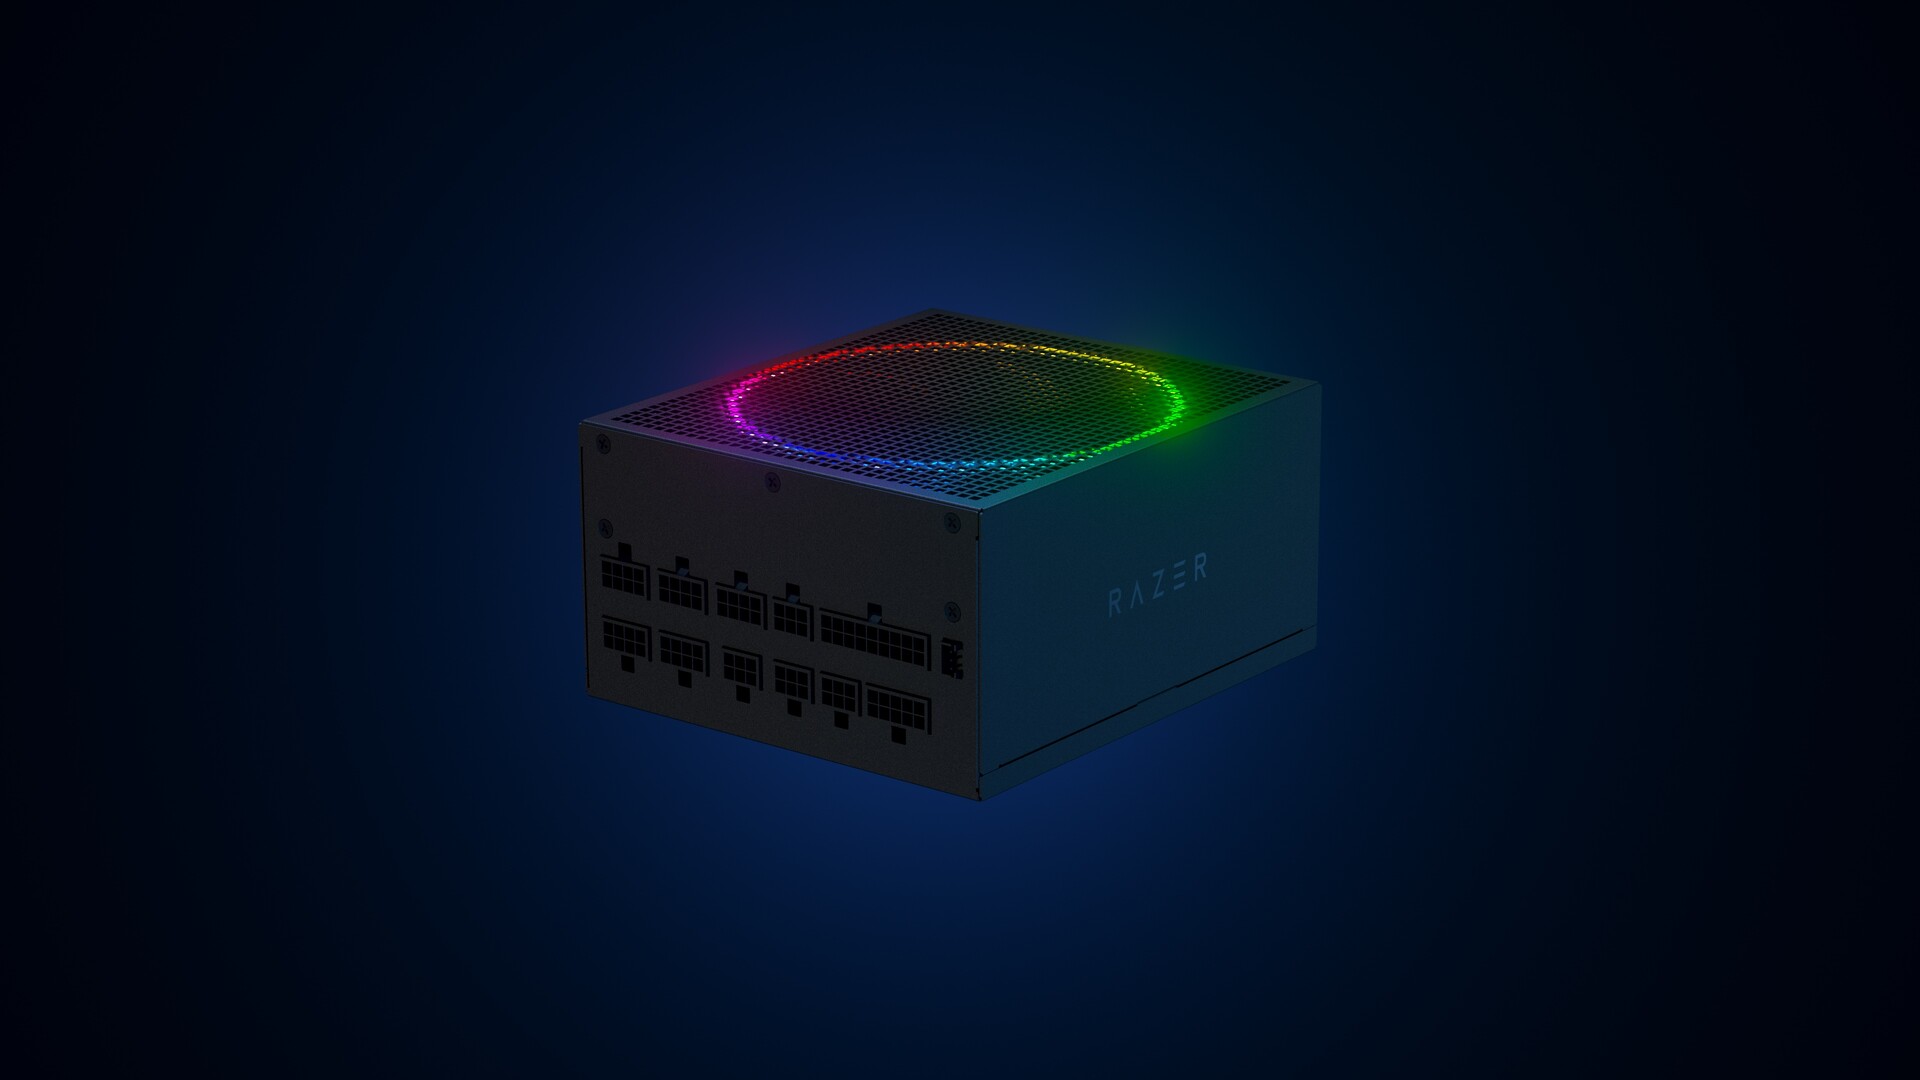 Most interesting for me personally is Razers Katana, the power supply unit. It is a modular power supply ranging from 750W to 1200W with the additional option of Titanium rated one with an impressive 1600W of power. Power supply will start shipping in early 2022 and at the time of writing this article no price range has been released.
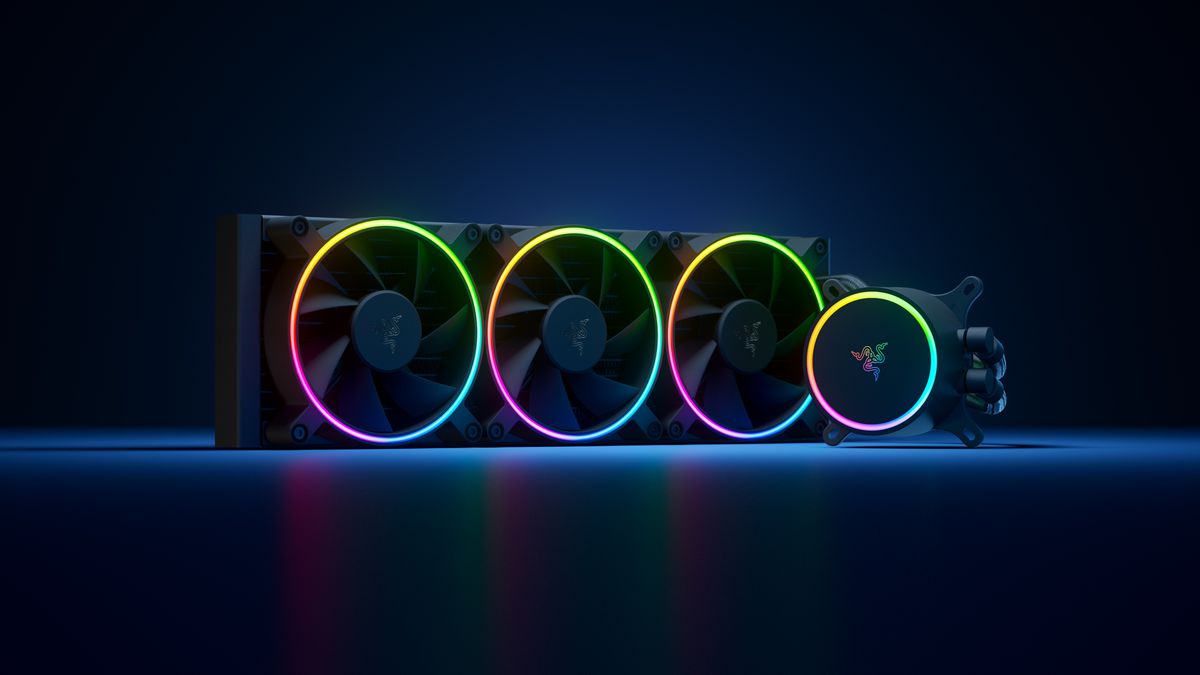 Hanbo liquid cooler will feature an optimized intake design so it can ensure greater heat transfer and fluid dynamic for improved reliability and silent operation. Radiator comes in 240mm size with two fans and a larger one of 360mm with three fans. The pump will be able to rotate in any direction of full 360 degrees so it can fit in any case. Hanbo will be released in November this year but no pricing has been released so far.
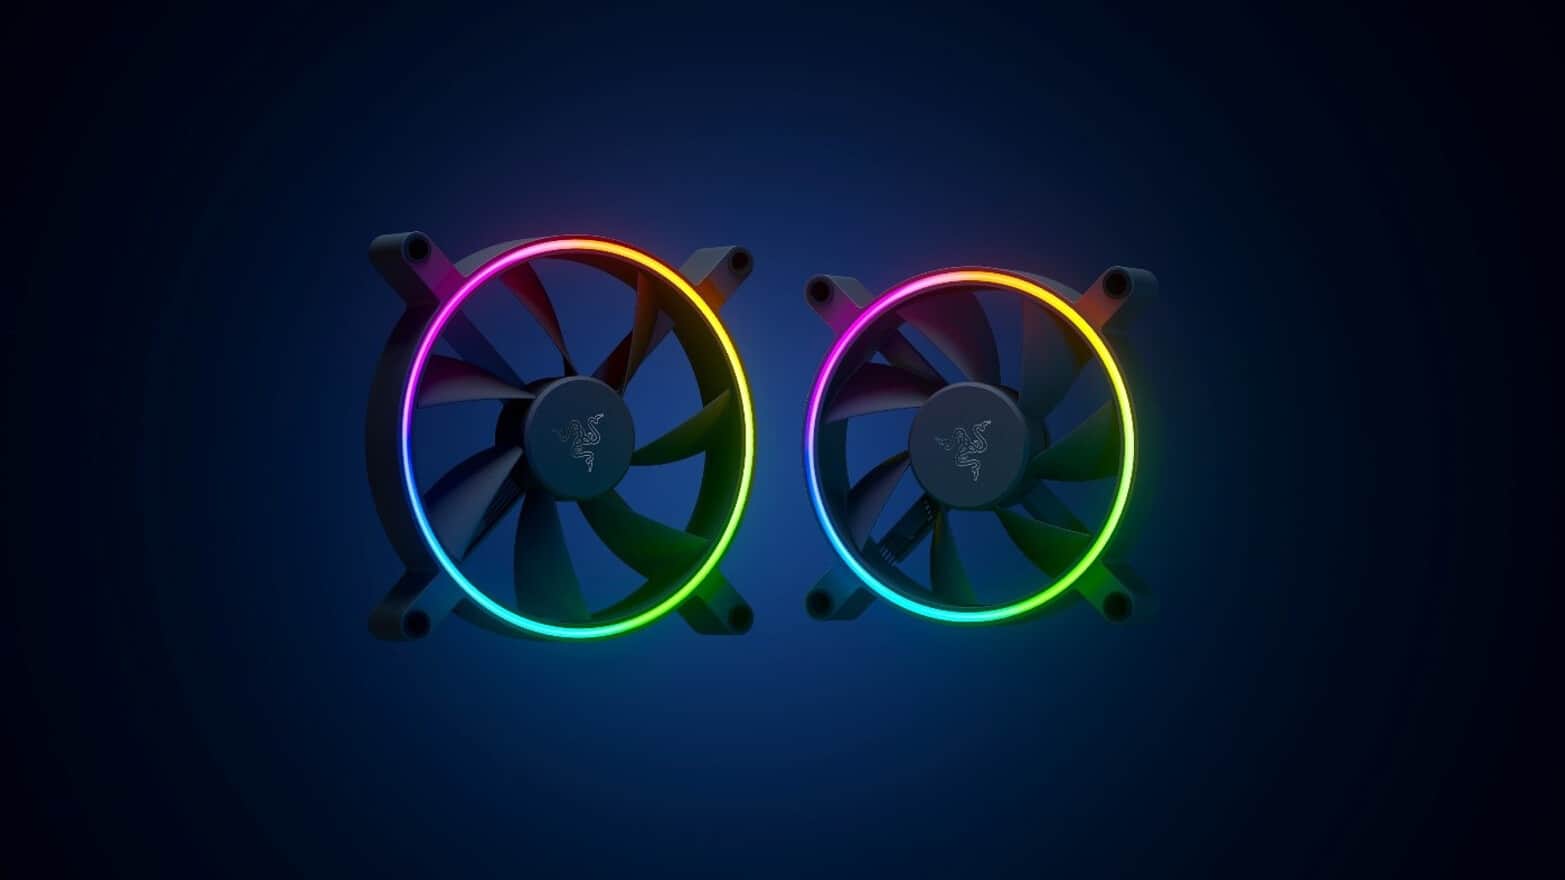 Kunai fans will boast high static pressure performance with lowered noise. They will go as far as 2200rpm for the 120mm version where the 140mm version will go up to 1600rpm. They will come with addressable LEDs and up to eight fans will be able to be connected to Razer’s PWM fan controller that will come with a magnet at the back for easy attachment to any steel part of PC casing.
PWM will use Razer’s Synapse software to customize pulse width modulation in order to improve airflow and noise. PWM will be priced at $49.99 in the Razer Store and it is available for preorder. Fans are priced at $44.99 for one 120mm or $129.99 for a three-pack of 120mm. One 140mm will go for $49.99 and a three-pack will be $129.99.
Kunai fans will boast high static pressure performance with lowered noise. They will go as far as 2200rpm for the 120mm version where the 140mm version will go up to 1600rpm. They will come with addressable LEDs and up to eight fans will be able to be connected to Razer’s PWM fan controller that will come with a magnet at the back for easy attachment to any steel part of PC casing.
PWM will use Razer’s Synapse software to customize pulse width modulation in order to improve airflow and noise. PWM will be priced at $49.99 in the Razer Store and it is available for preorder. Fans are priced at $44.99 for one 120mm or $129.99 for a three-pack of 120mm. One 140mm will go for $49.99 and a three-pack will be $129.99.