

What is the error code 0x800ccc90?
The 0x800ccc90 is a common Outlook Express error. This error occurs when Outlook Express fails to connect to the mail server that handles incoming and outgoing emails.
The error is usually displayed as:
“There was a problem logging onto your mail server. Your User Name was rejected.”
Though this error does not pose any security threats to your PC if it is not fixed immediately, it may limit your ability to send and receive emails on your Outlook email address.
Error Causes
The error 0x800ccc90 is usually triggered by the following causes:
- Authentication problem- This happens when your account details are not authenticated by the server. In this case, you will see a pop up message displaying ‘Server:’pop3.example.com’, or ‘Secure (SSL): No, Server Error: 0x800ccc90’.
- Failure of POP3 server
Further Information and Manual Repair
If you come across the error 0x800ccc90, then don’t you worry! You don’t have to hire a professional to resolve this issue. In fact, you can fix it all by yourself. Here are some DIY solutions to repair this problem.
Solution 1:
- Go to the ‘Tools’ tab and select ‘Accounts’
- As you click on the accounts tab, an internet accounts box will appear on the screen
- Now double click on the account property box.
- After that go to the server tab and click it.
- Now check on the box that says ‘My Server Requires Authentication.’
- Once you check on this option now click on apply to accept changes and then close the window.
- To bring the changes into effect, restart Outlook and then try to send emails again. Hopefully, this will work.
Solution 2:
However, if you are still unable to resolve the problem, then this means the PST files are corrupt and damaged and there is no problem from the server's end. When this happens, then the best way to resolve this problem is to download a PST repair tool.
We suggest downloading the PST repair tool from a trusted website.
After downloading it, run and scan it on your PC to detect errors. You will have to be patient because scanning may take a couple of minutes. Once the scanning is complete, click on repair to resolve the problem.
So, next time when you are unable to send or receive emails on your Outlook Express and you see the 0x800ccc90 error message, then try using the solutions given above to resolve the error right away.
 Once the menu appears, click on Command Prompt (admin)
 Once the command prompt with administrator privileges comes on-screen type in it following string:
 This command will force Windows to show all devices in the device manager including old ones that are not used anymore, but since their drivers are still installed, devices will show up.
When you type command press ENTER.
Once again press WINDOWS + X to show the hidden menu but this time choose the device manager
This command will force Windows to show all devices in the device manager including old ones that are not used anymore, but since their drivers are still installed, devices will show up.
When you type command press ENTER.
Once again press WINDOWS + X to show the hidden menu but this time choose the device manager
 The device manager will open, go to view > snow hidden devices in order to show unused devices.

 Right-click on the device and click on uninstall device to remove it completely from your system.
 Please always be careful when removing devices so you do not remove the device which is being used by mistake and always double-check that you are removing something that you used to have on your system. This method will show all hidden devices even ones that are hidden but crucial to the system working properly.
 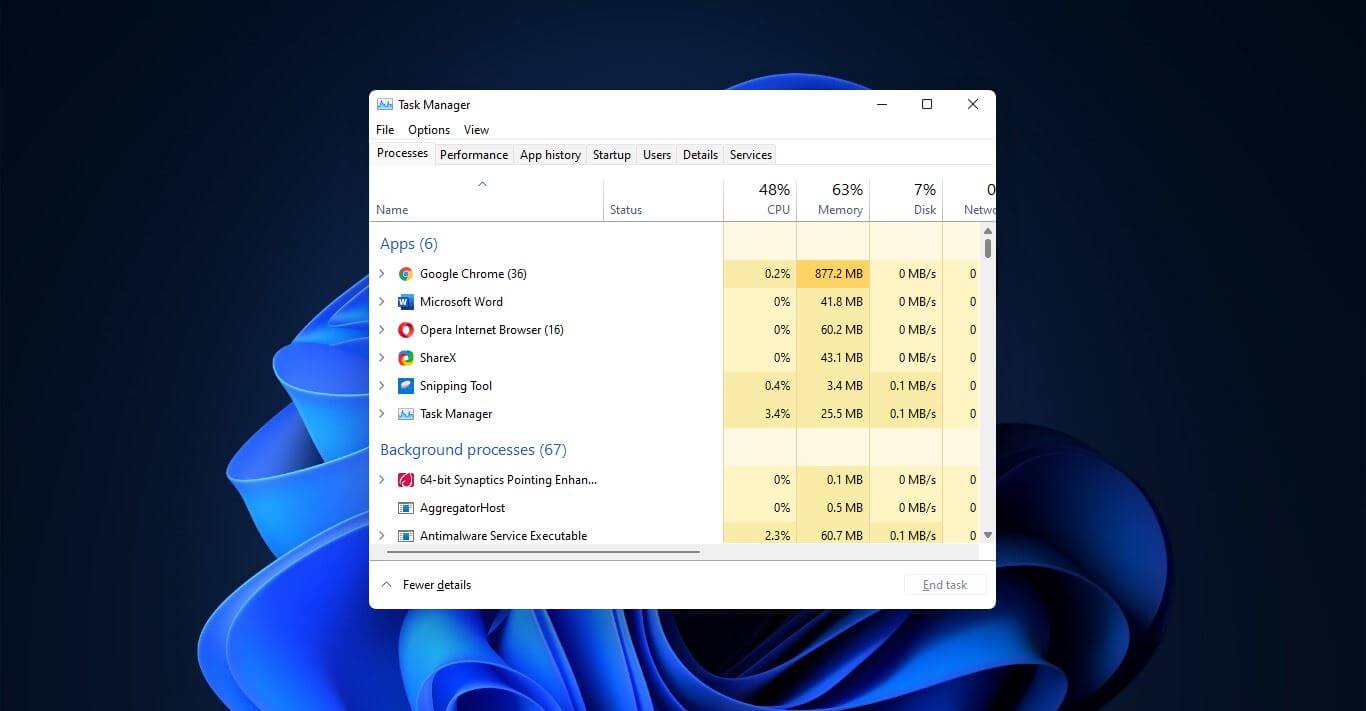 Option to right-click on the taskbar and launch task manager is gone but do not worry there are other same and simple ways you can launch it.
