IRQL_NOT_LESS_OR_EQUAL - What is it?
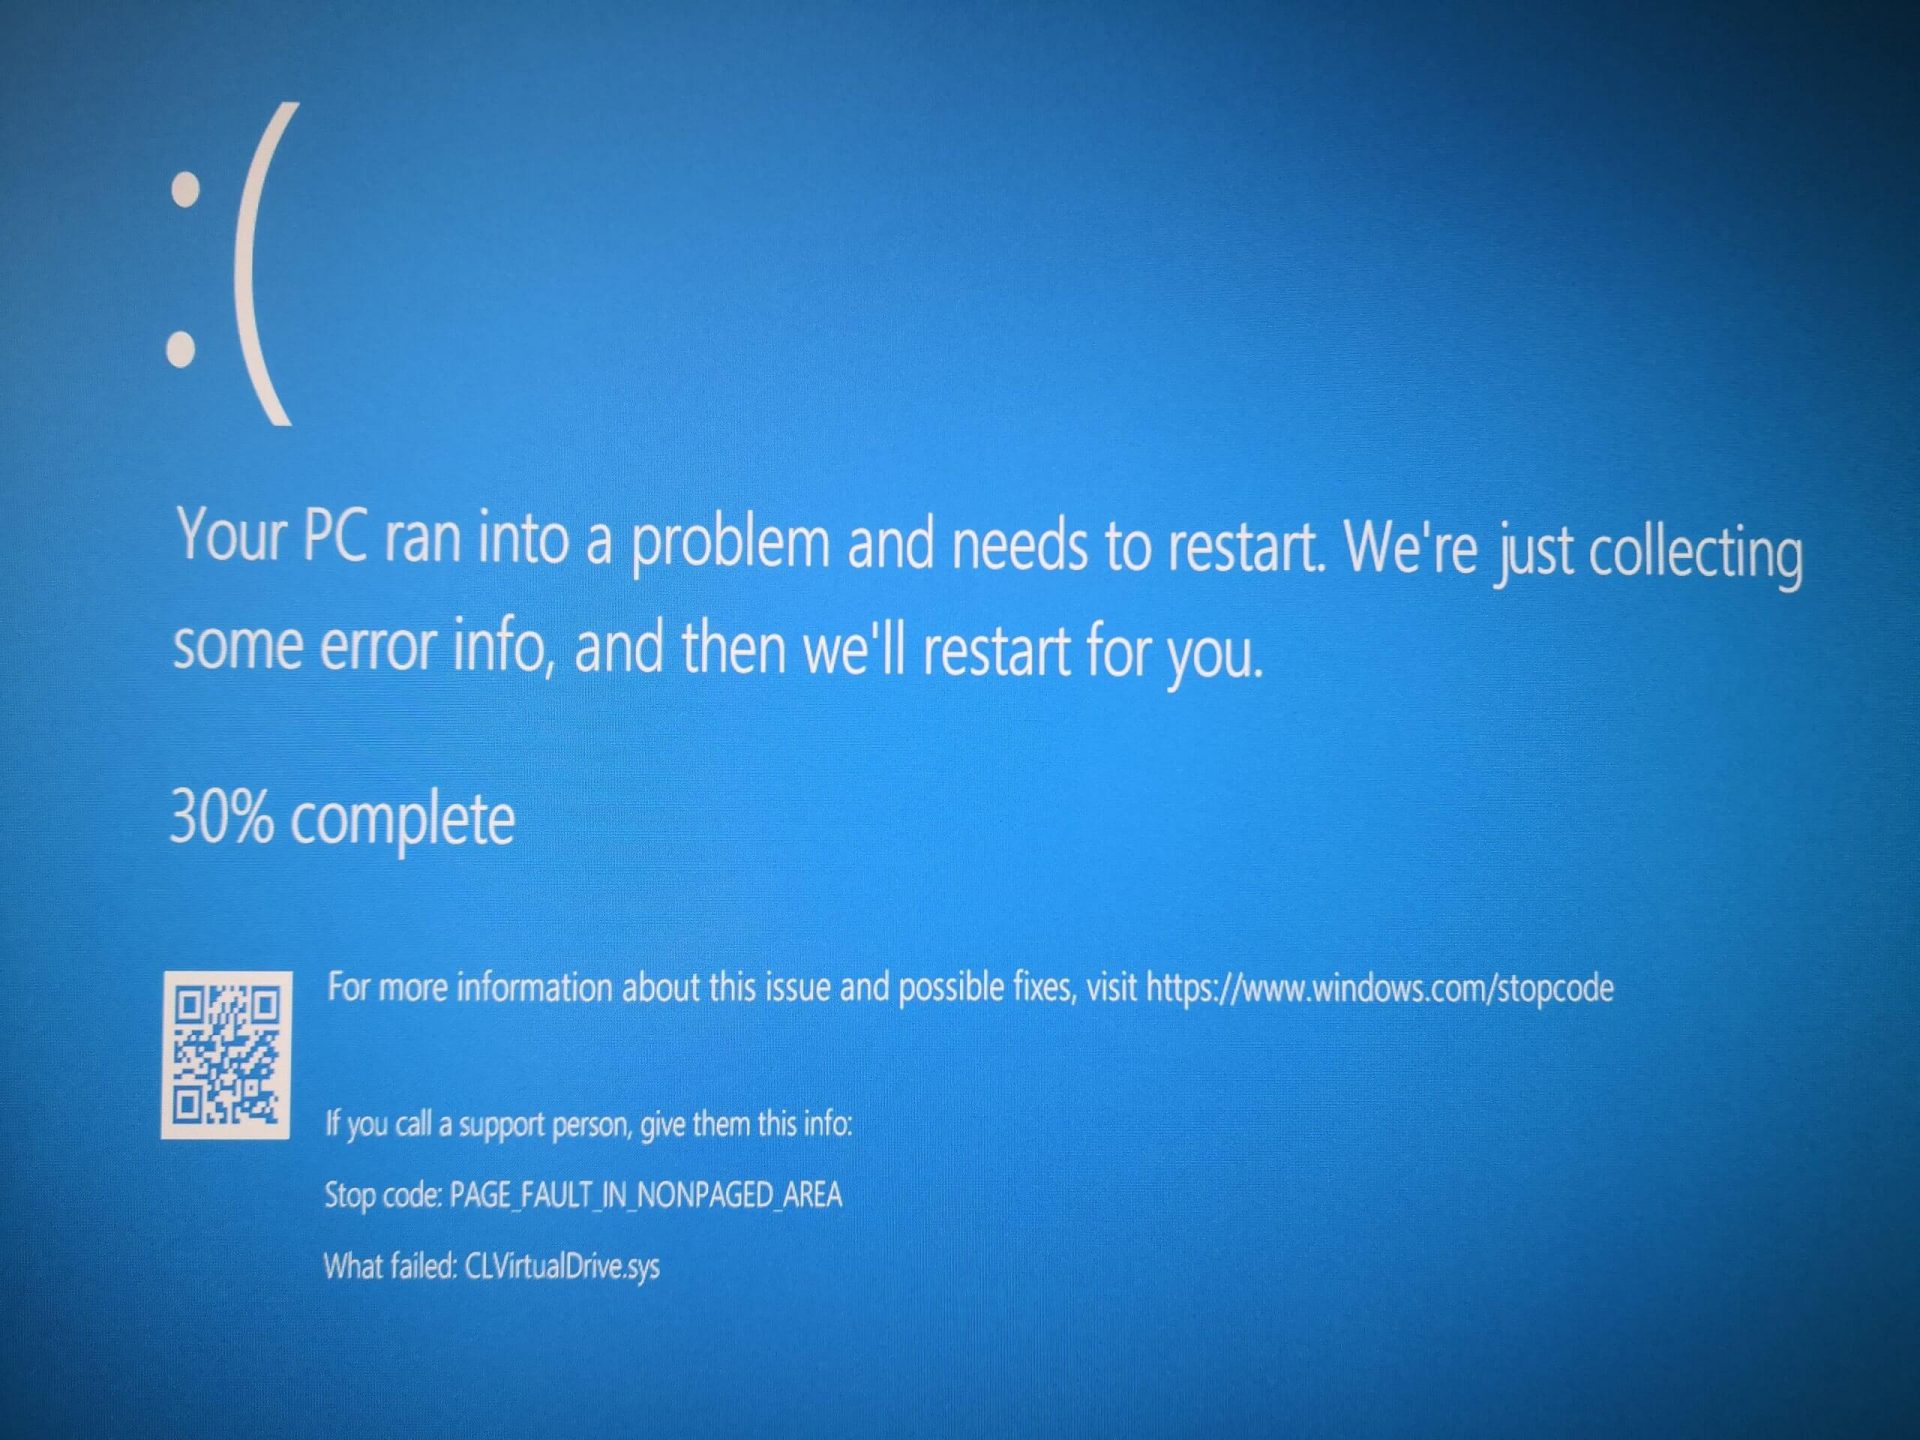
IRQL_NOT_LESS_OR_EQUAL error is a type of blue screen of death (BSoD) error. It is a typical Windows PC error that occurs even in the latest Windows versions.
The IRQL_NOT_LESS_OR_EQUAL error occurs on the computer screen when a memory address triggers unauthorized access. This leads to the suspension of your login session. The computer screen turns blue.
Solution
 Error Causes
IRQL_NOT_LESS_OR_EQUAL error occurs due to several reasons. However, the most common causes for this error code include:
- Incompatible device drivers
- The poor device driver installation
- Faulty hardware
- Disk fragmentation
- Registry issues
- Viruses and malware attack
Blue screen of death error codes like IRQL_NOT_LESS_OR_EQUAL is critical. If not resolved timely, this error code can pose serious threats to your PC.
It can lead to system crash and failure, due to which you can also lose your valuable data stored in your system.
How to Fix IRQL_NOT_LESS_OR_EQUAL Error Code?
Further Information and Manual Repair
Here are some of the best and easy DIY methods to resolve this error code on your PC:
1. Roll Back Drivers
If the underlying cause of IRQL_NOT_LESS_OR_EQUAL error is poor driver installation, then try this method to resolve the issue. This can be done by simply clicking the start menu.
Once you click on it,
go to the control panel, then double click the system icon and locate the System Properties window. After that, click the hardware tab and then the device manager button. Now locate the device you recently installed.
Double click on the recently installed device driver, click the driver tab, and then the rollback driver button. This will take a while, so wait for the process to finish. After that, reboot the system.
2. Run Hardware Diagnostic
The IRQL error may also be triggered by faulty hardware. To identify which hardware is causing the error to pop up, you will have to run a hardware diagnostic.
- For this, go to the start menu, type Memory Diagnostic in the search bar.
- Now access this tool and click on Diagnose your memory problems. As you click it, it will ask you to perform the check by either restarting the PC immediately or on the next restart.
- Select the immediate one to get going. The system will carry a scan on the memory and show you the list of problematic errors detected during the scan. To resolve this error then all you have to do is replace the piece of faulty hardware.
Nonetheless, if no faulty hardware is detected, this means the error is related to memory. If so, try method 3 to resolve.
3. Disable Memory Caching
To fix the IRQL_NOT_LESS_OR_EQUAL error, try
disabling the memory caching option. This is called BIOS memory caching.
This can be done by restarting your PC and pressing the BIOS setup keys to enter the settings screen. Mostly it is an F2 key, however, it may be different in some computers as the motherboards of different makes have their own respective keys.
Once you enter the BIOS settings look for options stating memory settings. Access these options and disable the memory caching feature.
4. Scan your PC for Malware
As mentioned above this error message can also result due to the intrusion of malicious software like malware, viruses, and spyware.
To detect and remove them from your PC, download an antivirus and perform a system scan. Remove the detected viruses and malware to resolve. Please note, antivirus installation may lower the speed of your PC.
5. Repair Registry and Fragmented Disk
Due to poor PC maintenance, you may experience registry issues. The registry stores all the activities performed on the PC including the unnecessary pieces of information like junk files, internet history, temporary files, cookies, and other flies.
Such files take up a lot of disk space. When there is not much space on the storage device, the new data is saved in fragments. This is called disk fragmentation. When this file becomes fragmented it takes time to rearrange the data and reunite it to run the fragmented file on your PC.
If not resolved, this leads to registry issues and thereby generating various PC error codes including IRQL_NOT_LESS_OR_EQUAL errors.
The best way to clean the registry and repair the fragmented disk is to
download Restoro.
This is an advanced and multi-functional PC Fixer. It is embedded with multiple system repair utilities including a powerful registry cleaner that detects all registry issues in seconds, removes and wipes out unnecessary files cluttering the registry, cleans and repairs the registry and the damaged files.
Other utilities include an antivirus that detects privacy errors and all types of malicious software infecting your system. It also functions as a system optimizer which means by running this software on your PC you won’t be compromising on your system’s performance. The system optimizer utility
boosts the speed of your PC.
This tool is safe and efficient. It has a user-friendly interface and is compatible with all Windows versions.
Click here to download Restoro and resolve the IRQL_NOT_LESS_OR_EQUAL error code right away.

 Rollback using system restore