

Error Code 0x80072F8F - What is it?
Error Code 0x80072F8F manifests in one main way. It is known to appear as early as Windows 7, and mainly deals with an error that occurs in the update process, or when the computer is trying to connect to the online activation service. It can appear when the activation fails to verify the product key. The error code will present itself when the system realizes that the PC's date and time are incorrect. Error Code 0x80072F8F will also appear if the computer has determined that the time zone settings on the computer are not accurate.
When Windows is going through the installation process and is verifying all of the information associated with the computer, Error Code 0x80072F8F will arise, indicating that the information in the computer's settings is not valid. Correct times and dates are necessary when using serial validation keys to install Windows. When these settings are outside of the tolerated window, the problem will arise.
Error Causes
There is only one main symptom to look out for, and it will manifest during a Windows installation. In the midst of the installation, the computer will not be able to proceed with the installation if Error Code 0x80072F8F has popped up. Because the information cannot be verified, Windows will not be able to continue the installation process when the time settings are not accurate. This interrupts the process, causing the need to edit the settings, restart the computer, and try again. It is imperative to be sure that the date and time on the computer are inside of the tolerated window for the serial key.
- This error code will not give any information on how to correct it.
- Windows Error 0x80072F8F is displayed on the screen.
- The error code appears when typing the Windows serial key and proceeding.
Further Information and Manual Repair
When experiencing Error Code 0x80072F8F, the date and time need to be corrected in the computer settings menu, and then verify the correct time zone settings. There are a few different ways to edit the time and date settings, and one may need to even edit the time zone settings. After this, restarting the computer may be needed. When booting into Windows, the validation code should be activated within 30 days of obtaining the serial number.
-
Method One
Check the time and date settings.
- Open the Start menu.
- Select Settings, then Time and Language, then Date and Time.
- Check and make sure that the PC is operating at the correct time and date.
-
Method Two
Ensure that the computer is connected to the internet.
- Enter “network troubleshooter” into the search box located on the taskbar.
- Select “Identify and Repair Network Problems”.
- Follow the instructions that are given on-screen. This will fix any problems that the network is experiencing.
-
Method Three
Review the timezone.
- Open the Start menu.
- Select Settings, then Time and Language, then Date and Time.
- Check to make sure that the correct timezone is selected from the drop-down menu.
-
Method Four
Reboot the PC and check if that fixes the problem. This may help in the event that the network troubleshooter does not detect a problem.
After completing these steps to edit the time, date, and time zone settings, it may be necessary to restart the computer. This is to ensure that the computer will save and recognize the new settings. After restarting, continue the process as intended and enter the product key. The computer will now be able to verify the product key since the time and date will be recognizable. The Windows installation should proceed as normal and complete successfully when the time, date, and time zone are inside of the parameters for the Windows product key.
In short, if it is not, the computer will not be able to recognize the product key, thus will not be able to install the Windows product. Generally, the fix is quite simple and does not take much time at all, but it is very important.
 History of Commodore
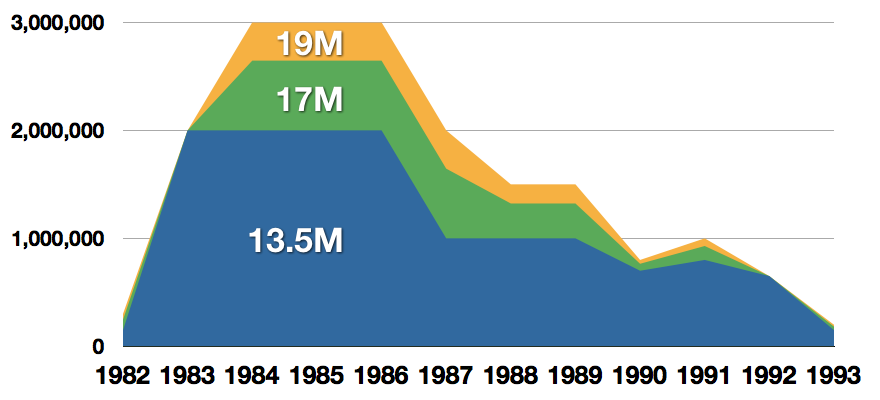
 With sales booming and the early reliability issues with the hardware addressed, software for the C64 began to grow in size and ambition during 1984. This growth shifted to the primary focus of most US game developers. The two holdouts were Sierra, who largely skipped over the C64 in favor of Apple and PC compatible machines, and Broderbund, who was heavily invested in educational software and developed primarily around the Apple II. In the North American market, the disk format had become nearly universal while cassette and cartridge-based software all but disappeared. So most US-developed games by this point grew large enough to require multi-loading.
At a mid-1984 conference of game developers and experts at Origins Game Fair, Dan Bunten, Sid Meier, and a representative of Avalon Hill said that they were developing games for the C64 first as the most promising market. By 1985, games were an estimated 60 to 70% of Commodore 64 software. Over 35% of SSI's 1986 sales were for the C64, ten points higher than for the Apple II.
Everything was great for Commodore but the industry was moving forward and by the year 1988, PC compatible computers were stated to be the largest and fastest-growing home entertainment systems pushing C64 on to second place. Also, Nintendo’s gaming system has started to take hold in the world with amazing 7 million systems sold in 1988 only.
By the year 1991, many developers exited the gaming market for Commodore 64 home computer system and its popularity started to fall due to lack of software and not so many hardware changes.
With sales booming and the early reliability issues with the hardware addressed, software for the C64 began to grow in size and ambition during 1984. This growth shifted to the primary focus of most US game developers. The two holdouts were Sierra, who largely skipped over the C64 in favor of Apple and PC compatible machines, and Broderbund, who was heavily invested in educational software and developed primarily around the Apple II. In the North American market, the disk format had become nearly universal while cassette and cartridge-based software all but disappeared. So most US-developed games by this point grew large enough to require multi-loading.
At a mid-1984 conference of game developers and experts at Origins Game Fair, Dan Bunten, Sid Meier, and a representative of Avalon Hill said that they were developing games for the C64 first as the most promising market. By 1985, games were an estimated 60 to 70% of Commodore 64 software. Over 35% of SSI's 1986 sales were for the C64, ten points higher than for the Apple II.
Everything was great for Commodore but the industry was moving forward and by the year 1988, PC compatible computers were stated to be the largest and fastest-growing home entertainment systems pushing C64 on to second place. Also, Nintendo’s gaming system has started to take hold in the world with amazing 7 million systems sold in 1988 only.
By the year 1991, many developers exited the gaming market for Commodore 64 home computer system and its popularity started to fall due to lack of software and not so many hardware changes.
 Commodore announced that the C64 would be finally discontinued in 1995.
However, only one month later in April 1994, the company filed for bankruptcy. When Commodore went bankrupt, all production on their inventory, including the C64, was discontinued, thus ending the C64's 11 and a half year production.
Commodore announced that the C64 would be finally discontinued in 1995.
However, only one month later in April 1994, the company filed for bankruptcy. When Commodore went bankrupt, all production on their inventory, including the C64, was discontinued, thus ending the C64's 11 and a half year production.
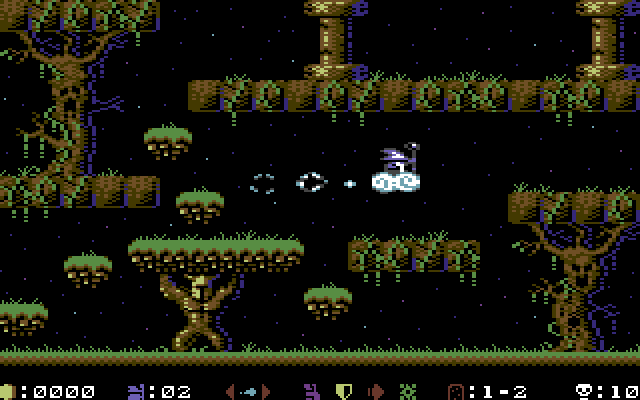 Zak McKracken and the Alien Mindbenders
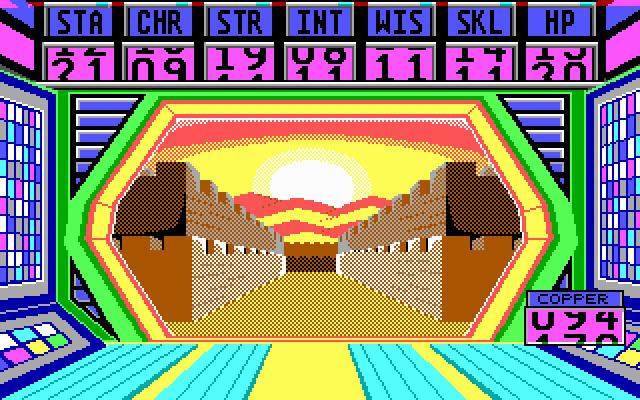
 If you are not keen on spending money for reliving and checking games or software of C64 here are some links to help you to at least experience part of it completely free.
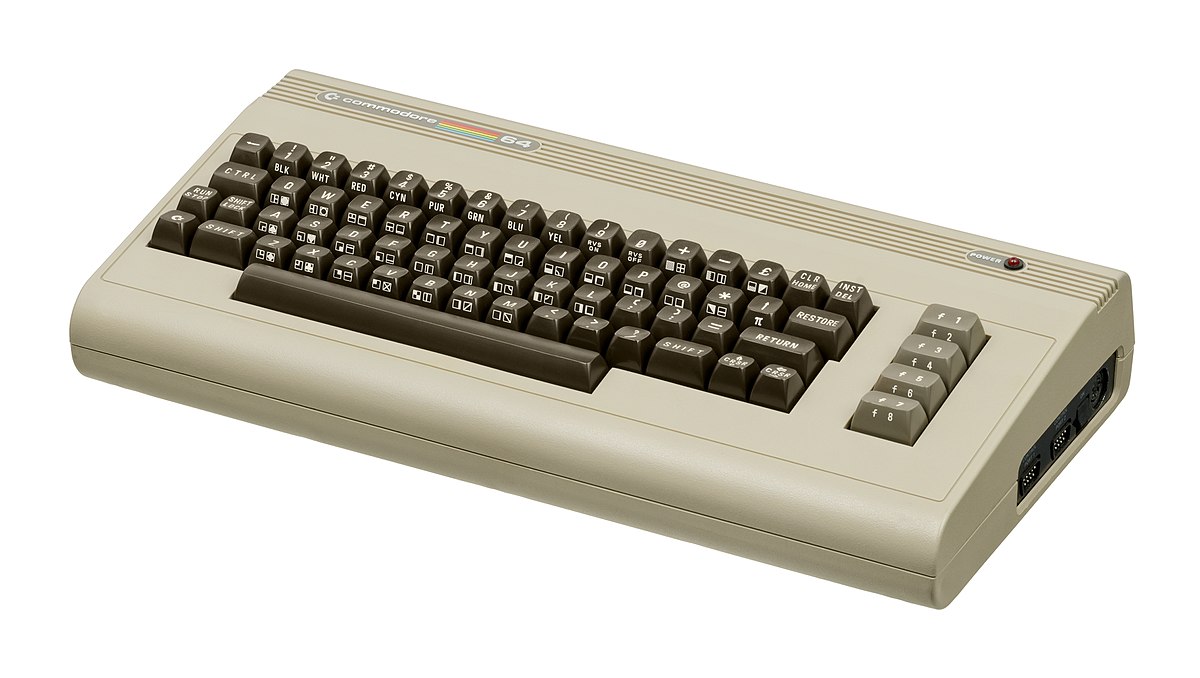
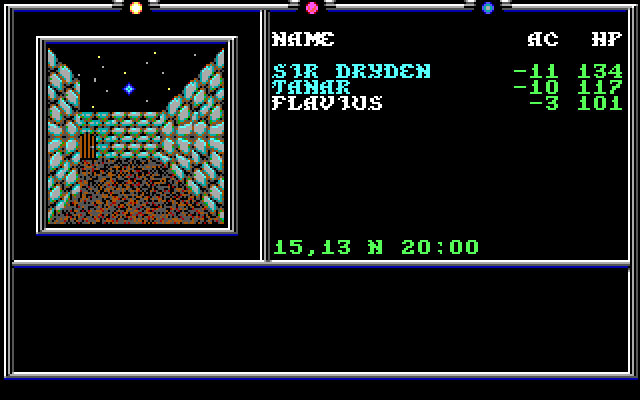
Commodore 64
If you are not keen on spending money for reliving and checking games or software of C64 here are some links to help you to at least experience part of it completely free.
Commodore 64 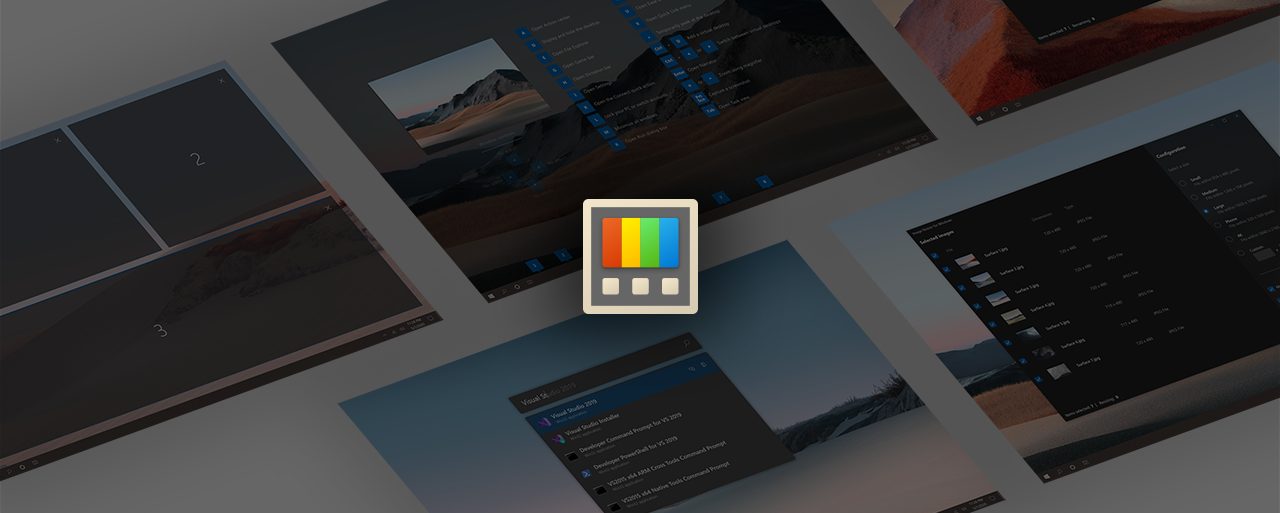 The first new feature that was slid in is Always on top utility. With this cool utility, you can keep the window as the name suggests, always on top of other windows. To enable this cool feature all you have to do is press the key combination of ⊞ WINDOWS + CTRL + T and an active window will be now always on top of all other windows. To reverse and unlock this window from being always on top just press key combination again.
A second new feature is a really great one and my favorite thing to happen in power toys. Often we are making the search in our browsers to find stuff, things, maybe some explanations, information, etc. The newest update in power toys brings this to a whole new dimension. While you are on PC you just simply need to type ?? followed by questions like: ?? When doctor strange 2 is coming out and that will launch your default browser with your chosen search engine and provide you with the answer.
Third and final thing is G-code support in the file explorer preview pane and thumbnails, meaning that if you work with CNC equipment you can now have a thumbnail preview of the code itself inside File Explorer.
And that’s it for now, thank you for coming and reading, Take care and I hope to see you next time.
The first new feature that was slid in is Always on top utility. With this cool utility, you can keep the window as the name suggests, always on top of other windows. To enable this cool feature all you have to do is press the key combination of ⊞ WINDOWS + CTRL + T and an active window will be now always on top of all other windows. To reverse and unlock this window from being always on top just press key combination again.
A second new feature is a really great one and my favorite thing to happen in power toys. Often we are making the search in our browsers to find stuff, things, maybe some explanations, information, etc. The newest update in power toys brings this to a whole new dimension. While you are on PC you just simply need to type ?? followed by questions like: ?? When doctor strange 2 is coming out and that will launch your default browser with your chosen search engine and provide you with the answer.
Third and final thing is G-code support in the file explorer preview pane and thumbnails, meaning that if you work with CNC equipment you can now have a thumbnail preview of the code itself inside File Explorer.
And that’s it for now, thank you for coming and reading, Take care and I hope to see you next time.