/ipk <ProductKey> or /ato [<Activation ID>]
If you are using a multi-monitor, then you might find it quite useful. It helps many users with their work and brings more productivity. And over the past few years, Windows has managed to offer one of the excellent multi-monitor features where users can plug in an additional monitor and access their work or use their computer seamlessly on both displays. This is really handy, especially for users who are graphic designers, gamers, and other professionals who have to use a larger screen for their work.
One of the biggest inconveniences for users who use multi-monitor is that the Taskbar is switched on, on both displays, by default. This default arrangement is most likely to cause clutter on the second display. So if you are one of these users who find such a thing annoying, then you will find this post useful for you as we will walk you through how you can move the Taskbar to a second monitor. To get started, follow the instructions laid out below.
Step 1: The first thing you have to do is right-click on the Taskbar.
Step 2: Next, uncheck the “Lock the taskbar” option.
Step 3: After that, click and hold the taskbar and drag it to the second monitor.
Step 4: Once done, click the mouse button on the place where you want to place the taskbar.
Step 5: Now right-click on the “Lock the taskbar” option to lock the taskbar.
Once you’re done carrying out the steps given above, there are Advanced Options you can explore. This array of advanced options are offered by Windows 10 to fine-tune the multi-monitor experience of users. For instance, you have the option to choose to show the taskbar on an active screen only or combine the buttons on other taskbars. It would be better if you try out different variations and stick with the best one. In addition, you could also move the taskbar from one display to another.

/ipk <ProductKey> or /ato [<Activation ID>]
 Error Causes
Faraday bag is a new take on security and privacy for people using a lot of electronic devices and credit cards. So what is exactly a Faraday bag?
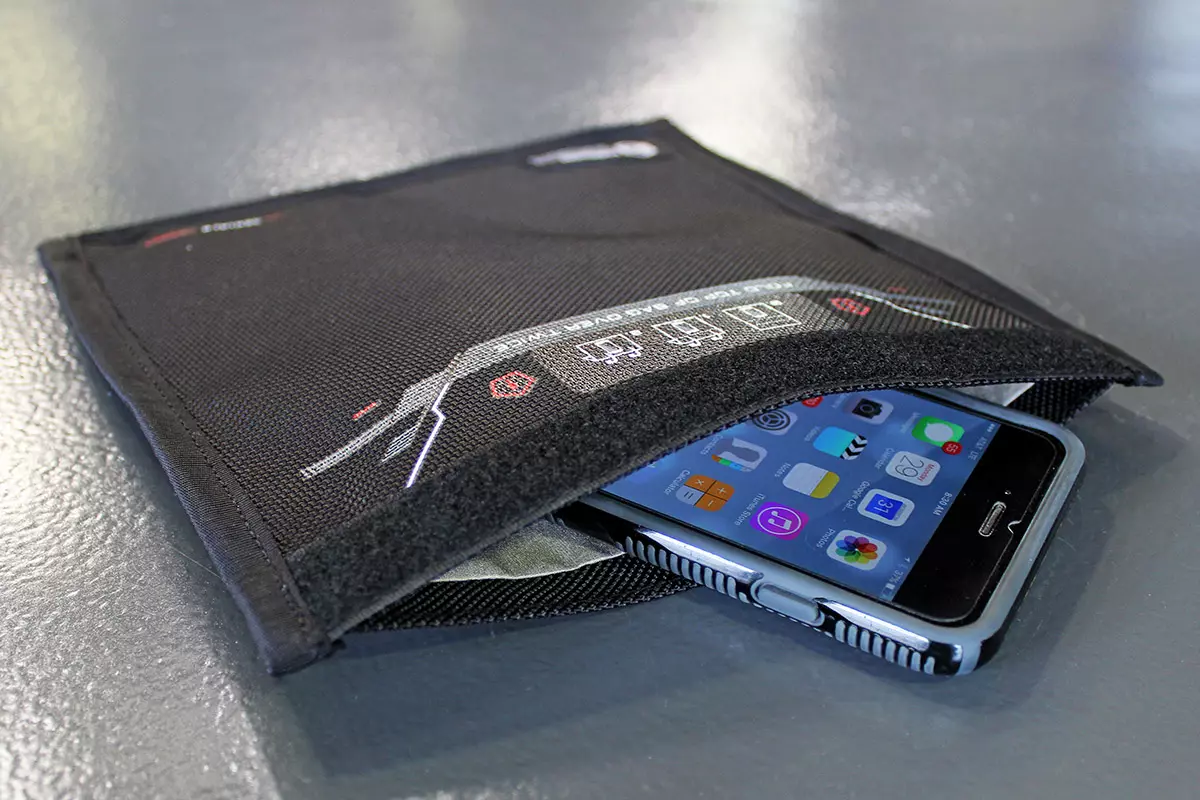
Faraday bag is designed in the same manner as the Faraday cage which was invented by Michael Faraday, who was an English scientist who contributed to the study of electromagnetism and electrochemistry. His main discoveries include the principles underlying electromagnetic induction, diamagnetism, and electrolysis.
The idea of the Faraday cage is that anything inside a cage that is made of specific grid size is completely isolated from outside current and magnetic fields since the cage itself will pick up everything upon itself. This means that for example, a human could be inside a cage that is struck by lightning and be perfectly safe and fine.
This idea led to the Faraday bag design, which takes this concept and places a wiring pattern inside clothing in order to isolate all magnetic fields from the outside so your devices and cards are completely cut off from any kind of influence and electromagnetic waves. If the pattern and quality of material for the bag are good, you have a fully safe placeholder for your stuff.
The main advantages, of course, are the privacy and safety of mobile phones and credit cards from outside influences and this is why this bag has been designed in the first place. If the bag is designed properly your phone would not be able to be hacked nor accessed from any outside source, GPS tracking will also be disabled and your phone location will not be visible. Credit cards will also be completely safe from any malicious attack via wi-fi signals.
Well, the disadvantage of using this bag is a very simple one, since your phone is isolated from outside influence that will also mean that you will not be able to take messages or calls on it while it is in the bag. Notifications from the internet would also be disabled so it is security vs usability deal.