There are times when the Windows Search doesn’t work and you wouldn’t have a clue as to why it happened since it does not give any error codes. In such cases, you have to check the error logs in the Event Viewer to find out more about the problem. From there, look for an error with the Event ID 3104 in the Windows error logs and if you see an error message that says, “Enumerating user sessions to generate filter pools failed”, read on as this post will guide you in fixing the problem. Apart from the error message, you might also see more information in the details section of the log that says, “(HRESULT: 0x80040210) (0x80040210)”.
This kind of error is most likely caused by something that prohibits the search function from initializing. A lot of users assumed that it could be due to Cortana but it’s actually not. While some users also reported that they encounter the issue after they restarted their computers. This error was also reported with the same event ID 3104 on the Windows Server. According to security researchers, this error could be caused by problems in the Registry entry of Windows search. It could also be due to an issue with the SYSTEM account where it hasn’t been added to the DCOM Security. It is also possible that the Windows Search function has not been initialized.
To fix this error, you can try to rebuild the Search Index manually or run the Search and Indexing troubleshooter. You can also check the startup type of the Windows Search service or try some registry tweak.
The first thing you can do to fix the problem is to manually rebuild the Search Index. You can do that by going to Control Panel > Indexing Options and from there, click on Advanced. After that, go to the Index Settings tab and then click on Rebuild > OK. Once you’re done, check if it fixed the problem.
You could also run the Search and Indexing troubleshooter in Windows 10 as it checks whether the settings are in place and automatically corrects any issues with the Windows 10 search function. To run this troubleshooter, just click on the Start button and select Settings > Updates and Security > Troubleshoot. From there, select the Search and Indexing Troubleshooter. Once the troubleshooter is done, restart your computer and see if it fixed the error.
In this option, you have to check the startup type of the Windows Search service since the service won’t start. To do so, refer to these steps:
Before you apply some registry tweak, you need to create a System Restore point first. Once you have that covered, follow these steps:

DailyLocalGuide is a Browser Extension developed by Mindspark for Google Chrome. This extension hijacks your default search engine, the home page, and new tab, setting them to MyWebSearch.com.
From the Author:
The Software and Services are sponsored by third-party advertisements and commercial offers and may also contain links to third parties websites, advertisements, products, offers, applications, and more. By downloading and using the Software you give your consent to display to you such Third Party Content (by using display ads, pops, coupons, price comparison, in-line text, and content recommendations) through Our or Our business partners’ technology.
While installed, this extension gathers user browsing activity and sends it back to ad servers. This information is later used to better target ads. When browsing the internet with DailyLocalGuide installed you will see additional injected ads and sponsored content throughout your browsing sessions.
AmmyyAdmin is a software developed by Ammy. This software allows you to manage network computers and servers remotely without complicated NAT settings adjustments or Firewall problems. The program is similar in marketed function to TeamViewer or LogMeIn. This software does not require installation and it lets you control other computers or share files over the software. It usually comes bundled with other software. This software copes files into your computer and sometimes creates new startup keys that allow it to start each time your computer is restarted. AmmyAdmin might display additional ads in your browser as well as pop-up ads. Due to its ability to silently install and run remote administration, it could be used maliciously by those who intend to damage your computer or steal data. AmmyyAdmin is flagged for optional removal, and if you did not intentionally install it, removal is highly recommended
"An unknown error has occurred. 0x80040600"If this is the primary source of your communication in the office, then this error can cause you a great deal of inconvenience as it may prevent you from running important business errands via your Outlook account efficiently. Therefore, when you experience the 0x80040600 error on your PC, it is advisable to fix it immediately.
 Error Causes
 The euphoria around Windows 11 is not dying and reveal that Android apps will work natively inside Windows 11 has raised many emotions and questions.
So, Microsoft has announced that Android apps will run natively inside Windows 11 OS and that they will reside alongside your other installed ones as icons, etc.
It is no secret that many users have been using emulation software to run Android apps inside Windows so far, so what is the difference?
The euphoria around Windows 11 is not dying and reveal that Android apps will work natively inside Windows 11 has raised many emotions and questions.
So, Microsoft has announced that Android apps will run natively inside Windows 11 OS and that they will reside alongside your other installed ones as icons, etc.
It is no secret that many users have been using emulation software to run Android apps inside Windows so far, so what is the difference?
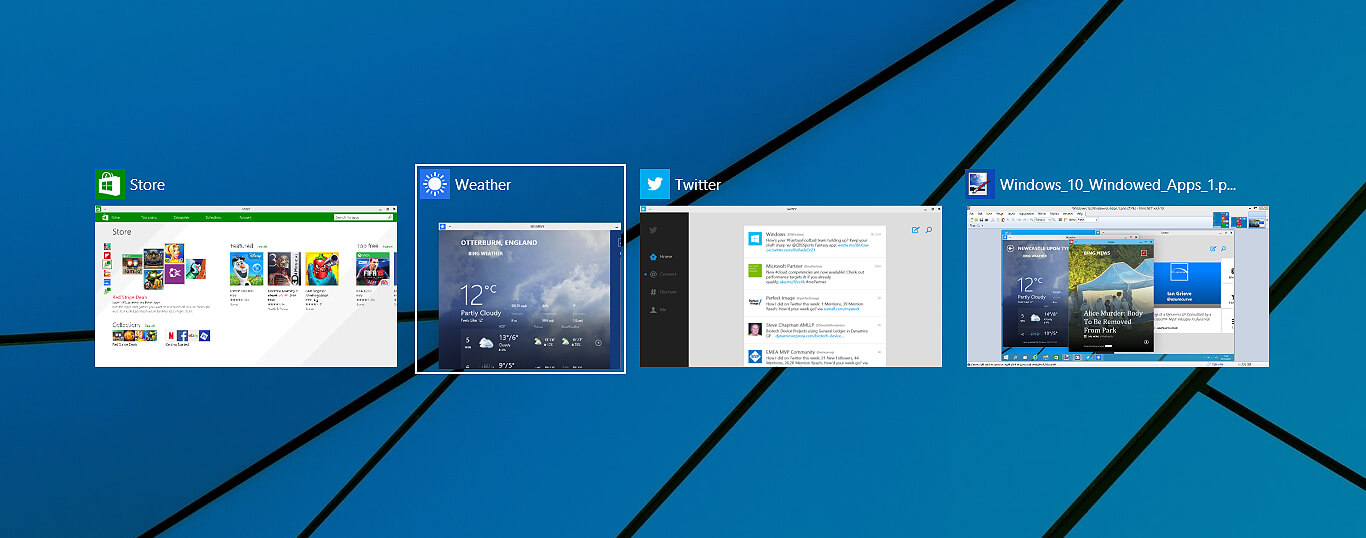 Lately, Microsoft has trying to fix Print Nightmare with various methods and patches. The last patch has seemingly fixed Print Nightmare but it has broken the Alt-tab key combination.
It has been reported that the latest patch has broken famous key combinations for quickly switching from window to window. It seems that combination is not working or it is switching to desktop, even going to blank screen if switching from the full-screen game.
Lately, Microsoft has trying to fix Print Nightmare with various methods and patches. The last patch has seemingly fixed Print Nightmare but it has broken the Alt-tab key combination.
It has been reported that the latest patch has broken famous key combinations for quickly switching from window to window. It seems that combination is not working or it is switching to desktop, even going to blank screen if switching from the full-screen game.

FindYourMaps is a Google Chrome Browser Extension developed by Mindspark. This extension hijacks your home page and new tab page changing them to MyWebSearch.com in order to display ads more efficiently.
While using this extension you will see additional pop-up ads, sponsored content, and unwanted ads (that are sometimes not ever relative to your search query) displayed throughout your browsing sessions, cluttering up the pages and sometimes even going over page parts, making some pages unreadable.
Several anti-virus applications have marked this Extension as a Browser Hijacker due to its data mining behaviors and ad injections and were marked for removal by most of them.
HKEY_CURRENT_USERSoftwareMicrosoftWindowsCurrentVersionSearchFlightingWhiteSearchBox