We couldn’t update system reserved partition” - What is it?
Customers will most likely encounter the “We couldn’t update system reserved partition” error when upgrading to Windows 10 from Windows 7 or Windows 8.1. This error may also come with error code 0xc1900104 or error code 0x800f0922.
Solution
 Error Cause
“We couldn’t update system reserved partition” Windows 10 upgrade error is normally caused by too little space on the System Reserved Partition (SRP). The System Reserve Partition is an additional small partition created by Windows, which stores boot files. The SRP can be filled up with security apps and third-party anti-virus. Once this partition has insufficient space, the system will not be able to upgrade to Windows 10.
Further Information and Manual Repair
Caution: The following steps are complex and need to be done by experienced users especially using the command line. Once an error is made in entering commands, there’s a chance that your device can be put in a no-boot situation, or data stored on the device can possibly get lost.
To upgrade to Windows 10, your device needs to have at least 15MB free space on the System Reserved Partition. Follow the procedure below and then try upgrading again.
First, know if the System Reserved Partition is whether in GPT or MBR partition style:
- Open the Run window by pressing the Windows key + R. Type msc in the window then press Enter.
- Right-click on the Disk where SRP is located then select
- Click over the Volumes
- On the Partition Style line, you’ll see which partition style your device is using, either Master Boot Record (MBR) or GUID Partition Table (GPT)
Second, determine which method you will need:
Depending on what partition style your device has and whether you’re currently on Windows 7 or Windows 8/8.1, there are various methods you need to do.
Method 1: Windows 7 or 8/8.1 with GPT partition
- Click on the Start button and search for cmd. In the results, right-click on Command Prompt then choose Run as administrator. The command prompt window will appear.
- Type mountvol y: /s at the command prompt then press Enter. This command will add the Y: drive letter where you can access the System Partition.
- Type taskkill /im explorer.exe /f then hit Enter. Afterward, restart explorer in Admin mode by typing exe and hitting Enter.
NOTE: While in Admin mode, some apps like OneNote will not run.
- Open File Explorer then type Y:EFIMicrosoftBoot in the address bar. Hit Enter.
- Choose the language folders you want to permanently delete. Language folders are named with four letters split with a hyphen. For instance, you want to delete the German language: choose de-DE.
- Optional: You can also delete unused font files for more space. Type Y:EFIMicrosoftBootFonts in the address bar then press enter.
- Once you permanently deleted the unnecessary files, reboot the device to return to explorer.exe to normal mode and remove the Y: drive letter.
Method 2: Windows 7 with MBR partition
Doing this method will make a permanent, but small increase in the free space of the device’s SRP.
- Delete language folders
a. Open the Run window by pressing the Windows key + R. Type diskmgmt.msc then hit Enter.
b. Select System Reserve partition then right-click on it.
c. Choose Change Drive Letter and Paths then select Add.
d. Type Y for the drive letter then click OK.
e. Click on the Start button and search for cmd. In the results, right-click on Command Prompt then choose Run as administrator. The command prompt window will appear.
f. Type Y: at the command prompt then press Enter.
g. Once you’ve switched to drive Y, type takeown /d y /r /f . then hit Enter.
NOTE: Ensure that the space and period after “f” is included in order for the command to work properly
h. Type icacls Y:* /save %systemdrive%NTFSp.txt /c /t then hit Enter to back up the permission to the drive.
NOTE: Ensure that all files are marked as successful and that no files are marked as failed.
i. Type whoami then hit Enter. Record the username that appears. Afterwards, type icacls . /grant <username you got from whoami>:F /t then press Enter.
NOTE: Ensure that there’s no space between the username and “:F” or the command will not work.
j. In the File Explorer, open the SRP drive and select the Boot folder. Choose the language folders you want to permanently delete. Language folders are named with four letters split with a hyphen. For example: de-DE is the German language while en-US is the U.S. English language.
2. Truncate the NTFS Log:
a. Open the Command Prompt then type chkdsk /L Y: to check the size of the NTFS Log. If the NTFS Log size is less than 5000KB, you need not truncate the file.
b. Type chkdsk /L:5000 /X /F then hit Enter to truncate the NTFS Log.
c. Return to Disk Management window. Select Action menu then select Check if the device’s SRP now has a larger amount of free space. Once there’s enough space, right click the System Reserve Partition then select Change Drive Letter and Paths. Choose Y: then select Remove.
3. If there’s still not enough available space after truncating the NTFS Log, resize the USN journal:
a. Open the command prompt then type fsutil usn queryjournal Y: to display the size in hex value. Convert the hex value to decimal then divide it by 1048576. The result you will get will be in MB. If the journal size is 30MB or more, proceed with truncating the file.
NOTE: To convert the Hex value to Decimal, open the Calculator app in Windows then choose View menu. Select Programmer then choose Hex. Type the Hex value then choose Dec.
b. Type fsutil usn deletejournal /D /N Y: then hit Enter to delete the journal. Type fsutil usn createjournal m=1500 a=1 Y: to recreate the journal having the new log size value.
- Restore permissions
a. Type icacls Y: /restore %systemdrive%NTFSp.txt /c /t in the Command Prompt. Check if the files were successfully processed before proceeding. If you see a message saying some files failed while processing, this is normal since some of the files have already been deleted before performing a backup. However, if there are no successful files indicated, the command was not properly executed.
b. Type icacls . /grant system:f /t then hit Enter to adjust the ACL back to System. Now, you can set the owner of the drive by typing icacls Y: /setowner “SYSTEM” /t /c then press Enter.
c. Check if the device’s SRP now has enough free space by going back to Disk Management and refreshing the data. If the SRP already has sufficient space, you can now remove the drive letter. Right-click on the System Reserved Partition then choose Change Drive Letter and Paths. Select the Y: drive then choose Confirm deleting the drive letter by clicking OK.
Method 3: Windows 8/8.1 with MBR partition
This method makes a larger, but temporary, increase in the SRP free space.
1. Be sure you have an external drive having at least 250 MB free space and formatted as NFTS.
2. Open Run by pressing the Windows key + R. Type mscthen to choose the Recovery Partition. Right-click on it then choose Change Drive Letter and Paths.
3. Select Add then type Y for the drive letter, click
4. Click on the Start screen then type cmd in the search bar. In the results, right-click on Command Prompt then choose Run as administrator. The command prompt window will appear.
5. Switch to another drive by typing Y: in the command prompt. Once you’re in the drive Y, type takeown /d y /r /f .
NOTE: Ensure that space and period after “f” are included in order for the command to work properly.
- Type whoami then hit Enter. Record the username that appears. Afterward, type icacls . /grant <username you got from whoami>:F /t then press Enter.
NOTE: Ensure that there’s no space between the username and “:F” or else the command will not work.
- Once the command is completed, type attrib -s -r –h Y:RecoveryWindowsREwinre.wim then hit Enter.
- Open File Explorer and check the drive letter of the external drive you’re using (In this case, let’s assume F: is the drive letter of the external drive so when you see F: for the rest of the steps, this means the drive letter of the external drive you’re using).
- Type mkdir F:RecoveryWindowsRE in the Command Prompt then hit Enter. Afterward, type xcopy Y:RecoveryWindowsREwinre.wim F:RecoveryWindowsREwinre.wim /h
- Type C:WindowsSystem32Reagentc /SetREImage /Path F:RecoveryWindowsRE /Target C:Windows to map the new path
- Verify if the copy was successfully done then type del Y:RecoveryWindowsREwinre.wim /F
- Return to Disk Management window. Click on the Action menu then hit Check if the device’s SRP now has a larger amount of available space. Once there’s enough space, you can proceed with the upgrade.
- Upon completion of the upgrade, move back the wim file to the Recovery Partition. At this point, you can re-map now the location by:
- Open the Command Prompt then type xcopy F:RecoveryWindowsREwinre.wim Y:RecoveryWindowsREwinre.wim /h and press Enter.
- Type C:WindowsSystem32Reagentc /SetREImage /Path Y:RecoveryWindowsRE /Target C:Windows to re-map to the original path.
- Return to the Disk Management window. Right-click on the Recovery Partition then choose Change Drive Letter and Paths. Select the Y: drive then choose Remove.
Method: Download a Powerful Automated Tool
Not inclined to go through a long and technical process (as highlighted above)?
Download and install a powerful automated tool and get the job done in a jiffy.

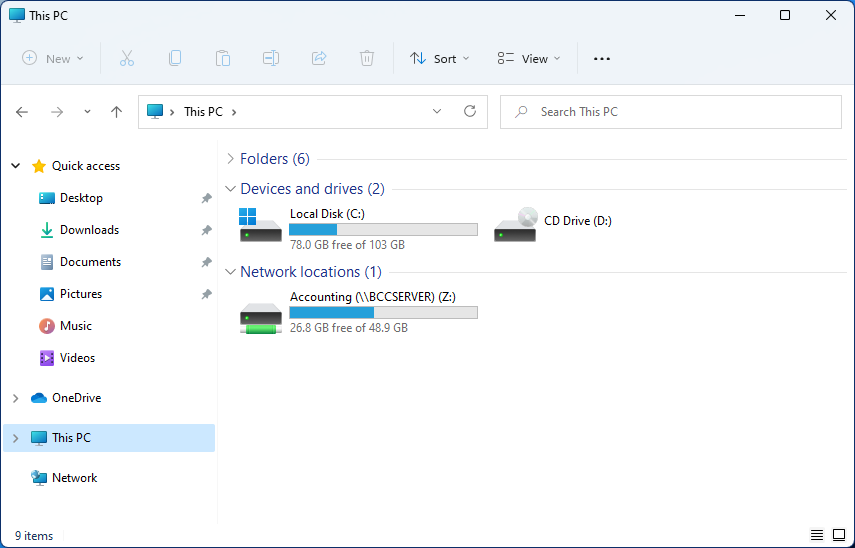 Mapping network drive has many benefits in terms of speed and ease of access of files via network. It lets you access the hard drive over the whole network like it was the hard drive inside your PC case. In order to easily and quickly map a folder as a network drive follow the guide below.