This post will guide you on what to do if your keyboard shortcuts or hotkeys are not working on your Windows 10 computer. A lot of users use hotkeys as they make things easier for them as they use their computer. However, there are instances when these hotkeys suddenly stop working. It’s actually one of the most common problems with keyboards. And so to resolve this problem, you can try out some suggestions prepared on this post.
Option 1 – Clean the keyboard keys physically
Your keyboard might not be working properly due to some dirt or other corrosion. First, you need to shut down your computer and then unplug the keyboard if you are using a desktop computer and then prepare it for cleaning. After that, use a small cotton ear cleaning tool to get between the creases and clean them. You can dip it slightly in alcohol to make it more efficient in cleaning dust and dirt. And if you can, you have the option to pull apart the keyboard completely and then wipe away all the corrosion from the inside. Once you’re done, put the keyboard back together and then plug it back into your PC. Now turn your PC on and check if the hotkeys are now working.
Option 2 – Try running the Hardware and Devices Troubleshooter
The first thing you can do to fix the problem is by running the Hardware Troubleshooter. Although it won’t make much of a difference, there’s still a possibility that it could automatically fix the problem with these function keys. To use it, refer to these steps:
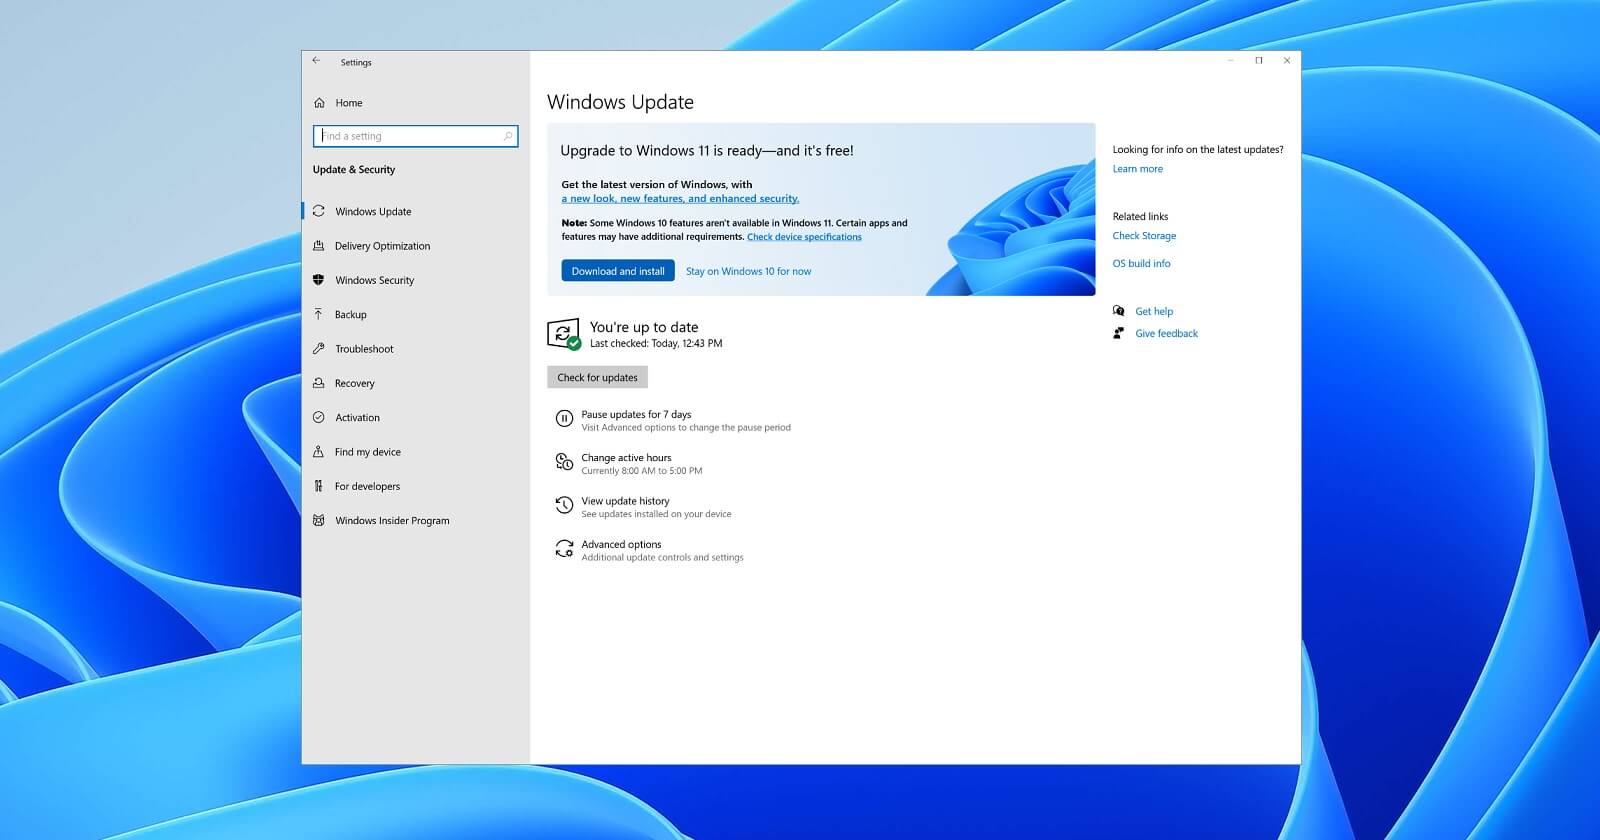
- The first thing you need to do is click on Start and then on the gear-like icon to pull up the window for Settings.
- After opening Settings, look for the Update and Security option and select it.
- From there, go to the Troubleshoot option located on the left-hand side of the list.
- Next, select Hardware and Devices from the list and open the Troubleshooter and run it. Once it is doing its job, wait for it to complete the process and then restart the system.
- After the system restarts, check if the problem’s now fixed. If not, refer to the next option given below.
Option 3 – Try connecting the keyboard to a different USB port
The problem might have something to do with the USB port that’s currently in use by your keyboard. It could be that it’s not working so it makes sense to unplug it and attach it to another USB port. You can also clean the USB port on both ends to ensure that they are not affected by corrosion.
Option 4 – Uninstall previously installed keyboard software
If you have been previously using another keyboard, it might be better if you make sure that the software for the old device has been removed since there are instances when multiple software can cause problems due to similarities in actions.
Option 5 – Update the keyboard driver
You can also update the keyboard driver to fix the problem. There are cases when an outdated or corrupted driver can fix the problem. To do so, follow the steps below.
- Tap the Win + R keys to open the Run dialog box.
- Then type “devmgmt.msc” in the field and hit Enter to open the Device Manager.
- From there, look for the keyboard driver and click on it.
- Next, right-click on the keyboard driver and select the Update driver option.
- After that, click the “Search automatically for updated driver software” option to proceed.
Option 6 – Reinstall the keyboard driver
If updating the keyboard driver didn’t help, then you might want to reinstall it. How? Follow the steps below.
- Tap the Win + R keys to launch Run.
- Type in MSC into the box and tap Enter or click OK to open the Device Manager.
- After that, a list of device drivers will be displayed. Look for keyboard driver, right-click on it and then select “Uninstall device”.
- After that, unplug the device and restart your PC.
- Then plug your device back in. Assuming your device is connected to your PC, open the Device Manager again.
- Next, click on the Action button and click the Scan for hardware changes button. That should fix the problem.
Note: You could also completely uninstall the driver and go directly to the manufacturer’s website and download the latest driver for your hardware and then install it.
Option 7 – Enable Human Interface Device (HID) Service
Another thing to consider is the Human Interface Device Service. If this service is disabled, then no wonder why your hotkeys are not working. Thus, you need to enable this service. Refer to the following steps to do that:
- Tap the Win + R key to launch the Run dialog box.
- Then type “services.msc” in the field and hit Enter to open Services.
- After opening Services, scroll down until you see the Human Interface Device service.
- Double click on HID and make sure that its Startup Type is set to “Automatic” and then click OK.
- Restart your PC and check if the hotkeys are now working or not.
Option 8 – Try resetting the keyboard
You might also want to try resetting the keyboard as it can also help in fixing the problem. Setting it back to its default state will surely help.

 Therefore we are presenting a couple of solutions that will fix your issue, it is advisable to follow them as presented since they will go from the most common to the more complex one.
 What exactly is GitHub?
 Update Windows 11