Error Code 38 is a device driver error that users encounter on any Windows 2000 operating system and its following versions.
It occurs when the peripheral device that you connect to your PC cannot be accessed due to an inability of the Windows system to acknowledge the driver as a previous record of the driver being loaded is found in its memory.
It is a common error that users come across and appears on your PC with the following message:
“Windows cannot load the device driver for this hardware because a previous instance of the device driver is still in memory. (Code 38)”
 Error Causes
Error Code 38 is prompted when incomplete program files are left in the Windows system which damage or corrupt its files. There are various factors that contribute to this, some of which are:
The above triggers are very likely to create incomplete files within the Windows registry thereby leading to its damage and corruption.
This is especially true in the case of your PC when it has recovered from viruses when using anti-virus software. The anti-virus in its effort to remove the virus also could remove the files which contain them thereby increasing the risk of the error code.
These damaged files can severely impact the health of your PC and are imperative to fix it immediately to prevent further problems.
Although this error code may pose serious problems for your PC, thankfully, it is very similar to other PC driver errors and thus is an easy one to get rid of. Here are various methods that you can use to get your PC running smoothly again.
The easiest method you can use to solve your PC error code is to simply restart your PC. It may be that the error prompted upon connecting the device you have connected is merely a temporary problem, and upon restart, will resume functioning smoothly.
If restarting your PC does not help, you will have to find the exact nature of the problem by running the troubleshooting wizard for the device and then address the problem accordingly. To do this, proceed with the following steps:
After following the directions of the Troubleshooting wizard, make sure to restart your PC for the changes to take effect. Now check if your device is still causing problems.
If the error persists, you can use system restore to eliminate the problem. Here is how to do so:
By restoring the system via a last saved system checkpoint, you can obtain undamaged Windows system files that can help resolve the error code.
If using system restore does not work either, you may have to resort to manually uninstalling and then reinstalling the device driver causing the problem.
This would be necessary since the remaining incomplete files due to a partial removal or installation of programs are responsible for the error code. By uninstalling and reinstalling the device driver program, it would lead to the completion of the files.
You can do this by firstly logging in as Administrator and opening Device Manager. Select the device that is causing the problem and double click it; make sure that the peripheral is connected properly to the PC.
Upon opening, click on the ‘Driver’ tab and then select ‘Update Driver’. Make sure to refer to the system documentation that you received with your PC or computer to check for the motherboard details and driver specifics.
Manually uninstalling and reinstalling the driver will do the trick; however, it may be time-consuming especially when you would have to resort to your hardware user manual.
Using a program such as DriverFIX can save you a lot of time and frustration in having your device to work properly on your computer.
DriverFIX, with its user-friendly approach to help you fix your PC issues, comes with an integrated database that detects which drivers you need to reconfigure within just a few seconds and downloads it automatically.
It further ensures that your drivers are installed in their entirety leaving no room for any incomplete files to remain that create Error Code 38, or any other driver-related errors for that matter.
It also has the added advantage of being able to backup and restores your files should there be the slightest possibility of system file damage. DriverFIX is the answer to fixing your PC error codes accurately and quickly.
Click here to download DriverFIX to fix Error Code 38 quickly and effectively!

 This is a very interesting decision by Microsoft and I fully support it, this time users will be able to pay less and to choose only applications that they need instead of paying for the whole package and not using it.
 HomeworkSimplified is a Browser Hijacking extension for Google Chrome developed by Mindspark. This extension will set your home page and new tab to MyWay.com.
From the Terms of Use: As part of the download process for the Toolbar, you may be given the option to reset your Internet browser’s homepage to an Ask homepage product and/or reset your new tab page to an Ask new tab product. If you do not wish to reset your homepage and/or new tab page to the Ask homepage and/or Ask new tab product(s), you can decline/opt-out of these features by checking or unchecking the appropriate box(es) during the download process for the Toolbar. While installing this extension monitors user browsing activity and sends it back to Mindspark servers, where they are later used/sold to better target and inject unwanted ads and sponsored content into your browsing sessions. If you are one of the users that are experiencing this kind of annoyance, we have a solution for you. Follow this guide as presented and repair this annoying error.
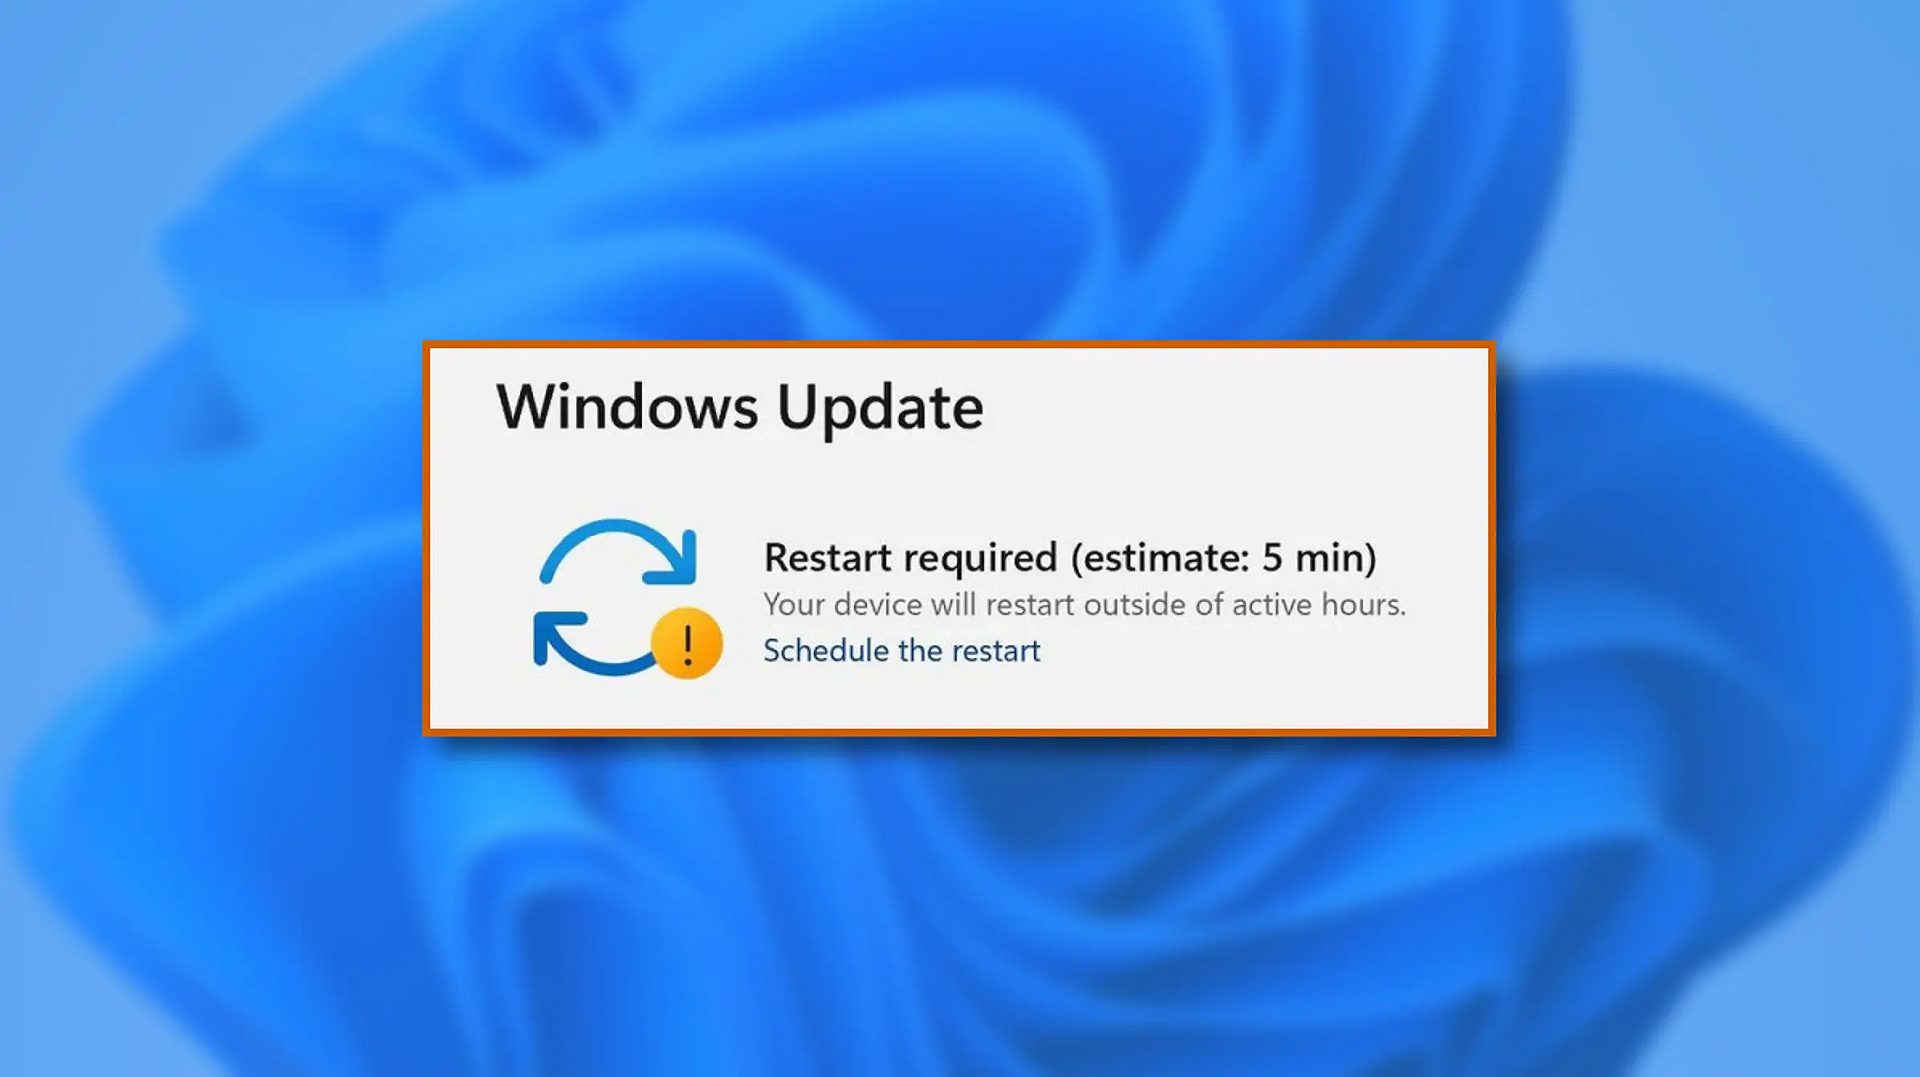 When Windows 11 update is available but you do not wish to restart right away because you are in the middle of using a computer, you can schedule a restart for up to 7 days. It is very easy and we will show you how to do it.
Steam Autumn sale is still raging and other storefronts like EPIC and GOG have also had their go, and as the year slowly closes we reflect on the best games released this year.
The games presented are not in any particular order and as sales are still raging pick one for you for a good time.
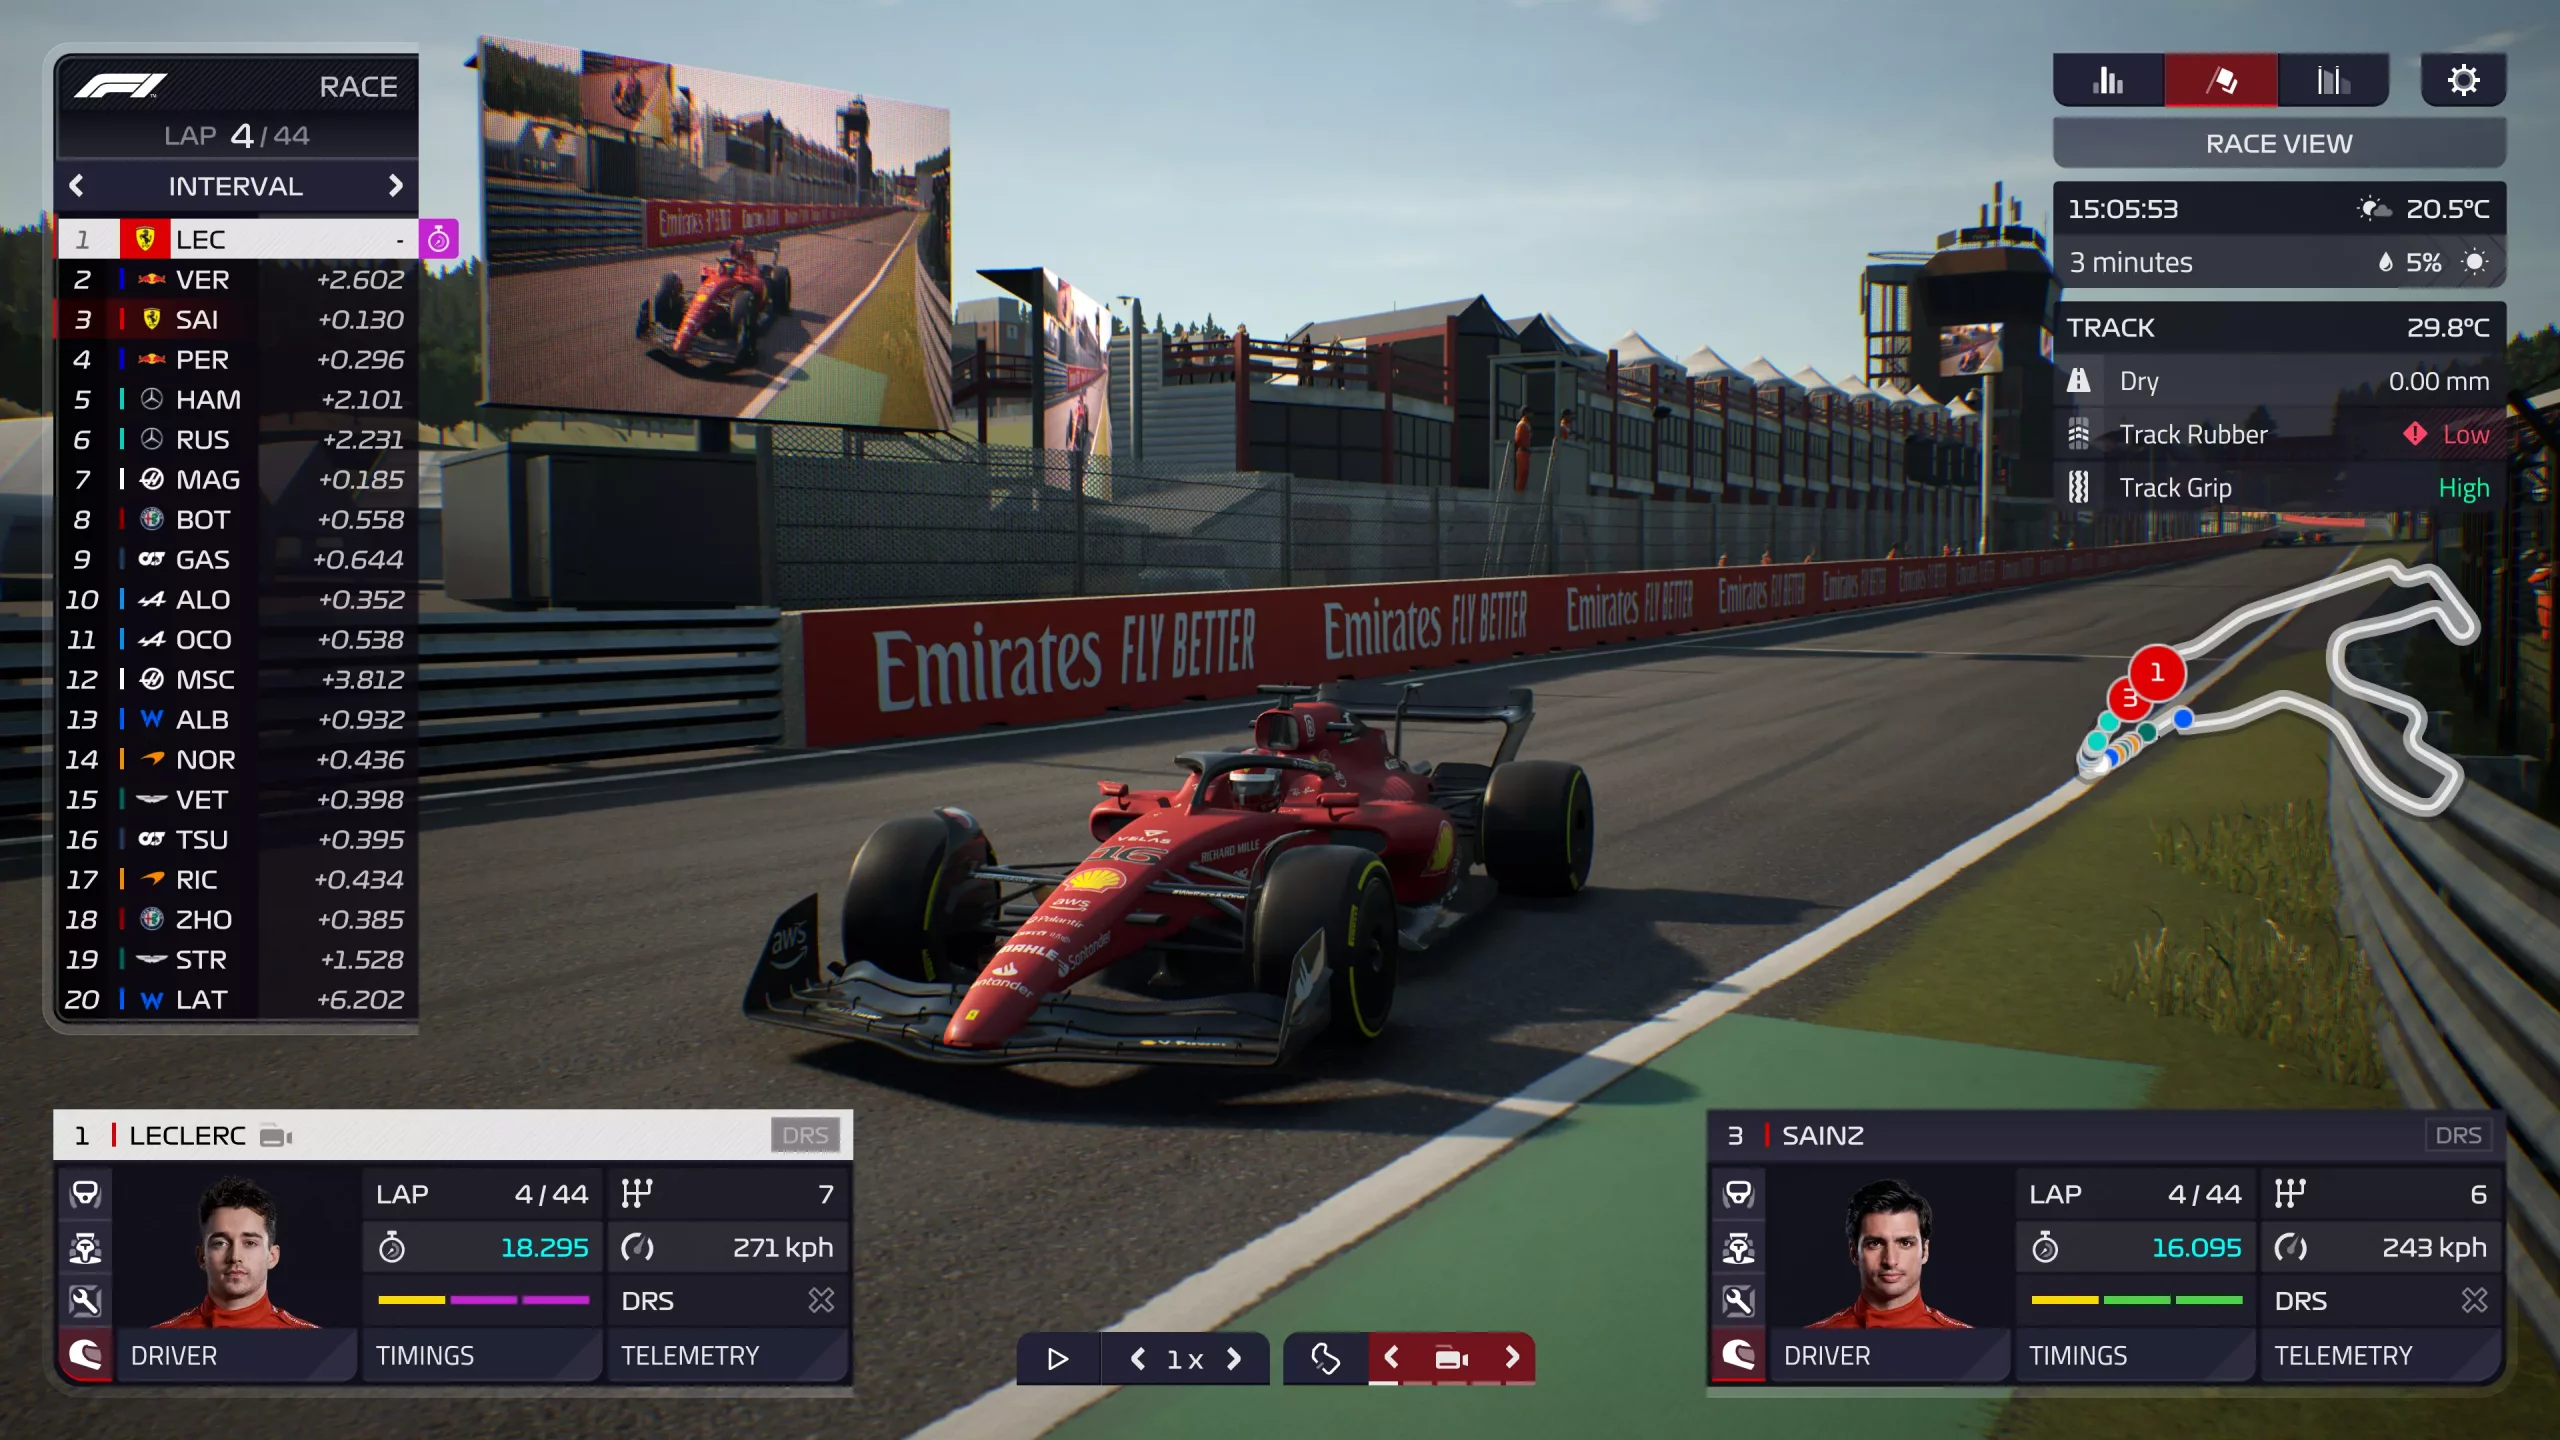
If you are into formula racing this new manager is something we will wholeheartedly recommend. How it has been a very long time since a good F1 manager has been released this one is breath of fresh air. Masterfully done and fun to play, also licensed with real teams and cars get it here: https://store.steampowered.com/app/1708520/F1_Manager_2022/
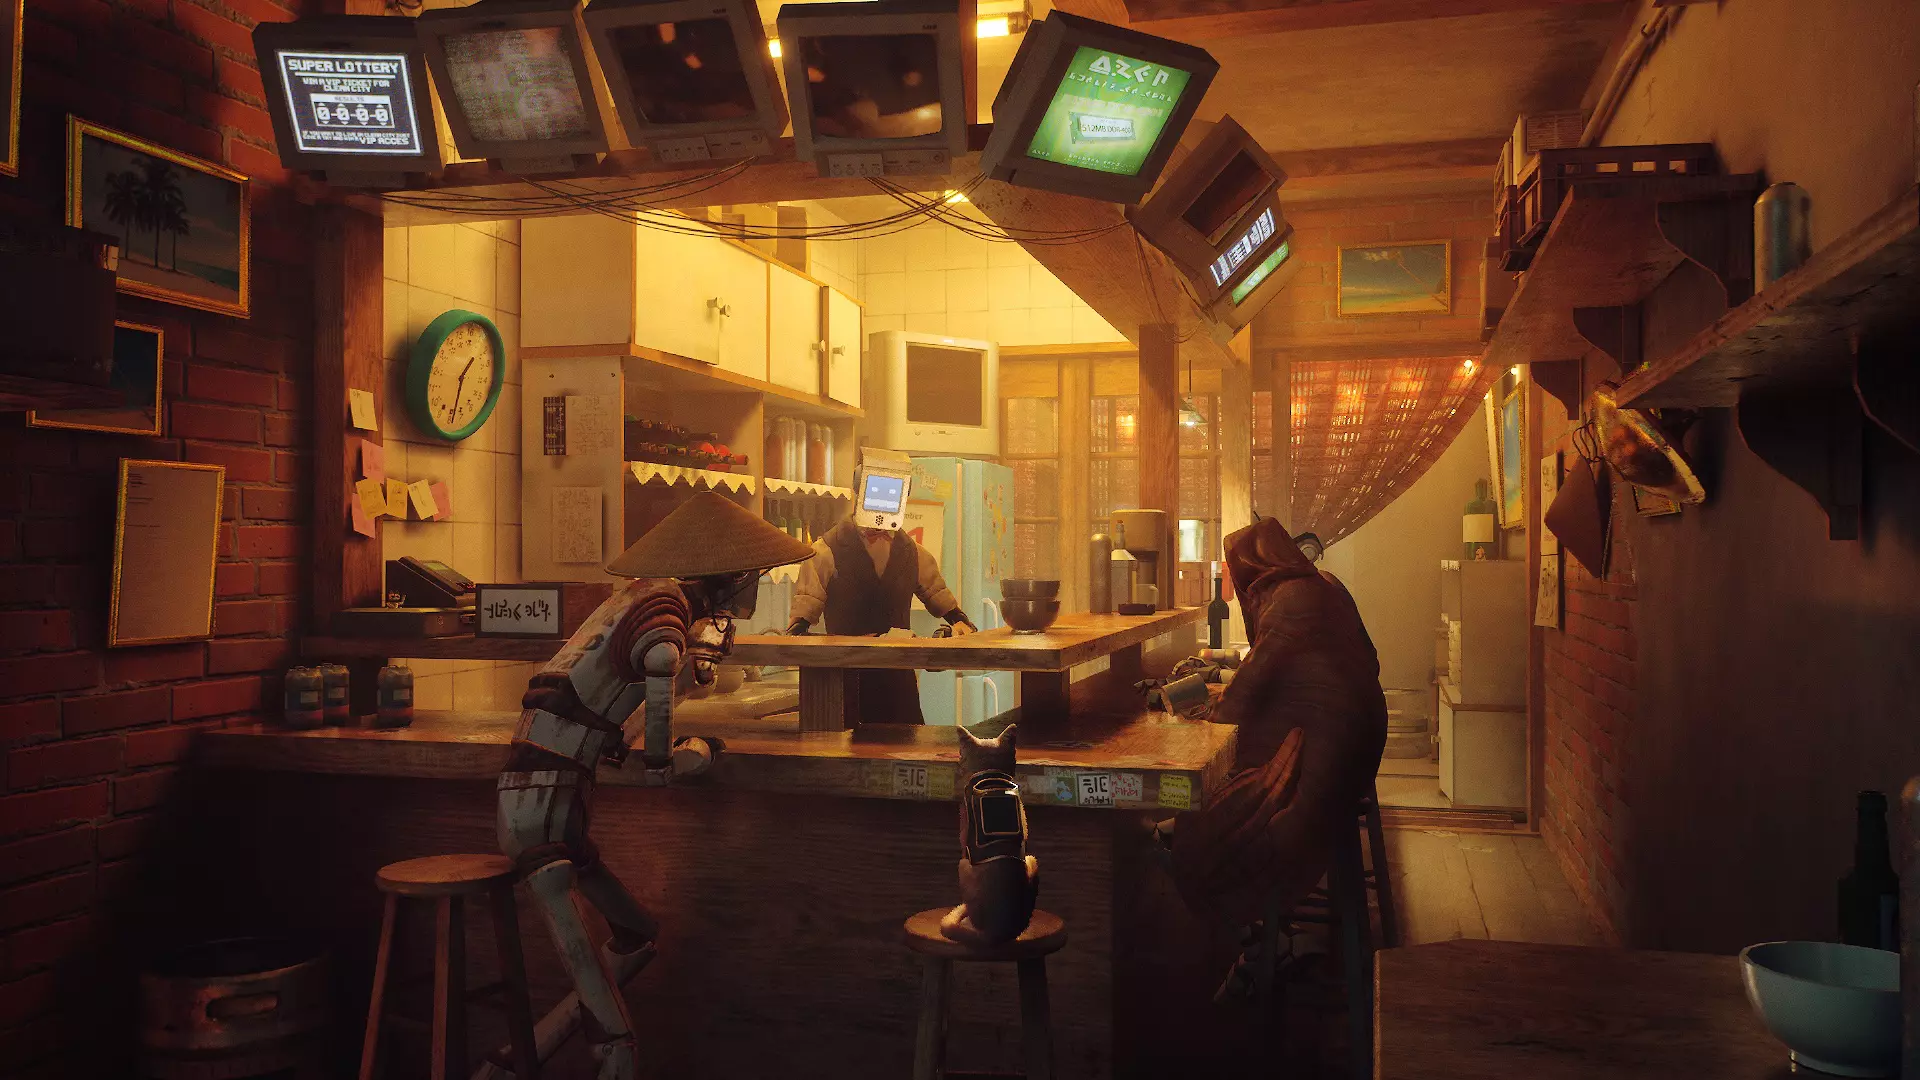
I like cats, but this game is on another level from its competitors. Unique approach, great storyline, and of course orange cat as the main character! Set in a cyberpunk environment following the story of some unfortunate androids you can do most cat things like playing in boxes, etc but essentially the game is a puzzle platformer which in my opinion is a great thing. Meow your things and get the game while it is discounted: https://store.steampowered.com/app/1332010/Stray/
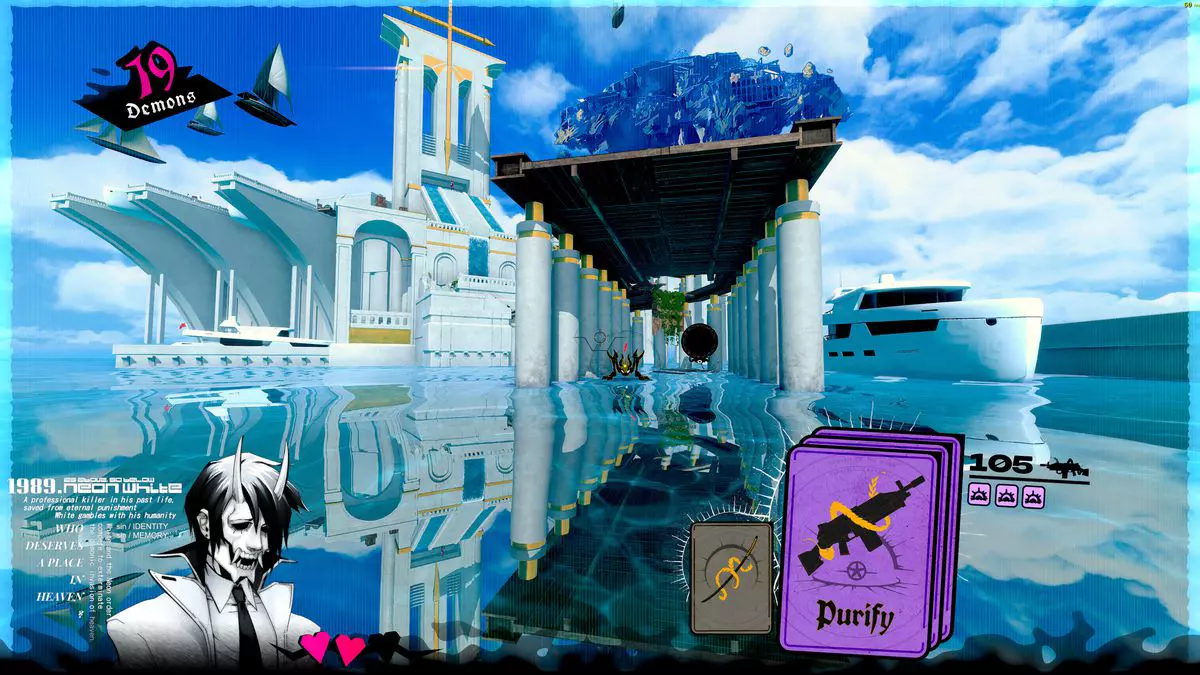
Mirror's Edge was the very unique game when it was released introducing parkour into the gaming world, and Neon white brings it one level up. With competitive parkour FPS gameplay this game is great for killing some time and competing with your friends but most of all it is fun to play experience. Get it here: https://store.steampowered.com/app/1533420/Neon_White/
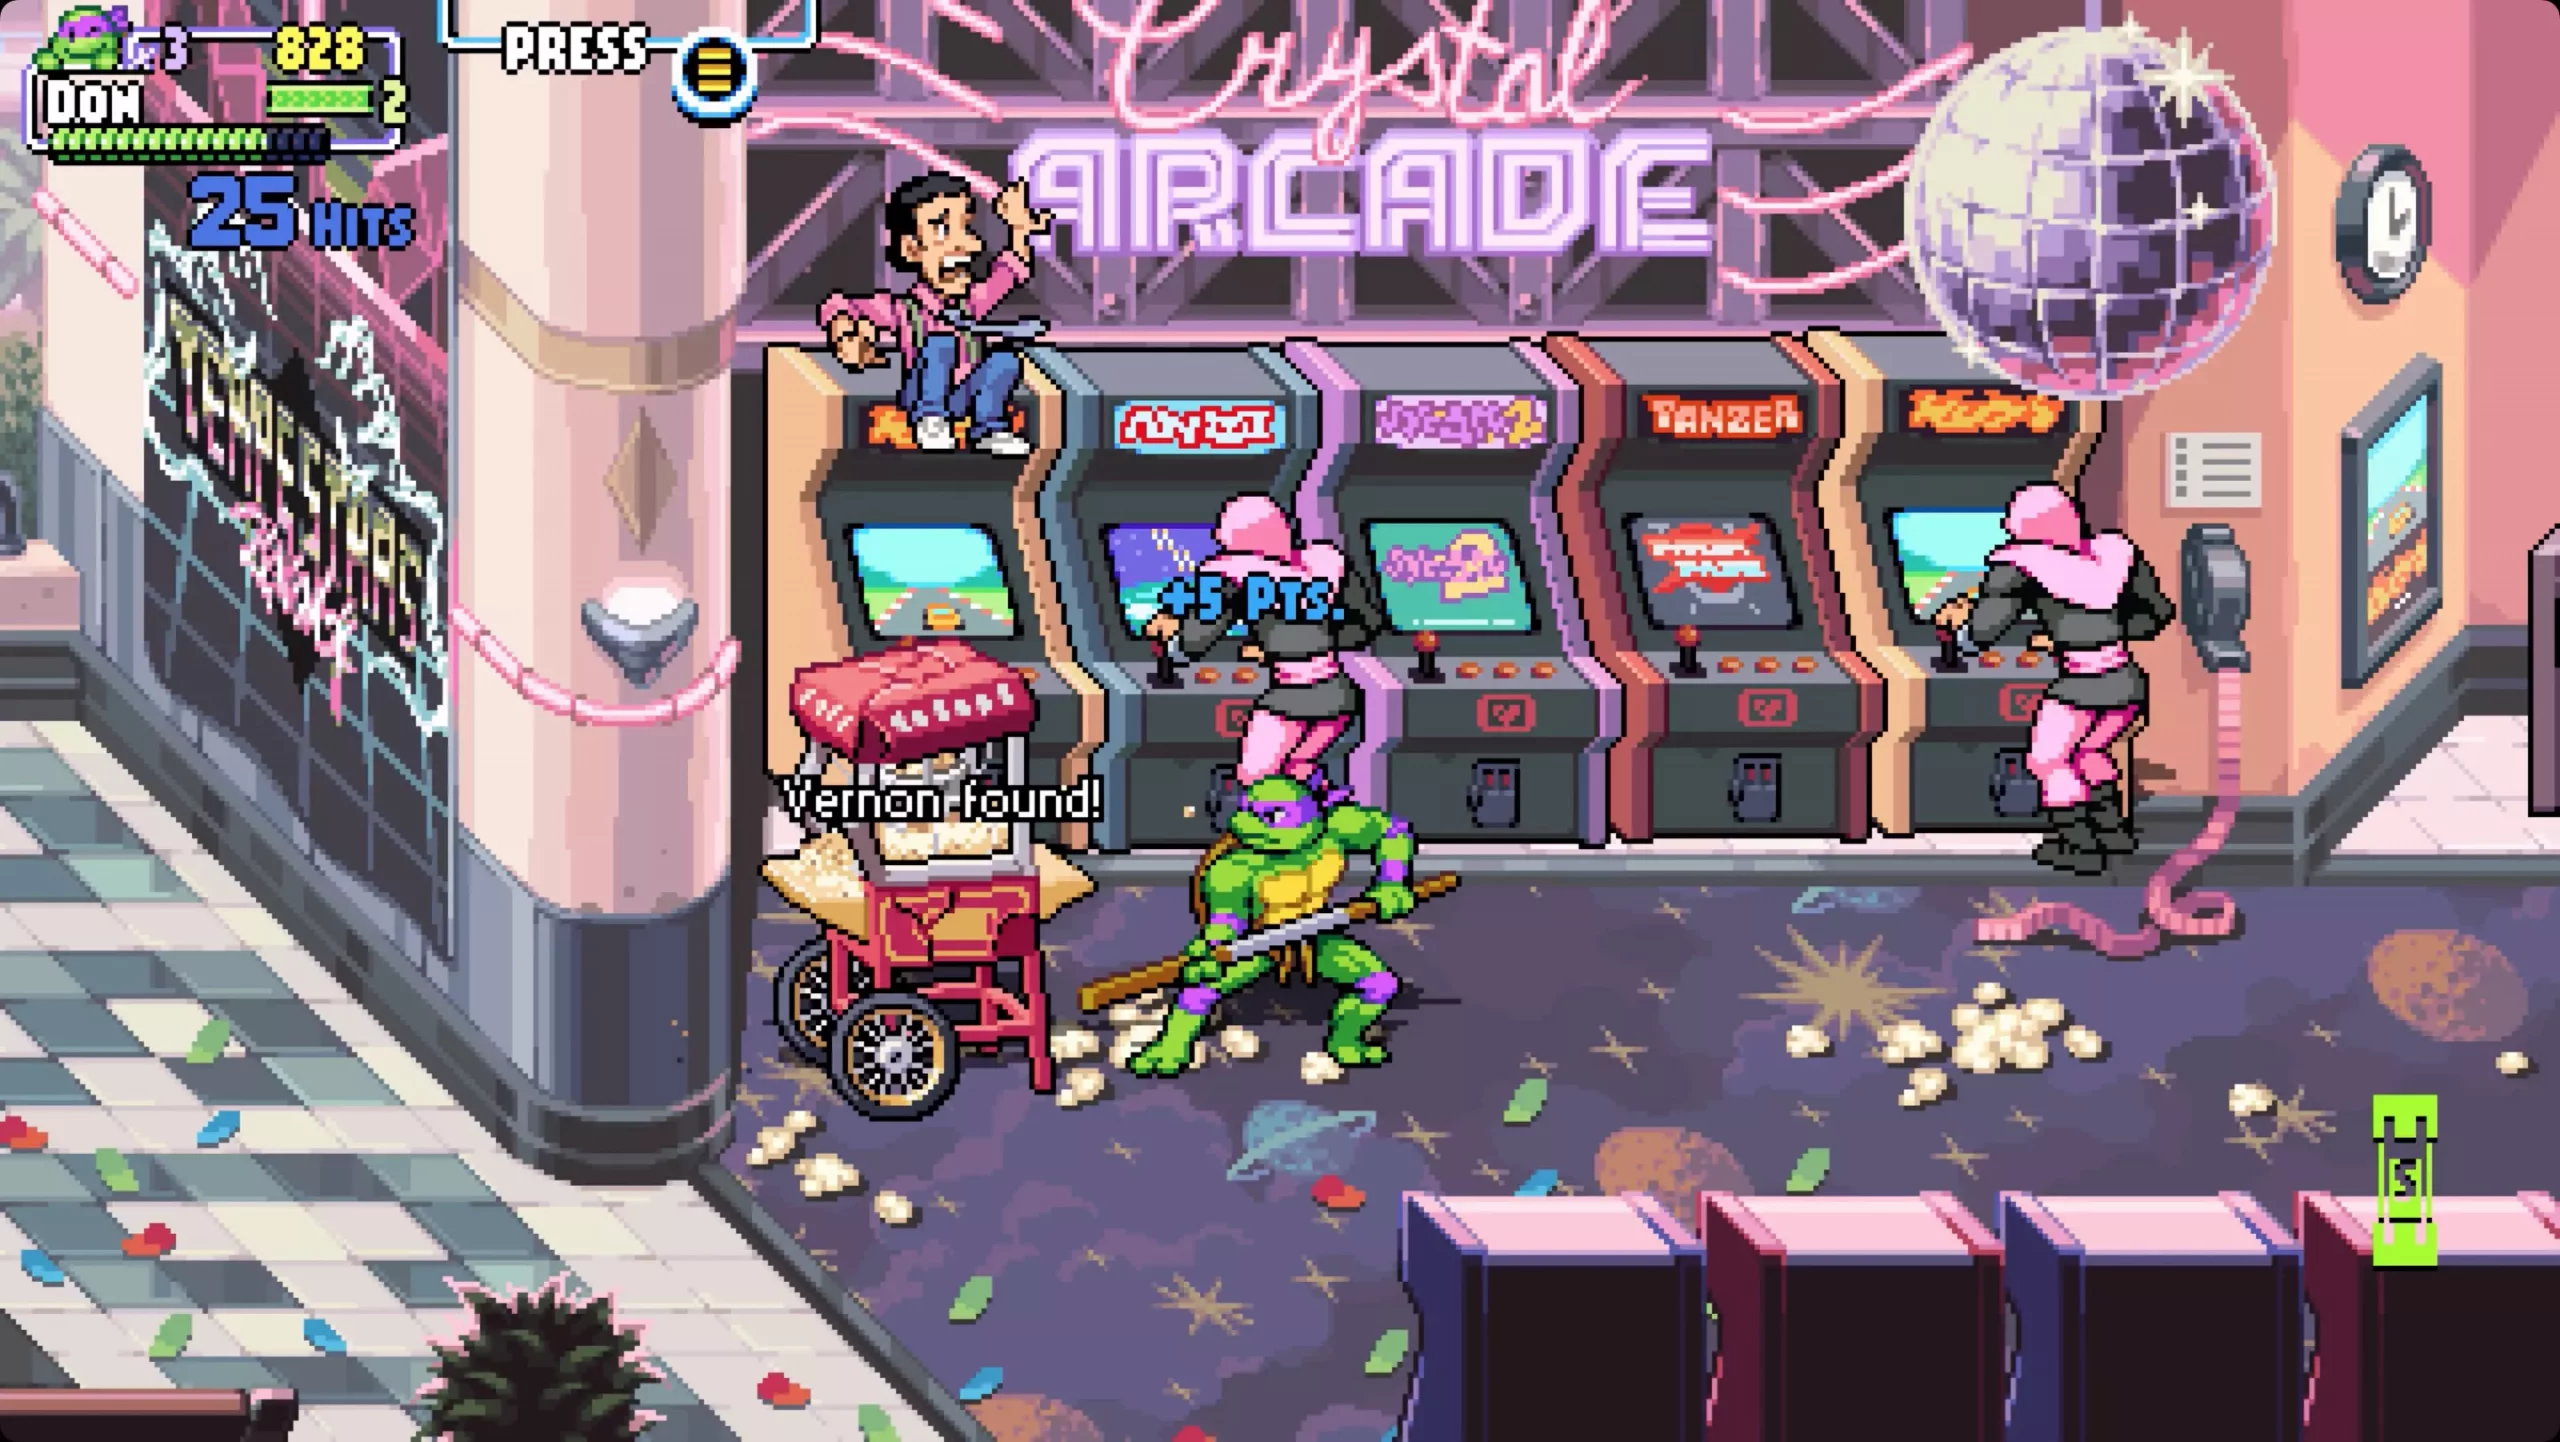
Shredder's revenge is a love letter to classic beat-them-up games found in old dusty arcades back in old times. Fast frenzy action, pixel art graphics, and tons of fun!!! Get it now and start partying like it was 1980: https://store.steampowered.com/app/1361510/Teenage_Mutant_Ninja_Turtles_Shredders_Revenge/
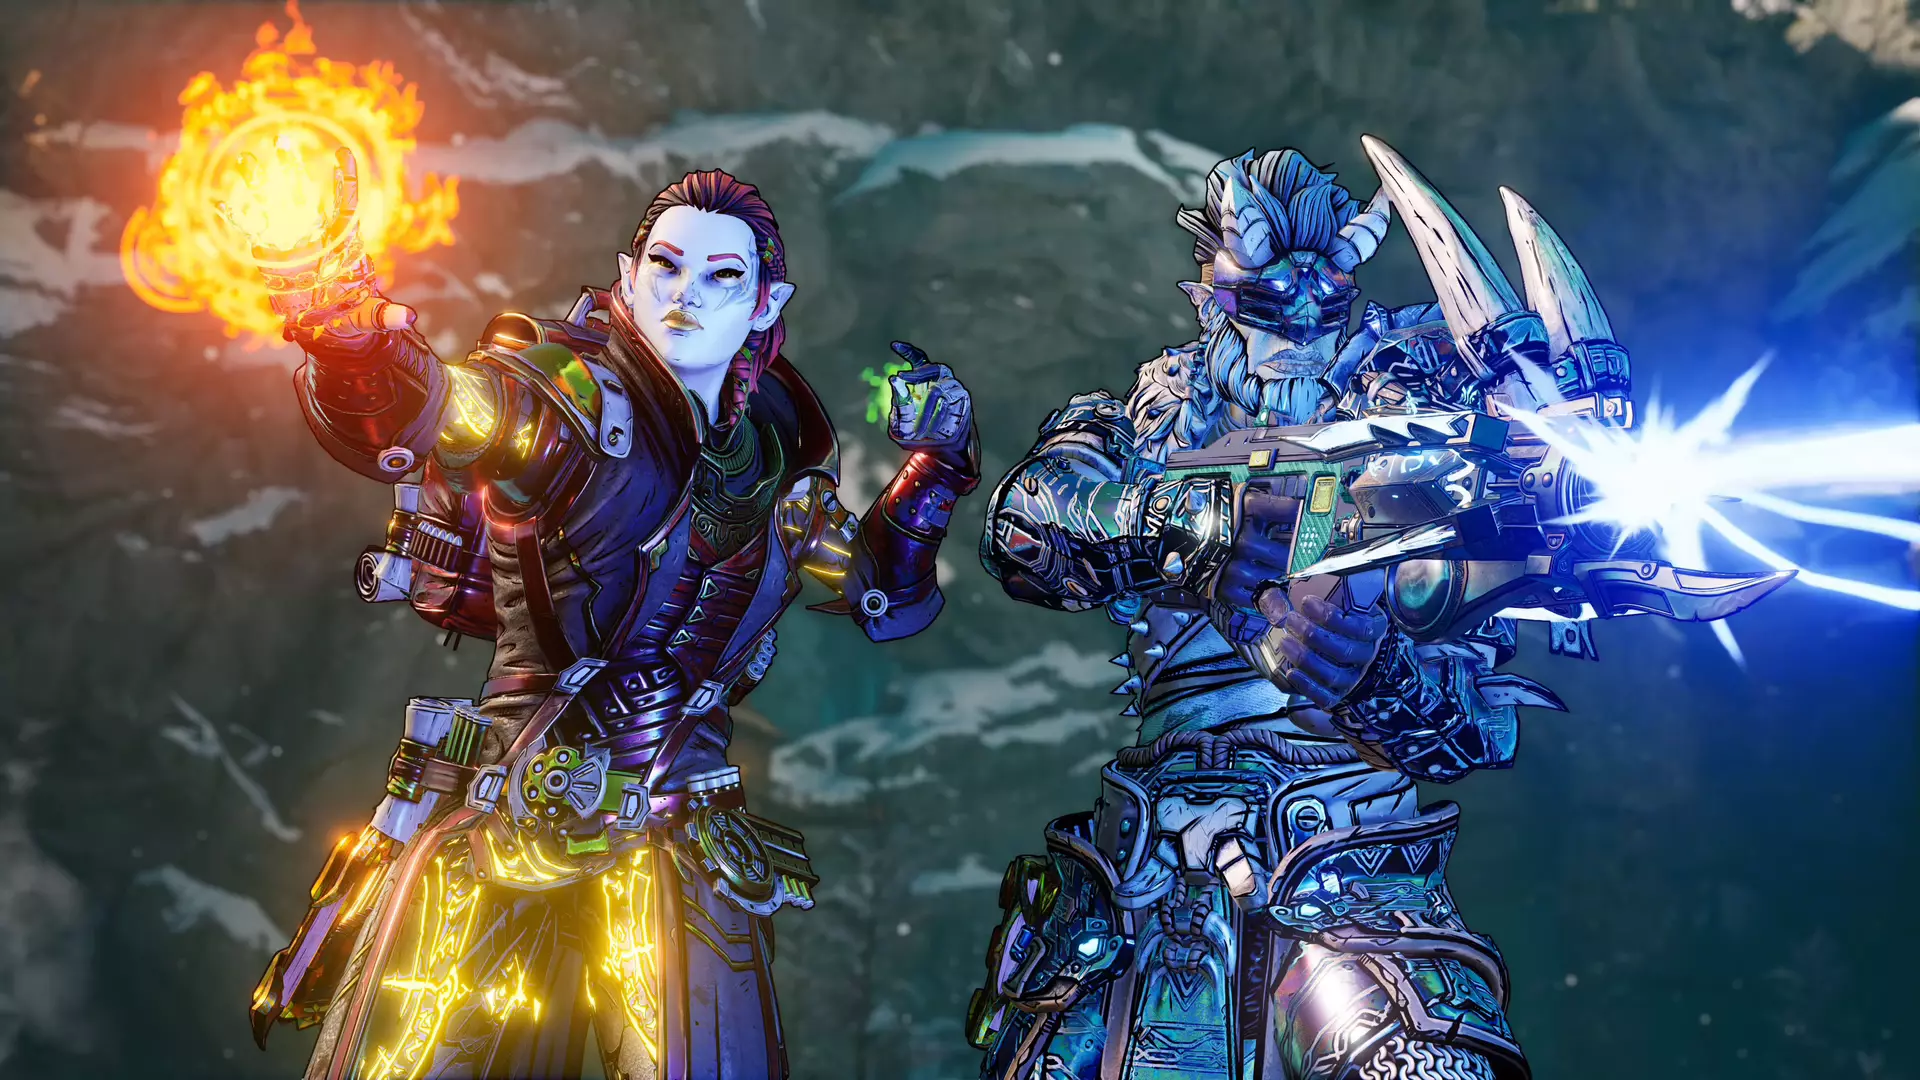
This game needs to be experienced in order to fully grasp its magnitude and quirkiness. From the creators of borderlands comes a new IP fusion of fantasy, guns, and crazy ideas all wrapped into an action RPG looter shooter with a recognizable borderlands style of graphics. https://store.steampowered.com/app/1286680/Tiny_Tinas_Wonderlands/

Winner of multiple awards, Norco is a classic point-and-click adventure game with a great sci-fi story with a lot of environmental focus. Story and atmosphere are the main selling points for the game and if you enjoy good stories with interesting characters give this one a go: https://store.steampowered.com/app/1221250/NORCO/

Expansion for Massive multiplayer online roleplaying game brings so much to the table that we just could not oversee it and place it aside. Technically not full standing game since it is the expansion it still delivers on many fronts and since it is supposedly the last expansion now is the best time to pick it up and give a final fantasy 14 a go: https://store.steampowered.com/app/1592500/FINAL_FANTASY_XIV_Endwalker/
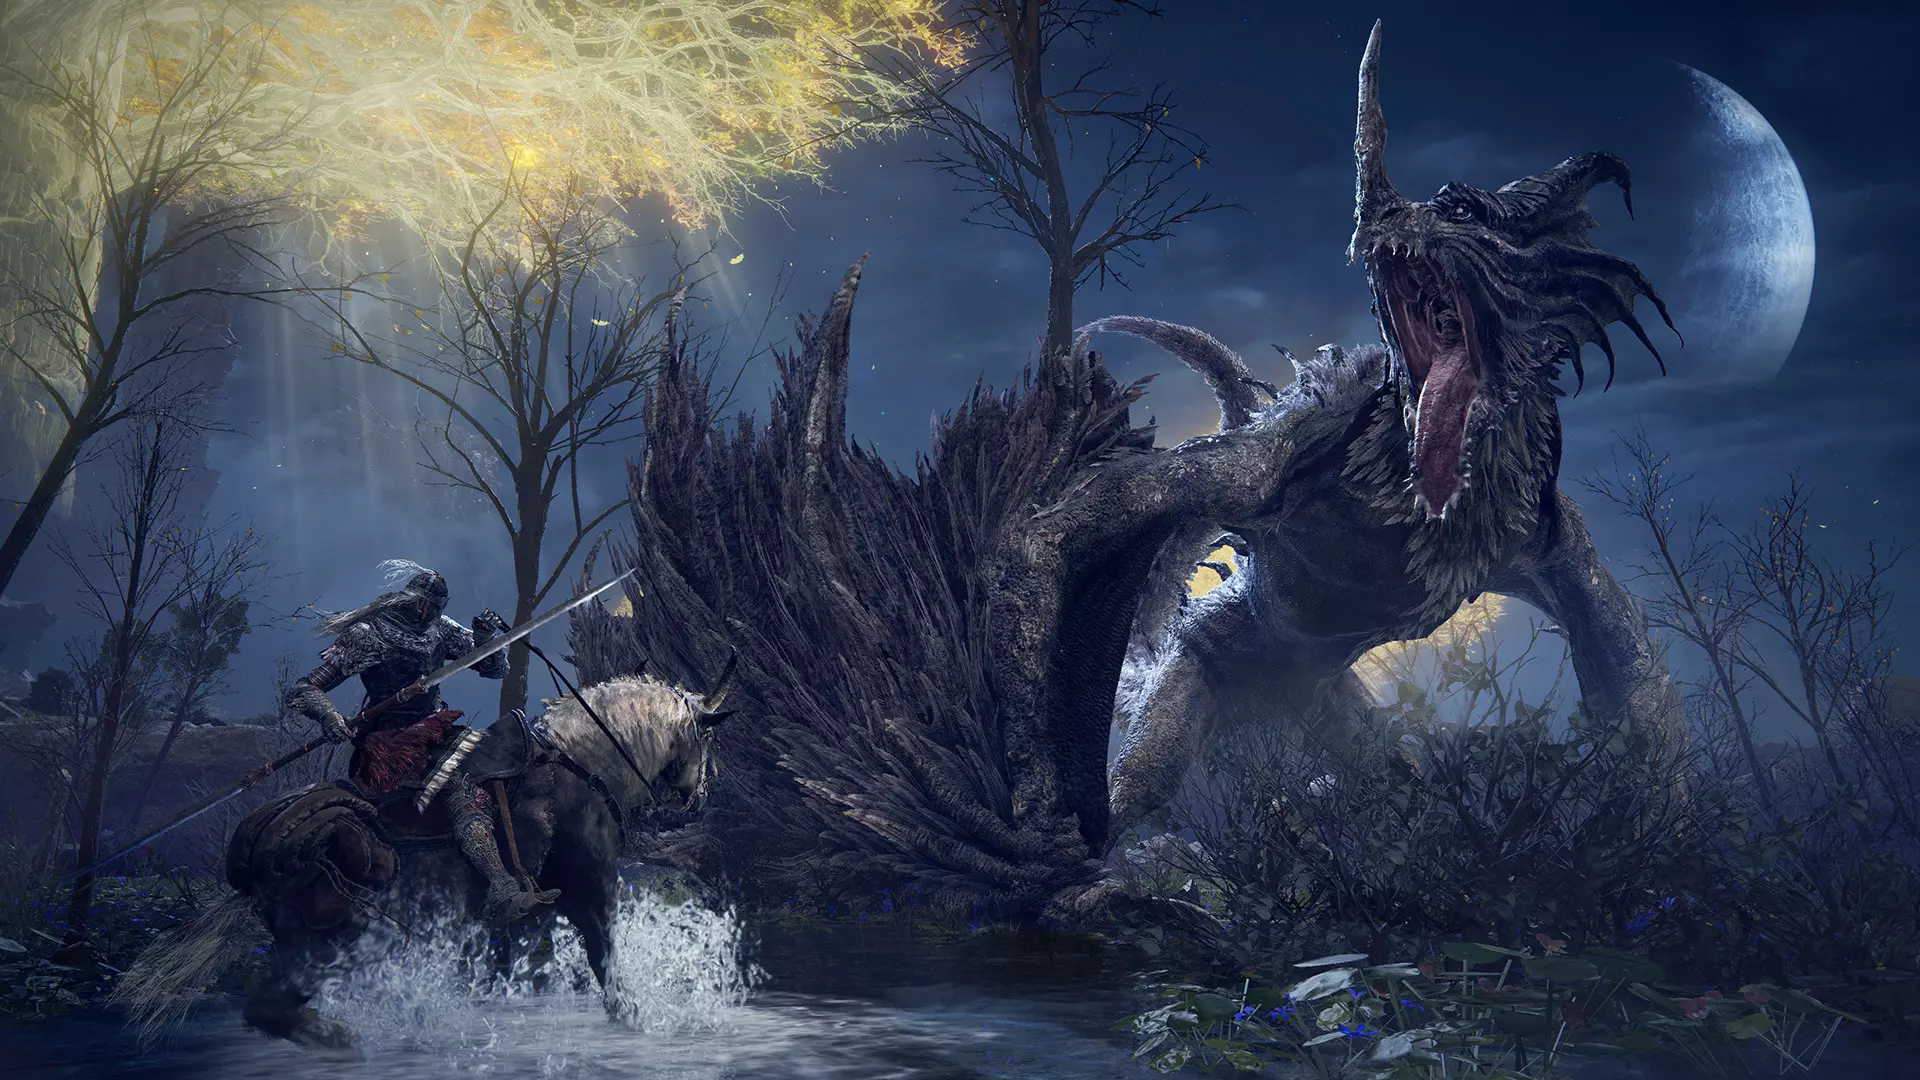
Of course, the list would not be complete if we did not include Elden ring, a great example of how a difficult but well-executed game can go over and beyond. With a story on par with great epics and compact as in dark souls, this title will provide you with many hours of gameplay and content. https://store.steampowered.com/app/1245620/ELDEN_RING/