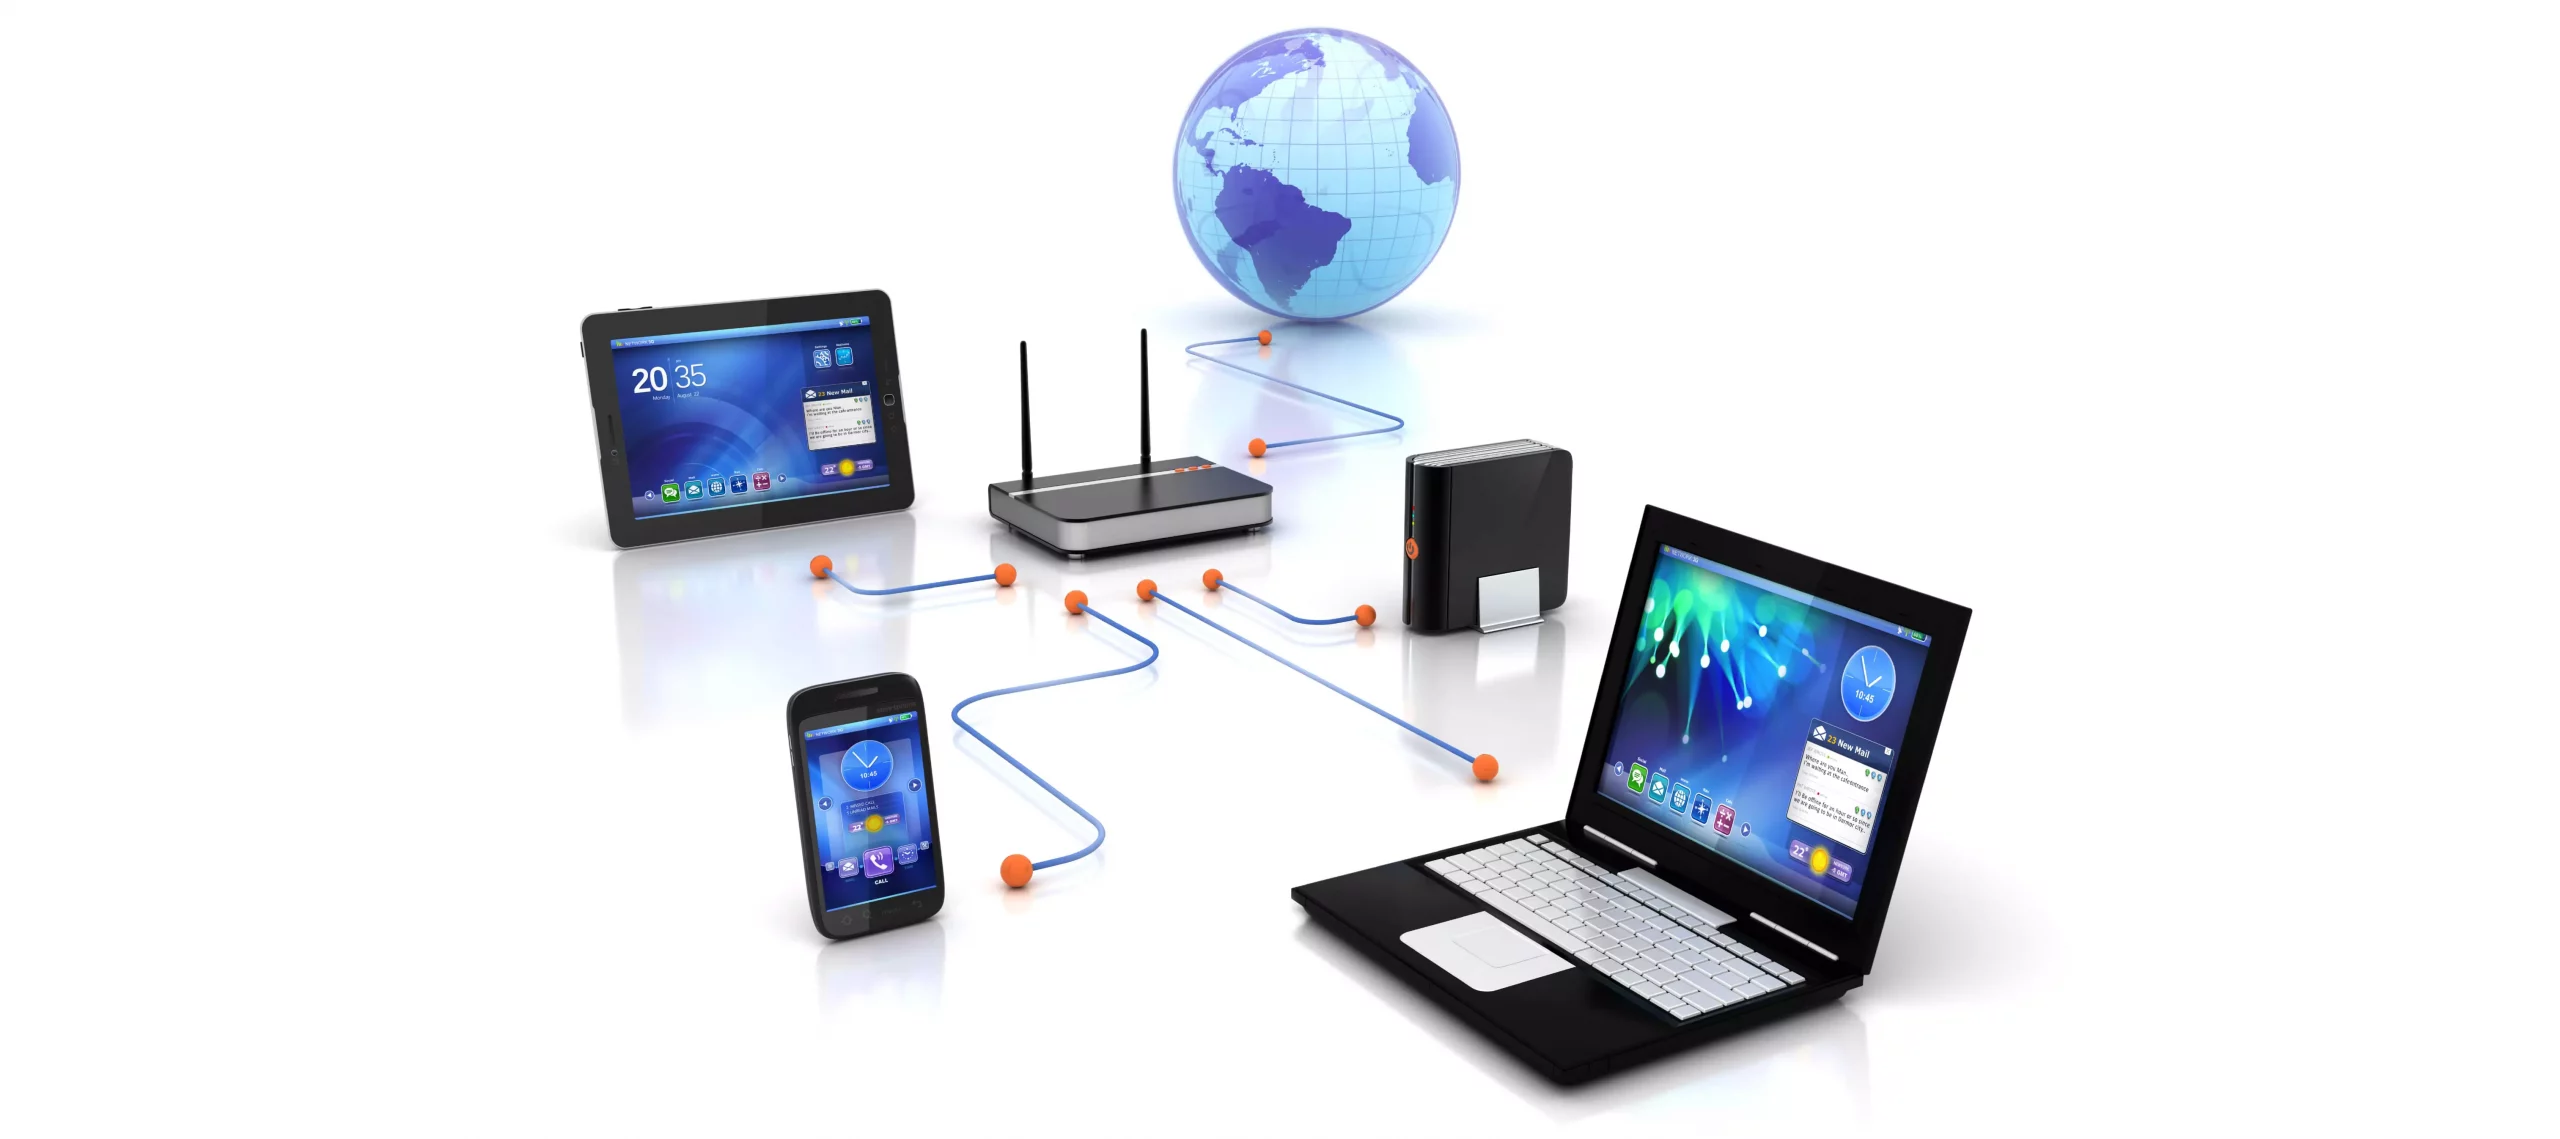
Spending a large amount of time working or gaming in front of the computer can take a toll on your health. And as someone who indeed spends a large amount of time in front of the computer, I would like to share some insights about how can you be happy and healthy at the same time by incorporating some practices and habits.
Get good chair
This is first on the list because it matters the most. A proper sitting chair is essential for back health. If your budget allows it, do yourself a favor and get an anatomic sitting chair or gaming chair with lumbar support. It costs but it is worth it.
Learn to sit properly
As the important chair is, sitting properly is also as important as much. Your spine believe it or not is a very important part of your body and you need to take care of it. Sadly long periods of sitting sessions are bad for muscles around the spine that could reflect on the spine itself. Keep your back straight and keep your head not down nor up, place it in a position like when you are walking so the spine that is going from your head is in line with the spine on your back.
Stretch
By medical standards, each hour of sitting should be accompanied by a stretch session since sitting itself is placing too much pressure on certain muscles and blood circulation is lowered. Changing leg position and doing just a little stretch each hour can be really beneficial for your health in long run.
Take breaks
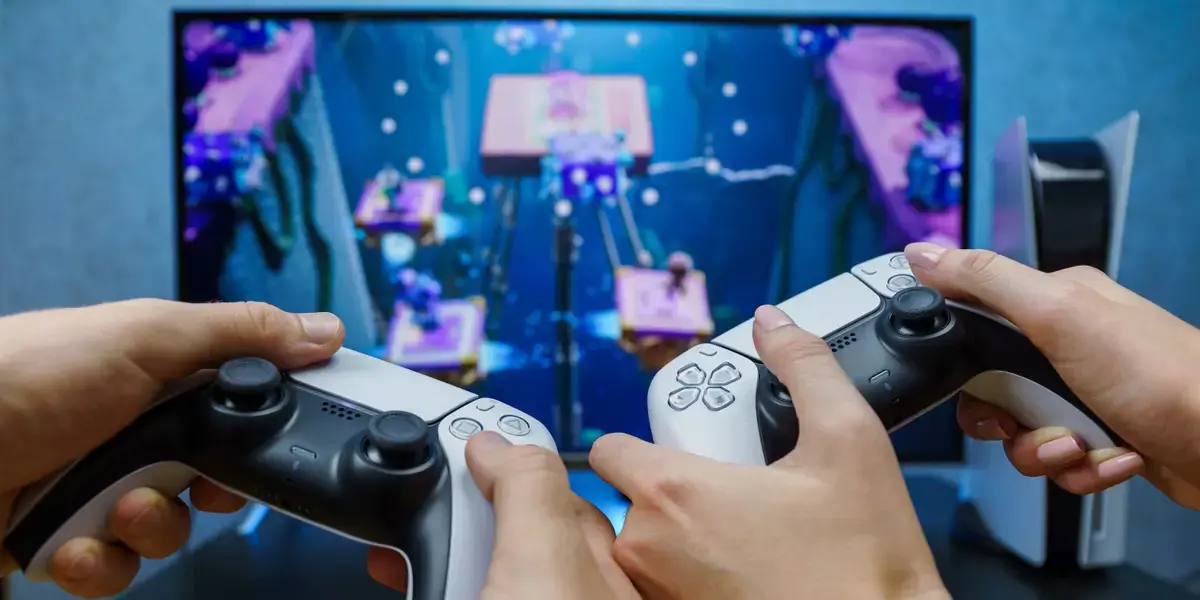
Yes, playing games is fun and most of the time we do not want to stop playing, especially if we are winning but taking breaks is essential for your personal health. Old saying goes that overdoing anything is bad and this applies true even to things that we do for pleasure and relaxation. Take periodic breaks to stretch, stand up and maybe even walk just a little.
Drink water
During long work hours or long gaming sessions, it is not uncommon that we are so focused on our activity that we forget to take our water intake. Approximately 2liters of water per day is needed for an adult person to function properly during that day and if you spend long times in front of a PC do not forget to drink water.
Do not neglect your daily tasks
As enjoyable as it is gaming can make us forget about our daily tasks, do not neglect your life and your tasks. Remember, gaming is only OK if it does not interfere with the daily things that you need to do. Do not postpone going for groceries because of gaming, do not switch shower for another level in the game. Do all of the things you must do first and then sit and game.
Take care of yourself mentally
Having mental health is as important as having a physical one. Playing games is fun, but playing games with someone is even better, do not forget to socialize and invite some friends so you can share some fun times together. Also, detach yourself from outcomes that will come because of gaming, this is very important for gamers that do a lot of PVP games and get annoyed and angry when they lose or when some other player is talking trash. Remember, gaming is for you to relax and enjoy, not to stress you.

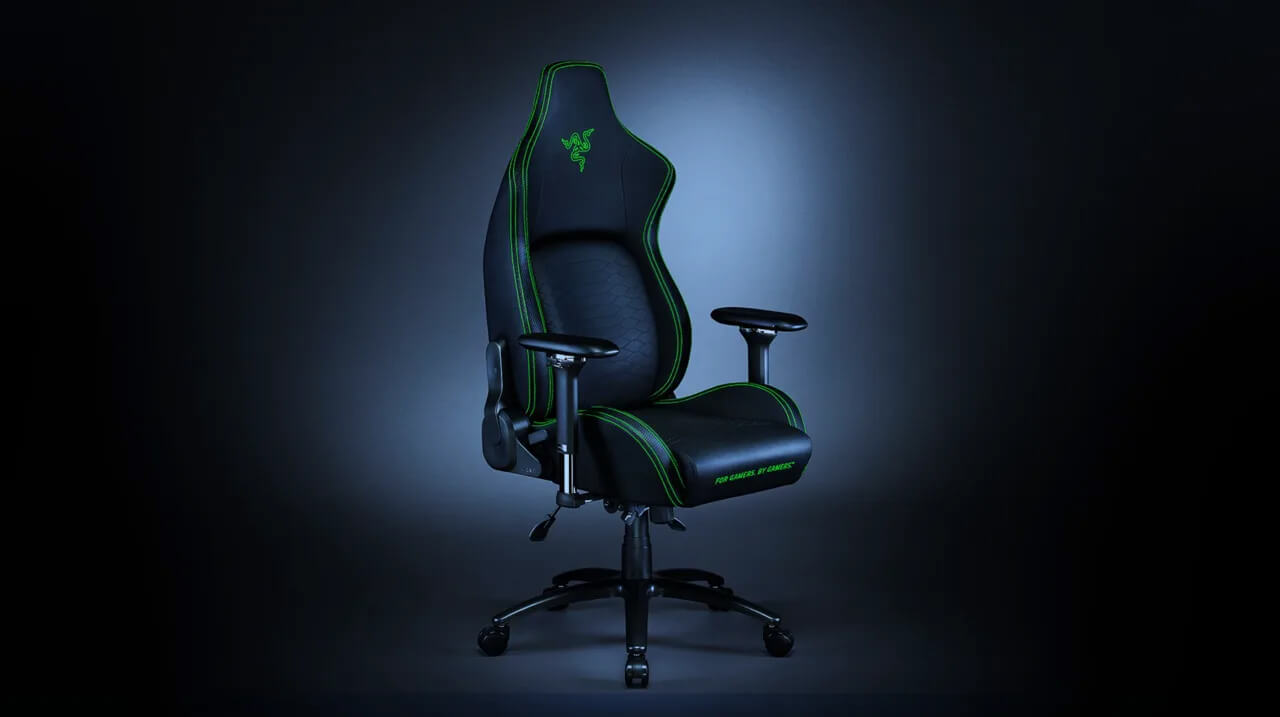 It seems that last few days we were riding some Razer bandwagon but rest assured that we are not sponsored by them in any way, truth is that simply they come up with some interesting accessories which I believe are worth covering.
Gaming Chair itself comes in two colors, fully black and green black combination and it is not really an entry-level chair if we are talking about price. The chair itself is around 600USD depending on the distributor and considering that price range it is placed in more top cream of gaming chairs but it is worth every dime.
It seems that last few days we were riding some Razer bandwagon but rest assured that we are not sponsored by them in any way, truth is that simply they come up with some interesting accessories which I believe are worth covering.
Gaming Chair itself comes in two colors, fully black and green black combination and it is not really an entry-level chair if we are talking about price. The chair itself is around 600USD depending on the distributor and considering that price range it is placed in more top cream of gaming chairs but it is worth every dime.
 Microsoft’s initial Windows 11 hardware requirements were not really well received by users and they were not really clearly represented from the start making a lot of potential customers slowly drift away from the hype.
It seems that Microsoft has acknowledged this since they have changed their tune about system hardware requirements for the upcoming Windows 11.
It seems that Windows 11 will be able to be officially installed on unsupported computers but with a little inconvenience.
Microsoft’s initial Windows 11 hardware requirements were not really well received by users and they were not really clearly represented from the start making a lot of potential customers slowly drift away from the hype.
It seems that Microsoft has acknowledged this since they have changed their tune about system hardware requirements for the upcoming Windows 11.
It seems that Windows 11 will be able to be officially installed on unsupported computers but with a little inconvenience.