Blackouts are one of the most annoying things that can happen in the modern age. We have all learned to depend on electricity, maybe too much, so having a backup plan in these unpleasant situations is necessary. Here are some good gadgets for these kinds of situations.

The fully charged power bank is a great item that could fill up your phone or tablet. If it is a larger power bank it could fill them up all the way to the top several times and having charged phone or tablet can help greatly with some fun during dark times. The power bank can also be used to fill up other gadgets on this list so if the power outage is expected to last longer perhaps it would be wiser not to waste it on phone/tablet games.

If the power bank is too short-lived for your needs, a portable generator is always a good option since it can provide power for longer time periods. The solar generator is what we recommend because it is much cheaper to produce electricity but it is limited if a power surge comes at night, one on gasoline is more stable and practical but it costs more to produce electricity.

One more electric-producing device on the list, this one however is aimed at charging your phone, tablet, or laptop by harvesting Sun's energy and turning it into valuable electricity for your devices. Fully silent and easy to operate this is a great tool for power outrage. It will not be able to produce electricity for smaller house appliances but for basic phone/tablet/laptop needs it will suffice.

Self-sustained with its own battery, panic lights are great assets for lightning when power is not present. They can turn automatically when the circuit detects that power is missing but can be also manually switched on or off. There are many versions of panic lights ranging from the light they produce to how long can they work so picking the right one will depend entirely on your home size and needs.

If you lack panic lights USB headlamp is a great choice to light your way and it works even better than a flashlight, although a flashlight is also a great tool, a headlight will provide you with free arms to do various things that you would not be able to by holding a flashlight. Modern headlights come with LED lights so they provide a good amount of light with small power consumption and they can be recharged in a power bank, solar charger, or generator.

LED Lantern is a gadget sitting somewhere between a headlight and a panic light, it offers around the same light amount as a panic light but you can carry it around with you. Of course, it will drain its battery faster than a panic light and it will still need to carry around but it can offer some good options when you need it, like taking it with you to the toilet.

An electric lighter is also one of the things that you will need, it can ignite candles, paper, stoves, etc. Its battery is usually enough for extensive use and there are small chances that it will need to be recharged. Having matches is also smart, just in case.

Great gadget when outbreaks last long or when you get hungry. Not all households have gas ovens so a Solar oven is a great tool to keep you full of food. Granted it will not be on par in speed and quality with a regular oven but when it is the only option it will suffice.

 Once you are in the system, on the left tabs find and click on Clipboard.
 If you are not logged in to your Microsoft account do so on the right panel by locating Sync across devices and click on sign in.
 When you are signed in click on the option to turn it on.
 One option is turned ON, you will be greeted with two choices, to copy everything from the clipboard automatically or to choose text which you want to sync and paste it with ⊞ WINDOWS + V. Choose whatever better suits your needs, and you are done.
Repeat these steps for other devices and you are done.
One option is turned ON, you will be greeted with two choices, to copy everything from the clipboard automatically or to choose text which you want to sync and paste it with ⊞ WINDOWS + V. Choose whatever better suits your needs, and you are done.
Repeat these steps for other devices and you are done. net stop wuauserv net stop bits rename c:windowsSoftwareDistribution SoftwareDistribution.bak
net start wuauserv net start bitsSince the folder has already been flushed, it will be populated afresh the instant your restart your computer and open Windows Update.
rd /s \?X:badfolderpathNote: In the command above, “X” is the placeholder letter so you must input the letter that corresponds to the drive’s letter where the file is located.
del *.*
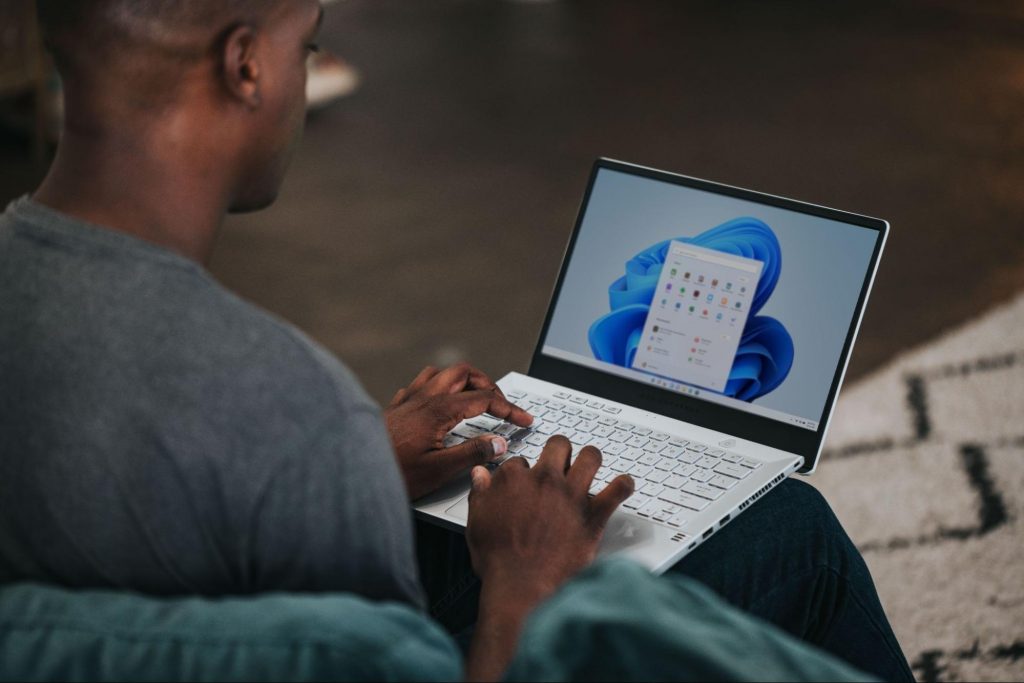
Loving Windows 11 so far? We sure are. Microsoft has clearly decided to take its OS to the next level and keeps showing it through every update. It makes you wonder what’s next - and today, you’ll find out!
Tons of new features have been leaked, and we can probably expect them with the 23H2 update. Here’s everything you need to know so far.
There are plenty of new features already confirmed for Windows 11. The only issue is we don’t know for sure if they’re coming with the 23H2 update or separately, at a different time. Whatever the case, a lot of them are pretty exciting.
Here’s an overview of what we might be getting this fall.
Another is AI-generated keywords, designed to improve the discoverability of apps you’re searching for. Moreover, the AI-generated review summary is designed to give us a simpler experience looking at reviews. Huge numbers of reviews will be compiled into a summary that’s easy to scan and lets us discover new content faster.
We’ve got some interesting stuff to look forward to with the next major Windows 11 update. And these are just the things the Internet’s actually heard of, so who knows what else Microsoft might be planning? It remains to be seen, hopefully just a few months from now. 23H2 has been released on October 31st.
Can’t sign in with a Microsoft account This program is blocked by group policy. For more information, contact your system administrator. 0x8000704ecThen this post is for you. We will guide you on how to easily resolve issues, please follow the steps provided.
Computer Configuration > Windows Settings > Security Settings > Local Polices > Security Options
HKEY_LOCAL_MACHINE\SOFTWARE\Microsoft\Windows\CurrentVersion\Policies\System
HKEY_LOCAL_MACHINESOFTWAREPoliciesMicrosoftSystem
DISM.exe /Online /Cleanup-Image /RestoreHealth /Source:C:RepairSourceWindows /LimitAccess
net stop wuauserv net start cryptSvc net start bits net start msiserver