- Press ⊞ WINDOWS to open the start menu and click on the settings
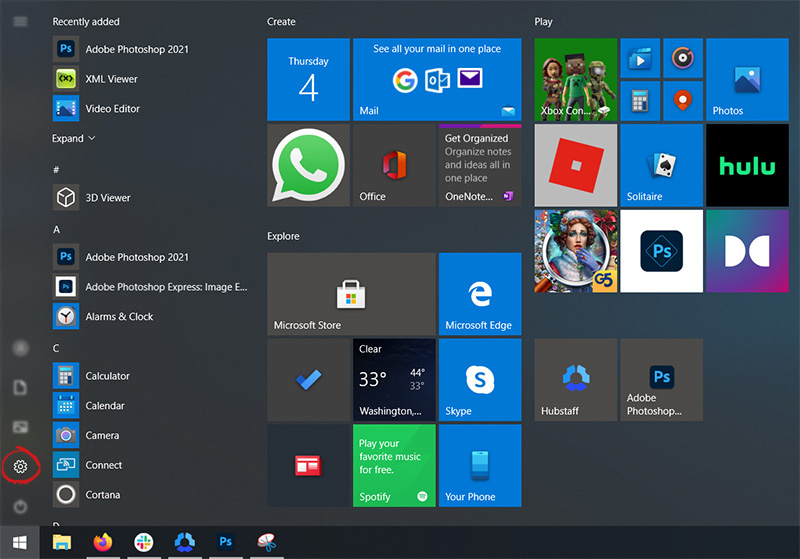
- On settings, screen click on system

- When the system dialog opens go to Power & Sleep and on the right side change all values to never.

If you are an iPhone or an iPad user and you sometimes open your email Yahoo Mail account on your phone, then you will most likely experience the MF Message Error Domain: Error 1032.
This error may occur when you access your mail account. The MF Message Error Domain: Error 1032 may prevent you from composing new emails and even stop the inbox from loading.
 Error Causes
The error 1032 can be triggered due to multiple reasons such as:
To fix this issue on your iPhone or iPad, here are some methods you can try:
If the error code 1032 occurs due to problems with the account log-in credentials, then try re-setting up your Yahoo email account.
To do this, go to tap settings mail, contacts, and calendar, then remove your email account. Now repeat the process and provide valid log-in credentials to re-setup your Yahoo email account.
Another reason can be the outdated Yahoo Mail App. If this is the cause, then simply update it to the latest version. To do this, simply download the latest version from the iTunes store and run it. This will hopefully resolve the issue.
If the error 1032 occurs due to authentication issues then there are possibilities of conflicts between account security settings. The best way to resolve the error in such a situation is to learn how to manage app connections. Here’s how it’s done:
Use your desktop computer to sign in to your Yahoo account. Now click the menu icon and select account info. Enter your account password and sign in again. Now click manage apps and website connections under Sign-in and security section.
A list of all authorized mobile devices and applications will be displayed to you. Remove any existing entries appearing for mobile devices. After this, try logging into your Yahoo account from your iPhone or iPad. You will not receive the error.
When the cause of the issue is overloaded history, then the best way to go about it is clearing the clutter in the history. Also clear cache and cookies.
The cache is the location where temporary files are saved for speeding up the file retrieval process. But sometimes it can get corrupt and the iOS may fail to retrieve data from corrupt cache contents.
To clear history and cache, simply tap Settings, Safari, and then clear history, cookies, and data. The process may take some time depending on the cache file size.

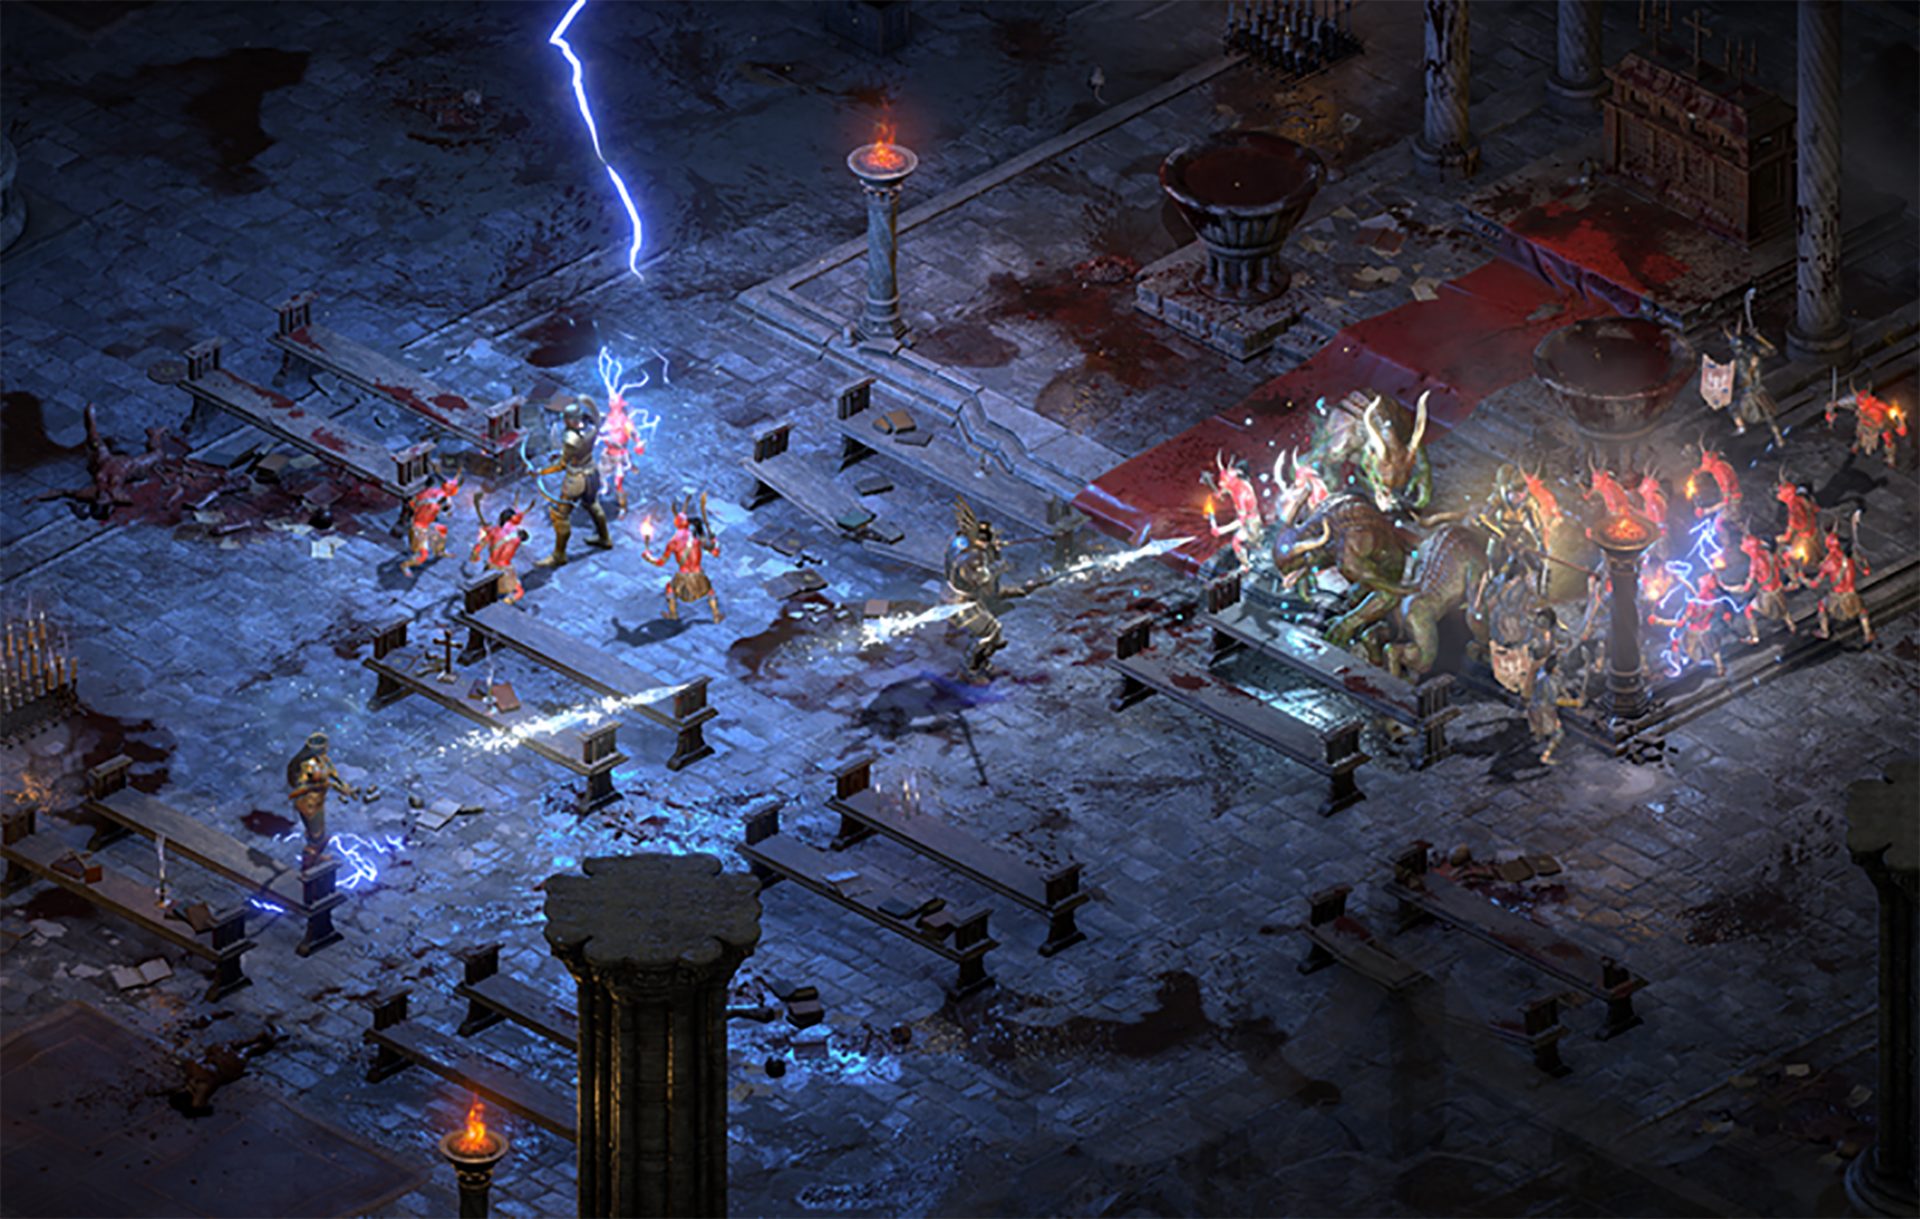 Speaking of old players of old Diablo 2, they can transfer their old characters into remaster and continue playing them within this new great HD environment. There are some steps and requirements but we are here to help and transferred characters will bring full stash, inventory, and equipped items with them.
Chedot is a Chromium-based Browser that replaces your default System Internet Browser. This browser offers users tools for downloading videos, faster browsing, and custom searches. From the publisher: A feature of our browser is a high speed on slow computers, high speed download on a poor internet, support resuming file download when connection is broken and the download in multiple threads, the ability to go on blocked websites and downloading videos from video sites.
While this may seem interesting and good at start, this browser has been marked as a Potentially Unwanted Program. It monitors user activity, collects web traffic data, and user information. While using Chedot you may see additional ads throughout your browsing sessions.
“0x8007001F-0x20006, The installation failed in the SAFE_OS phase with an error during REPLICATE_OC operation.”The error pointed out the “Safe OS phase”. It is the phase that’s initiated to install all the required Windows Updates. Thus, the possible cause for this error could have something to do with an interrupted download, internet connection, and many more. Although this error could be caused by a lot of factors, fixing it shouldn’t be that hard. You can try to reset the Windows Update Components or delete the Windows Update cache. You could also disable both the Firewall and your antivirus program temporarily or run the Windows Update in a Clean Boot state, as well as run the Windows Update troubleshooter. To get started troubleshooting the error, follow each one of the suggestions provided below.
At its most basic level, Error Code 0x8024001b is an error that can cause problems with the installation and updates of software and operating system updates. The most common version of this error appears in Windows 10, but a similar error with a matching code number has been present in previous versions of the operating system, back through Windows 7.
Common symptoms include:
Error CausesThere are two main causes for Error Code 0x8024001b, both of which are fairly simple: Updates needed for the Windows Update tool itself and software that causes Windows Update to fail during installations through conflicts in system files. While these may seem like technical issues, these problems are actually easily resolved with a few simple steps. The average user can use the methods listed below to fix the problems on their own.
For users who want to address Error Code 0x8024001b for themselves, the steps below can be followed to address the two primary causes for the error. If you have difficulty in completing these steps or are not confident in your computing skills and ability to follow the listed steps, contact a Windows repair technician.
Here are the top methods to resolve Error Code 0x8024001b on your own:
In some cases, the Windows Update tool may need an update for itself. When you attempt to run updates or install wizards for other software, it can cause conflicts with the Windows Update process, slowing down your computer or causing it to freeze.
If you are attempting to run multiple installations or updates at the same time, it may also cause Error Code 0x8024001b to arise on your computer.
To resolve this issue, close out all programs, with the exception of the Windows Update tool. Within the tool, select “Check for Updates” and install any updates that are needed. When finished, you should restart your computer to ensure that all updates have been fully applied before attempting any other installations or updates.
Another problem that can cause Error Code 0x8024001b is the presence of conflicting software. If Error Code 0x8024001b has only recently appeared on your computer, consider removing any software that has been added to your computer, running the Windows Update process, and restarting your computer before attempting to reinstall the problem software.
With any method that you use, it is important to remember to keep your Windows Updates current at all times. This is the best way to avoid the appearance of Error Code 0x8024001b and similar errors in the future, as stacked up updates are more likely to cause issues and conflicts with your other installed software and operating system.
While there are some tools out there that claim to be able to fix Error Code 0x8024001b for you, it is important to always thoroughly investigate the publisher and distributor of such software, as some of the tools available on the Internet will actually introduce malware and adware on your computer in the name of “protecting” your computer or resolving an error.
If you have tried to use both methods above and have not fully resolved Error Code 0x8024001b, get in touch with someone who is a qualified computer repair professional and is familiar with your particular version of the Windows operating system to assist you in finalizing your resolution.
If you wish to always have at your disposal a utility tool to fix these Windows 10 and other related issues when they do arise, download and install a powerful automated tool.
Software Updater is an ad-supported browser extension hijacker that claims to update your PC programs and drivers. In addition to managing the installation of your selected software, this install manager will make recommendations for additional free software that you may be interested in. Additional software may include toolbars, browser add-ons, game applications, anti-virus applications, and other types of applications. The hijacked homepage, softwareupdater.com, did not have valid legal privacy and disclaimer policies on its website as of publication date.
This software adds a Windows Task Scheduler in order to launch the program at various times, including system startup. The software has access to all installed applications on your PC and can install bundled products with unwanted malware. It is also commonly distributed in bundles with unwanted software. Several anti-virus programs have classified this software as malware and are therefore not recommended.