If you are an iPhone or an iPad user and you sometimes open your email Yahoo Mail account on your phone, then you will most likely experience the MF Message Error Domain: Error 1032.
This error may occur when you access your mail account. The MF Message Error Domain: Error 1032 may prevent you from composing new emails and even stop the inbox from loading.
 Error Causes
The error 1032 can be triggered due to multiple reasons such as:
To fix this issue on your iPhone or iPad, here are some methods you can try:
If the error code 1032 occurs due to problems with the account log-in credentials, then try re-setting up your Yahoo email account.
To do this, go to tap settings mail, contacts, and calendar, then remove your email account. Now repeat the process and provide valid log-in credentials to re-setup your Yahoo email account.
Another reason can be the outdated Yahoo Mail App. If this is the cause, then simply update it to the latest version. To do this, simply download the latest version from the iTunes store and run it. This will hopefully resolve the issue.
If the error 1032 occurs due to authentication issues then there are possibilities of conflicts between account security settings. The best way to resolve the error in such a situation is to learn how to manage app connections. Here’s how it’s done:
Use your desktop computer to sign in to your Yahoo account. Now click the menu icon and select account info. Enter your account password and sign in again. Now click manage apps and website connections under Sign-in and security section.
A list of all authorized mobile devices and applications will be displayed to you. Remove any existing entries appearing for mobile devices. After this, try logging into your Yahoo account from your iPhone or iPad. You will not receive the error.
When the cause of the issue is overloaded history, then the best way to go about it is clearing the clutter in the history. Also clear cache and cookies.
The cache is the location where temporary files are saved for speeding up the file retrieval process. But sometimes it can get corrupt and the iOS may fail to retrieve data from corrupt cache contents.
To clear history and cache, simply tap Settings, Safari, and then clear history, cookies, and data. The process may take some time depending on the cache file size.

Did you previously use Windows 7 or 8 but decided to run with the latest Windows 0S, Windows 10? An early error message encountered was activation error code 0Xc004F074. Error code 0Xc004F074 is manifested when the user fails to activate Windows directly after the installation of Windows 10. This occurs if the previous operating system on your computer was Key Management Service (KMS) activated.
The KMT provides a more seamless operation when users are activating volume license editions of Microsoft Windows and Office. This process tends to be clear to end-users of the system.
Symptoms of error code 0Xc004F074 include:
Error CausesVarious factors might incite error code 0Xc004F074. A primary cause is a discrepancy or difference between the KMS client and the KMS host machine. The host computer could possibly be operating a Windows Server 2003 or Windows Server 2008, while the client runs on OS Windows 7 or Windows Server 2008 R2. To supplement, the computer’s time might be a contributing factor. The time on the host machine and client might show a difference (Usually the host time exceeds 4 hours).
Are you running later versions of Windows Server? Use an update that fixes or installs KMS on your computer. The update is available on Microsoft’s website. Keep clearly in mind that the update is only for Windows Server 2013 Service Pack 1 and later versions of Windows Server 2003.
This step is similar to the aforementioned. However, it applies to Windows Vista and Windows Server 2008. This ensures the service is extended to Windows 7 and Windows Server 2008 R2.
It was previously mentioned that the time reflected on the KMS host and client might cause error code 0Xc004F074 to manifest. A simple fix to adhere to is to always ensure that the time between both is updated. To Resync the time on the client, execute the following command.
w32tm /resync
For this method to be successfully deployed, you’ll need to have in your possession an activation key or KMSpico Key. As you cannot apply the new key with the existing one, remove or uninstall the initial key. To perform this step, open the command prompt. This should be done while the computer is in admin mode. Then, run the command
(slmgr.vbs /dlv)
It should be executed without the brackets and before you have removed the existing key.
After executing the command, you’ll encounter the description:
Windows(R) Operating System, VOLUME_KMS_WS12_R2 channel
Move along with the process by applying the slmgr.vbs /upk to uninstall the existing KMS key.
After the old key is uninstalled, you’re ready to apply the following:
slmgr.vbs /ipk <NewKMSProductKey>
To check if things are in place and complete the process, follow the steps below: PC Settings >Update and Security > Activation
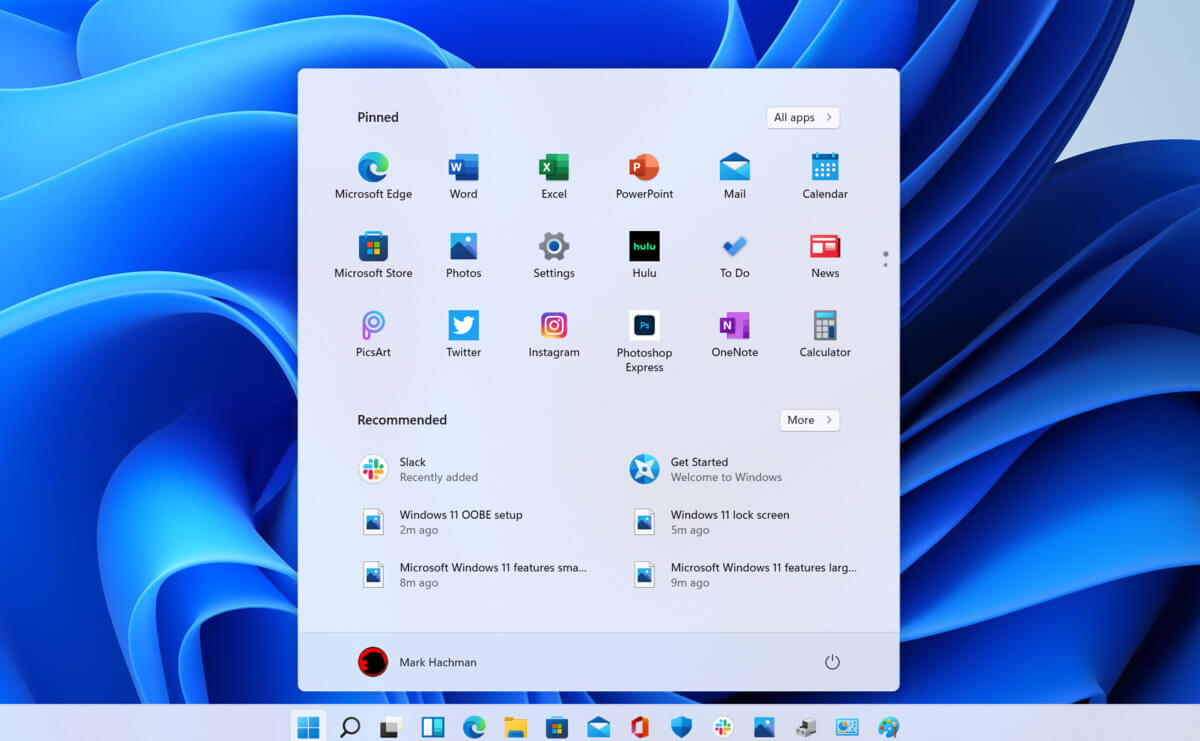 Windows 11 has brought some bad reviews for its inability to change the taskbar location to the screen. Luckily we can still hide it if needed.
In order to hide the taskbar from the screen follow these simple instructions:
Windows 11 has brought some bad reviews for its inability to change the taskbar location to the screen. Luckily we can still hide it if needed.
In order to hide the taskbar from the screen follow these simple instructions:
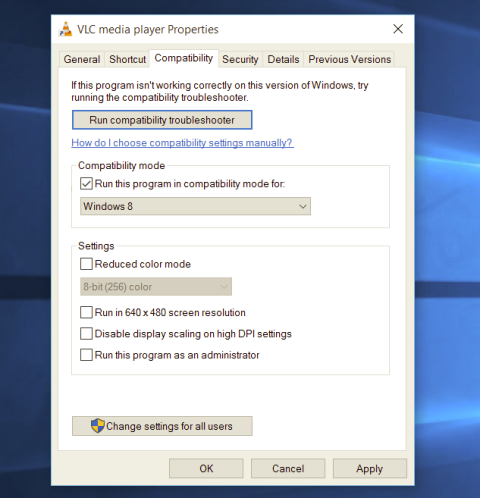 Most of the time running applications with typical settings is fine but from time to time we might have some applications that will require running with administrator privilege in order to work properly. In this case, it is very easy to do it, you just right-click and choose run as administrator.
Although a very easy solution, it can be quite annoying if running the app is on a daily basis or even more times per day. If this is the case then right-clicking and choosing to run as administrator can be a daunting task, sometimes you can even forget to run it like this in heat of work and some unforeseen consequences might occur.
Luckily there is an easy hack so you can open the chosen application each time as an administrator with a simple double click each time.
Most of the time running applications with typical settings is fine but from time to time we might have some applications that will require running with administrator privilege in order to work properly. In this case, it is very easy to do it, you just right-click and choose run as administrator.
Although a very easy solution, it can be quite annoying if running the app is on a daily basis or even more times per day. If this is the case then right-clicking and choosing to run as administrator can be a daunting task, sometimes you can even forget to run it like this in heat of work and some unforeseen consequences might occur.
Luckily there is an easy hack so you can open the chosen application each time as an administrator with a simple double click each time.
If you have a laptop that is slowing down and some usual tasks are sluggish you probably mean that it is time to change it and get a new one. Altho it is a good solution and it will guarantee that you will be able to do your tasks with more speed and comfort, straight purchasing is not always the best thing to do.

There are things you can do and some upgrades that are cheaper and will bring your laptop back into the game and extend its usage for a few more years.
The most common issue for slowing down of computer is dust and dirt that accumulates over time and usage. If the laptop has not been properly cleaned in a while, cleaning it and placing new thermal paste on the CPU can do wonders. If you are not keen on doing this yourself or do not possess the required skillset take it to your local IT center for cleaning.
Various software can have speeding effects on computers, it can have some services running in the background and thus take precious resources slowing the whole system. If you are not using software, uninstall it.
If you are using your computer for basic tasks there is no really need to install the latest and best. A lot of new software will require new hardware and things that offer are not so much better nor even required to justify the upgrade. Let us take office, for example, if you are using it to just write some text and not using any advanced options there is really no need to switch to a newer version, the old one will do just fine tasks that you are in need of.
Now this fits in the domain of upgrading your hardware but still it is much cheaper than replacing the whole laptop. Windows 10 works much better with SSD and SSD itself is faster than your standard HD, especially if it is slower model spinning in only 5400RPM. Operation of HD replacement is simple and straightforward and anyone can do it but the benefits of replacement will be visible right away. With a new SSD instead of an old mechanical one, you will have the feeling that you actually bought a new laptop.
This is basically the last thing you can do in order to speed up your old laptop that will not break your bank account. Upgrading RAM was always the thing that can push your computer to have more power and to behave better while you are doing tasks. One important thing here is to first see how much RAM you have in your computer. If you are packing already 8GB then upgrading will not do much but if you have only 4GB, raising it to 6GB or 8GB will be beneficial. Also, check if the model of the laptop supports more RAM in the first place.
We have covered here a vast array of options in order to get your laptop back into the game with variability between hardware upgrades to taking care of your software. Whatever option you choose to do it will speed up your computer but among all of them, replacing the hard drive will do the most.
Set-ExecutionPolicy Unrestricted
Get-AppXPackage -AllUsers | Foreach {Add-AppxPackage -DisableDevelopmentMode -Register "$($_.InstallLocation)AppXManifest.xml"}