High Dynamic Range or HDR is a technique that’s used to create lifelike videos which have improved and better dynamic range, especially when it comes to details. And as you know, Windows 10 supports the steaming of HDR videos as long as the display supports it and it comes with the option to enable the HDR Playback for Windows 10 Video Streaming apps. However, before you can get the best viewing experience, you need to calibrate the display further for HDR video on your Windows 10 PC.
Take note that even when you have the HDR Playback feature enabled on your computer, you still need a display that supports it. To make sure that your display supports this feature, you can use the DirectX Diagnostic Tool to have the display correctly wired and have the latest WDDM 2.4 drivers installed as well as set the other settings properly.
Once you’ve made sure that your computer’s display really supports HDR and you’ve already enabled the HDR Playback feature, now it’s time for you to calibrate. Remember that when you calibrate the display, you should make an external monitor your primary display if you are using it for HDR and then adjust the settings to your liking. And if you are calibrating for primary display, you need to disconnect all other displays.
Note: Just a tip when calibrating – you just have to find the right balance between the details in the darker parts of a scene. For instance, you have Mountains in the background and buildings in the front – you need to drag the slider to the right to add more details to the snow on the mountain or drag the slider to the left to add more details to the buildings. After that, you can pause the video and exit the full-screen mode. Keep in mind that the quality of HDR depends on you as it is a personal choice. Some users might like a brighter shade while other ones want the darker shade so it really depends on your taste. If you are not satisfied with how your HDR turned out, you can just try calibrating the display again. Simply go back to the default HDR video calibration and click or tap the Reset calibration button.
Another thing to remember. First, you can only see HDR content on the full screen and if you’re using a laptop, you need to make sure to watch videos when plugged in and check that the battery settings won't’ lower the brightness.

HPQTRA08.exe (Hewlett Packard Tray 08) is the Hewlett Packard Digital Imaging Monitor task. It is installed with the drivers of HP imaging products like PhotoSmart Printers.
It incessantly monitors and indicates the connectivity status with any recognizable HP product.
Simply put, HPQTRA08.exe is an exe (executable) file that contains step-by-step instructions that a computer follows to carry out a function.
HPQTRA08.exe error code is displayed in any of the following formats:
 Error Causes
Error code HPQTRA08.exe can be triggered for several reasons. However, some of the most common causes include:
It is advisable to repair the error code HPQTRA08.exe on your PC immediately. Delays can lead to serious problems especially if the underlying cause of the error is related to registry corruption.
To resolve this error on your PC, you don’t need to hire a professional and pay hundreds of dollars for the repair. Simply try the DIY methods listed below to fix the problem right away.
If the error cause is related to deleted, corrupted, or damaged HPQTRA08.exe file, then the best way to fix the problem is to install the HPQTRA08.exe file on your PC.
However, first, make sure the site you select to download the file from is reliable and trusted.
By downloading from an unreliable website you can expose your PC to potential malicious programs and risk your data security.
Sometimes viruses and malware tend to disguise in the form of exe files such as the HPQTRA08.exe file.
In such a situation scan your entire PC for viruses and malware using a powerful antivirus. Remove all the malicious programs found to fix the issue.
The registry saves all PC-related activities and information including both important and obsolete files such as cookies, bad registry entries, invalid keys, internet history, and junk files.
If these files are not removed from the registry frequently, these accumulate in the registry and corrupt thereby triggering error codes. Error code HPQTRA08.exe is generated when the corrupt Windows registry keys are associated with the HPQTRA08.exe file.
To resolve, clean the registry and repair it. Although this can be done manually it can be time-consuming and tricky especially if you are not technically sound, therefore it is advisable to download Restoro.
Click here to download Restoro and resolve error HPQTRA08.exe.Easy Directions Finder is a browser extension developed by Mindspark Inc. for Google Chrome. This extension offers users quick access to popular websites for navigation and evens. While at first glance this might look useful, keep in mind that this extension has been marked as a Browser Hijacker by several anti-virus applications.
When installed EasyDirectionsFinder will record your browsing history, visited links, clicked URL-s, and viewed products. This data is later forwarded/sold to Mindspark's ad network and used to better target ads to users.
While browsing the internet with this extension installed (it does not have to be enabled) you will see additional injected ads, sponsored links, and pop-up ads throughout your browsing sessions. Due to its information mining behavior and aggressive ad injections, it is recommended to remove this extension from your computer.
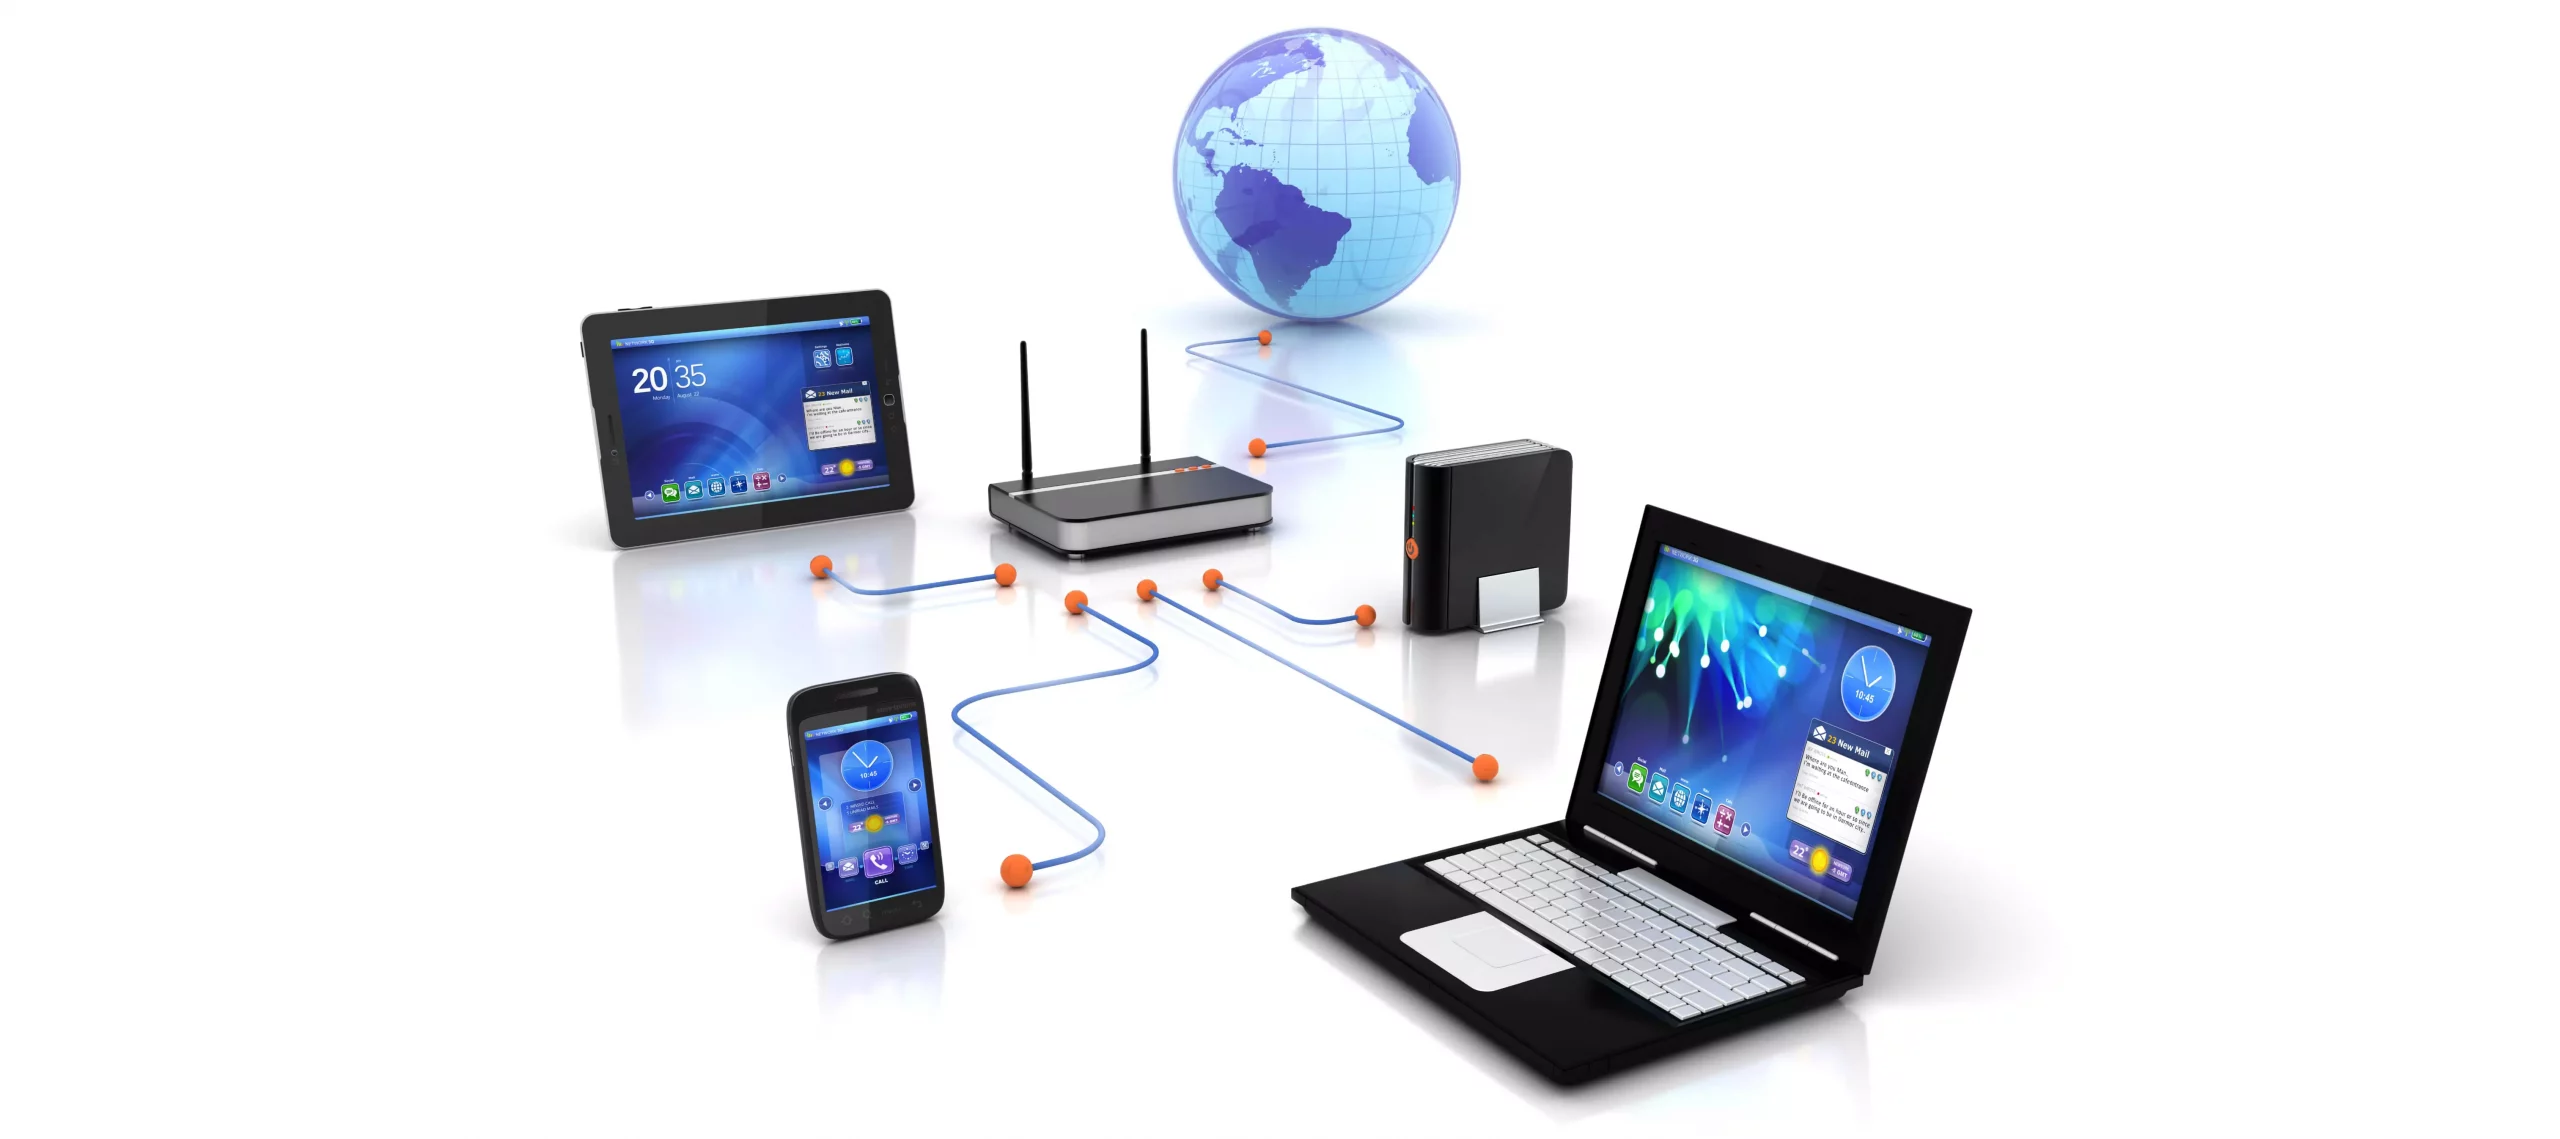
If you would like your computer to be discoverable on your network and use print and file sharing you will have to change your network profile on your computer from public to private.
Follow the provided guide step by step to change your network profile setting:
Locate the Wi-Fi icon in your system tray and click on it. Click on properties on your WI-FI network to open the network menu. Inside the menu in the Network profile section enable the Private option.
Your changes will be automatically saved.
Find the WI-FI icon in the system tray and right-click on it, then choose Network and Internet Settings. Network & Internet page with open, find your network name at the top and select properties.
On the WI-FI page, in the Network Profile Type section choose Private. As in Windows 10, your changes will be automatically charged, and you can start using them immediately.
If you want to switch back to a public profile follow provided steps but disable the private option.
Error CausesLoving Windows 11 so far? We sure are. Microsoft has clearly decided to take its OS to the next level and keeps showing it through every update. It makes you wonder what’s next - and today, you’ll find out!
Tons of new features have been leaked, and we can probably expect them with the 23H2 update. Here’s everything you need to know so far.
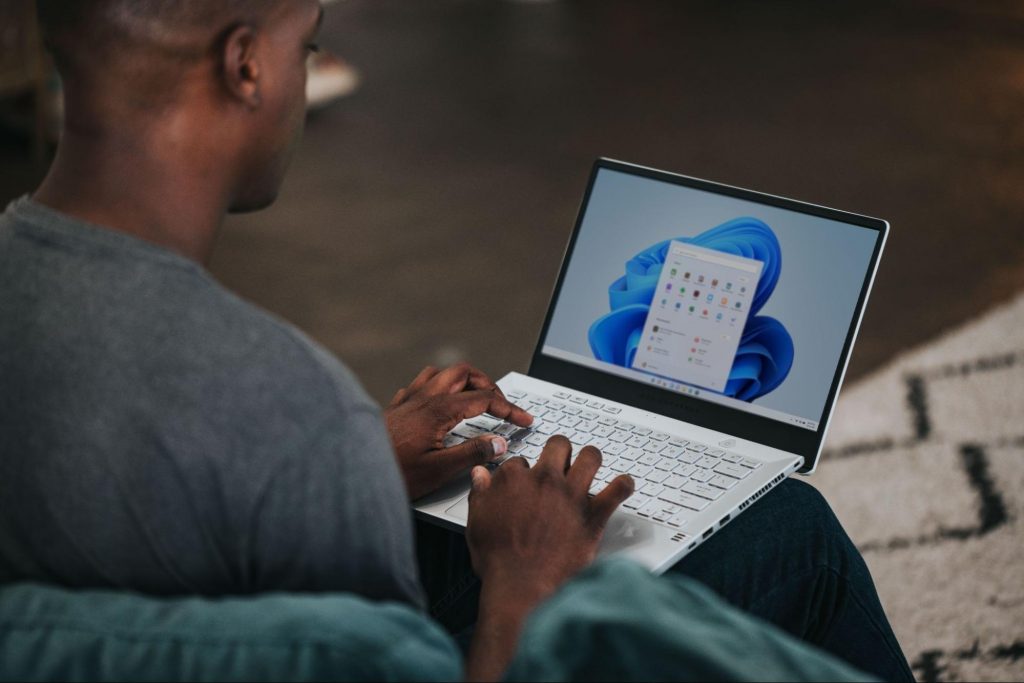
There are plenty of new features already confirmed for Windows 11. The only issue is we don’t know for sure if they’re coming with the 23H2 update or separately, at a different time. Whatever the case, a lot of them are pretty exciting.
Here’s an overview of what we might be getting this fall.
Another is AI-generated keywords, designed to improve the discoverability of apps you’re searching for. Moreover, the AI-generated review summary is designed to give us a simpler experience looking at reviews. Huge numbers of reviews will be compiled into a summary that’s easy to scan and lets us discover new content faster.
We’ve got some interesting stuff to look forward to with the next major Windows 11 update. And these are just the things the Internet’s actually heard of, so who knows what else Microsoft might be planning? It remains to be seen, hopefully just a few months from now. 23H2 has been released on October 31st.
Error Causes