Hello everyone and welcome to our new Windows 10 tips and tricks article. Today we will be focusing on small Windows tricks that could prove very useful in everyday workflow and hopefully make your life easier by implementing them in your daily routine.
I am very excited to share this with you all and I hope that you will use them from now on. That being said let us begin.
Tip 1: Minimize all open windows except one.
Daily to the daily routine can involve many opened windows on a desktop and sometimes things can get messy, if you want to minimize all windows to the taskbar except one do this:
Click on one window thus selecting him,
click and hold the left mouse button on that windows title bar, now
shake it up and down and all other windows will escape down to taskbar leaving only one you are shaking on the desktop.
Tip 2: Open the Secret Windows menu.
Through our tutorials on various errors and fixes, we have used this method already but here it is again since it is worth mentioning. If you want to open the command prompt easy and fast, or device manager, event viewer, shut down, etc. In order to open this secret menu all you need to do is press
⊞ WINDOWS +
X.
Tip 3: Create an Event without opening the calendar application.
You can easily create an event without opening a calendar application, all you have to do is left-click on the clock in the taskbar, click once on a date for the event, and under calendar in event field type event description. The event will show in the calendar application like it was entered there.
Tip 4: Taking a screenshot.
This one is my favorite and it speeds up workflow very very much. Typically you take screenshots by pressing the
PrntScr button on your keyboard. Now, the problem with this approach is that the screen is placed in computer memory, in the clipboard and you will need another picture processing application in order to save it.
Now if you would press
⊞ WINDOWS +
PrntScr, the picture would be automatically saved in your pictures/screenshots folder.
And if that is not enough, you can press
⊞ WINDOWS +
S +
SHIFT to start Snip & Sketch tool and select the area which you would like to screen capture, this method will also place pictures in the clipboard.
Tip 5: Open pinned applications in your taskbar with your keyboard.
We have covered this one in our Windows keyboard shortcuts tips and tricks
here, but if you missed that article here is the tip again. By pressing
⊞ WINDOWS + number
1,
2,
3...
0 you will start the application from your taskbar counted from left to right.
Tip 6: Check how much Hard drive space installed applications are taking.
Applications and temporary files grow over time and can slow the system and cause some other unpleasant experiences. Go to
Settings > System > Storage, click on the Hard drive on which you have installed applications, and see how much each one is taking, you can remove it from this screen also freeing some space.
Tip 7: Remove ads from the START menu.
Windows has so-called suggestions in the
START menu, no matter how Microsoft is calling them, let's face it, they are ads and in my opinion, they do not belong in my
START menu. To turn them off, go to
Settings > Personalization > Start. Toggle the setting called
Show suggestions occasionally in Start to the
off position.
Tip 8: Shut down background applications.
Some applications are running in the back and are taking system resources and can send telemetry information, if you want to turn them all off go to
Settings > Privacy > Background apps. To stop all apps from running in the background, toggle
Let apps run in the background to
off. You can choose which apps to run in the background individually by going down the list on the same page.
Tip 9: Use Background scrolling.
Did you know that you can scroll on inactive windows? To do this, just hover over the inactive background window and roll your mouse when the content of the window should be scrolling even if it's not one you are working on. If by any chance this is not happening, go to
Settings > Devices > Mouse, and toggle
Scroll inactive windows when I hover over them to
On.
Tip 10: Show file extensions in File Explorer.
By default extensions of files are hidden, so let's say that for example, you are in a folder with pictures, you have plenty of pictures there but you do not know are they
JPG or
JPEG for example, do not worry there is an easy fix to bring showing extensions back. Start
File Explorer, click on
view top menu item, click on
options, Uncheck the box that says
Hide extensions for known file types. Click
Apply, and
OK.
Tip 11: Use focus assist.
Set it up by going to
Settings > System > Focus assist. Choose from three options:
Off (get all notifications from your apps and contacts),
Priority (see only selected notifications from a priority list that you customize, and send the rest to your action center), and
Alarms only (hide all notifications, except for alarms). You can also choose to automatically turn this feature on during certain hours, or when you're playing a game.
Tip 12: Rotate your screen.
If you have multiple screens set up or you have the rotatable screen press and hold
CTRL +
ALT together, then use a
directional arrow to flip the screen. The right and left arrows turn the screen 90 degrees, while the down arrow will flip it upside down. Use the up arrow to bring the screen back to its normal position.
Tip 13: Enable GOD mode.
Have you always felt limited with Windows settings? Don't be,
Right-click on the desktop and select
New > Folder. Re-name the new folder with this bit of code:
GodMode.{ED7BA470-8E54-465E-825C-99712043E01C} To enter the "God Mode" window,
double-click the folder.
Tip 14: Use Virtual Desktops.
Click on
Task View (the icon next to the search box). This will separate all your open windows and apps into icons. You can then drag any of them over to where it says "
New desktop," which creates a new virtual desktop. Once you click out of Task View, you can toggle between virtual desktops by pressing the
⊞ WINDOWS +
CTRL +
right/left arrows. To remove the virtual desktops, just go back into task view and delete the individual virtual desktops, this will not close out the apps contained within that desktop, but rather just send them to the next lower desktop.
Tip 15: Customize the command prompt.
Yes, you can customize the command prompt, in order to do so, open it and
right-click on its title bar, choose
properties and go wild. Special badge if you make it look like commodore 64 BASIC.
Tip 16: Dictate, not type.
If you have speech recognition ON, pressing
⊞ WINDOWS +
H will bring up a voice recorder, just speak and see how you can easily "write" emails, etc.
Tip 17: Use sandbox.
In Windows you have a sandbox option, which will open another Windows instance inside Windows, what do you need this? Well once the sandbox is closed everything in it is closed and if you catch the virus or other dangerous software, closing the sandbox will destroy it not affecting your actual Windows. Use it for safety testing and enjoy an easy life.
Enable Windows Sandbox inside the Control Panel.
Tip 18: Use a hidden game bar.
Press the
⊞ WINDOWS +
G, you can pull up the new-and-improved Game Bar. This lets you switch your Windows PC into gaming mode, which pools system resources to the game, turns off notifications, and lets you record and broadcast your gaming, along with added panels for controlling your audio, monitoring FPS, and tracking achievements.
And that's it, Our 18 tips and trick to make your Windows 10 life easier, more productive, and overall more enjoyable. I certainly hope you have enjoyed reading this article same as I was writing it. Until next time if I do not see you, good afternoon, good evening, and good night.


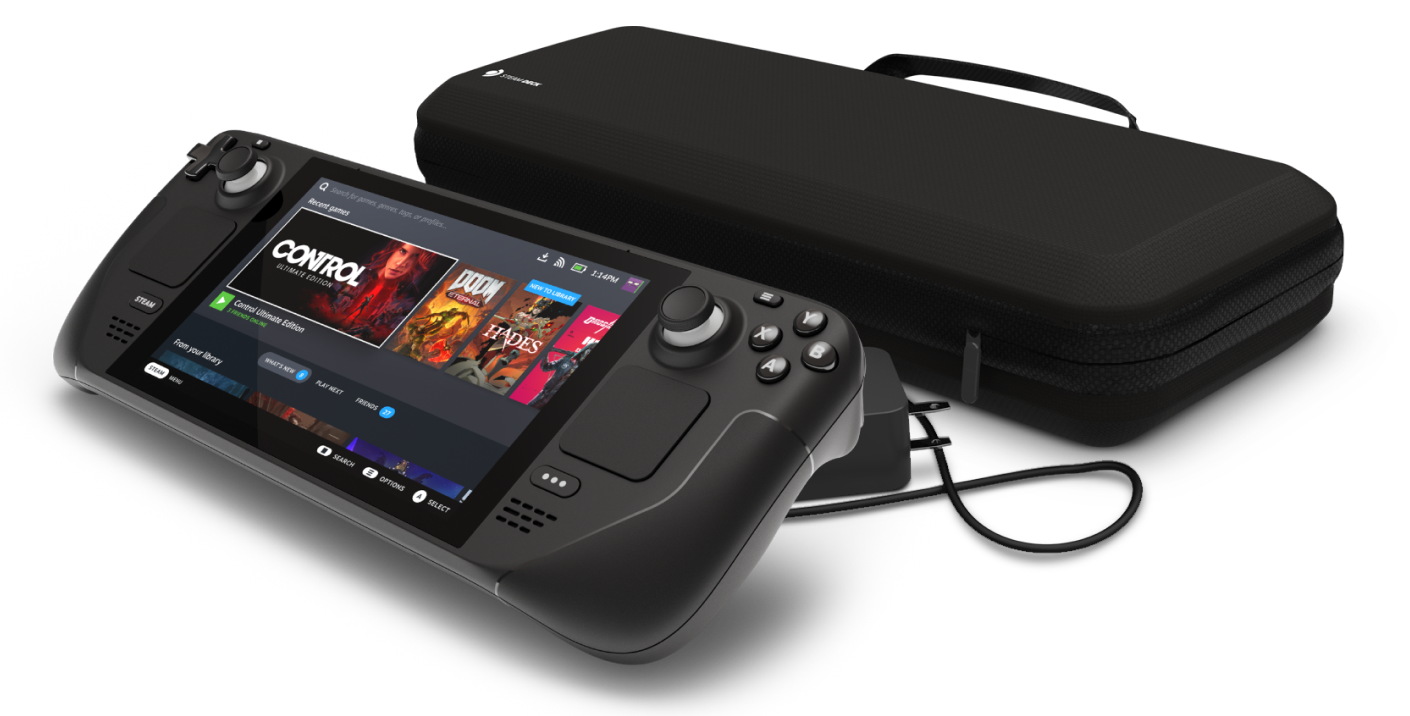 This, of course, means that you will be able to have both Proton and Windows on your device letting you play anything that you wish if the hardware is strong enough. Valve also said that you can launch OS from an SD card! This of course will save space available for games themselves, especially for entry models with less than one available.
All of this information really pushes Deck into the territory of a handheld PC and not just another console and I must admit that this announcement left a smile on my face.
This, of course, means that you will be able to have both Proton and Windows on your device letting you play anything that you wish if the hardware is strong enough. Valve also said that you can launch OS from an SD card! This of course will save space available for games themselves, especially for entry models with less than one available.
All of this information really pushes Deck into the territory of a handheld PC and not just another console and I must admit that this announcement left a smile on my face.  Update Windows 11