It is common to run multiple programs and applications at the same time and it’s important to be able to switch between them using their Taskbar icons or using the usual Alt + Tab shortcut. However, there are times when you might suddenly find that neither of the aforementioned methods worked and you will no longer be able to switch between programs in the Windows Taskbar. To fix this issue, refer to the options given in this post.
For instance, when you have multiple instances of Microsoft Edge running and every time you press the Alt + Tab combo nothing happens so you are left with no choice but to minimize everything and then hover your mouse on the icon and switch between the instances of Edge. You will also notice that the right-click on the taskbar won’t respond back and will only keep on showing the loading circle icon.
Here are a few tips you can follow to fix the issue with the Windows 10 Taskbar.
This is one of the basic things you can try as restarting Windows Explorer helps in refreshing the user interface and makes most of the things work in relation to the user interface.
Aside from restarting Windows Explorer, you could also try changing the Foreground Lock Time to fix the issue with the Taskbar.
Note: If you are running some Full-Screen applications there are some devices especially the gaming ones, disable the Windows key to make sure that you won’t be able to switch. If this is the case, you need to make some modifications to the Full-Screen games.

“Windows Sandbox failed to start. Error 0x80070015. The device is not ready. Would you like to submit feedback about this issue?”If you are one of the users who encountered this kind of error in Windows Sandbox, then you’ve come to the right place as this post will help you sort this problem out. All you have to do is follow each one of the options provided below.
iLivid is a video download manager for YouTube and other third-party video-hosted websites. iLivid download manager has powerful features that make it the fastest and easiest way to download hosted files. iLivid includes XBMC plug-ins that let you play almost all popular audio and video formats, in any available protocol and in any media type: streaming, CDs, DVDs, and RAR and archived files from your hard drive.
Livid is a program developed by Bandoo Media Inc. Upon installation, it defines an auto-start registry entry which allows the program to run on each boot for the user who installed it. A scheduled task is added to Windows Task Scheduler in order to launch the program at various scheduled times. The software is designed to connect to the Internet and adds a Windows Firewall exception in order to do so without being interfered with.
Multiple Anti-Virus scanners have detected iLivid as a possible Malware and are therefore not recommended.
0x00000014 error is actually an error that is always displayed on a STOP message.
It is also known as Blue Screen of Death, abbreviated as BSOD. When this error occurs, the message that is displayed to the user either says ‘STOP: 0x00000014’ or states ‘CREATE_DELETE_LOCK_NOT_LOCKED’. It is crucial to fix this error to ensure your program is functioning appropriately. If this error message is not rectified, you might be opened to other error messages, such as error code 0x000000d1.
 Error Causes
As far as the causes of STOP 0x00000014 error are concerned, this error usually occurs when a device driver or hardware problem occurs. This error may also occur if users attempt to run some specific application or update or modify an existing application. When a 0x00000014 error occurs, the operating system restarts to disable the PC from performing any further.
Without taking into consideration the causes of its occurrence, it is crucial to make sure that the 0x00000014 error is fixed as soon as possible to eliminate any undesired inconvenience in the future.
A lot of times when an operating system tries to recover from the STOP 0x00000014 error, the user is prompted that Windows has recovered from an unexpected shutdown.
However, if Windows fails to recover on its own, manual repair has to be performed.
While there are several ways this error can be fixed, some of the most effective and efficient ways of troubleshooting the 0x00000014 error are listed below as follows.
However, if the error persists, some solutions that may work are outlined below.
To keep the 0x00000014 error from occurring in the future, it is advised to unplug any newly installed hardware or reinstall any deleted software.
If you're not tech-savvy and wish to get this error code rectified in a jiffy, download a powerful automated tool and perform a computer scan.
Sometimes, some applications after they are installed will put their shortcut in the context menu (right-click on desktop) for easy access, most of the time these are some system tied applications like AMD and Nvidia control panels or archives like WinRAR or 7ZIP but it can happen even for some usual application to do this.
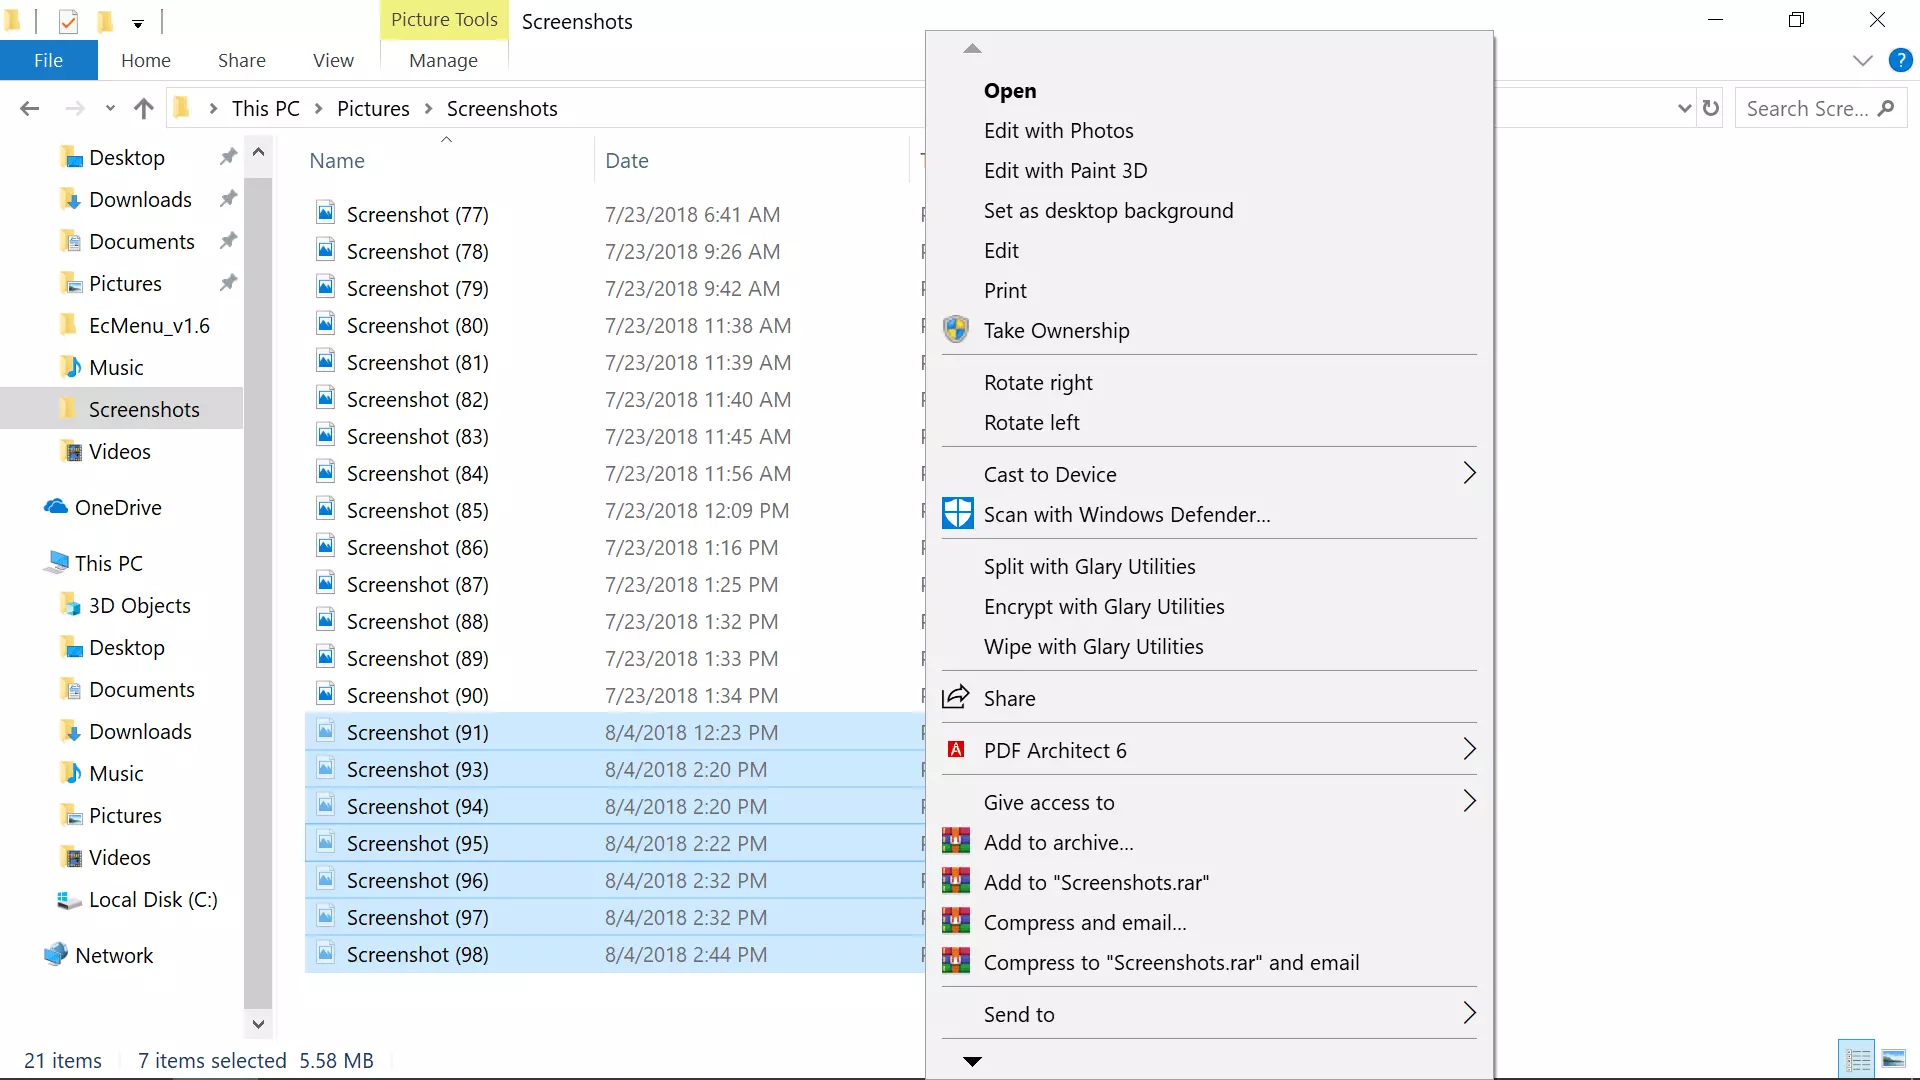
There are some applications that you use frequently and they could be worth putting in the context menu, if you want to avoid clutter on the desktop or in the taskbar this is the third place that you should consider placing shortcuts.
Doing this will require some playing and tweaking in the Windows registry editor so be careful when editing the registry since bad entries can lead to system crash or instability. Follow step-by-step instructions.
Open the registry editor by searching Regedit and pressing enter than inside of the registry editor search for the next key:
HKEY_CLASSES_ROOT\Directory\Background\shell
Select shell and right-click on it, hover over New and in the submenu click on Key. In the next step, you need to name a key, this name will be the thing that will be shown in the context menu when you right-click on a desktop so type in the name that you would like or the name of the application that you wish to add to the menu.
If you wish you can even add a keyboard shortcut to launch this specific application. To do this select entry that you have created and edit the default value, inside the edit string in the Value data field type first & and after that key that you would like as a shortcut. Now after right click if you hit your shortcut key app will be launched right away.
The next task is to create a command key that will actually hold the command to launch the application. Right-click on the entry that you have created, hover over New, and click on Key.
Next, you’ll need to create the command key that will actually hold the command used to launch the application. Right-click on the new Notepad key, and then choose New \ Key from the menu. Name this key 'command', all in lower case and without hyphens.
Now in order to finish setting the launcher, you need the full path of the file that you would like to run. Locate your file in file explorer or in another tool and copy its path by SHIFT + right-clicking on the file itself and choosing copy as path option.
Now click on the command key and double click on the default key on right to edit it, inside the field value data paste your path to executable. close and save the registry and you are done.
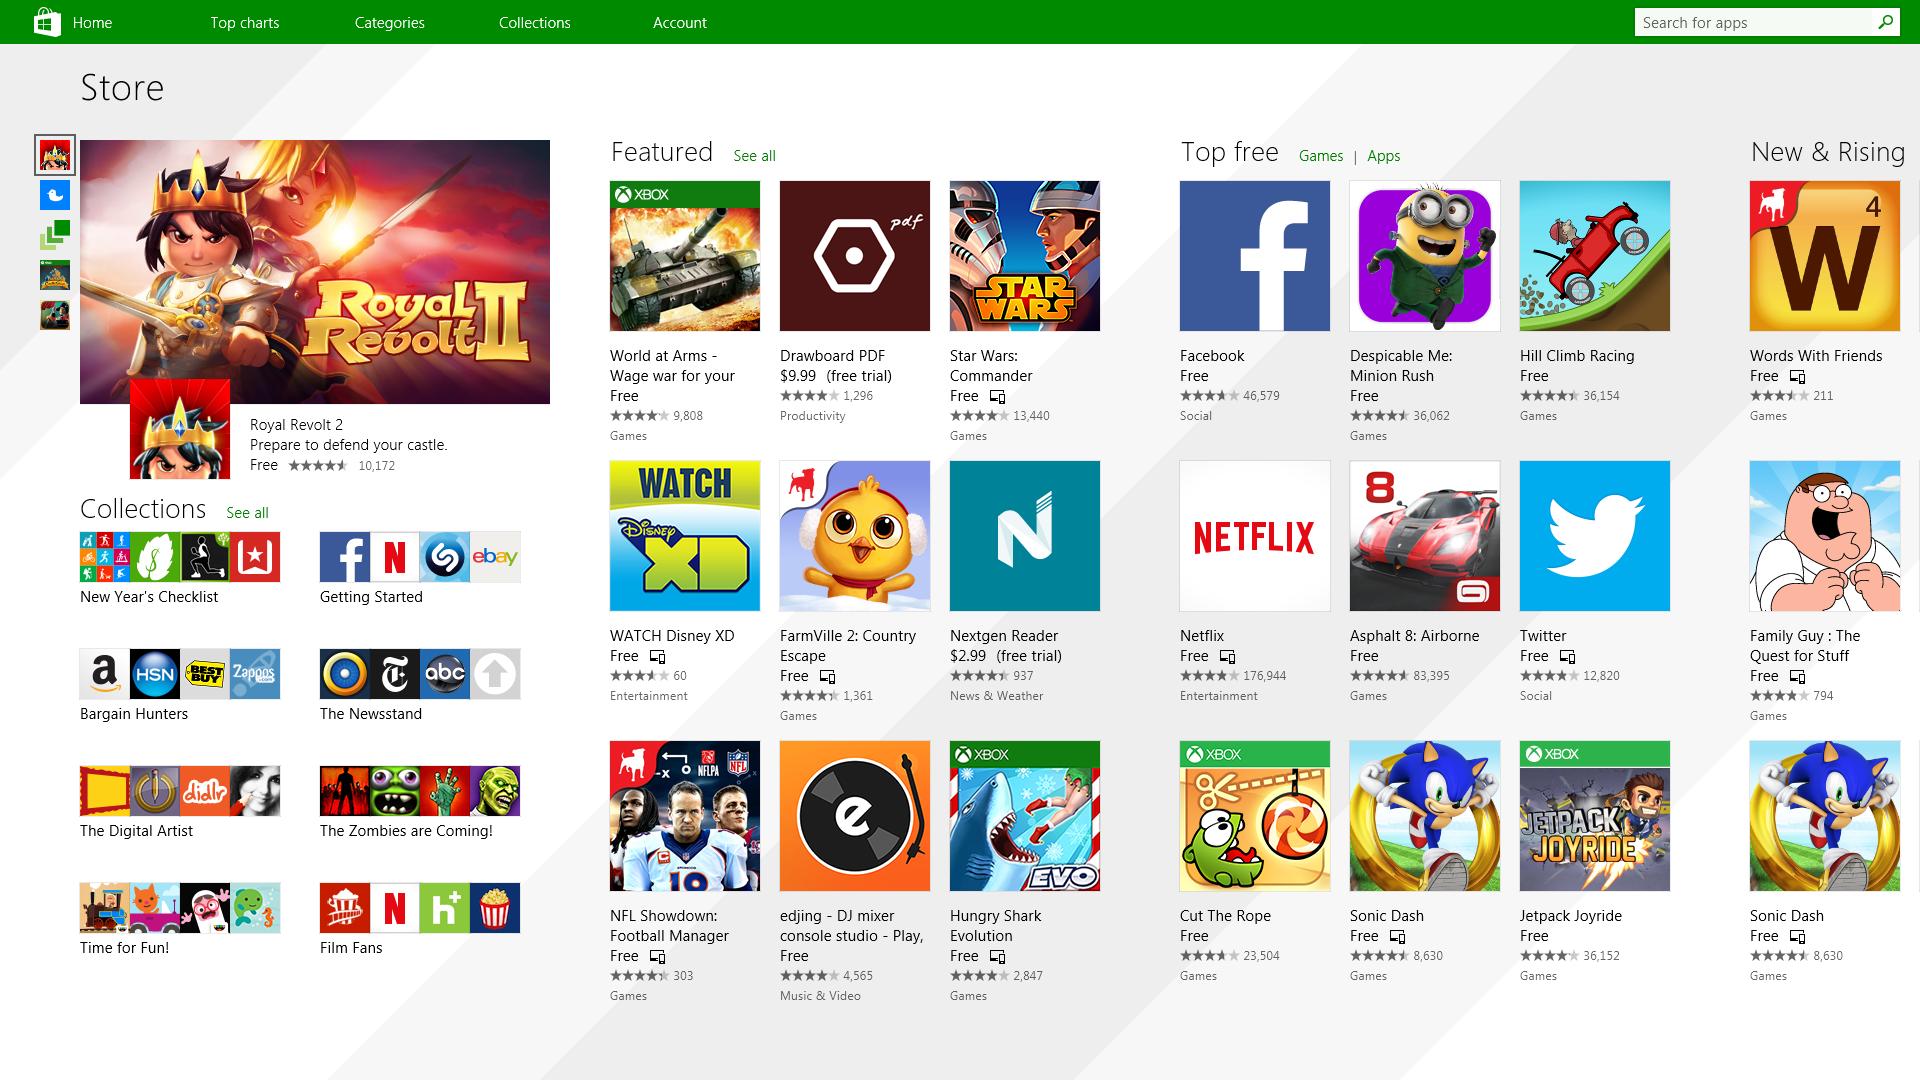 It has officially confirmed that many open source and free applications will be in it like Opera, VLC, discord, Libre office, etc. It seems that Microsoft wants to place its store as one place to go for all of your software needs.
Another great surprise is the coming of Epic games store implementation. It was officially confirmed but not explained in detail, will we have Epic store opened in Windows store or we will only get installer as a package we will see but this is some great news.
As for how it states now, it seems that the Windows store aims to eliminate searching the web for applications and bring them all into one environment with reviews and ratings so you know which one to install and use. It also features a great search engine to find proper applications for your needs.
The new store will come to Windows 10 as well but after all Windows 11 has been mostly released and adopted. So expect it via update in two or three months' time.
It would be great if some larger companies decide to join MS stores like Autodesk, Adobe, the Foundry, etc so you can install everything you need from it but one can only hope.
It has officially confirmed that many open source and free applications will be in it like Opera, VLC, discord, Libre office, etc. It seems that Microsoft wants to place its store as one place to go for all of your software needs.
Another great surprise is the coming of Epic games store implementation. It was officially confirmed but not explained in detail, will we have Epic store opened in Windows store or we will only get installer as a package we will see but this is some great news.
As for how it states now, it seems that the Windows store aims to eliminate searching the web for applications and bring them all into one environment with reviews and ratings so you know which one to install and use. It also features a great search engine to find proper applications for your needs.
The new store will come to Windows 10 as well but after all Windows 11 has been mostly released and adopted. So expect it via update in two or three months' time.
It would be great if some larger companies decide to join MS stores like Autodesk, Adobe, the Foundry, etc so you can install everything you need from it but one can only hope. This error is quite common and is faced by many Microsoft Outlook users. It is advisable to fix this error immediately because besides restricting you from sending and receiving emails via Outlook, due to this error the data on your Outlook also becomes inaccessible and unreadable, and sometimes Outlook also begins to freeze unexpectedly.‘Receiving reported error (0x800ccc92): Your email server rejected your login.’
RealOnlineRadio is a Browser Extension for Google Chrome. This extension offers users the ability to listen to radio stations across the web. From the Author: Real Online Radio is different, as it is a simple radio aggregator. This means Real Online Radio puts together thousands of independent radio stations from all parts of the world in a browser extension that is free and easy to use. It is made for people, who want to have control over their radio streaming. With our simple radio widget, you can get an overview of thousands of radio stations both from your hometown and from the rest of the world. With Real Online Radio, you can listen to your favorite radio station or get an impression of all styles and sorts of music – without being guided in a specific direction by anybody – or anything (such as those radio bots). Real Online Radio returns the control to you, to discover exactly the kind of music that you love.
While this may look useful, this extension changed your default search engine and hijacks your home page. While this extension is active, all your searches are redirected through fileupsticks.com, where a database of your search queries is kept to better server ads that are later delivered through the Yahoo search engine.“Your PC can’t project to another screen, Try reinstalling the driver or using a different video card.”This error could be due to loosely connected hardware or the display adapter. It is also possible that a recent Windows Update has messed up its settings. To resolve this issue, you can try several suggestions that will be given in this post. You can try to check the hardware cable connections or run the Hardware and Devices troubleshooter. You could also update or reinstall the display adapters or replace the graphics card.