Recently, a number of users reported that they were not able to use the “Run as administrator” context menu option when they tried using it or opening a program with administrator privilege. If you are one of these users facing this problem, then you’ve come to the right place as this post will guide you in fixing this issue.
At the time of writing, it isn’t clear what the cause of the issue is but there are potential fixes you can try to fix the problem. You can try turning on the User Account Control or clean up the Context Menu items change the Group Membership. On the other hand, you can also perform both SFC and DISM scans via Command Prompt or troubleshoot the problem in a clean boot state as it is possible that some third-party programs are the ones that are causing the problem. You could also run an anti-malware scan using Windows Defender or your antivirus program.
Option 1 – Try to turn on the User Account Control
When you open a program with administrator privilege, the User Account Control or UAC prompt will pop up asking you to confirm the permission. However, if you have disabled the User Account Control by mistake or some malware has disabled it, then it’s no wonder why the “Run as administrator” option is not working. Thus, you need to check if UAC is turned on or not. All you have to do is go to the User Account Control settings.
Option 2 – Try changing the Group Membership
- First, you need to sign in with your administrator account or ask your administrator to sign in for you. So if you only have a Standard User account, you have to add that account to the Administrators group.
- In the taskbar search box, type “netplwiz” and check the search results.
- From there, select your user account and click the Properties button.
- After that, go to the Group Membership tab and select Administrator.
- Now click on the Apply and OK buttons to save the changes made and then sign in to your computer again and see if the “Run as administrator” option is working or not.
Option 3 – Try to create a new Administrator User account
If you have a standard account, you can try creating a new account but this time, you create an administrator user account and then see if you can now use the Run as administrator option or not. Note that you have to sign in with your main account before you can create an admin account.
Option 4 – Run the DISM tool
You can run the DISM tool as well to help fix the problem with the “Run as administrator” option. Using this built-in tool, you have various options such as the “/ScanHealth”, “/CheckHealth”, and “/RestoreHealth”.
- Open the Command Prompt with admin privileges.
- Then type in the following commands and make sure to hit Enter right after you type each one of them:
- Dism /Online /Cleanup-Image /CheckHealth
- Dism /Online /Cleanup-Image /ScanHealth
- exe /Online /Cleanup-image /Restorehealth
- Do not close the window if the process takes a while as it will probably take a few minutes to finish.
Option 5 – Perform a System File Checker scan
The SFC or System File Checker scan could detect and automatically repair damaged system files that could be causing the problem with the “Run as administrator” option on your Windows 10 computer. SFC is a built-in command utility that helps in restoring corrupted files as well as missing files. It replaces bad and corrupted system files with good system files. To run the SFC command, follow the steps given below.
- Tap Win + R to launch Run.
- Type in cmd in the field and tap Enter.
- After opening Command Prompt, type in sfc /scannow and hit Enter.
The command will start a system scan which will take a few whiles before it finishes. Once it’s done, you could get the following results:
- Windows Resource Protection did not find any integrity violations.
- Windows Resource Protection found corrupt files and successfully repaired them.
- Windows Resource Protection found corrupt files but was unable to fix some of them.
- Once done, restart your computer.
Option 6 – Put your computer in a Clean Boot State
You can also troubleshoot the problem in a Clean Boot state. It could be that there are some third-party applications in your computer that are preventing you from using the “Run as administrator” option and to isolate this possibility, you need to boot your computer in a Clean Boot State and then try to use the Run as administrator again. Putting your computer in this state can help you identify which program is the culprit and thus isolates the problem. In a Clean Boot state, your computer will start using only the pre-selected minimal set of drivers and startup programs. Note that you have to disable and enable one process at a time.
- Log onto your PC as an administrator.
- Type in MSConfig in the Start Search to open the System Configuration utility.
- From there, go to the General tab and click “Selective startup”.
- Clear the “Load Startup items” check box and make sure that the “Load System Services” and “Use Original boot configuration” options are checked.
- Next, click the Services tab and select the “Hide All Microsoft Services” check box.
- Click Disable all.
- Click on Apply/OK and restart your PC. (This will put your PC into a Clean Boot State. And configure Windows to use the usual startup, just simply undo the changes.)
- After you’ve set your computer into a Clean Boot State, try to check if the error is now fixed and that you can now view the Properties.
Option 7 – Try scanning your computer using Windows Defender
As mentioned, if your computer was recently infected with some malware, it is possible that the malware changed the User Account Control settings which is why you’re not able to use the Run as administrator option. Thus, you need to scan your computer using Windows Defender.
- Tap the Win + I keys to open Update & Security.
- Then click on the Windows Security option and open Windows Defender Security Center.
- Next, click on Virus & threat protection > Run a new advanced scan.
- Now make sure that Full Scan is selected from the menu and then click the Scan Now button to get started.

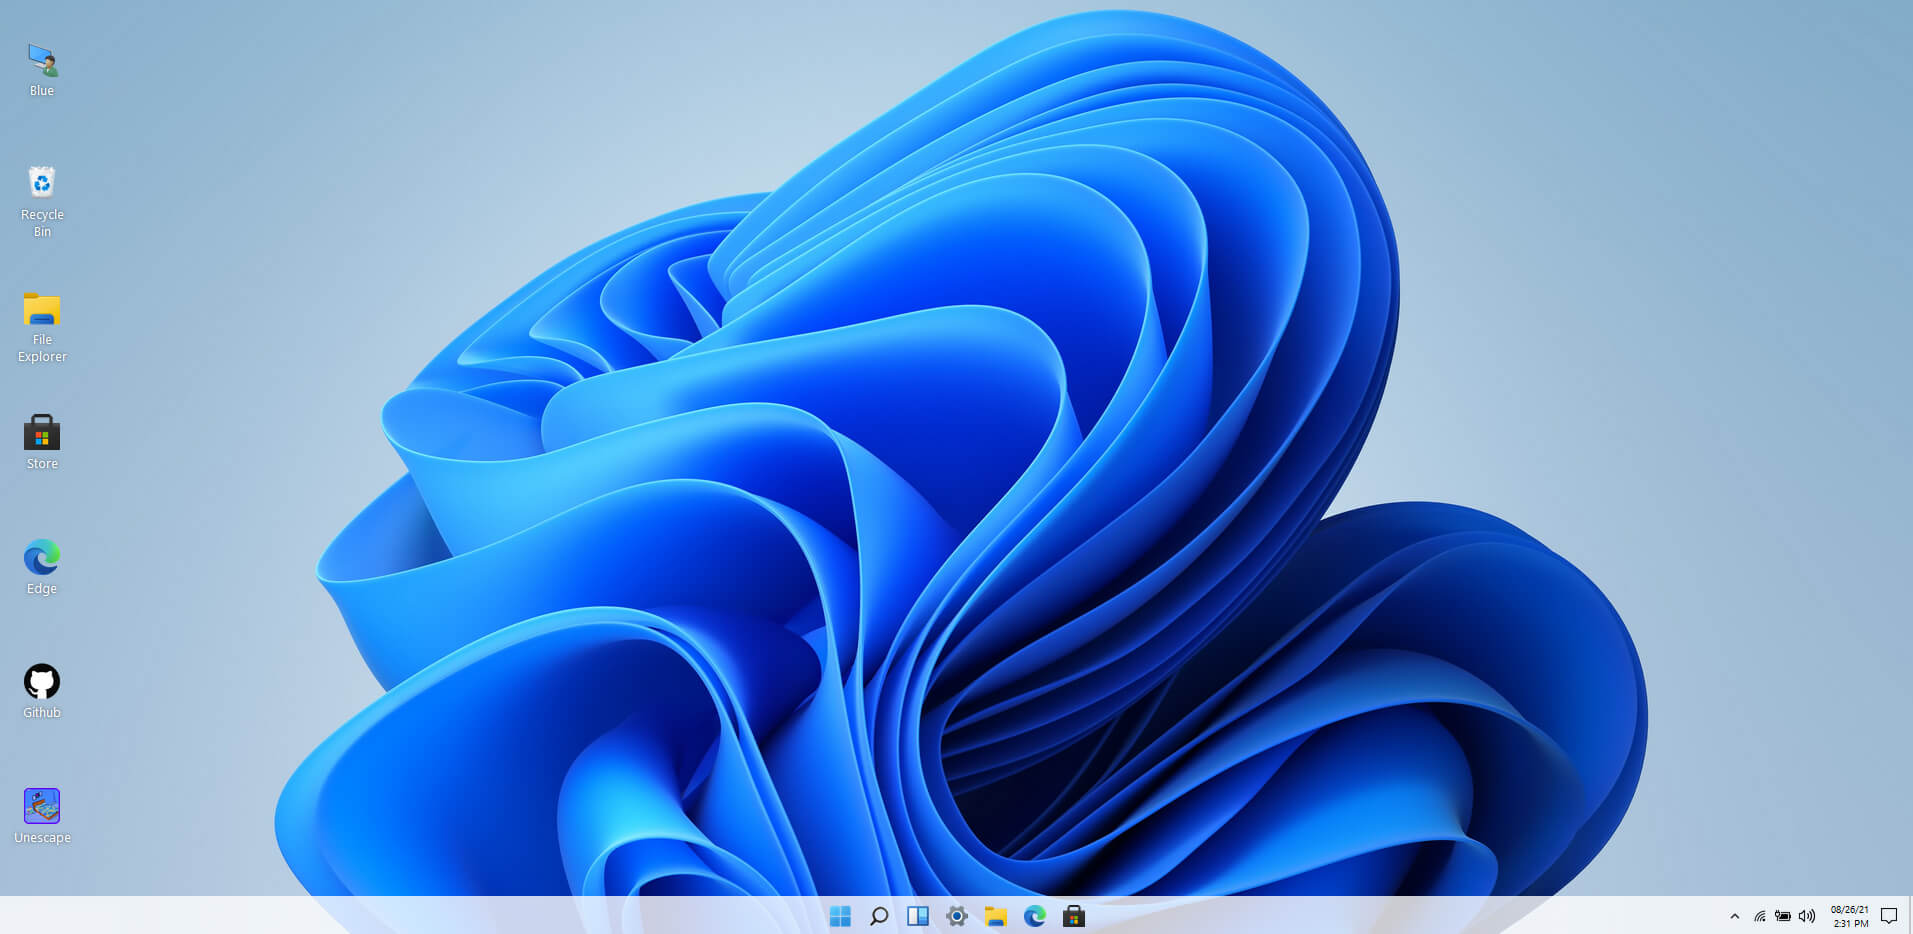 Windows 11 release date is closing in, some people have tried it via insider build, some have decided not to. It has come to our attention that there is a little website made by BlueEdge that offers a virtual Windows 11 desktop.
Opening the Website will put you right inside Windows 11 desktop, now take note that this is not Windows 11, it is a simulation of Microsoft’s newest OS and therefore many things will not work like File Explorer, etc.
One thing you can make sure it is working is UI itself, you can see how you do like the new Taskbar, start menu, widgets, and some other things. You can just pop up on the site and check how you do like the overall new look and feel of Windows 11 UI before installing it or trying it.
We are sure that many more options will come in time but even now you can get a feel of the newest OS.
Windows 11 BlueEdge site:
Windows 11 release date is closing in, some people have tried it via insider build, some have decided not to. It has come to our attention that there is a little website made by BlueEdge that offers a virtual Windows 11 desktop.
Opening the Website will put you right inside Windows 11 desktop, now take note that this is not Windows 11, it is a simulation of Microsoft’s newest OS and therefore many things will not work like File Explorer, etc.
One thing you can make sure it is working is UI itself, you can see how you do like the new Taskbar, start menu, widgets, and some other things. You can just pop up on the site and check how you do like the overall new look and feel of Windows 11 UI before installing it or trying it.
We are sure that many more options will come in time but even now you can get a feel of the newest OS.
Windows 11 BlueEdge site: