 So let's dive into this cool handheld in more detail and find out why we like it so much.
The System32 folder contains vital configuration and information that are essential to the operating system. It is located inside the “Windows” folder and it consists of important DLL files as well as executable files. You probably have noticed some errors that have the “System32” word in them but that does not necessarily mean that the System32 folder is the one that triggers them as these kinds of errors have only occurred when some important files are corrupted or missing. Some users recently reported that each time they start their computers, the System32 folder will automatically open up in the File Explorer. If you encounter the same problem, read on as this post will guide you on what to do to fix it.
This kind of issue is most likely caused by service or application interference – it is possible that there is a third-party application installed in your computer or a Windows service that triggers the System32 to pop up during startup. It is also possible that this is a result of system modification. Thus, you need to identify the third-party program or restore your computer to its previous state.
As pointed out, it is possible that some third-party program or service is the one that’s behind the problem. To isolate this possibility and to identify the culprit, you have to put your computer into a Clean Boot State. To do so, follow the steps below.
After putting your PC in a Clean Boot State, try creating a system restore point and see if the problem still occurs. Clean Boot troubleshooting is designed to help you isolate the problem. For you to execute a clean boot troubleshooting, you must do a couple of actions (the steps given above) and then restart your PC after every action. You might have to disable one third-party app after the other to really isolate the issue. And once you’ve narrowed down the problem, you can either disable the third-party app that’s causing the problem or remove it. Note that you must switch your PC back into the Normal Startup mode after you’re done troubleshooting the problem. Here’s how you can do it:
You might also try running the System File Checker or SFC scan to fix the issue. System File Checker is a command utility built into your computer that helps restore corrupted files and missing files. Refer to the following steps to run it:
The command will start a system scan which will take a few whiles before it finishes. Once it’s done, you could get the following results:
Restart your computer and see if the System32 folder still pops up at startup or not.
 So let's dive into this cool handheld in more detail and find out why we like it so much.
“The file magcore.dll is missing” “MagCore.dll cannot be found” "Cannot find [PATH]magcore.dll" “This application has failed to start because MagCore.dll was not found. Reinstalling the application may fix the error.”
 Error Causes
'Error 1603: A fatal error occurred during installation.'It indicates a problem occurred during the installation process and unsuccessful installation.
Error Causes‘Update server not available (error: 3)’
Error Causes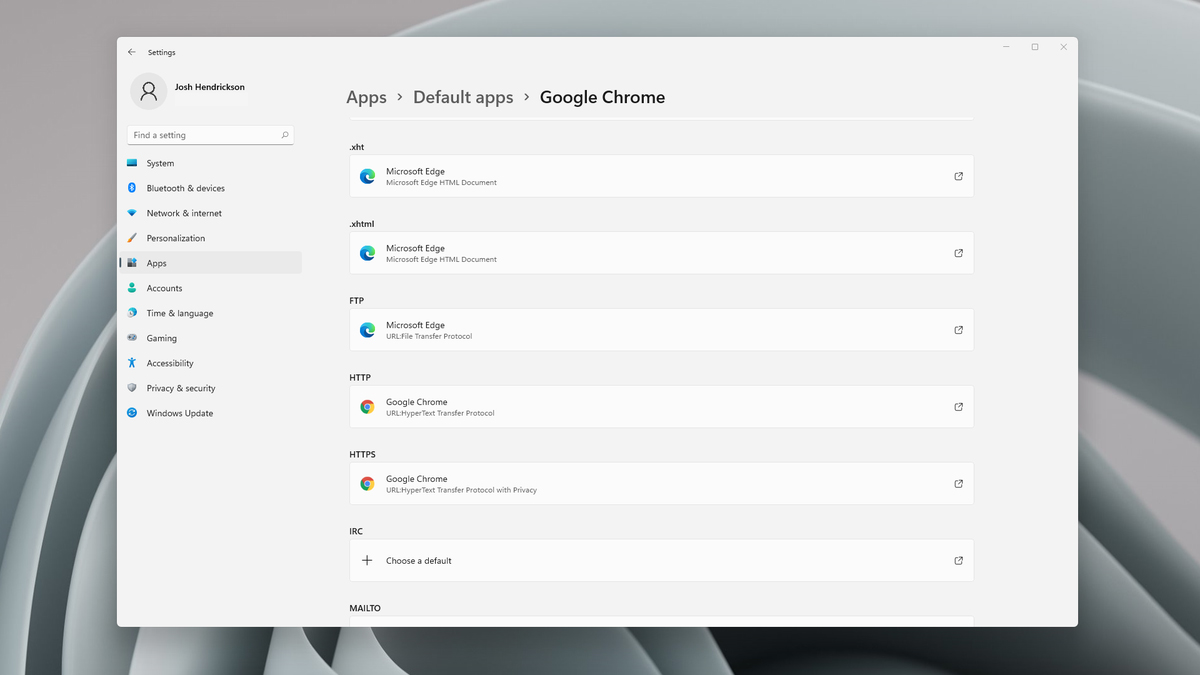 Choosing default browser in settings
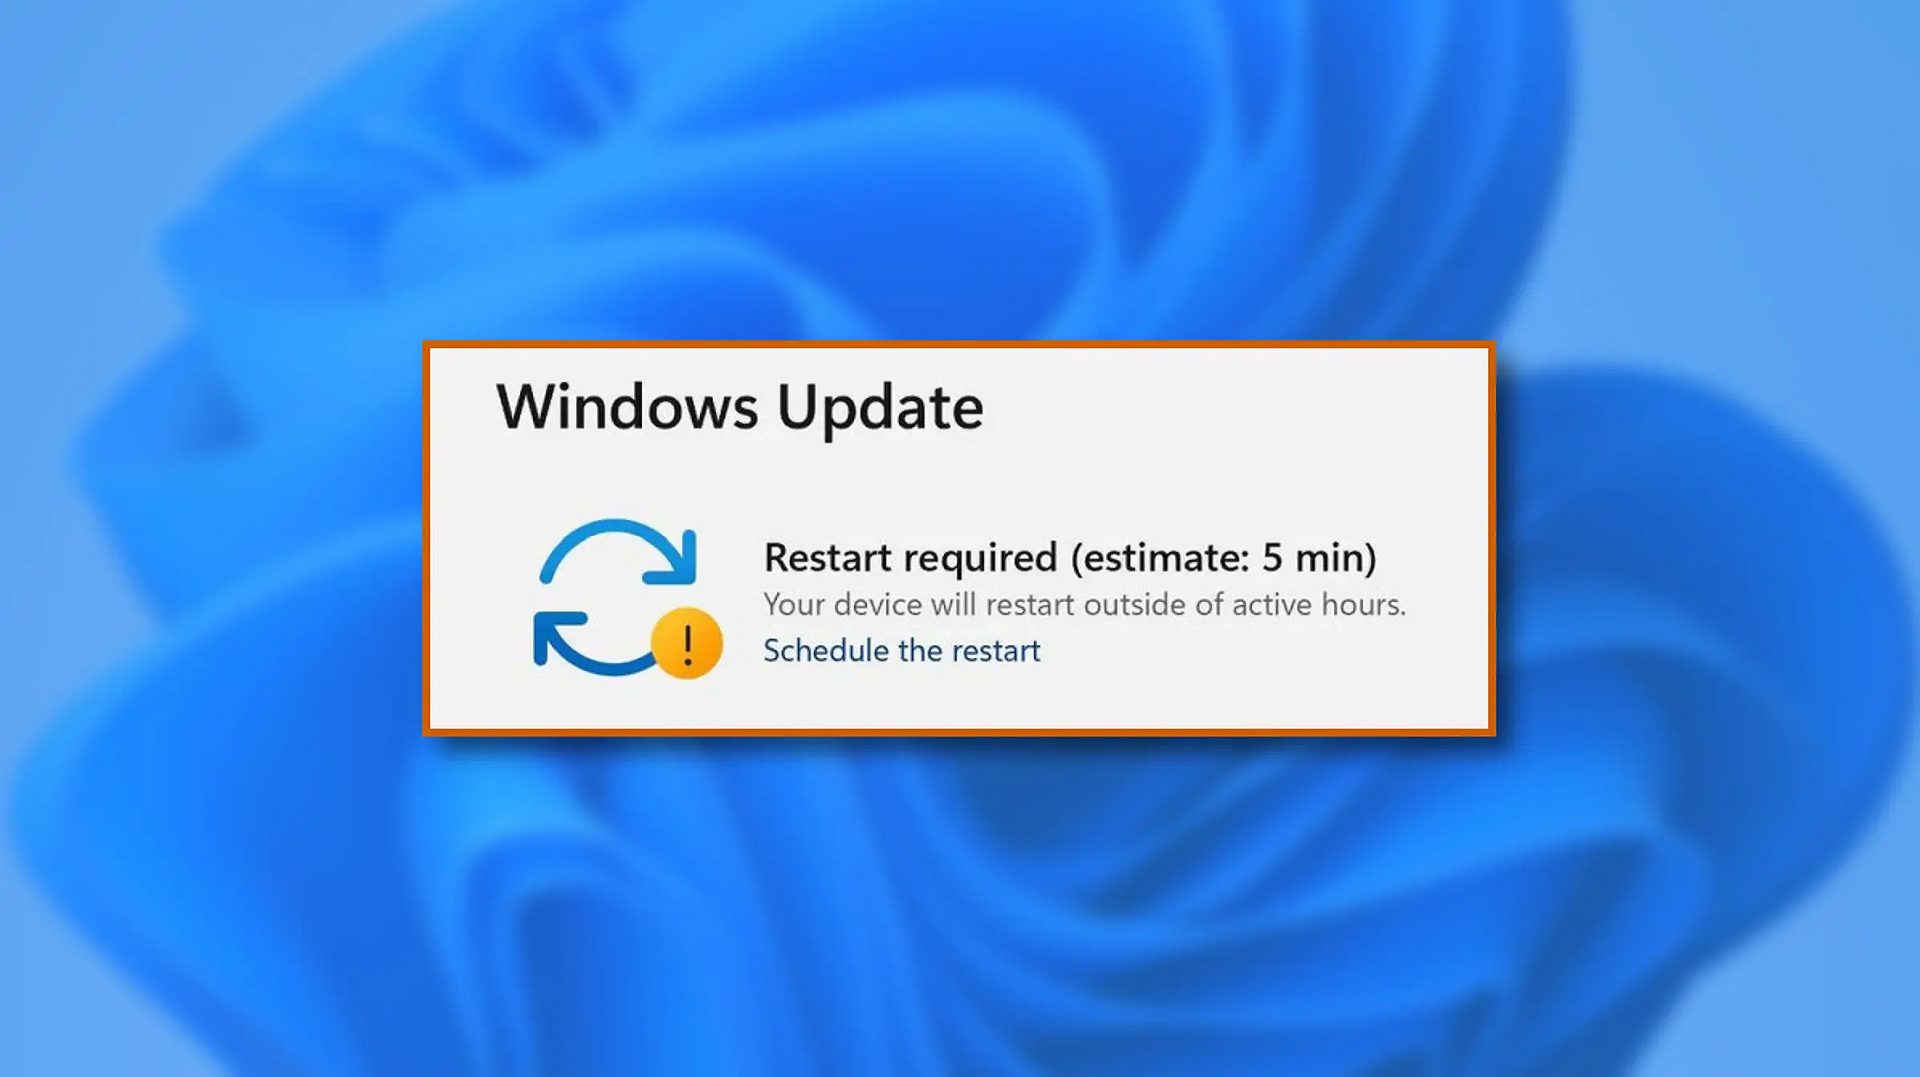 When Windows 11 update is available but you do not wish to restart right away because you are in the middle of using a computer, you can schedule a restart for up to 7 days. It is very easy and we will show you how to do it.