 The World of Superhero movies has gone through some interesting variations, from good ones to bad ones, from big-budget ones to small ventures, even from large well-known characters to niche ones.
No matter what you think of some of them no one would disagree that since the release of Iron Man and starting Marvel cinematic universe superheroes movies exploded in popularity.
Following the Superhero craze, let’s see what is coming up in comic books transferred to big screens with their release dates.
List of upcoming movies
Shang-Chi and the Legend of the Ten Rings, Sept. 3, 2021 Trailer
Venom: Let There Be Carnage, Oct. 15, 2021 Trailer
Eternals, Nov. 5, 2021 Trailer
Spider-Man: No Way Home, Dec. 17, 2021 Trailer
Morbius, Jan. 28, 2022 Trailer
The Batman, March 4, 2022 Trailer
Doctor Strange in the Multiverse of Madness, March 25, 2022
Thor: Love and Thunder, May 6, 2022
DC League of Super-Pets, May 22, 2022
Black Panther: Wakanda Forever, July 8, 2022
Black Adam, July 29, 2022 Trailer
Spider-Man: Into the Spider-Verse 2, Oct. 7, 2022
The Flash, Nov. 4, 2022
The Marvels, Nov. 11, 2022
Aquaman and the Lost Kingdom, Dec. 16, 2022

 Error Causes

 It seems that last few days we were riding some Razer bandwagon but rest assured that we are not sponsored by them in any way, truth is that simply they come up with some interesting accessories which I believe are worth covering.
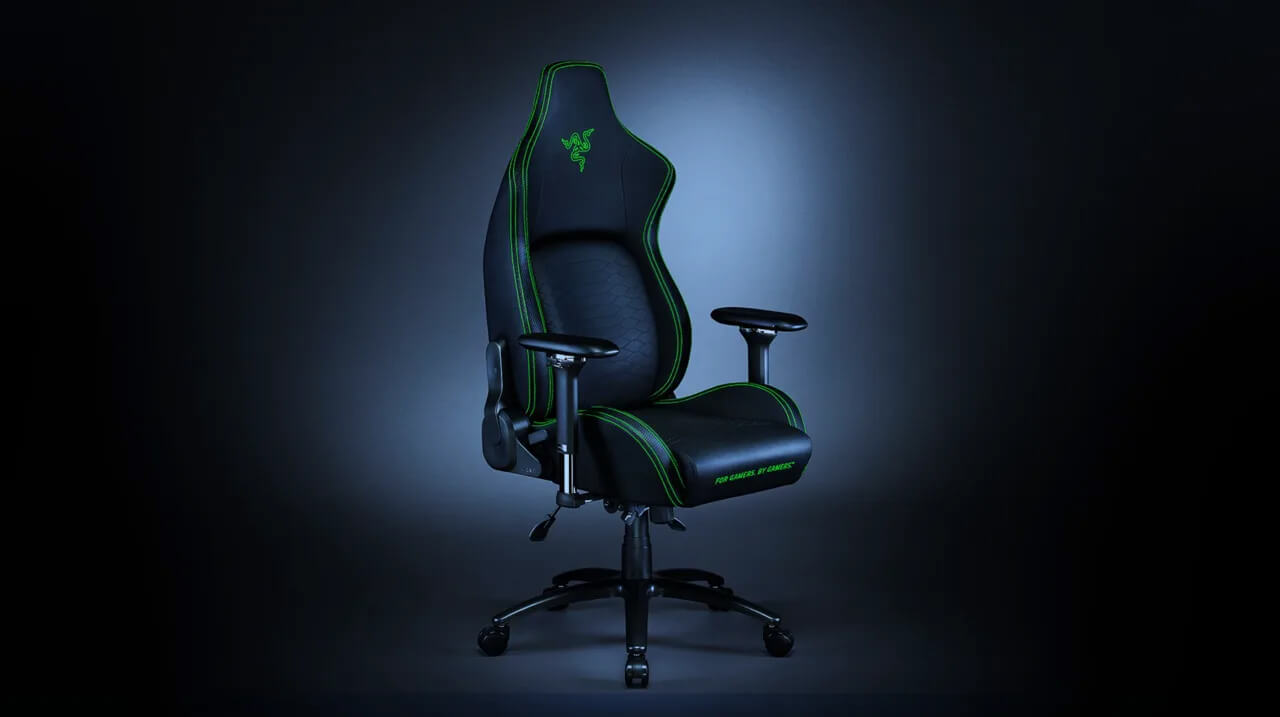
Gaming Chair itself comes in two colors, fully black and green black combination and it is not really an entry-level chair if we are talking about price. The chair itself is around 600USD depending on the distributor and considering that price range it is placed in more top cream of gaming chairs but it is worth every dime.
It seems that last few days we were riding some Razer bandwagon but rest assured that we are not sponsored by them in any way, truth is that simply they come up with some interesting accessories which I believe are worth covering.
Gaming Chair itself comes in two colors, fully black and green black combination and it is not really an entry-level chair if we are talking about price. The chair itself is around 600USD depending on the distributor and considering that price range it is placed in more top cream of gaming chairs but it is worth every dime.