Rundll Error - What is it?
Rundll Error, DLL is also known as Dynamic Link Library is a Window library that basically consists of instructions and codes used and shared by multiple programs installed on your system. It helps programs load and run smoothly.
Rundll error is generated when the system fails to access DLL files thereby hampering your ability to successfully run your desired program.
Solution
 Error Causes
The rundll error code is triggered due to multiple reasons such as:
- DLL file affected by virus and malware
- Poor program installation
- Invalid Windows registry entries
It is advisable to fix the run.dll error immediately without any delay because this error exposes your PC to serious threats such as system crash, freeze, failure, data loss, and even privacy threats like cybercrime, data breaches, and identity thefts.
Further Information and Manual Repair
To resolve the rundll error on your system, here are some solutions that you can try:
Solution 1: Reboot your System
Sometimes rebooting your system can also resolve the issue. However, if it doesn’t then you need to try some other solution to fix it.
Solution 2: Identify the Program Triggering the Error
To fix rundll error, the first thing that you need to do is to identify the program generating this error and check it for validity. For this, simply analyze the rundll error dialog box. Let’s say you get the following run.dll error on your system Error loading
C:\WINDOWS\system32\usvdgpo.dll.
This error message indicates that the program ‘usvdgpo’ is causing the run.dll error on the system.
Once the program is identified, the next step is to stop it manually. For this, you go to the start menu and click run, now type ‘services.msc’ in the dialog box, and press ‘Enter’.
After that right-click the related process to your rundll error and then click the ‘Stop’ button to stop the program. Now close the window.
Though this action will stop the process it will not remove the reference to the bogus items. To remove that you will have to remove the program from the Windows Registry. This can be done by typing ‘Regedit’ in the Run dialog box.
This will open the registry editor. From the keys listed in the left panel, navigate to the following key: HKEY_LOCAL_MACHINE/Software/Microsoft/Windows/CurrentVersion/Run.
Now right-click on this key and click delete and then simply close the windows registry and reboot your system.
After this, you will then have to uninstall the program to completely eradicate the rundll error. To do this, go to the control panel, Add/remove programs, and right-click to uninstall the program causing the run.dll error on your system. Click yes to confirm your decision.
Once the program is uninstalled, reinstall the program using the program CD to get yourself an error-free program.
This procedure is tricky, time-consuming, and maybe slightly challenging for you especially if you are not a computer programmer.
Solution 3: Run an Antivirus
If the cause of the run.dll error is a malware attack then you need to download an antivirus and run it on your system. However, this may impact the speed of your PC.
Antivirus is notorious for slowing down PC speed.
Solution 4: Download Restoro.
If you are not a computer programmer, then running Restoro is possibly the easiest way for you to resolve rundll errors on your system in seconds. Restoro is an innovative, cutting edge, and multi-functional feature-filled PC repair tool that can be used to repair all kinds of system-related errors including rundll errors.
The registry cleaner utility cleans up the RAM by removing unnecessary and obsolete files like junk files, invalid registry entries, and files from the uninstalled programs. It resolves disk fragmentation issues, repairs dll files, and the registry.
In just a few clicks you can easily repair the registry and remove malware thereby resolving rundll errors on your system. Operating Total System Care is quite simple. It has a user-friendly interface and easy navigation.
It is safe, efficient, bug-free, and compatible with all Windows versions
Click here to download Restoro and resolve ‘rundll errors’ and access/run programs on your system smoothly.

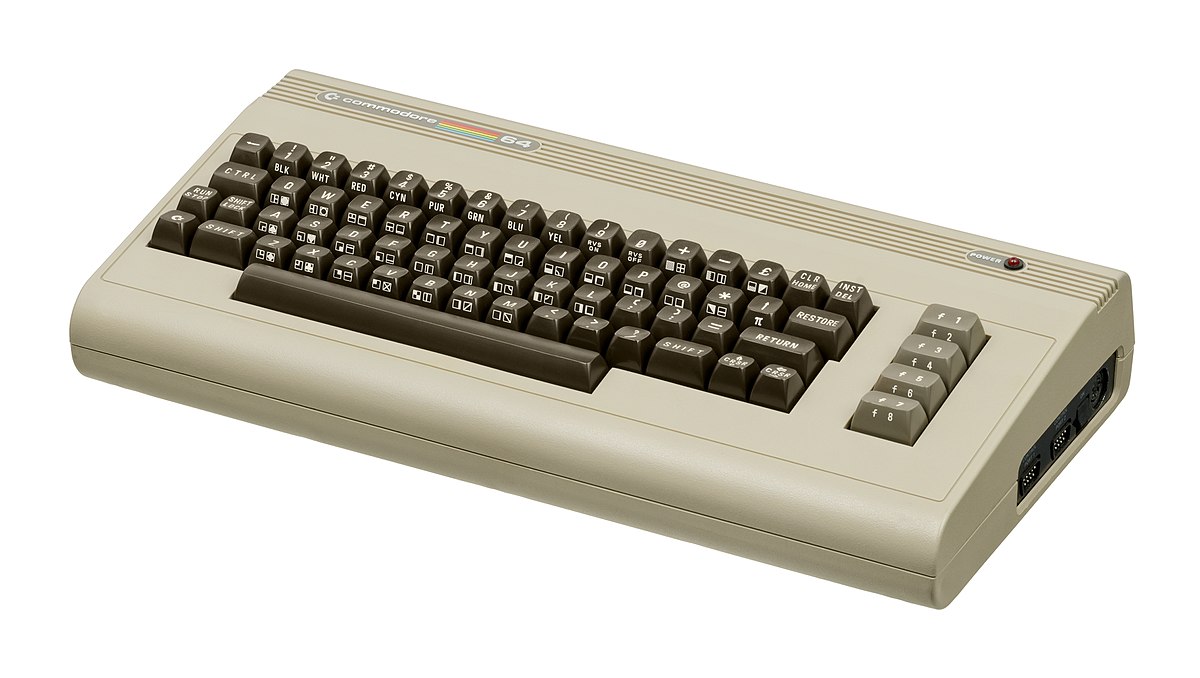 History of Commodore
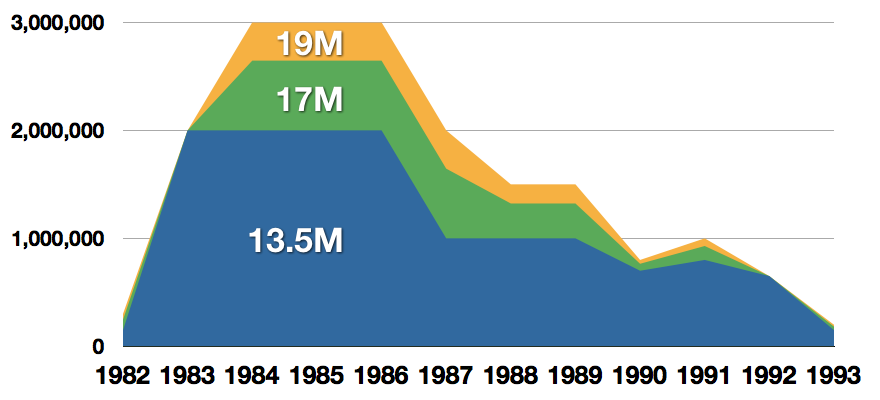
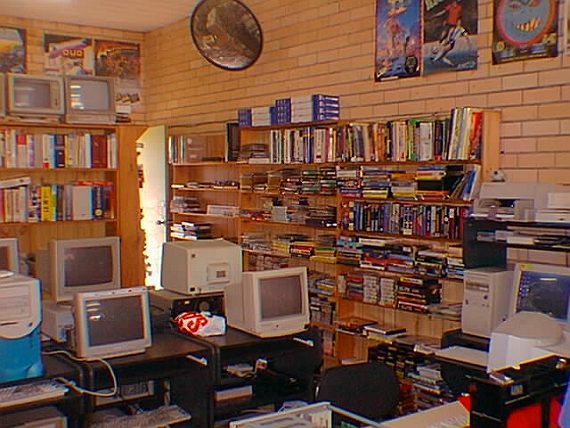 With sales booming and the early reliability issues with the hardware addressed, software for the C64 began to grow in size and ambition during 1984. This growth shifted to the primary focus of most US game developers. The two holdouts were Sierra, who largely skipped over the C64 in favor of Apple and PC compatible machines, and Broderbund, who was heavily invested in educational software and developed primarily around the Apple II. In the North American market, the disk format had become nearly universal while cassette and cartridge-based software all but disappeared. So most US-developed games by this point grew large enough to require multi-loading.
At a mid-1984 conference of game developers and experts at Origins Game Fair, Dan Bunten, Sid Meier, and a representative of Avalon Hill said that they were developing games for the C64 first as the most promising market. By 1985, games were an estimated 60 to 70% of Commodore 64 software. Over 35% of SSI's 1986 sales were for the C64, ten points higher than for the Apple II.
Everything was great for Commodore but the industry was moving forward and by the year 1988, PC compatible computers were stated to be the largest and fastest-growing home entertainment systems pushing C64 on to second place. Also, Nintendo’s gaming system has started to take hold in the world with amazing 7 million systems sold in 1988 only.
By the year 1991, many developers exited the gaming market for Commodore 64 home computer system and its popularity started to fall due to lack of software and not so many hardware changes.
With sales booming and the early reliability issues with the hardware addressed, software for the C64 began to grow in size and ambition during 1984. This growth shifted to the primary focus of most US game developers. The two holdouts were Sierra, who largely skipped over the C64 in favor of Apple and PC compatible machines, and Broderbund, who was heavily invested in educational software and developed primarily around the Apple II. In the North American market, the disk format had become nearly universal while cassette and cartridge-based software all but disappeared. So most US-developed games by this point grew large enough to require multi-loading.
At a mid-1984 conference of game developers and experts at Origins Game Fair, Dan Bunten, Sid Meier, and a representative of Avalon Hill said that they were developing games for the C64 first as the most promising market. By 1985, games were an estimated 60 to 70% of Commodore 64 software. Over 35% of SSI's 1986 sales were for the C64, ten points higher than for the Apple II.
Everything was great for Commodore but the industry was moving forward and by the year 1988, PC compatible computers were stated to be the largest and fastest-growing home entertainment systems pushing C64 on to second place. Also, Nintendo’s gaming system has started to take hold in the world with amazing 7 million systems sold in 1988 only.
By the year 1991, many developers exited the gaming market for Commodore 64 home computer system and its popularity started to fall due to lack of software and not so many hardware changes.
 Commodore announced that the C64 would be finally discontinued in 1995.
However, only one month later in April 1994, the company filed for bankruptcy. When Commodore went bankrupt, all production on their inventory, including the C64, was discontinued, thus ending the C64's 11 and a half year production.
Commodore announced that the C64 would be finally discontinued in 1995.
However, only one month later in April 1994, the company filed for bankruptcy. When Commodore went bankrupt, all production on their inventory, including the C64, was discontinued, thus ending the C64's 11 and a half year production.
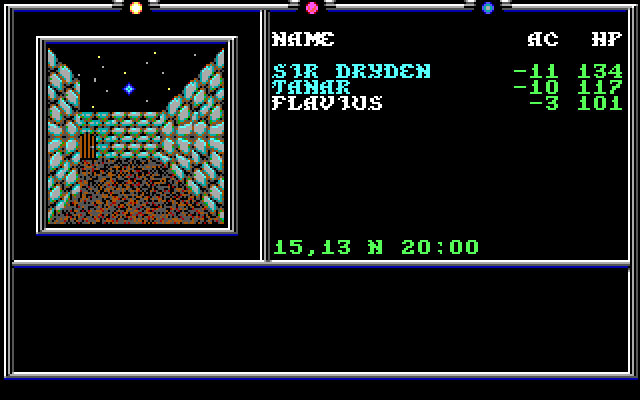
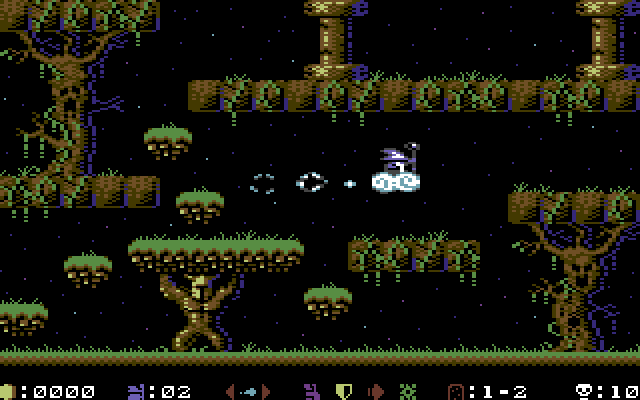 Zak McKracken and the Alien Mindbenders
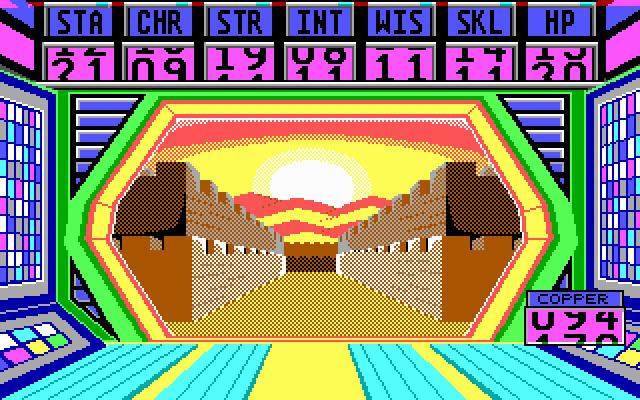
 If you are not keen on spending money for reliving and checking games or software of C64 here are some links to help you to at least experience part of it completely free.
Commodore 64
If you are not keen on spending money for reliving and checking games or software of C64 here are some links to help you to at least experience part of it completely free.
Commodore 64  BigTech platforms Google and Facebook were hit with a series of antitrust lawsuits by the US federal government and states on charges they are operating monopolies and abusing their power.
Below is the status of the cases, as well as government probes of Apple and Amazon in their current states
BigTech platforms Google and Facebook were hit with a series of antitrust lawsuits by the US federal government and states on charges they are operating monopolies and abusing their power.
Below is the status of the cases, as well as government probes of Apple and Amazon in their current states
 The table itself looks very basic and it comes with a very large OLED screen between two different sizes depending on your table choice. You can choose between 65” or 77” screen sizes and OLED is mounted on the table itself so you cannot move it or adjust the angle of it that I somewhat find annoying but that comes from th4e fact I am used to adjusting my screens, but for this large screen maybe you do not need to adjust its rotation in order to get best viewing angle.
Modules themselves will offer some on-the-fly information and quick settings for the PC itself while being modular in a sense they could be mounted in different positions on the table itself providing some customization and order to suit users needs. Modules, for now, are: THX Spatial Surround Sound Controls, system monitoring, programmable hotkey module, Thunderbolt™ Powered eGPU, RAID Controller, Network Performance Module, 15W Wireless Charger, Thunderbolt™ 4 Hub, Media Controls.
Of course table, itself will have Razer chroma RGB on its surface and Razer says it will have a total of 13 different modules available on launch for a true level of personalization.
The table itself looks very basic and it comes with a very large OLED screen between two different sizes depending on your table choice. You can choose between 65” or 77” screen sizes and OLED is mounted on the table itself so you cannot move it or adjust the angle of it that I somewhat find annoying but that comes from th4e fact I am used to adjusting my screens, but for this large screen maybe you do not need to adjust its rotation in order to get best viewing angle.
Modules themselves will offer some on-the-fly information and quick settings for the PC itself while being modular in a sense they could be mounted in different positions on the table itself providing some customization and order to suit users needs. Modules, for now, are: THX Spatial Surround Sound Controls, system monitoring, programmable hotkey module, Thunderbolt™ Powered eGPU, RAID Controller, Network Performance Module, 15W Wireless Charger, Thunderbolt™ 4 Hub, Media Controls.
Of course table, itself will have Razer chroma RGB on its surface and Razer says it will have a total of 13 different modules available on launch for a true level of personalization.