If you’re suddenly unable to launch or open Google Chrome or unable to load web pages, then it’s most likely that the files in Chrome have been corrupted or some plugin is taking up a lot of resources which is why you encounter an error message saying, “Google Chrome has stopped working”. And when you try to check the Task Manager, you’ll see that Chrome is really taking up lots of resources, however, when you check the Taskbar, strangely, you will see nothing. If you are currently facing this issue in Chrome on your Windows 10 PC, follow the given options below.
If you aren’t able to open Chrome, then maybe its process is running in the background and you don’t see the browser windows. If that’s the case, you may have to force quit the browser and then try to open it again.
There are instances when due to false-positive, a security or antivirus program might block Chrome which is why it failed to open properly. Thus, you can just disable the security program temporarily and then check if you can now open Chrome or not.
You can also try deleting the User Profile folder in Chrome. To do so, follow these steps:
There are instances when issues on a browser are triggered or caused by some problematic extension. To find out which one of your extensions is causing the problem, disable them all first and then enable them back one by one.
You might also want to try running the Malware Scanner & Cleanup tool in Chrome. This is a built-in tool that can help you get rid of any unwanted pop-ups, banners, ads, unusual startup pages, toolbars, and malware. Thus, it can help you to resolve the issue in Chrome.
If running the Malware Scanner & Cleanup tool in Chrome didn’t work out for you, you can try reinstalling it. To do so, follow these steps:

bcedit.exe /set {current} nx AlwaysOff
“The program can’t start because AVFoundationCF.dll is missing from your computer. Try reinstalling the program to fix this problem.” "This application failed to start because avfoundationcf.dll was not found.” "Cannot find %COMMONFILES%AppleApple Application Supportavfoundationcf.dll." "Cannot start AVFoundationCF. A required component is missing: avfoundationcf.dll.” “Avfoundationcf.dll Access Violation." "Cannot register avfoundationcf.dll."
 Error Causes
A newfound bug in Google docs is causing it to crush and upon reopening it will crush again making it very difficult to re-access your document. The bug is manifested when a series of the same word is typed into a document and Show grammar suggestion is turned on.

A Google Docs user, Pat Needham brought up the issue on Google Docs Editors Help forum.
"I've only tried in Google Chrome, with documents from three separate Google accounts (personal, G Suite Basic, and work one which might be enterprise). All three experience this same issue".
"It's case-sensitive. So trying with 'and. and. And. and. And.' doesn't cause it to crash."
While Needham publicly reported the bug, it appears that the issue was discovered by Eliza Callahan who was writing a poem novel for her novel using Google Docs.
Needham's findings have also been confirmed by other users running Firefox 99.0.1
Another user, Sergii Dymchenko, said strings like "But. But. But. But. But." triggered the same response. Some also noticed putting any of the terms like "Also, Therefore, And, Anyway, But, Who, Why, Besides, However," in the same format achieved the outcome.
A YCombinator HackerNews reader suspected the cause to be the "Show grammar suggestion" option in Google Docs.
A Google spokesperson confirmed the presence of the issue adding, "we're aware of this issue and the team is working on a fix."
First thing first, turn off Show grammar suggestions so you do not run into issue by accident. In order to turn it off go to Tools and then into Spelling and grammar and untick Show grammar suggestions.
Now, if you already have a document that has been crushed, fear not because there is a workaround to access it. For some strange reason this bug does not manifest on Google Docs mobile app, so you can open the crushed document in the mobile app, delete words that have caused the bug and reopen the document on your desktop.
Until Google comes up with the solution this is currently the only way to address the issue.
 California's Department of Fair Employment & Housing has widened its anti-discrimination lawsuit against Activision Blizzard and claims the publisher has been shredding vital documents relevant to the ongoing investigation.
A recent report from Kotaku described the department as offering poorly paid, highly insecure positions, with a culture of hostility towards LGBTQ+ testers. The DFEH's rewording of "employees" to "workers" now hopes to take these contractors' experiences into account.
"As a contract employee, I feel there's a lot of pressure to excel, impress, and move through the ranks as fast as you can before your contract ends and you're forced to go 3 months without income or find another job," Axios reports one worker saying. "I take pride in what I do, but it feels like it's never enough."
Activision's contentious hiring of union-busting third-party law firm WilmerHale "directly interferes" with its own investigation, it says. By going to WilmerHale, Activision appears to be claiming that all work related to the investigation is privileged and can't be shared with DFEH.
The suit also claims that Activision HR shredded documents related to "investigations and complaints", against its legal obligation to retain them during the investigation. The relevant parts of the updated lawsuit were shared by Axios reporters Stephen Totilo and Megan Farokhmanesh, the former also noting that the DFEH "fixed their misspelling of Bill Cosby's name".
"DFEH is also informed and aware that documents and records have not been maintained as required by law or by the DFEH's Document Retention Notice," the complaint reads, "including but not limited to documents related to investigations and complaints were shredded by human resource personnel and emails are deleted thirty days after an employees separation."
Error Causes
California's Department of Fair Employment & Housing has widened its anti-discrimination lawsuit against Activision Blizzard and claims the publisher has been shredding vital documents relevant to the ongoing investigation.
A recent report from Kotaku described the department as offering poorly paid, highly insecure positions, with a culture of hostility towards LGBTQ+ testers. The DFEH's rewording of "employees" to "workers" now hopes to take these contractors' experiences into account.
"As a contract employee, I feel there's a lot of pressure to excel, impress, and move through the ranks as fast as you can before your contract ends and you're forced to go 3 months without income or find another job," Axios reports one worker saying. "I take pride in what I do, but it feels like it's never enough."
Activision's contentious hiring of union-busting third-party law firm WilmerHale "directly interferes" with its own investigation, it says. By going to WilmerHale, Activision appears to be claiming that all work related to the investigation is privileged and can't be shared with DFEH.
The suit also claims that Activision HR shredded documents related to "investigations and complaints", against its legal obligation to retain them during the investigation. The relevant parts of the updated lawsuit were shared by Axios reporters Stephen Totilo and Megan Farokhmanesh, the former also noting that the DFEH "fixed their misspelling of Bill Cosby's name".
"DFEH is also informed and aware that documents and records have not been maintained as required by law or by the DFEH's Document Retention Notice," the complaint reads, "including but not limited to documents related to investigations and complaints were shredded by human resource personnel and emails are deleted thirty days after an employees separation."
Error Causes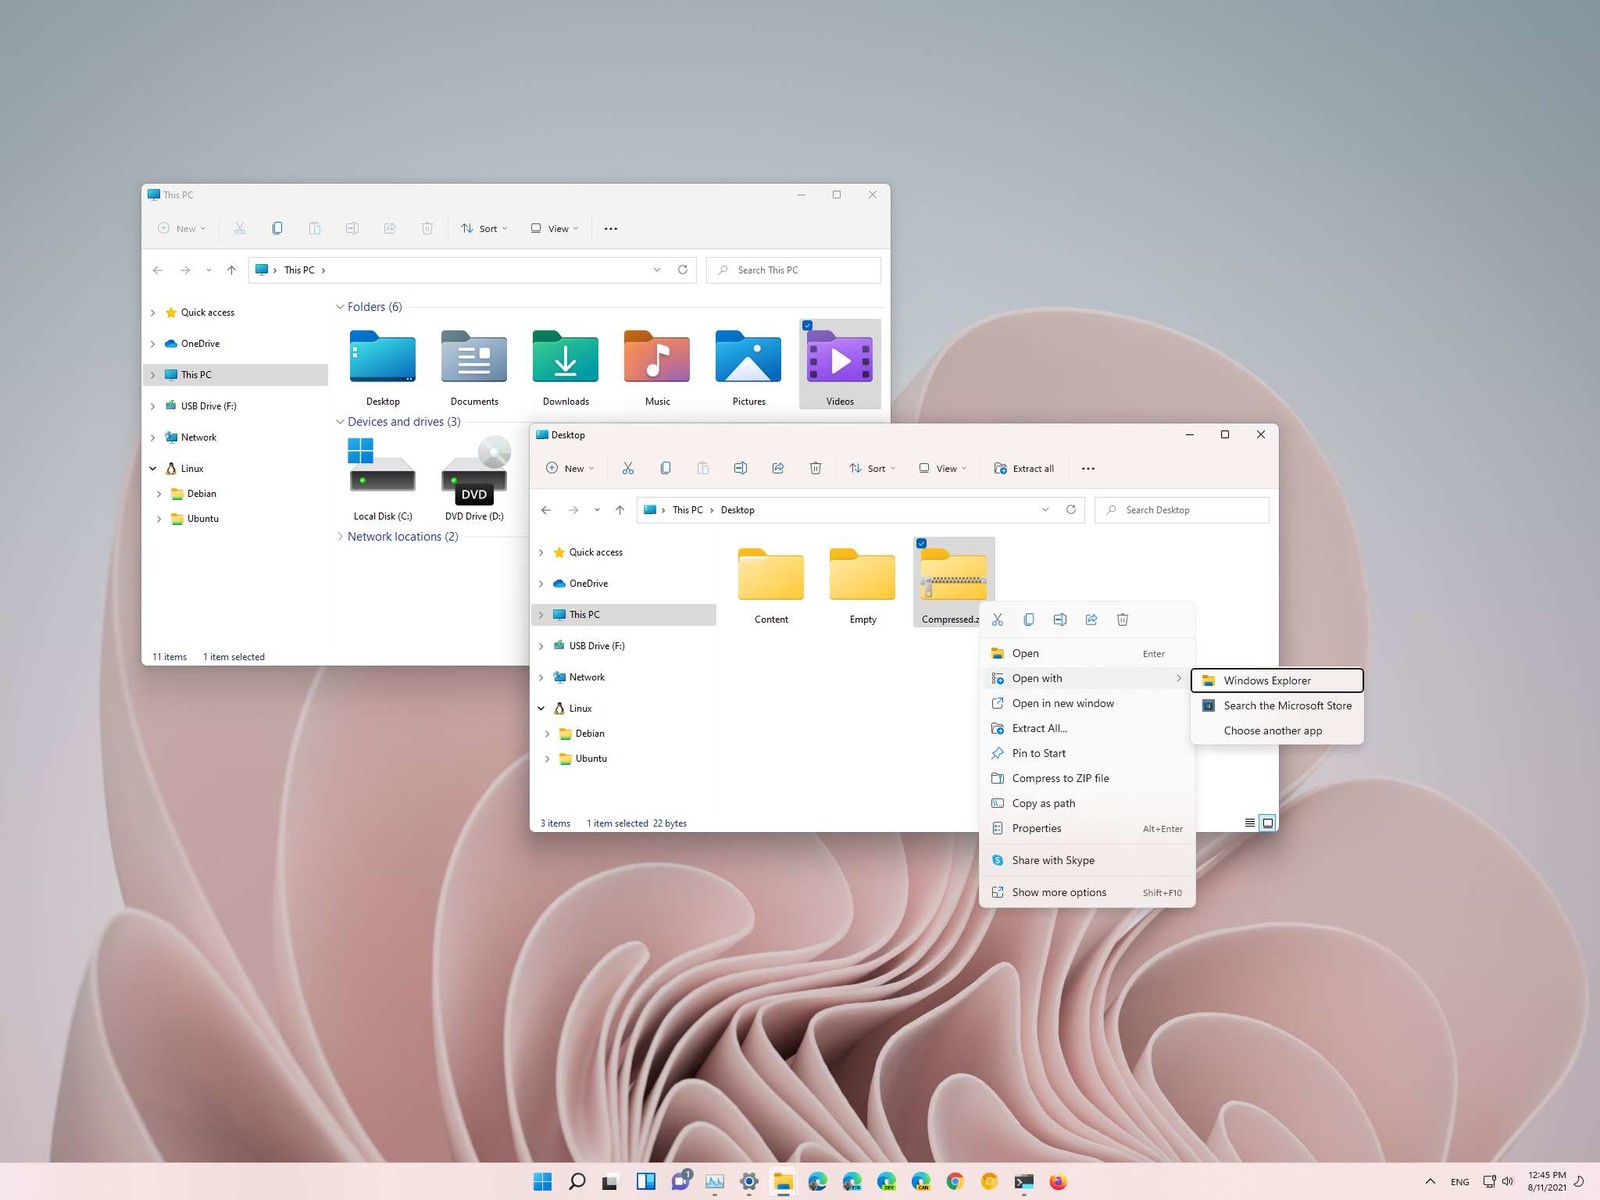 How this is the case we have decided to put a little tutorial on how to accomplish this very task and run file explorer with administrator privileges.