 This is a very interesting decision by Microsoft and I fully support it, this time users will be able to pay less and to choose only applications that they need instead of paying for the whole package and not using it.
 Windows 10 has a pre-installed Weather app that offers the local weather information, forecast, temperature gradient, historical data, multiple locations, and many more. It can be handy especially if you tend to check on the weather. However, if you are one of those users who barely use this app, you have the option to uninstall it from your computer and that’s exactly what we’re going to do in this post.
There are several methods to uninstall the Weather app in Windows 10. You can uninstall it via Settings or Start Menu or even using a command in Windows PowerShell. Note that uninstalling the Weather app does not affect the functionality of your Windows 10 computer by any means so you shouldn’t worry about uninstalling it. To get started, follow the instructions provided below.
The first option you can try to uninstall the Weather app is through Settings. It’s a very simple process so you wouldn’t have any trouble following it.
Another simple way to uninstall the Weather app is through the Start Menu. It only takes a right click and there are actually two ways to go about this – one is new with the recent feature update of Windows. How? Refer to these steps:
Get-AppxPackage Microsoft.BingWeather | Remove-AppxPackage
 This is a very interesting decision by Microsoft and I fully support it, this time users will be able to pay less and to choose only applications that they need instead of paying for the whole package and not using it.
 You may experience error code 24 when you try to use a device on your PC that is not properly installed or its driver is corrupted. Code 24 is a Device Manager error and it pops up on your computer screen in the following format:
“This device is not present, is not working properly, or does not have all its drivers installed. (Code 24)”
 Error Causes
Error code 24 may be triggered due to several reasons. However, the most common causes for this error code include:
It is recommended to resolve the error code to ensure your PC works at its optimal performance. Error code 24 can lower the device functionality and PC performance dramatically.
Since this error code can mean several different things, troubleshooting it can be quite tricky but to make it simple to resolve, we have listed down some easy methods to repair error code 24.
Try these methods to fix error 24 on your PC and ensure your system works at its optimal pace. Let’s get started….
Problems with BIOS, the controlling software in the PC motherboard, can sometimes trigger hardware conflicts resulting in Device Manager error code pop-ups.
In such a scenario, it is advisable to update BIOS. To update, go to your PC motherboard manufacturer’s website. Here you will be able to find instructions on updating BIOS.
Follow the instructions carefully to resolve error code 24 on your system. If the error code still persists, then try other methods discussed below.
If you experienced code 24 on your PC after installing new devices, then it is advisable to remove them to resolve the error code.
If the device is attached to your computer, then simply disconnect and remove it immediately. Once you disconnect it, reboot your system to activate changes.
If device removal does not resolve the problem, then consider updating the device driver. Code 24 is also related to driver problems.
It can occur if a device driver is corrupted or outdated. In such an event, it is advisable to update the driver by installing the new and latest device driver version on your PC.
For doing this, simply download the latest device driver version from the manufacturer’s website and update it.
Finding problematic drivers and the latest device driver versions to update them, however, can be time-consuming and sometimes even frustrating. To avoid being in this situation, it is advisable to download DriverFIX.
DriverFIX is a cutting-edge, user-friendly and an innovative program exclusively designed to resolve device driver related issues and problems on computer systems
It is integrated with the newest technology and intelligent programming system that enables and empowers PC users like you to repair device driver error codes in seconds.
Once you install this software on your PC, simply run it. The software program instantly detects all problematic drivers and updates them with their latest versions available on the internet.
All this is done in mere seconds and it’s not time-consuming at all. Moreover, device driver updates are performed frequently to ensure that you don’t experience any driver problems again.
Click here to download DriverFIX and repair Device Manager error code 24 right away.
“Unhandled exception has occurred in your application. If you click Continue, the application will ignore this error and attempt to continue. If you click Quit, the application will close immediately.”When this error occurs, your computer may freeze or display other suspicious behavior at times. Either way, there are several options you can check out in this post to resolve this issue, so read on. This kind of error could be caused by several factors. It could be due to your antivirus program or other third-party programs installed on your computer. It is also possible that the installation of the Microsoft .NET framework id corrupted or some of its installation files are corrupted. Thus, to fix the error, there are a few suggestions you need to follow such as:
HowToSimplified is a browser extension developed by MindSpark inc. This extension offers users easy access to DIY tutorials, guides, and websites just a few clicks away. There is also a top video selection with the most popular DIY videos at the moment.
This extension, though it may look useful in the beginning, hijacks your browser's default search provider, it changes your default home page to HowToSimplified, powered by the MyWay search engine. During your browsing sessions, it will record your website visits, collect information, clicks, and sometimes even personal data. This information is later used to deliver ads that are injected into your browser search results. Aside from sponsored links, and additional unwanted ads that this extension displays, it also may from time to time display pop-up ads during your browsing sessions.
Multiple anti-virus scanners have detected HowToSimplified as a Browser Hijacker and are therefore not recommended to keep on your computer for security and privacy reasons.
 From the recent blog, Gabriel Weinberg, CEO of DuckDuckGo, has stated:
“Like we’ve done on mobile, DuckDuckGo for desktop will redefine user expectations of everyday online privacy,”From everything that we have learned so far, the browser will be focused on making privacy super easy and simple, eliminating tons of different settings about privacy, and making the whole environment robust privacy protection all set by default. Settings will be applied in all fields, across search, browsing, email, and more. Gabriel also said that aim of the browser is not just a privacy browser, it is meant to be built and used as your everyday browser, for everyday use that protects your privacy as a bonus. One interesting thing that was stated is that browser itself is built upon OS-provided rendering engines instead of typical Chromium. DuckDuckGo says this approach will strip away a lot of the unnecessary cruft and clutter that's accumulated over the years in major browsers. Also, the company stated that when compared to Chrome, the DuckDuckGo app desktop is cleaner, way more private and that early tests have found out that it is significantly faster as well. Is this just corporate advertising or reality? We will see once the browser is released, or once it is released for public testing. Until then take care and happy holidays.
 Error Causes
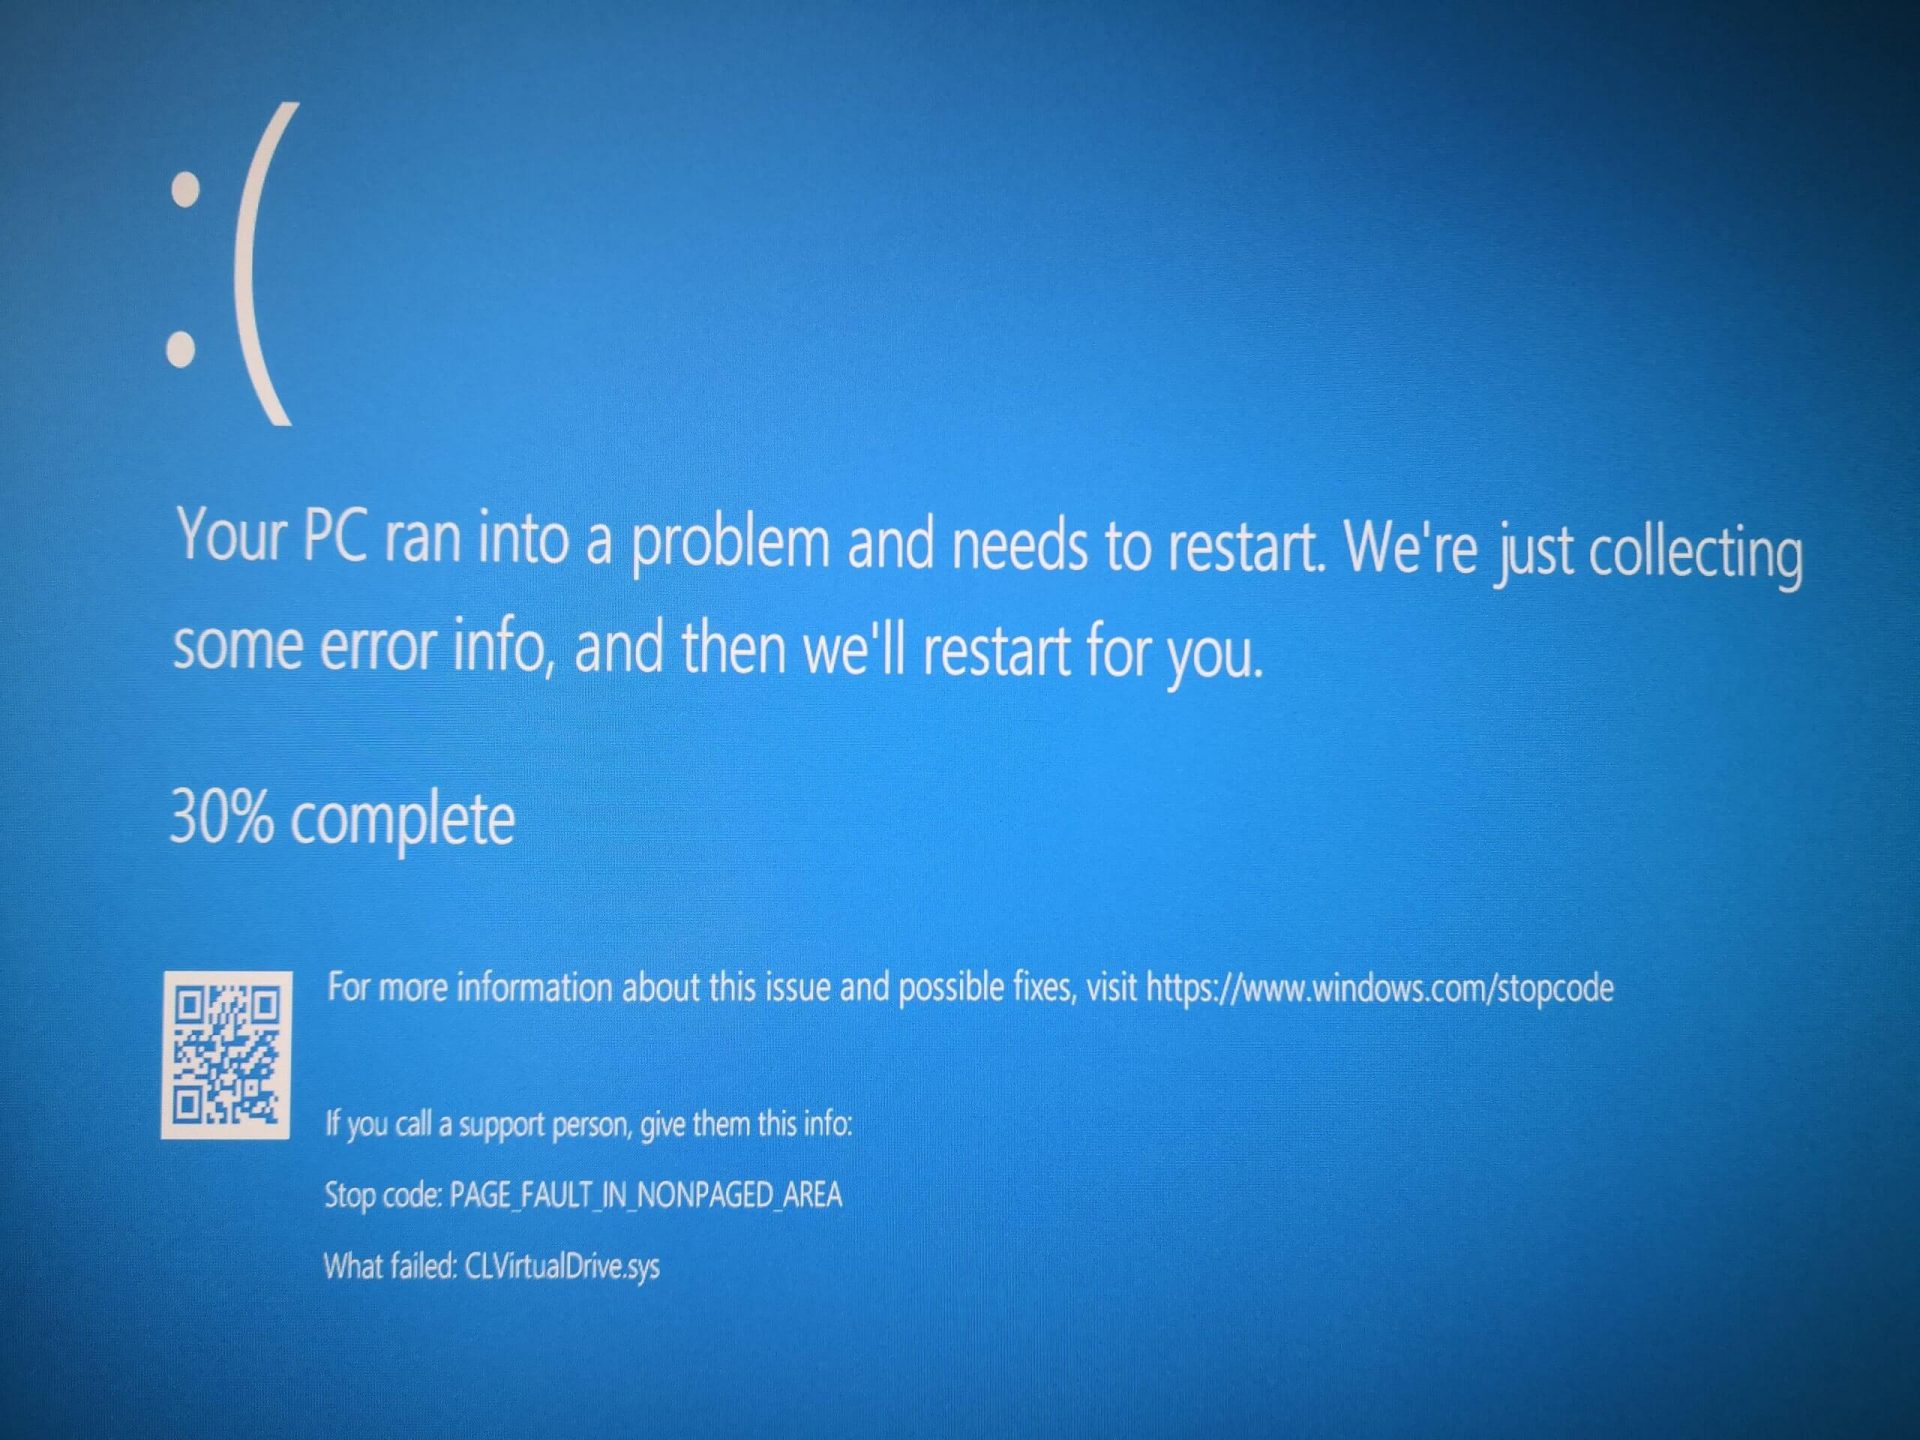 Rollback using system restore
Digital Signature: POPELER SYSTEM, S.L. Entry Point: 0x0000C1DC
Solimba employed aggressive advertising techniquesIt’s important to note that hijacked results resulting from the installation of Solimba. This affected the results of the website on the Internet browser to boost its ranking, even without the use of a search engine. The advertisement displayed on the Internet Explorer search page routes the user to a software installation website. The utility tool in question was a “Windows 8.1 PC Repair” tool used to identify threats present on the Windows 8.1 OS. The advertisement displayed on the Chrome Browser search page routes the user to a health and beauty magazine website. This site advocates health and beauty, especially issues concerning weight loss. Several ads were visible on-site, displaying products to assist people in losing weight. During my installation of Solimba, the installation wizard underscored that four programs would be downloaded. These programs included N8Fanclub.com_KinoniRemoteDesktop, Lolliscan, PaceItUp, and SearchProtect. Interestingly, only two programs from the list were apparent or obvious. An N8Fanclub.com_KinoniRemoteDesktop file was made on the Desktop and SearchProtect was seen in “All Programs”, along with files stored on the computer’s Local Drive. The other programs that were “supposedly” installed remained concealed. A test was done to determine whether these were counted as extensions or add-ons to the varying web browsers but nothing was found on any of the tested browsers – Google Chrome, Internet Explorer, and Mozilla Firefox.
Spying via some malicious app on the target phone is not a new thing but it can be very uncomfortable and even against the law in some countries.
Infecting the target phone can be done in various ways, another person can intentionally download and install applications on it, and you can install them via some phishing attacks or by an online scam. Once installed this piece of software presents a very serious invasion of privacy since it can track text messages, track phone location in real-time, record calls in real-time, eavesdrop on calls, take control of the camera and microphone, and many other applications.

Here are some common symptoms of mobile phones infected with spyware.
Random reboots
Slow performance
Strange text messages
Overheating
Unusual high data usage
Non-familiar apps in the app list
The fast drain of the battery
Long shutdown time
Strange interference and sounds during calls
Signs of activity during standby mode
If your phone exhibits any of these symptoms you might have a spyware app installed and running on it.
There are many apps that have been designed to spy on people that can be downloaded in the app store or on Google Play today. Most of these spyware apps are aimed at parents wanting to keep an eye on and protect their children. However, these can be used by anyone in order to spy on a target person via their phone.
Below is a list of common apps that can be used to spy on you. Many spyware apps require a phone to be ‘jailbroken’ or ‘rooted’ before being installed, this is when the phone’s operating system is changed to allow the phone to become unlocked and customizable.
mSpy : An undetectable spying app for iOS devices. It can be used to read your chats, see your location, view your email, check your call history, record your keystrokes, and more.
Spyera : This app requires rooted and jail-broken iPhones to work. It can go undetected and monitors phone calls and your call history. It even allows call recording and eavesdropping on live calls.
Flexispy : Flexispy prides itself as the #1 phone monitor for parents and can monitor everything from calls to social texts.
Umobix : This powerful spyware app has a dashboard that allows users to easily monitor someone’s location, calls, texts, keystrokes, all major social media, and more. You can detect Umobix because it heats up the infected phone and greatly affects the battery life of the infected device.
Ikey Monitor : Although it requires the device to be rooted for Android or jailbroken for iPhones, this spy app captures keystrokes, passwords, and screenshots, allows for call recording and supports multiple languages.
Clevguard : Available for both iOS and Android, Clevguard allows users to track GPS and Wi-Fi locations, capture screenshots remotely, and more. Due to a recent update, the spy app drains the target phone’s battery significantly.
If any of the beforementioned apps are present on your phone you need to remove them right away.
Go to your phone settings and remove the malicious applications, then download some protection suite and scan the whole phone for any other trace of software remains or other malware apps.
